VISIONARIES
COVERS
SHOWS
SHOWS
Sound Check
That One Video
The Bigger Picture
That Tracks
UPROXX Mics
Indiecast
How I Blew Up
Fresh Pair
UPROXX Sessions
MUSIC + CULTURE
MUSIC + CULTURE
UPROXX
HIPHOPDX
INDIE MIXTAPE
COUNTRY MIXTAPE
DIME MAGAZINE
LIFE/TRAVEL
WHAT WE DO
INSIGHTS
ABOUT
Privacy
Terms
Cookie Policy
COOKIES SETTINGS
Socials
YouTube
Instagram
TikTok
LinkedIn
…
The New Nintendo Music App Isn't Spotify, For Better And Worse
Nintendo Music has its drawbacks, but it's ultimately a perfect fit for its target audience.
The Culture Of Gaming
Filming Concerts On A Nintendo DS Is 2024’s Best (And Worst) Music Trend
October 10, 2024
by:
Derrick Rossignol
‘House Of The Dragon’ Actor Abubakar Salim Is Slaying The Game Industry Too
August 22, 2024
by:
Jarrett Green
Reviews And Interviews
‘Madden 25’ Early Gameplay Review: The Most Fun You’ve Had Running The Dang Ball
June 14, 2024
by:
Robby Kalland
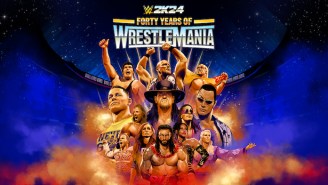
‘WWE 2K24’ Is A Winner In A Series Brought Back To Life
March 4, 2024
by:
Raj Prashad
The Latest
Bruno Mars Just Set A Huge World Record For The Largest-Ever Concert In A Video Game
February 9, 2026
by:
Derrick Rossignol
Thundercat Covered Diana Ross’ 1980 Hit ‘Upside Down’ For A New Season Of ‘Candy Crush’
November 6, 2025
by:
Aaron Williams
Doja Cat Unveiled Her New ‘Fortnite’ Skin While Explaining Why She’s A ‘Sweaty’ Player
October 2, 2025
by:
Aaron Williams
d4vd Debuts ‘Locked & Loaded,’ The First-Ever ‘Fortnite’ Official Anthem
September 4, 2025
by:
Derrick Rossignol
d4vd Gave Fans A Sneak Peek At His New Song ‘Locked & Loaded,’ The First-Ever ‘Fortnite’ Anthem
September 2, 2025
by:
Aaron Williams
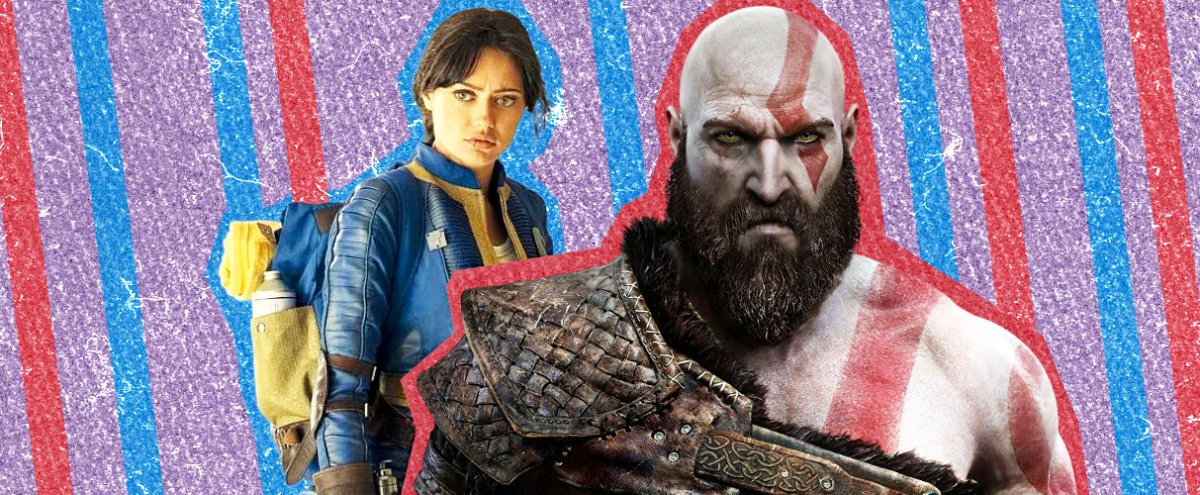
Video Game TV Adaptations That Could Be The Next 'Fallout'
by:
Derrick Rossignol
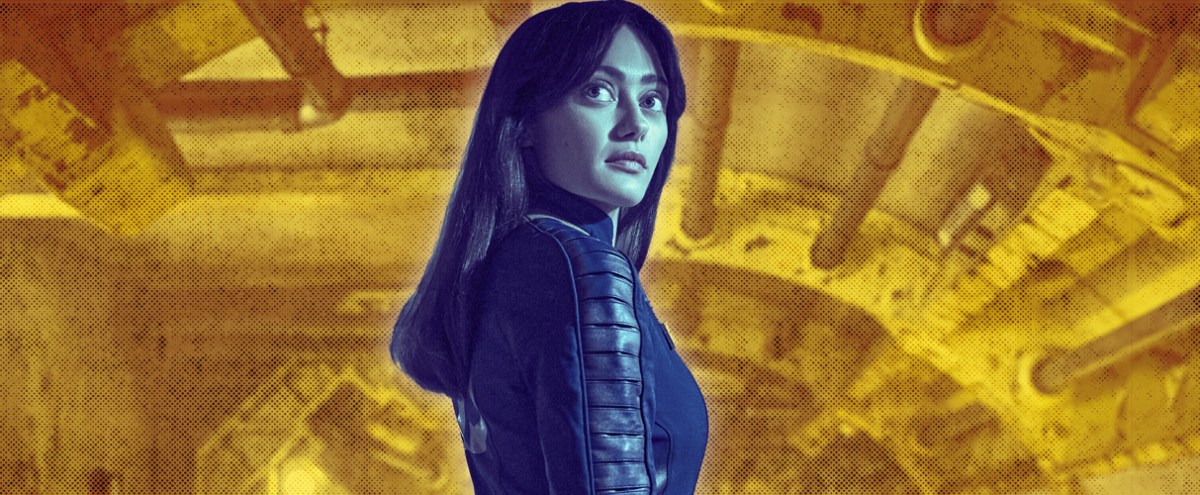
Ella Purnell On 'Fallout' And Why She Gravitates Toward Playing Survivors
by:
Jessica Toomer
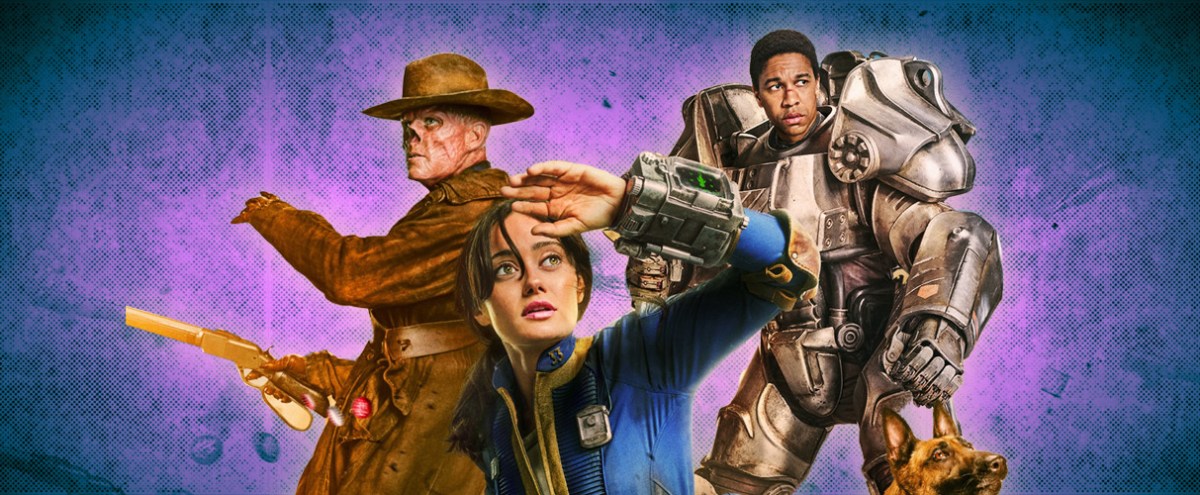
'Fallout' Is A Freakishly Fun Take On The Apocalypse And Video Game Adaptation Genre
by:
Jessica Toomer
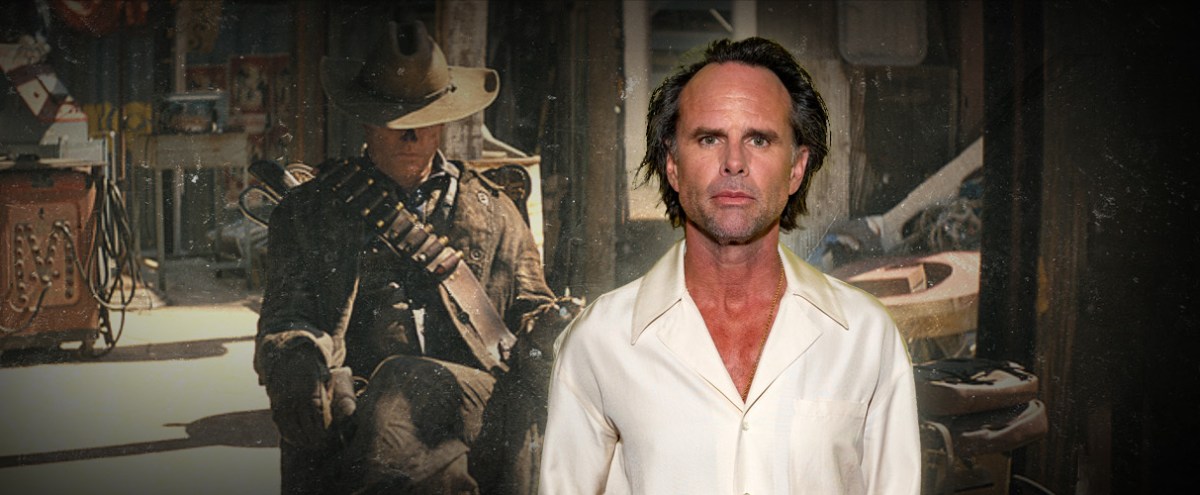
A Lovely Chat With Walton Goggins About 'Fallout,' 'Justified' Misdirects, And Being A Solitary Man
by:
Jason Tabrys
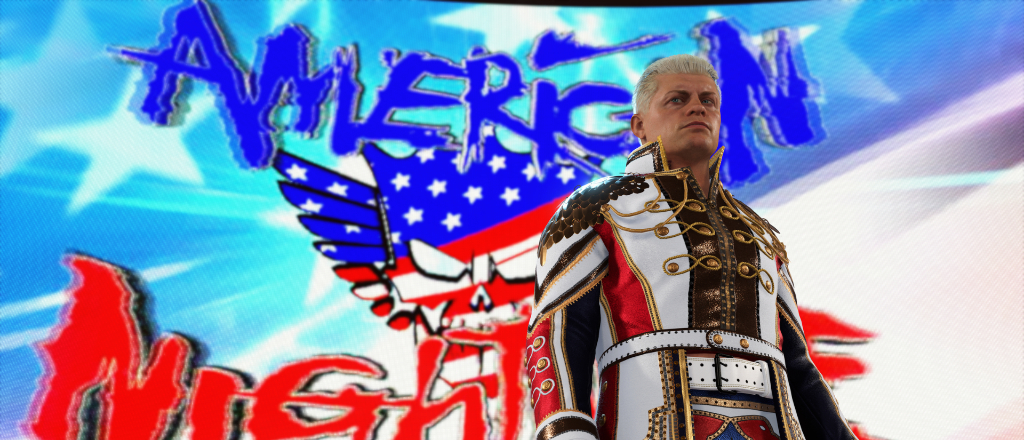
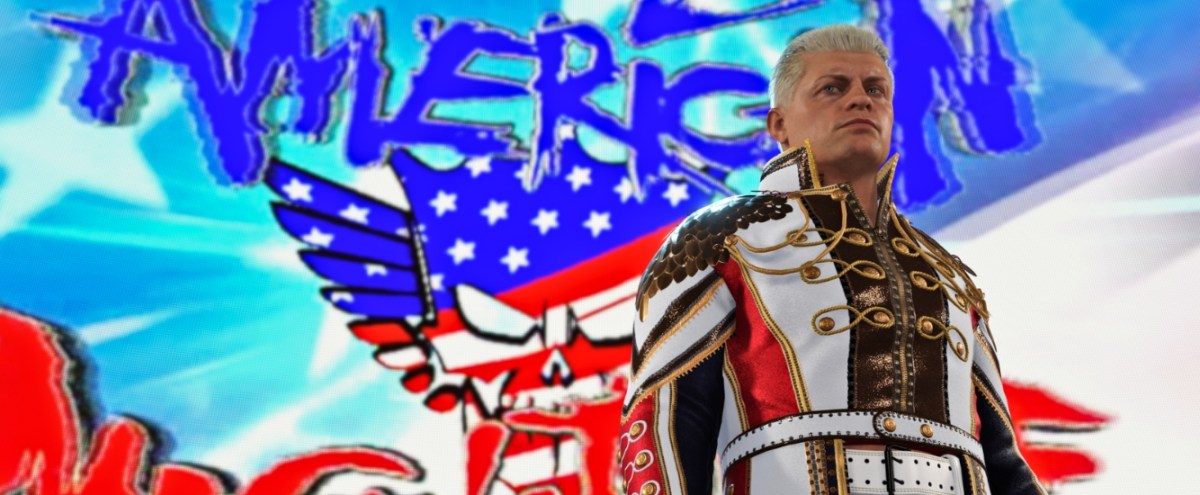
Cody Rhodes Is The Cover Athlete For WWE 2K24
by:
Raj Prashad
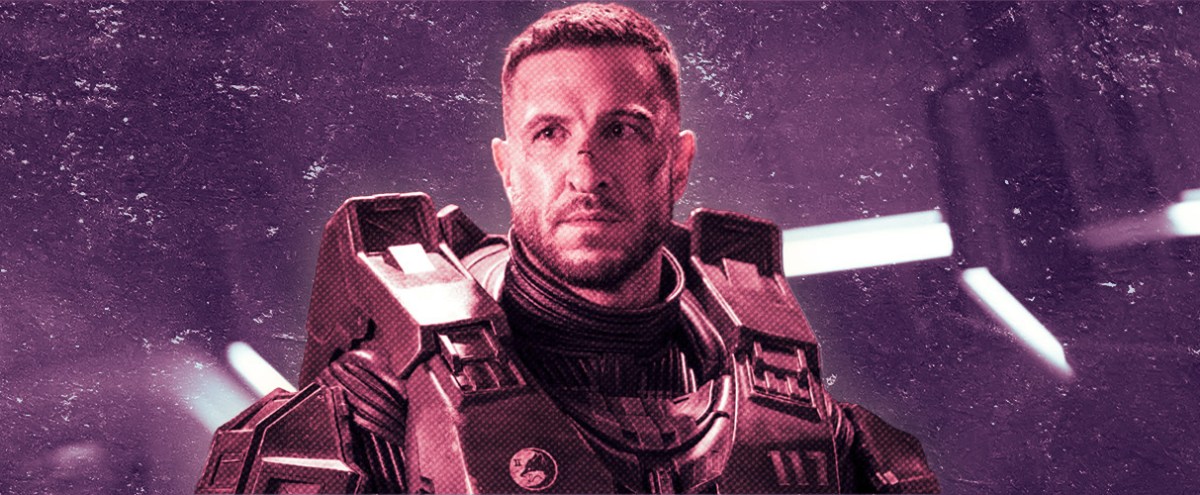
Pablo Schreiber On The 'Darker, More Dangerous’ 2nd Season Of 'Halo'
by:
Jessica Toomer
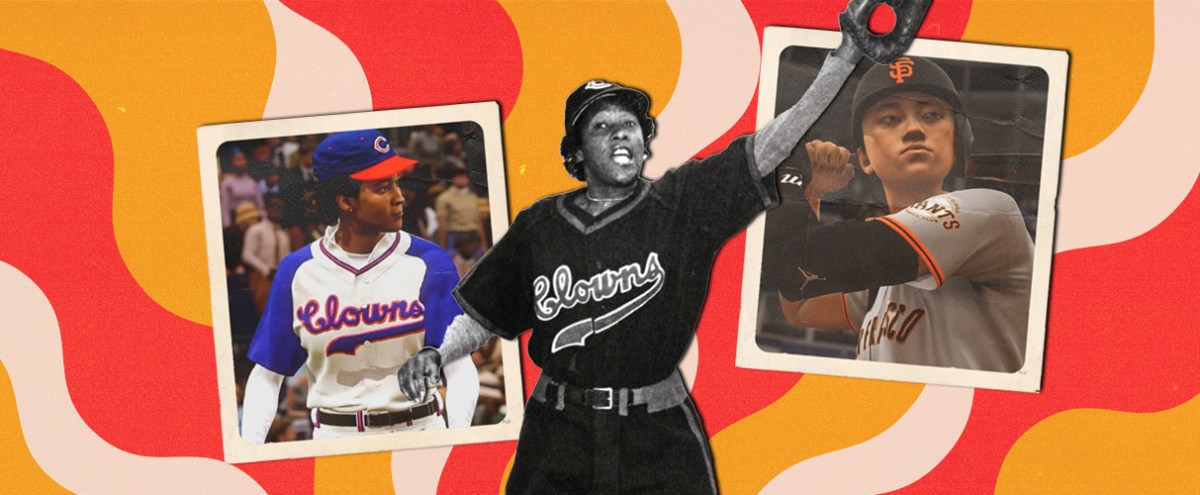
'MLB The Show 24' Is Finally Celebrating Women In Baseball
by:
Jessica Toomer
The Best Games Of The Year
by:
Chris Barnewall
First Impressions For 'WWE 2K24' Are Promising
by:
Raj Prashad