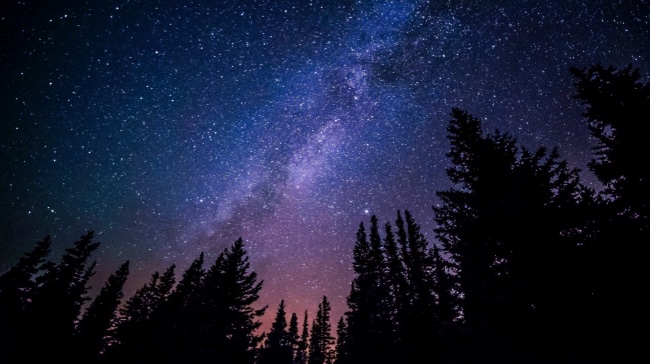
Look, we’ve all done it. Seen something beautiful in the sky — a particularly large, full moon, a meteor shower on a weekend camping trip, intergalactic aliens bent on stealing our water supply hurtling towards Earth — and pulled out our phones, excited to share this moment with our inner circle and/or warn the government. But then later, when we go to look at our photographic capture of the majesty of the Heavens, all we have is some dark pics with a sort of blurry orb in the corner. It’s less of an “I’ve proved life exists on another planet” moment and more of a, “why bother?”. They’re just rarely good.
Taking pictures of the sky can be tough (not to mention intimidating), and there is a lot that goes into making a shot work like camera settings, focal depth, lenses, and a bunch of other stuff your phone definitely isn’t even capable of. So, what gives when you scroll through Instagram and see those breath-taking pics of the night sky? Well, first, you can assume they’re probably using a real camera (and not a smartphone one). But even with that, capturing the perfect shot of a shooting star or the exact colors of the northern lights is really challenging.
Luckily though, we have some tips for shooting the night sky from National Geographic photographer, explorer, and founder of the ACCESS Collective, Ben Horton. With Horton’s advice, you’ll be taking the kind of night shots that will receive Instagram comments like, ‘Stunning!’ or ‘Oh my God. That’s the face of the creature that kidnapped me and held me in a laboratory on his ship for days trying to learn about human weaknesses!’ in no time.
1. Find Ideal Conditions
Look for “dark zones” with minimal ambient light. The closer you are to a city, or if the moon is bright and in the sky, the ambient light will wash out the stars. If you have to shoot with the moon in the sky, be sure to shoot directly away from it so that you don’t have a “wash” effect on one side of the frame or the other.
2. Know Your Settings
Every camera, lens, or combination thereof, and every setting will be different. Modern cameras can shoot amazing photos at ISO 3000, but older cameras may only work up to ISO 800 before the grain overpowers the stars. A good place to start for either though, is to set the ISO at 2500, shutter speed of 15 seconds, and an aperture of F2.8. See what you’re getting, and then just adjust from there.
3. Finding Focus
It’s not always necessary to focus exactly at infinity to capture the stars, but if you understand how to work with your hyperlocal distance, you’ll be able to capture clear stars, and a sharp foreground as well. On my setup, 16mm and F2.8, I focus at 30 meters to capture a balanced focal depth in my image.
4. Equipment
I shoot with the Sony A7rii, it’s low light capabilities are incredible, and the larger sensor captures more detail, and thus, more stars. Equally as important as the camera you chose is the lens. My favorite lens for landscape astrophotography is the 16-35mm. It allows for a lot of versatility, is quite forgiving with focus mistakes, and is wide enough to capture large swaths of the sky.
5. Research
Use apps like Photopills or startracker to predict what is going to happen and when! Sometimes I wander around in the day so that I can see the landscape, and set up my frame for later in the evening. It’s so much easier than trying to get a sense of the landscape in pitch black, and using a headlamp to try and piece together what’s in front of you. With Photopills, I can see exactly where the sun, moon, and stars will be and when. I’ve planned some images months ahead of time!
6. Break The Rules
I love to break the rules of photography because it creates images that very few people have. By framing the moon behind a desert arch or waiting for clouds to cover it, I’ve gotten some really incredible effects that feel like a combination of a milky-way photo with the sunrise. I learned to do that on a night that I was really disappointed to find that the moon was rising right into the milky way. I put my gear away after a few images, but those images ended up being some of my favorite night photos!


