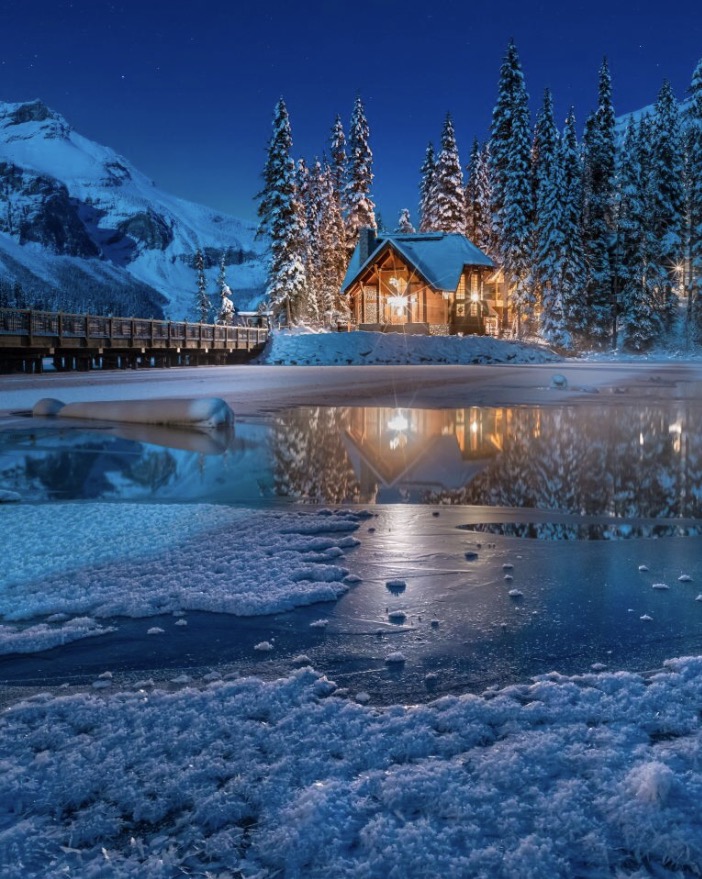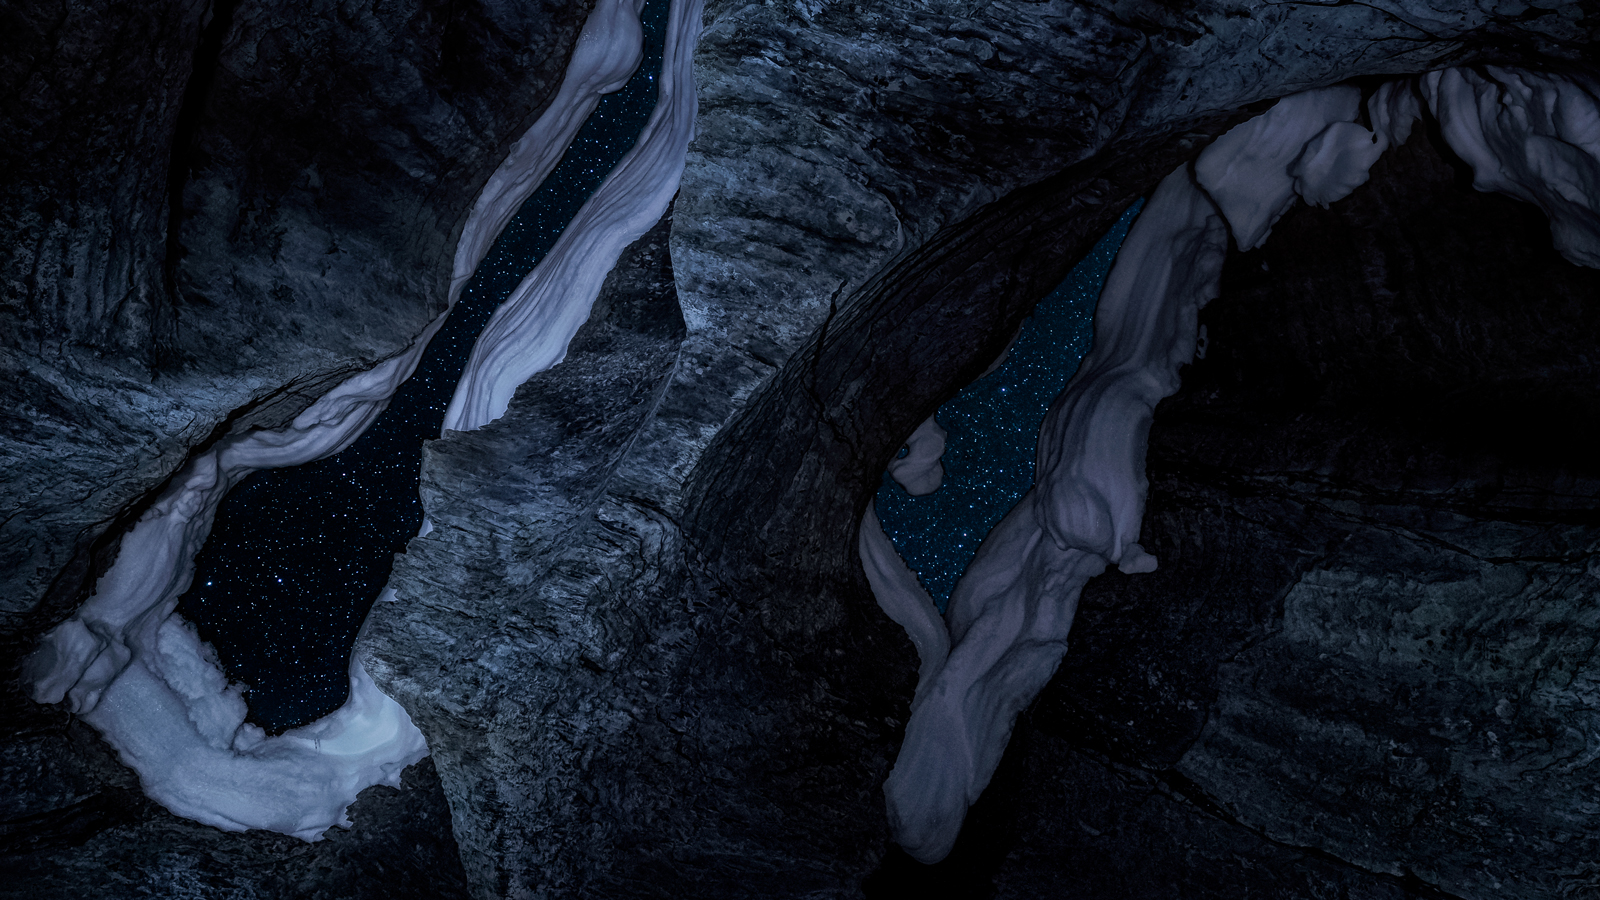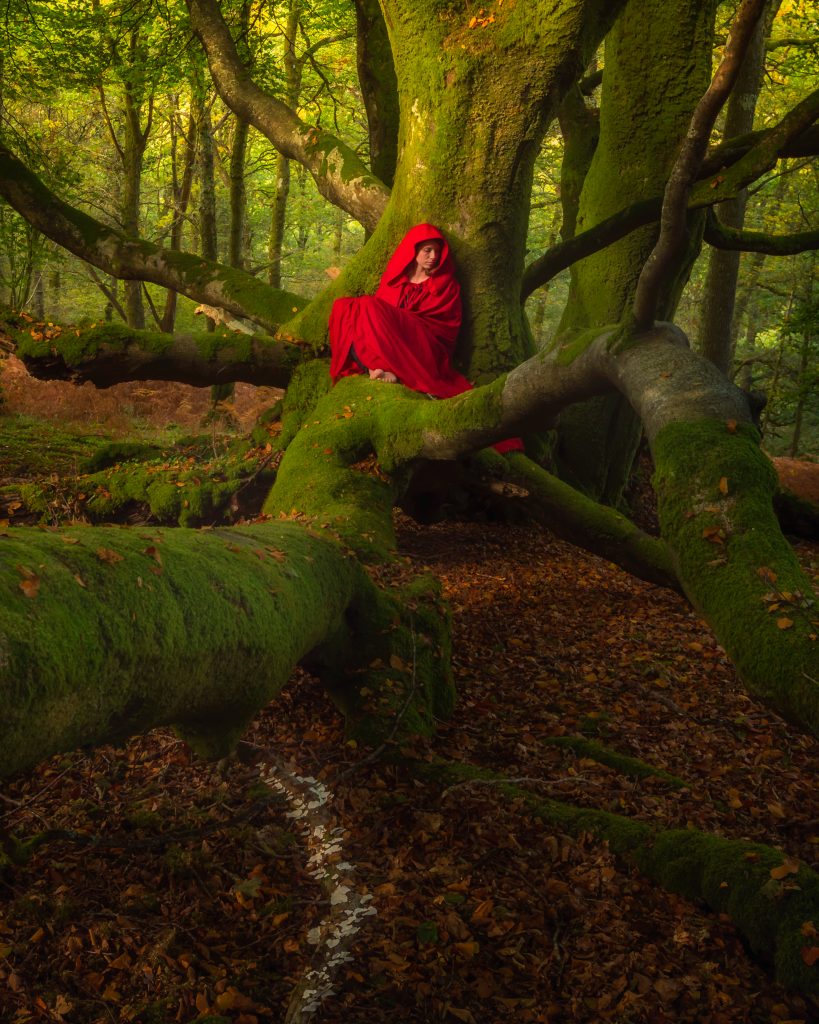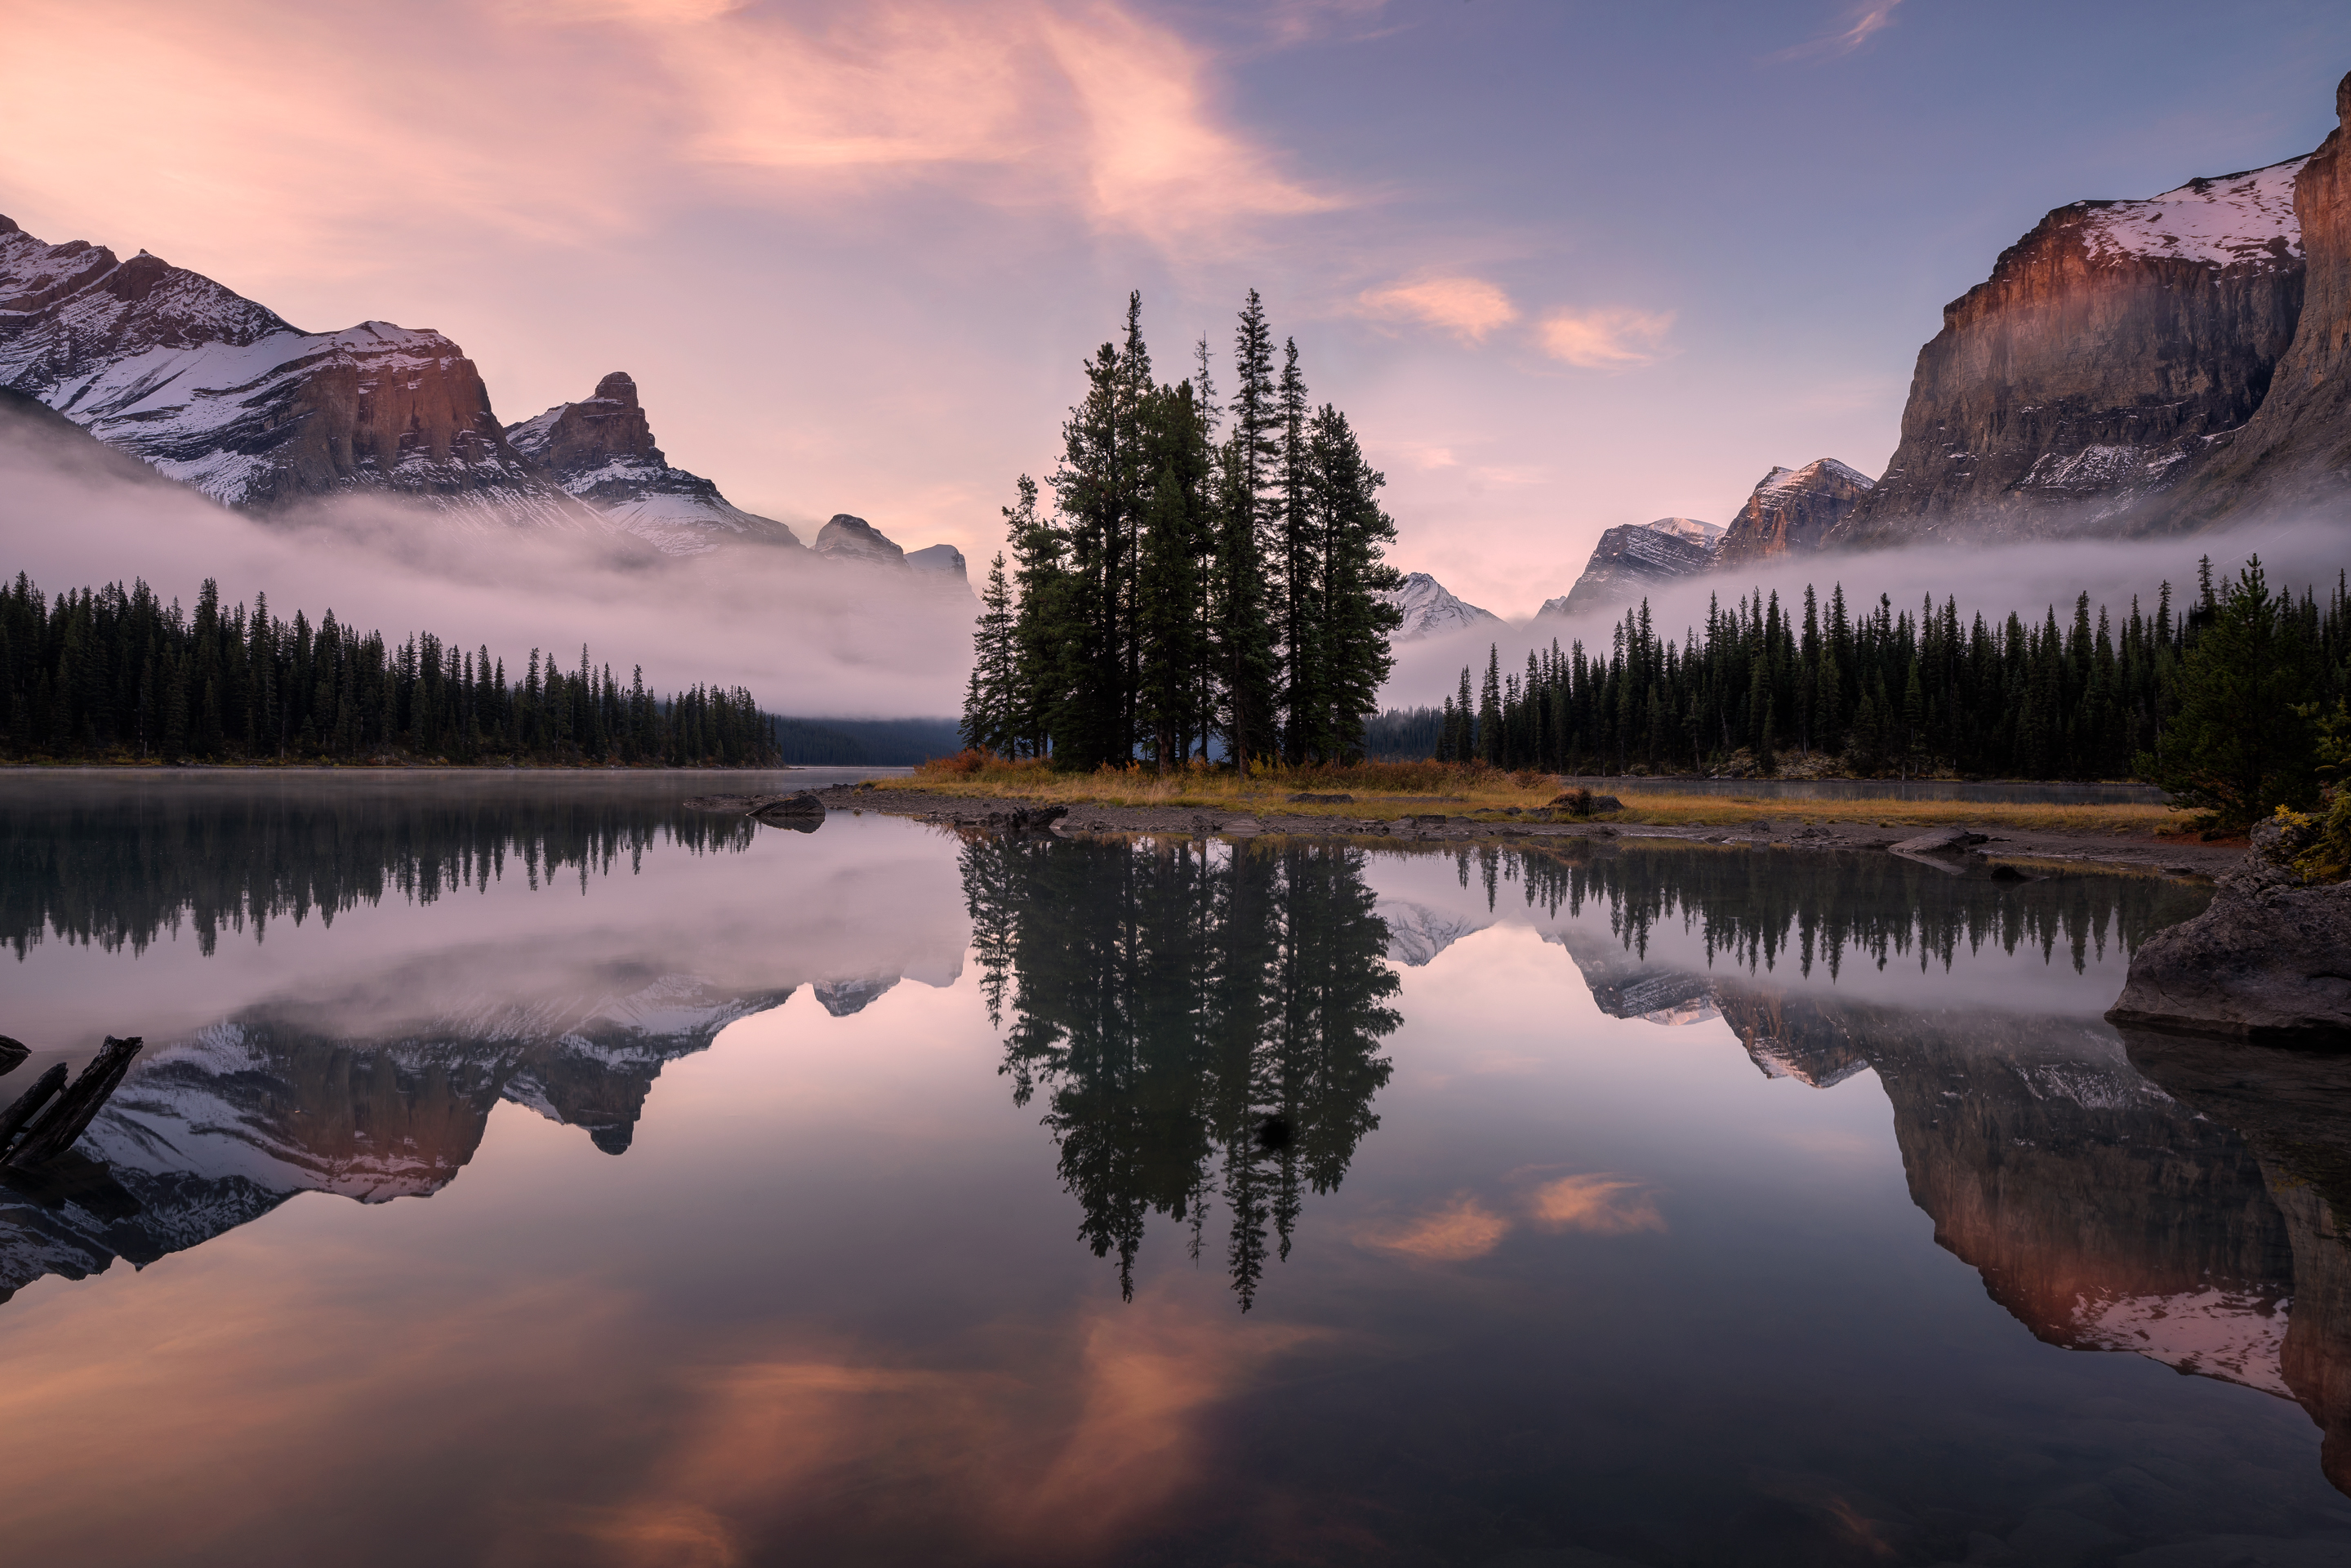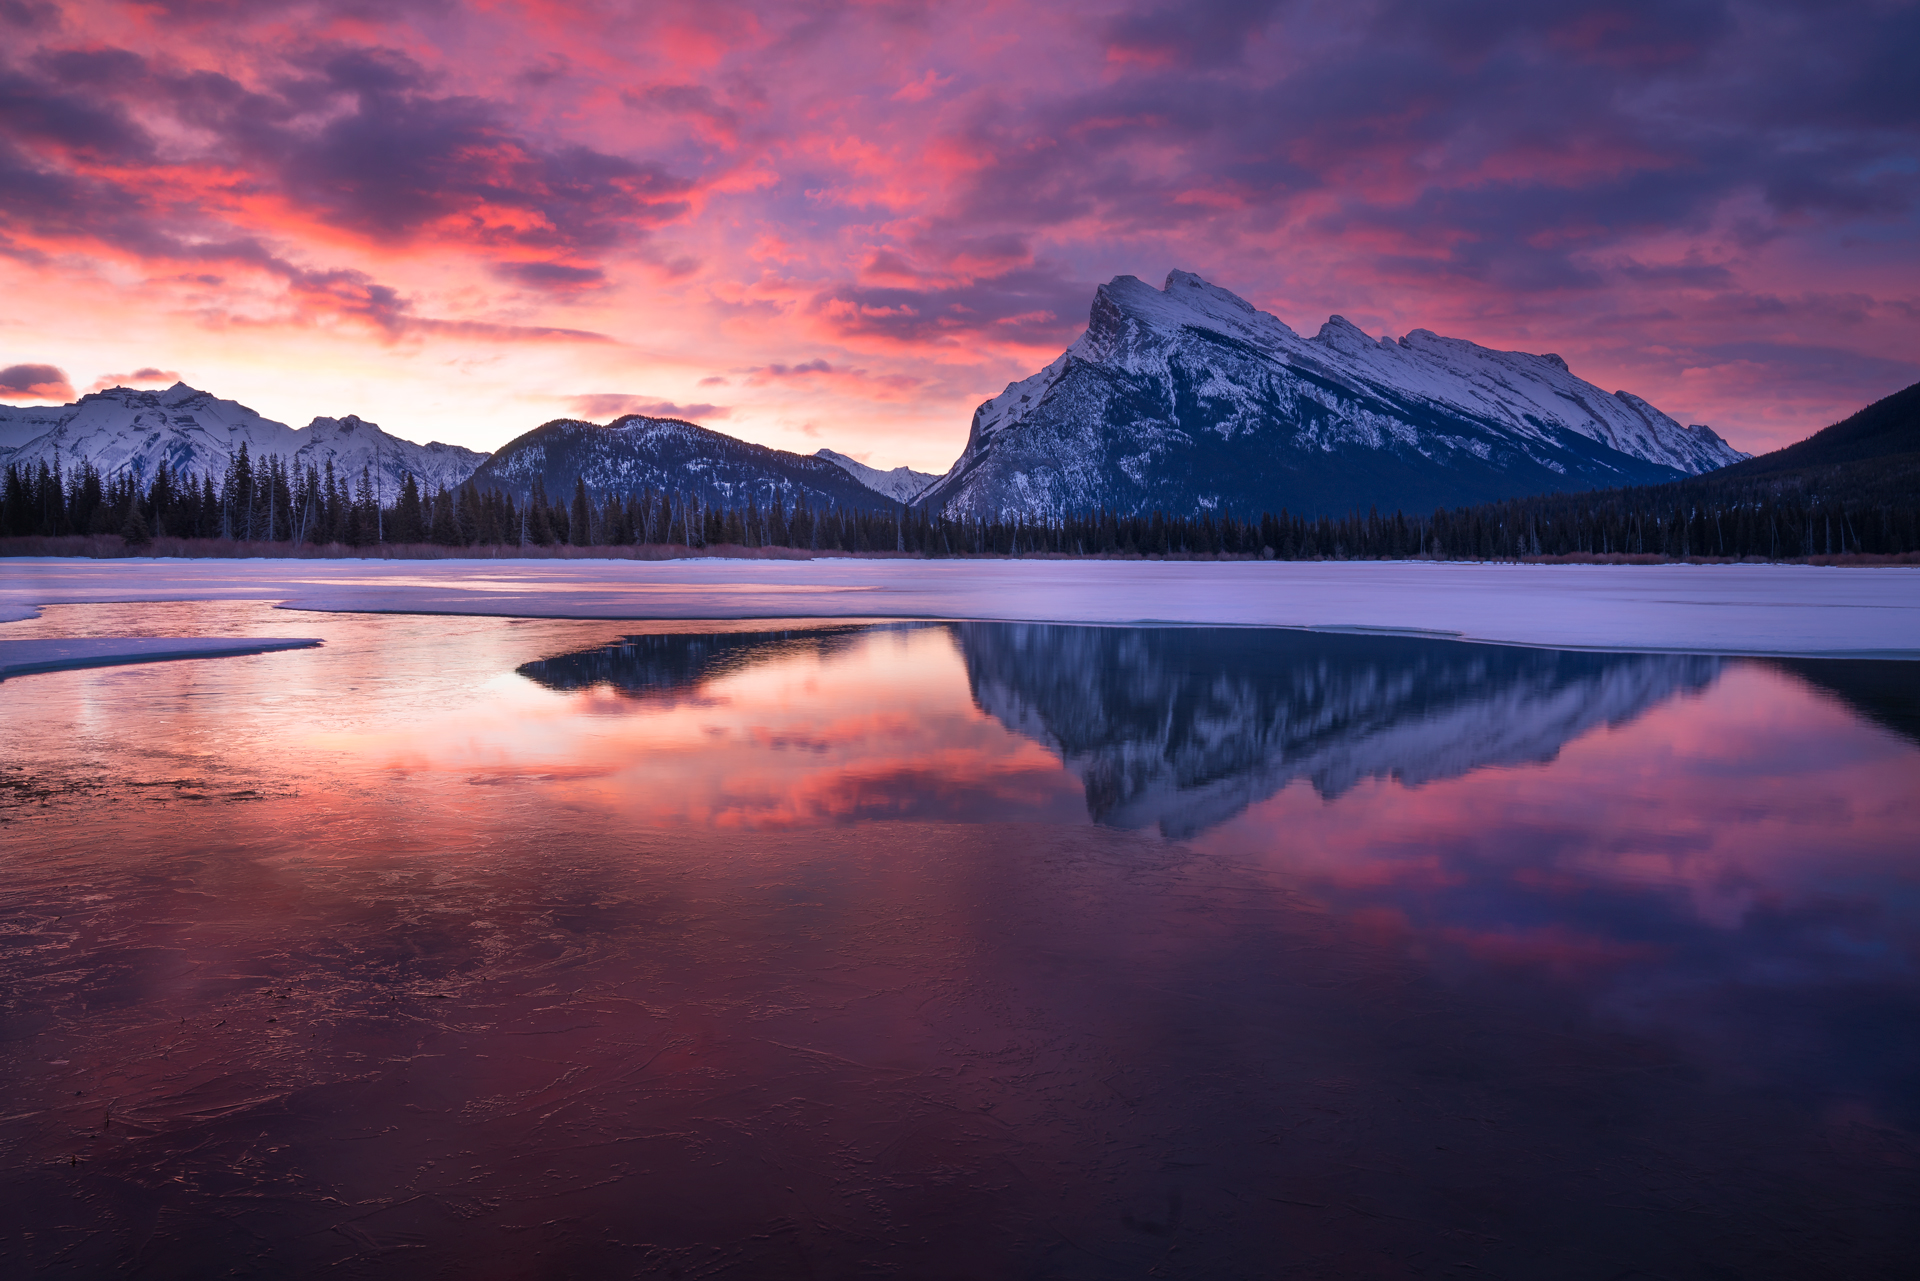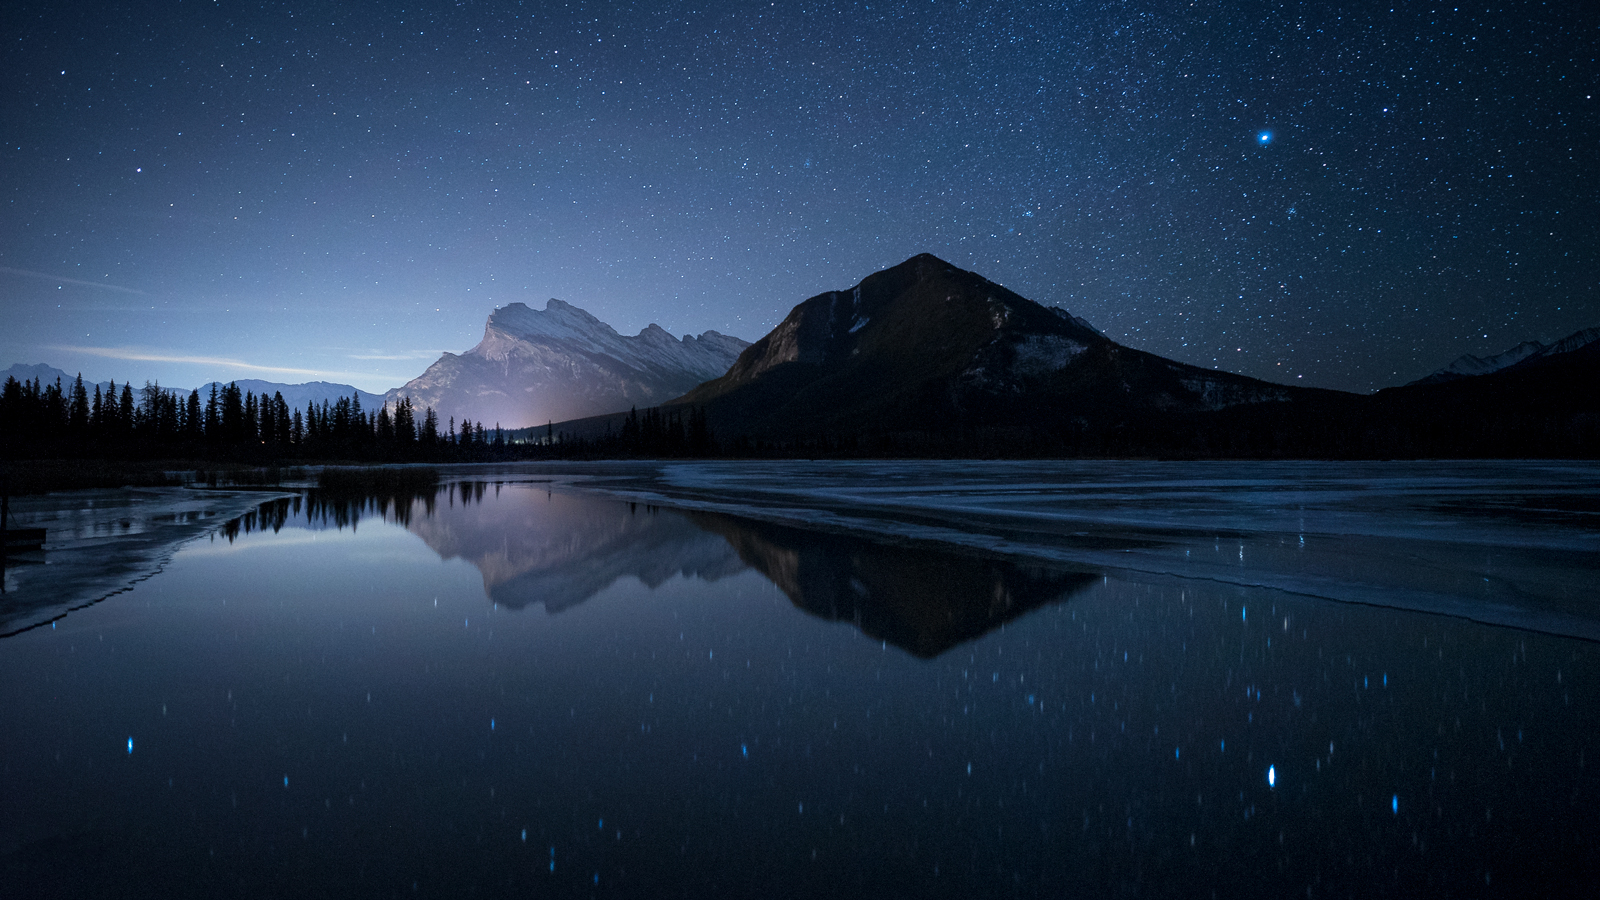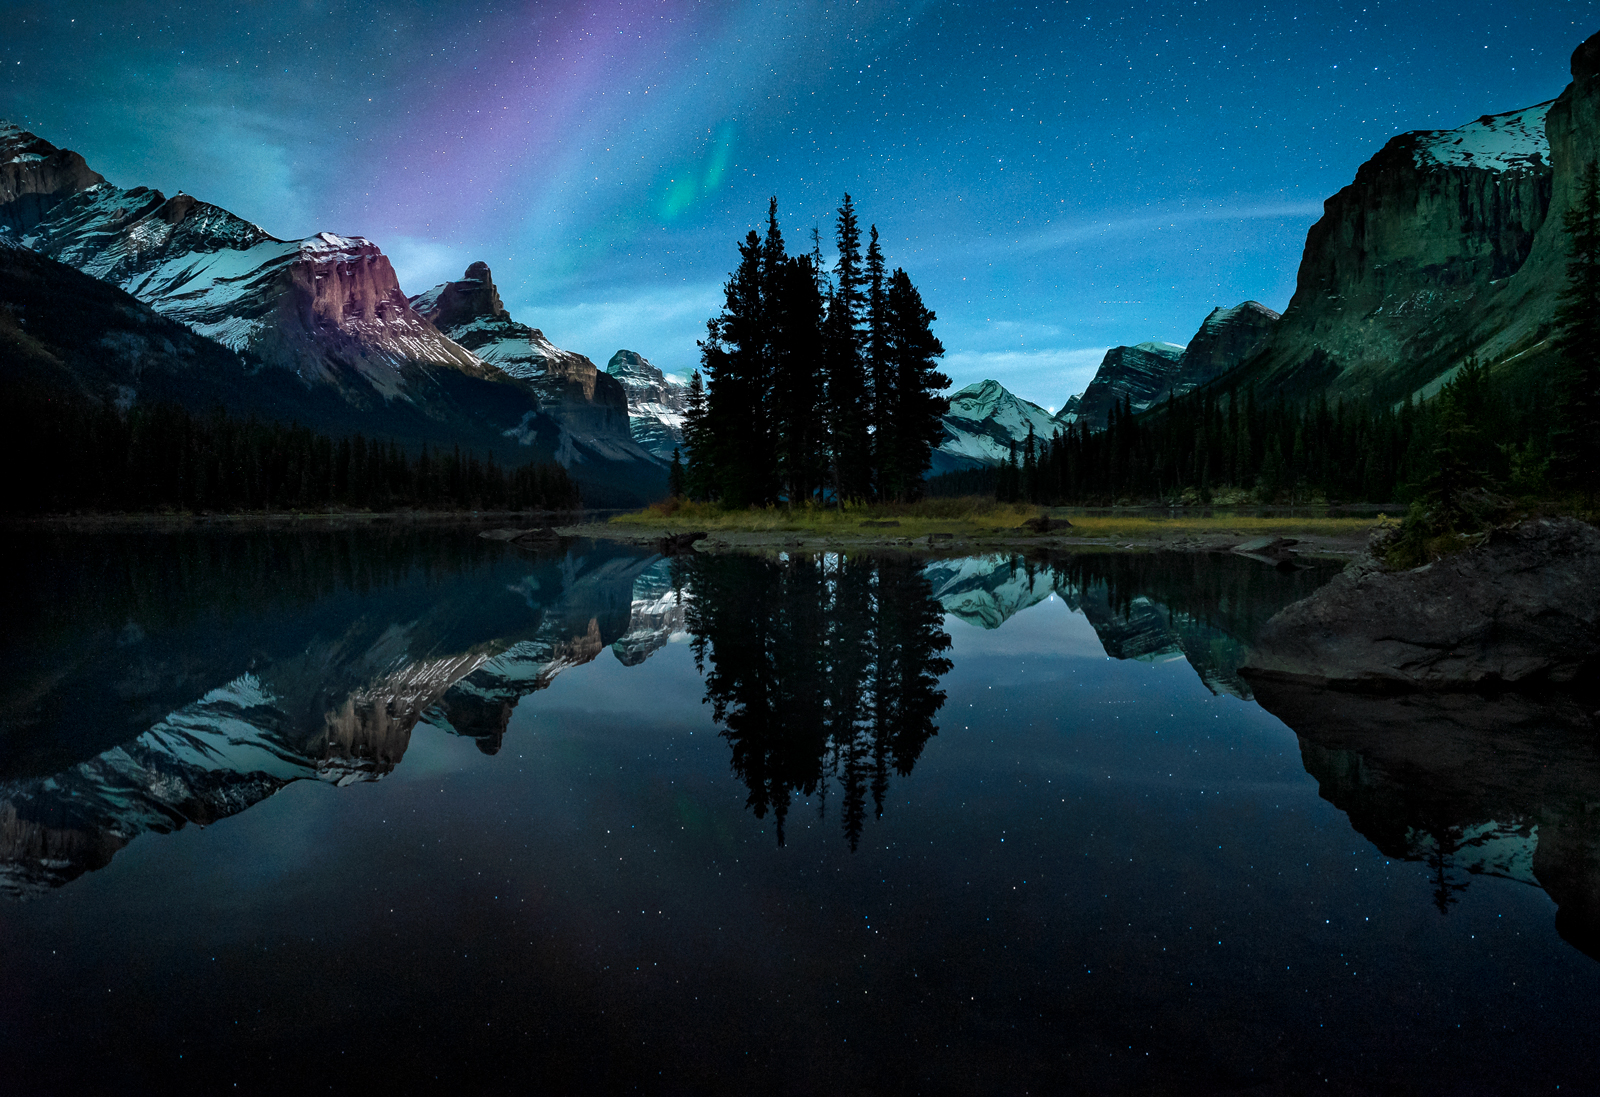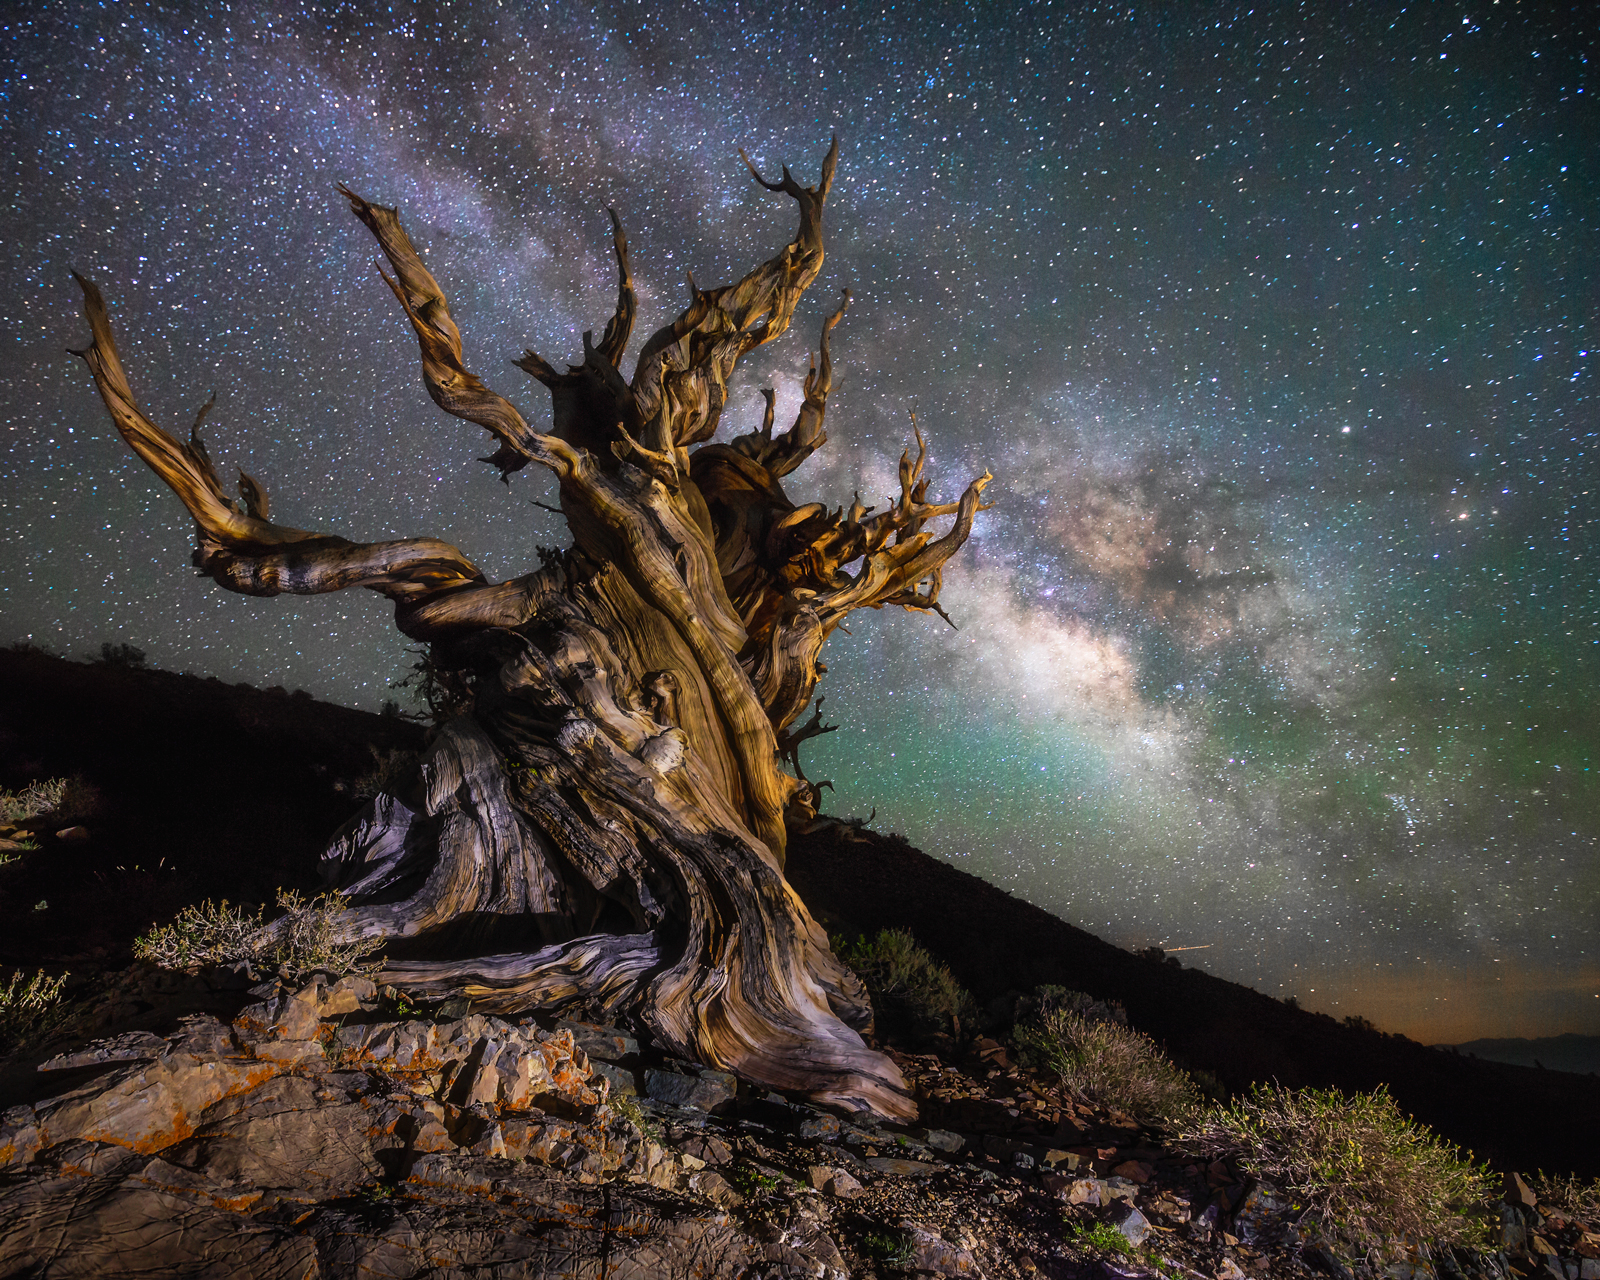
We cover tons of photographers, influencers, and vanlifers around these parts, which means a hefty number of images arrive at a steady pace, and we have the pleasure of sorting through them to choose the best ones to slide into posts. It gives us a solid idea of what photography trends are hot and, right now, we’re seeing a lot more night photography than we have in the past. Good news: We’re happy for this to continue indefinitely, because these pics are awesome.
Sadly, the degree to which we enjoy magical nightscapes is matched by the degree to which we have no idea how to take them. And we are so not alone — because night photography isn’t as easy as the point-and-shoot daytime experience. In these situations, we think the best option is to turn to an expert and get some guidance, which is why we sought out the amazing Rachel Jones Ross, who creates some of the best night photos we’ve ever seen.
Why Ross? Well, in addition to maintaining a killer Instagram, this full-time photographer and photography instructor is the talent behind Astralis Photography. For those of you who are not Latin scholars, “astralis” means “of a star” or “revealed by the stars.” A woman who names her company for the stars is someone we trust to tell us how to capture them in an image, right?
There’s seemingly no time in memory when Ross hasn’t been taking pictures, but she didn’t get serious about the technical aspects of the craft until she learned how to photograph the Milky Way for the first time. Of the experience, she says: “Looking at the back of my camera that night was like pulling back a curtain and peering into the universe; I was so enraptured with that image of the Milky Way that I bought my first full frame camera the next day.”
The skilled and passionate photographer made time to walk us through some important aspects of night photography, and we promise that her tips will positively impact your attempts at capturing nightscapes. They absolutely did for us.
Be Aware Of Ambient Light
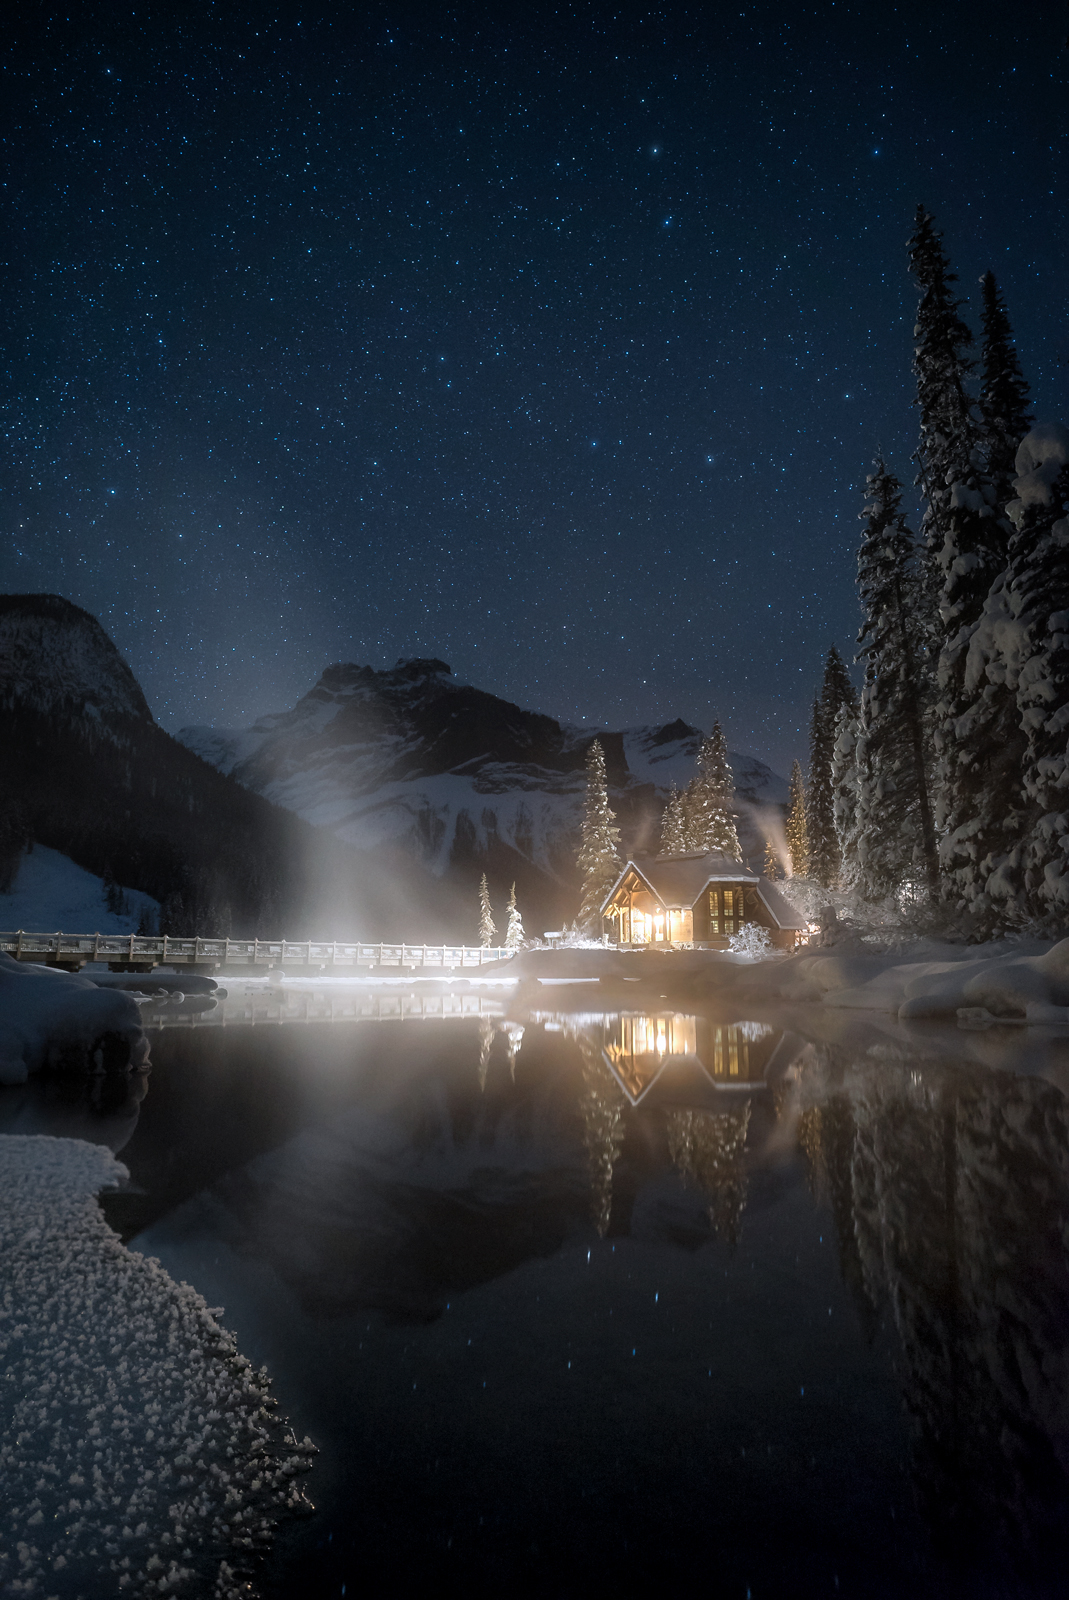
The first thing to keep in mind when you go out to do a night shoot is the ambient light. It is going to affect your camera settings, your aperture, ISO, and shutter speed. Ambient light is moonlight, starlight, light pollution, or light you might bring with you, like a headlamp or something. And all of those elements are going to affect how you set-up your camera.
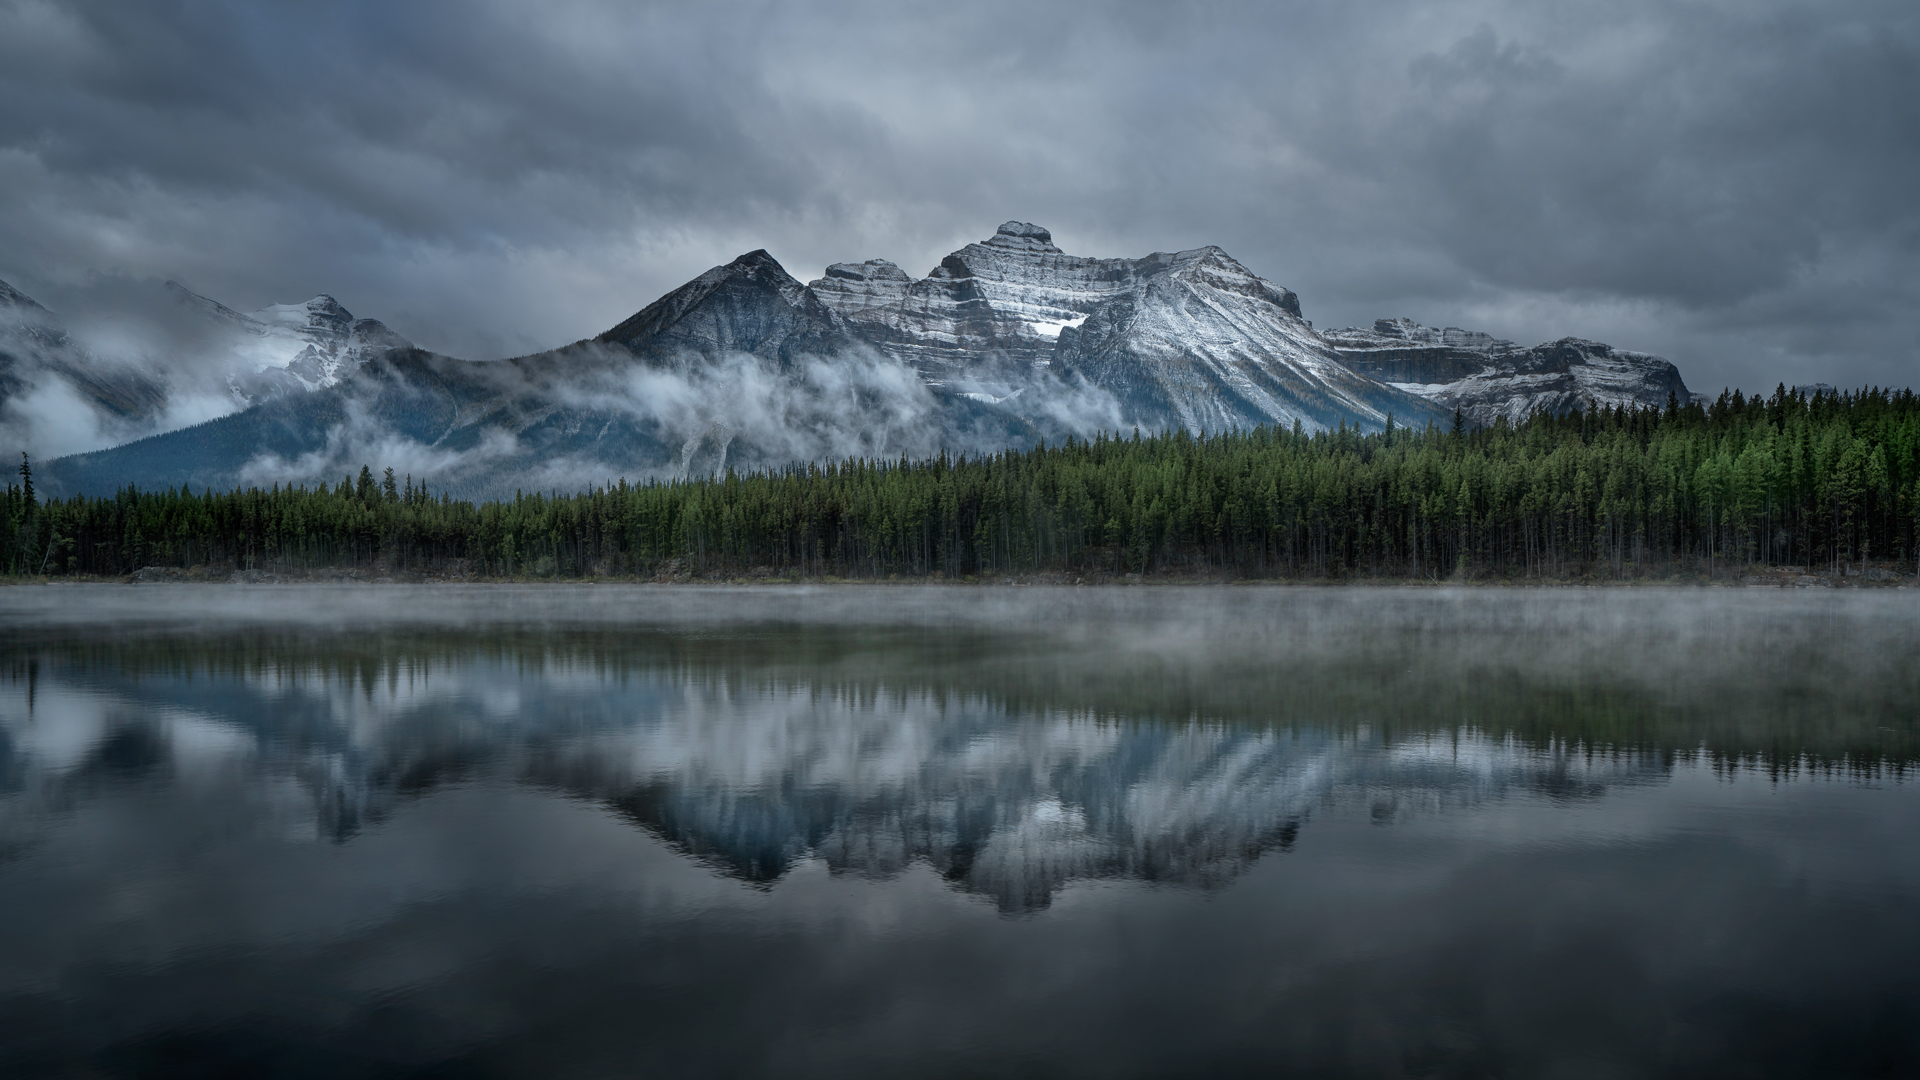
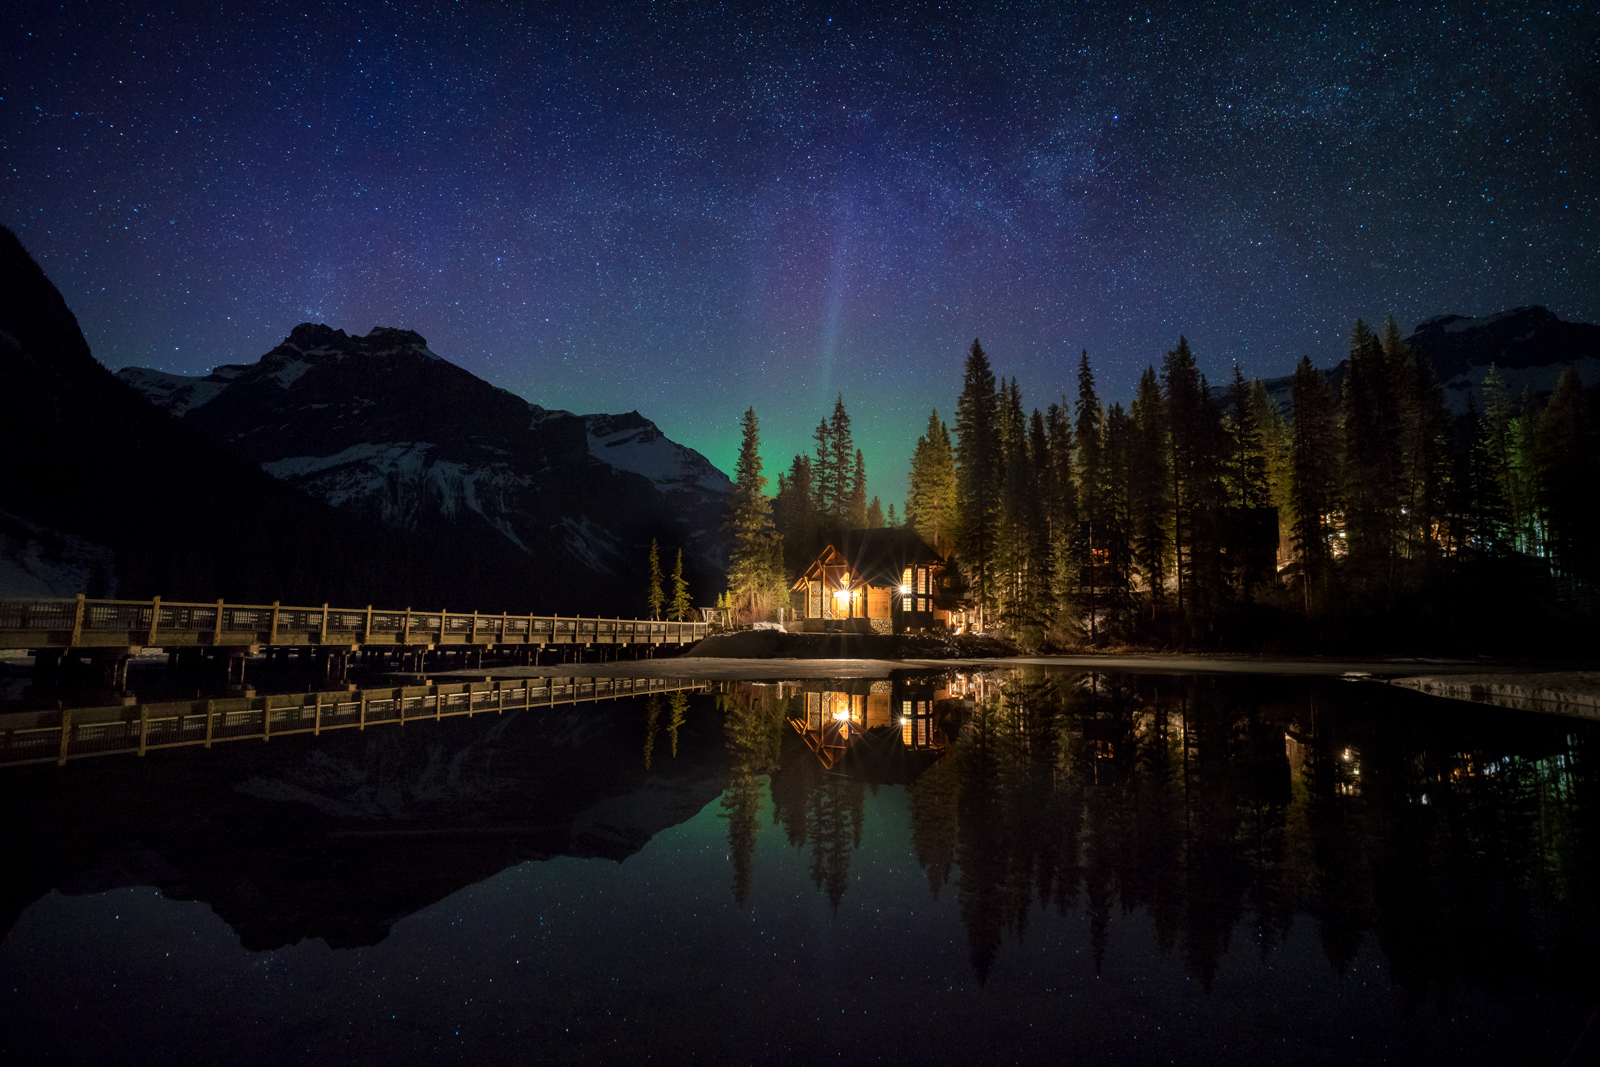
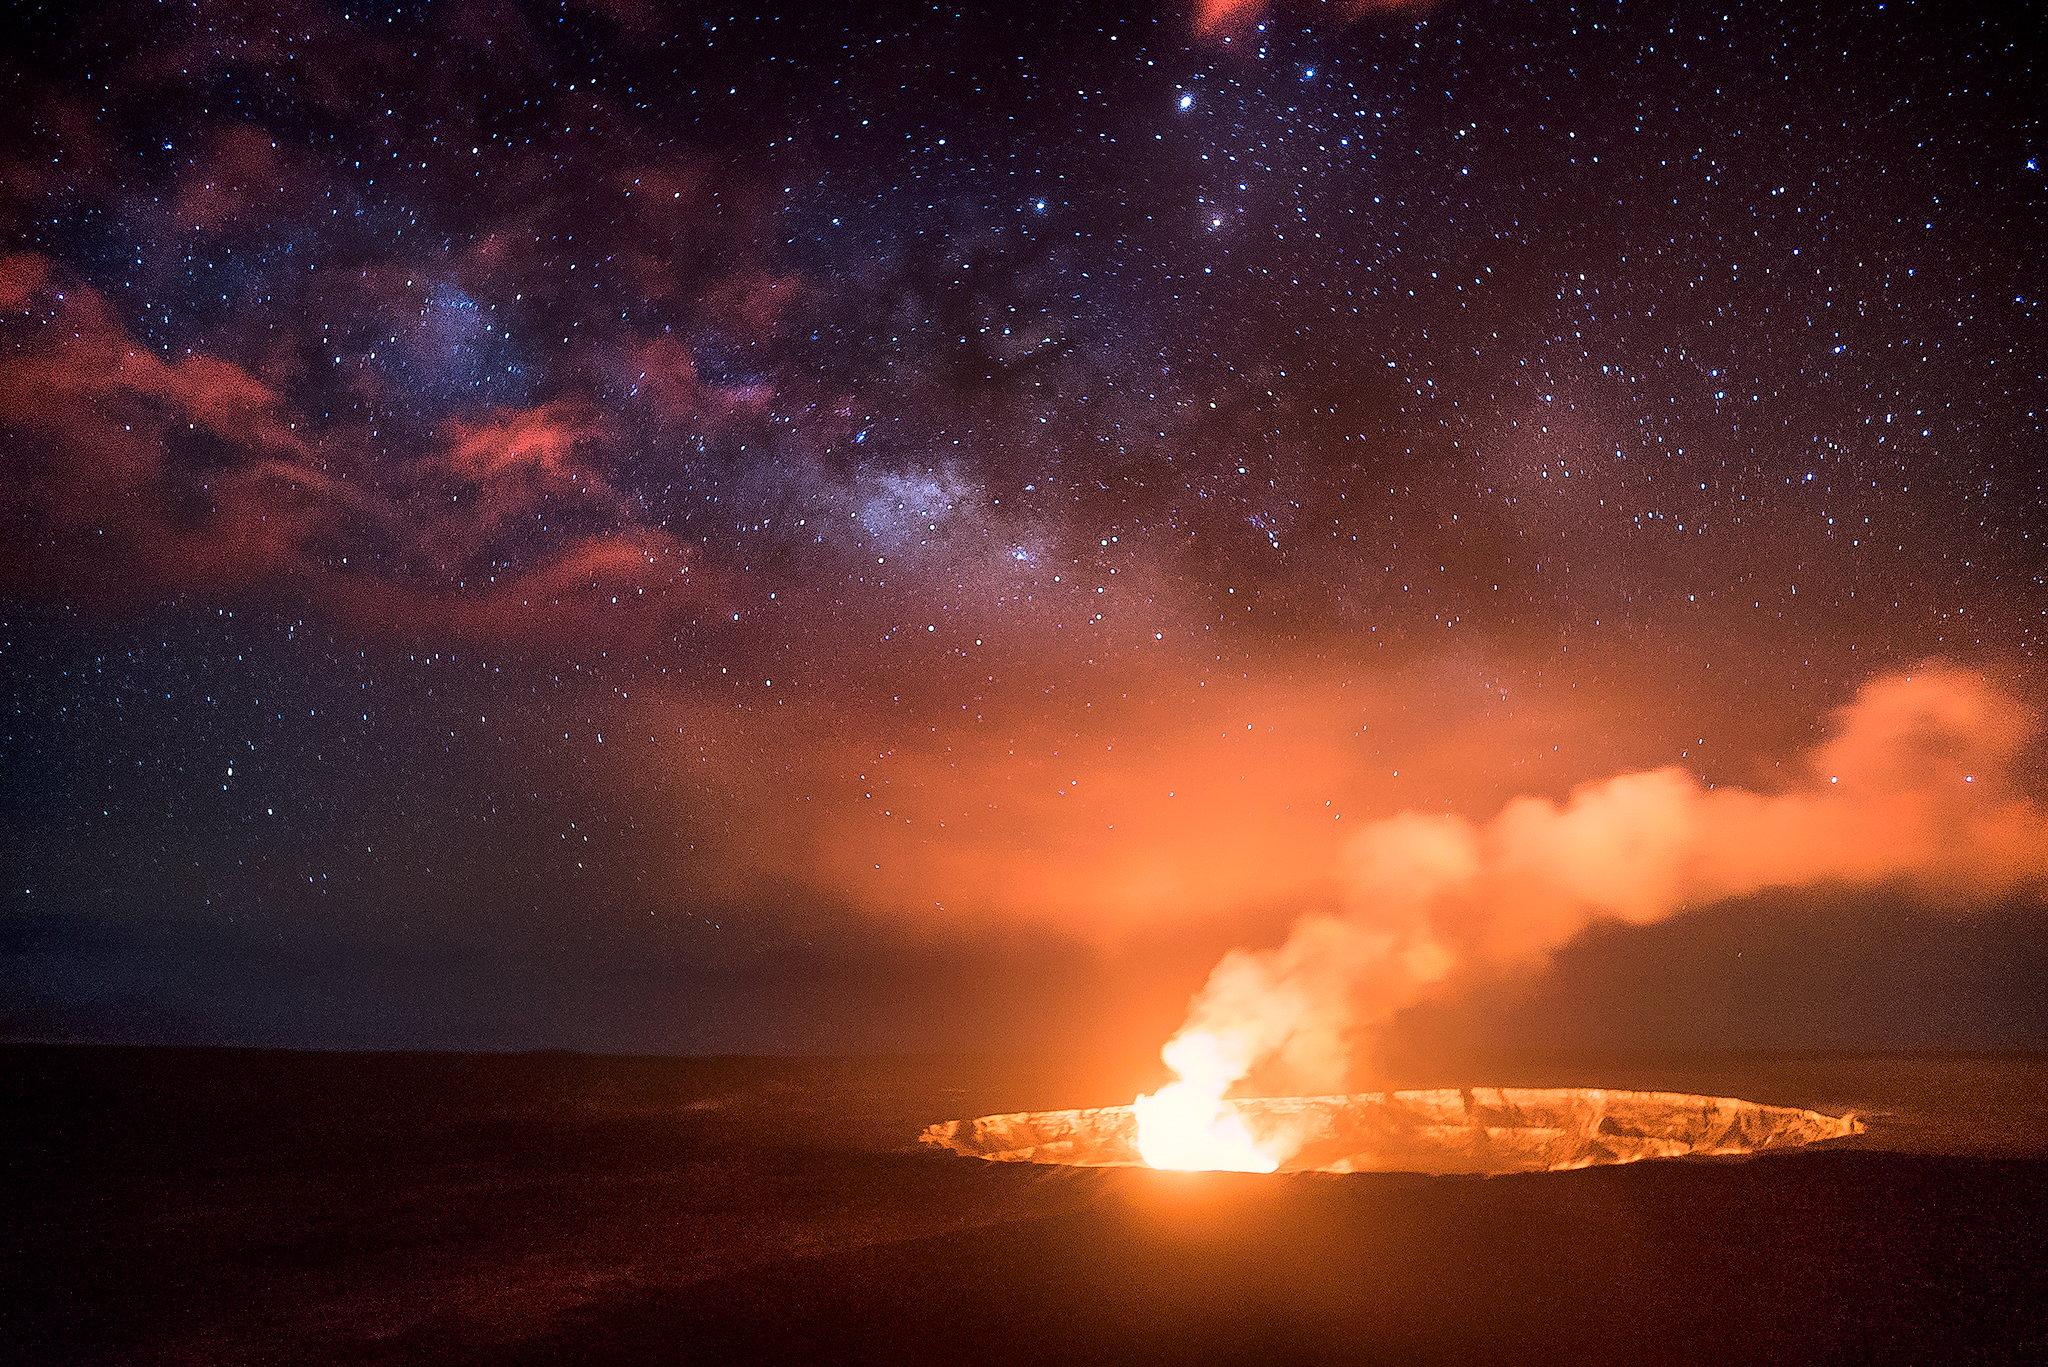
Night photography is always a numbers game. If you try to get a shot all in one exposure, it’s completely possible to do that. But, because of this numbers game, there’s gonna be tradeoffs. For example, when you photograph stars, if you have a long exposure you’re gonna let the most amount of light into the camera but because of the rotation of the earth relative to the sky, you’re going to get trails. The stars are gonna look like little streaks instead of like little dots. So, if you have a standard long exposure of 30 seconds, even with a wide-angle lens, your stars are going to begin to trail. But when you expose, say the landscape at 30 seconds, because the landscape’s not moving, you can get the most light onto that scene and you can get the most detail, right? When I shoot, I often shoot in at least two separate exposures, one for the landscape and one for the stars.
Think About How You Plan To Process Your Pictures
The second thing that I encourage people to think about is how they’re going to process their image. I think about how I’m gonna process the image before I shoot it. Often because I’m comfortable with Photoshop, I will process the image in parts. I’ll shoot the sky at a shorter exposure with a higher ISO and that allows me to get a really clear image of the stars without any movement and then I will blend that with a longer exposure of the foreground. But some people aren’t so comfortable doing stuff like that, so the idea then is to try to get the best overall image in one shot, so that they don’t have to combine those later in Photoshop.
These are the two things that I think about when I’m shooting a nightscape: how I’m going to process it and what the ambient light is.
Consider Lighting Your Subject
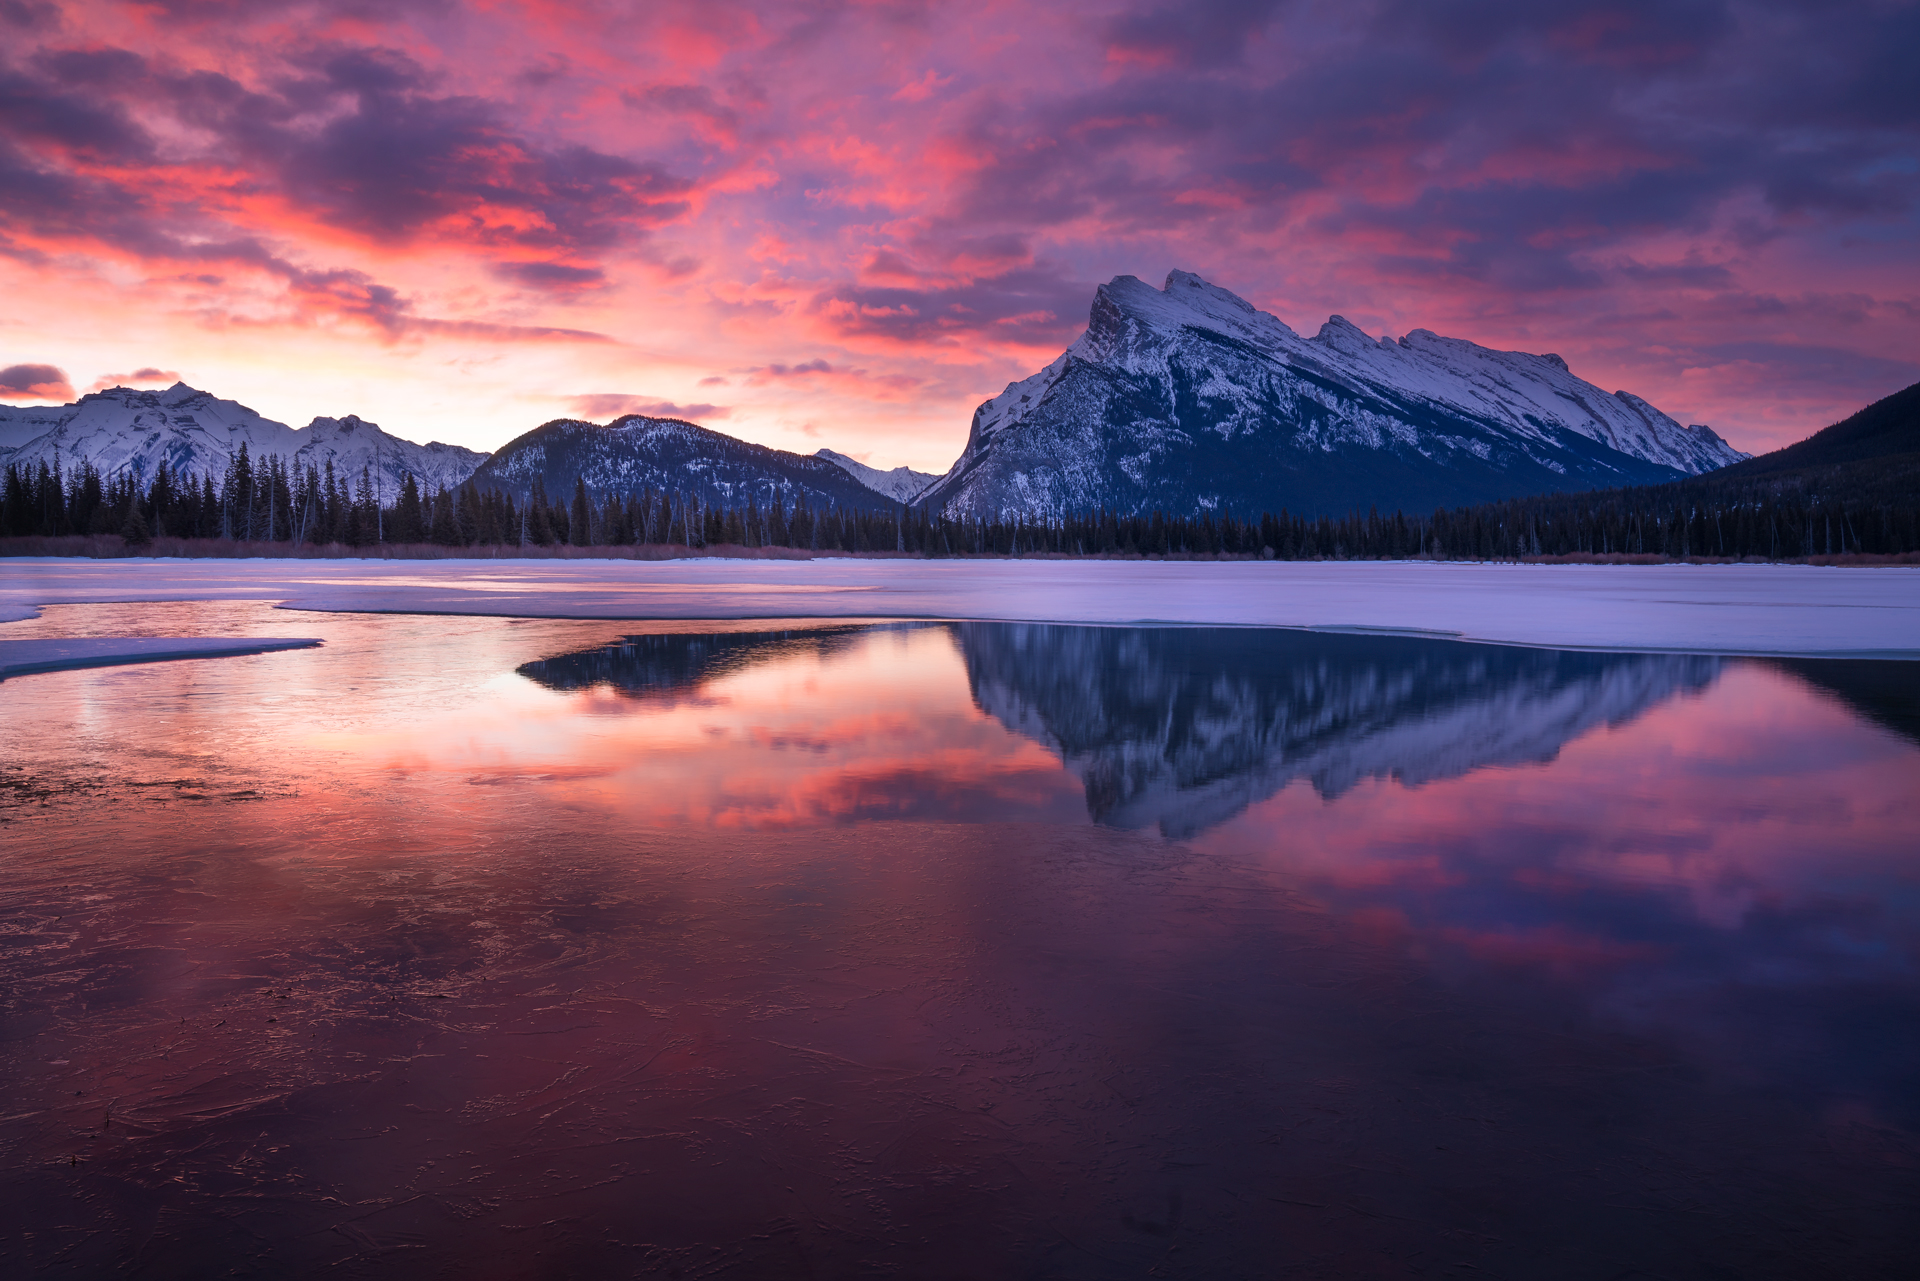
The composition is always the key element in any photography, whether you’re shooting nighttime or daytime. When you’re trying to set up a composition at night often, it’s difficult to see with a camera, so you’re gonna have to take test shots and make adjustments. Or you can light up your foreground with a flashlight or headlamp or something like that, so you can see what it is that’s in the foreground of your shot. But just like shooting any other type of scene, you want to make sure you have a good composition that really compels the viewer to move through the scene starting in the foreground and working their way up towards the sky.
All of the same elements that you would consider when you’re shooting during the day, you want to shoot at night, the difference being that it’s often really difficult to see what you’re shooting or to line things up. One of the things that I do is I’ll go scout during the daytime or when the light’s not so great. I will set-up a composition that I like, and I can come back and find that at night.
Use Digital Tools
There are lots of apps you can use as well to help you figure out in the daytime where the stars are going to be or, you know, if the Milky Way’s going to line up or things like that. There are apps that you can use that help you to compose a shot or to be able to see the shot during the day that you want to shoot at night.
You can use Google Earth to figure out how a particular scene that you’re interested in shooting lines up, and from there, you can use things like an app called Sky Guide to show you when the Milky Way rises and what position it’s in. It usually rises more in the southeast and then travels across the sky a little bit.
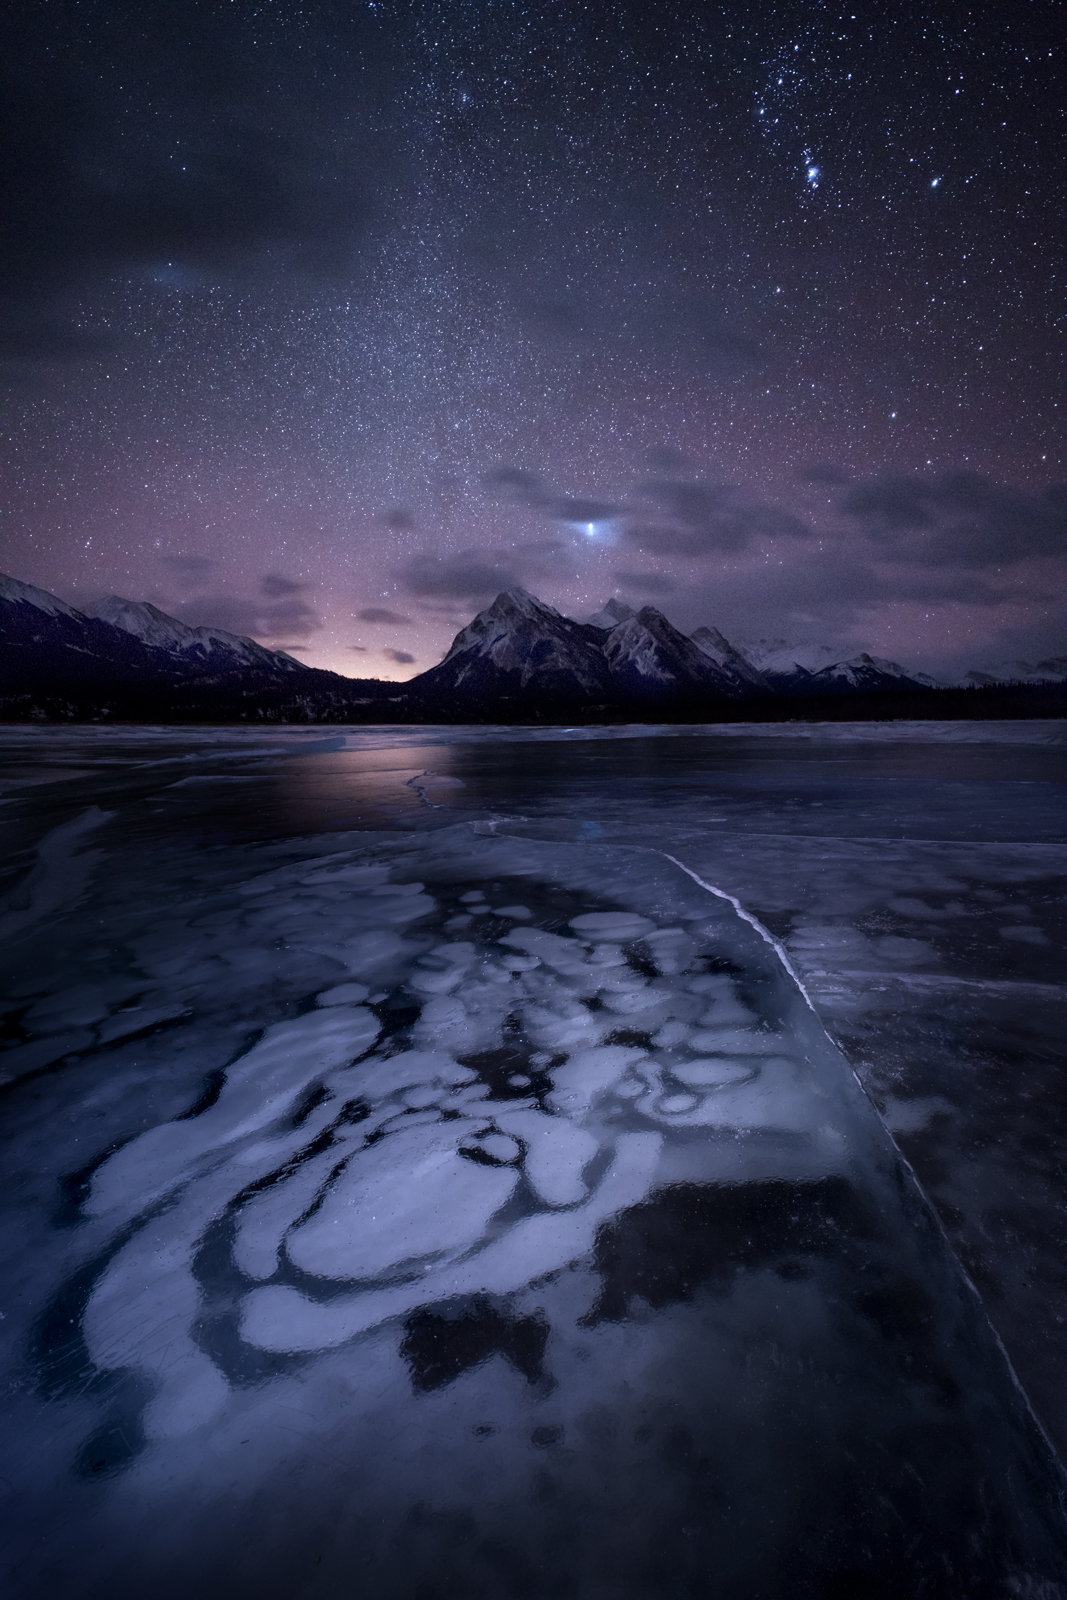
You can figure out the position of the Milky Way using apps during the day. When you come back and set-up at night, you don’t have to wait all night for the Milky Way to show up. You know it’s going to rise at roughly one o’clock in the morning and that’s its early time in the year and then it’s gonna set by another certain time. You also want to keep track of the moon phases as well. You want to shoot when there’s as little moonlight as possible. That’s how stars really pop in your image.
Find Alternatives To Auto Focus
You can’t use autofocus at night because you just don’t have enough contrast in the scene, especially on a night where there’s new moon. New moon is zero moon. Right around new moon, the sky is really, really dark unless you have a certain amount of light pollution in your scene. Focusing is really difficult. It’s probably the number one thing that people struggle with.
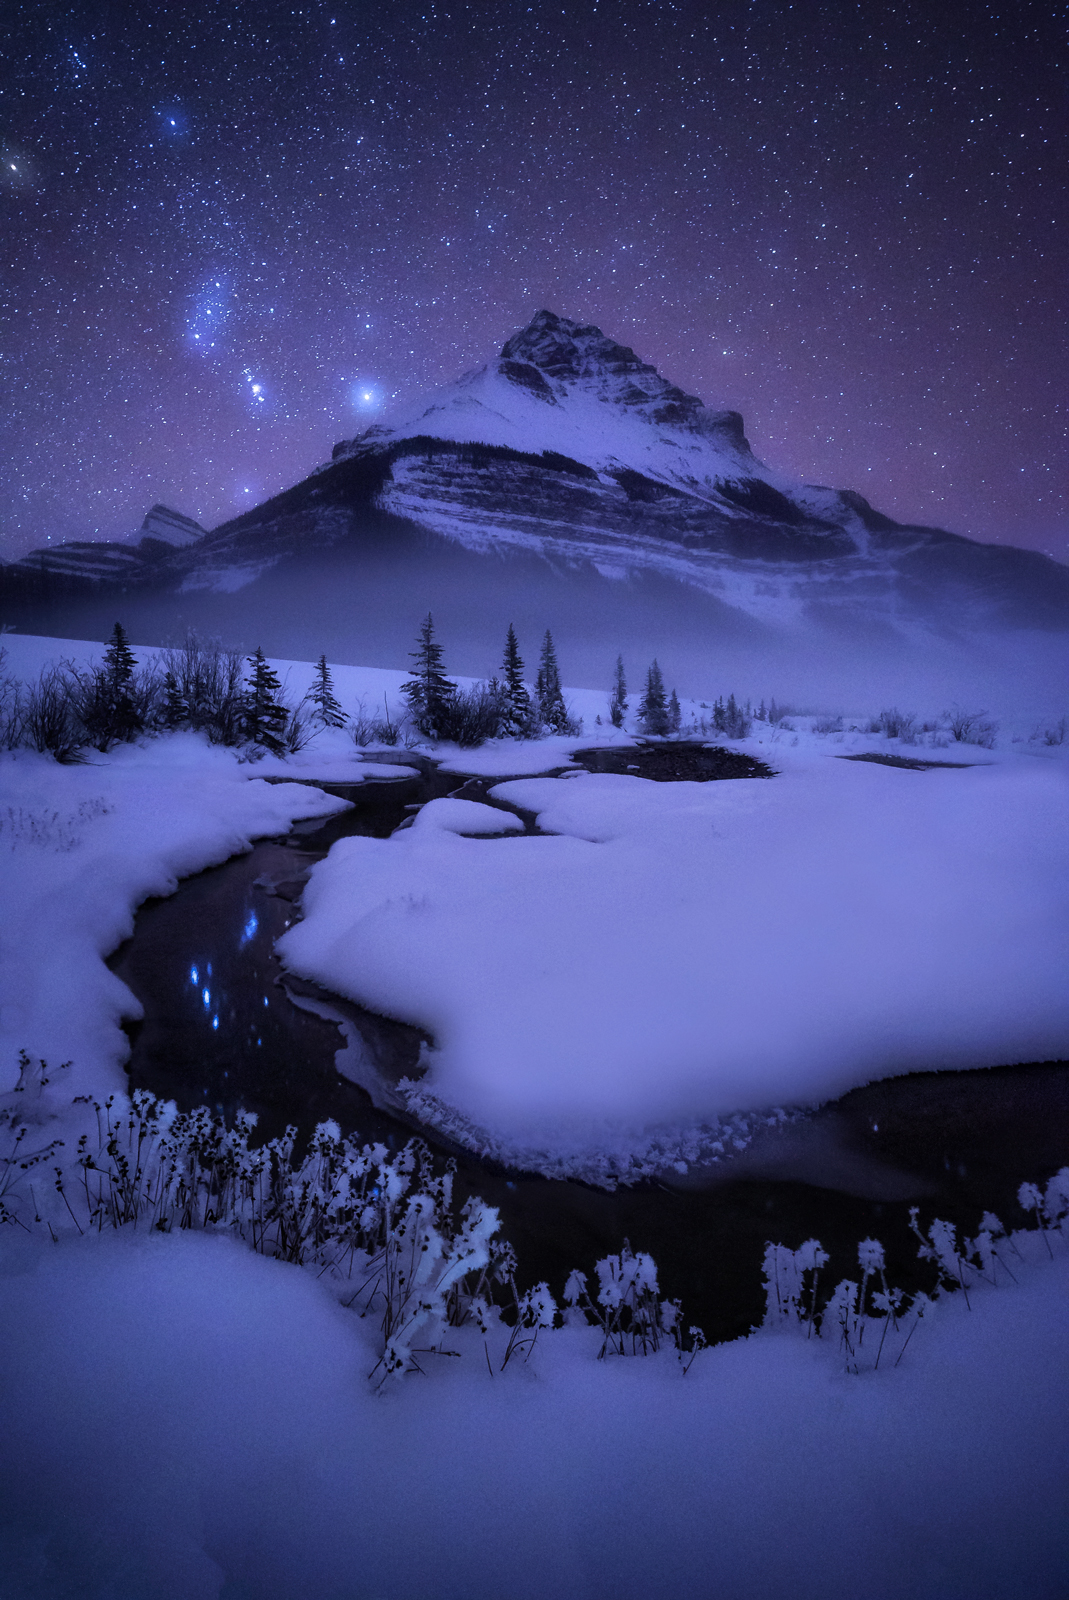
You can address that in a couple of different ways. You can find infinity during the day. You can focus on something really far in the distance and see where infinity is on your lens and then you can either mark it or use a rubber band to keep it at infinity. That’s one trick that people use for focusing because once you’ve reached infinity, everything should be in focus: the stars, the mountains and everything up to your more near-foreground. Anything that’s really close to the lens is probably not going to be in focus but anything in the distance should be in focus at infinity.
Sometimes there’s a little mark that shows where infinity is and sometimes there’s not. Even when there’s a little mark, you also need to adjust it just slightly from the mark that indicates infinity to get the stars perfectly in focus.
For some people, for some lenses, you would need to go out and test that lens and find where infinity is at a particular aperture setting. And some of them are a little easier to use. I find Prime lenses pretty easy to use, in terms of finding infinity and focusing and also being very sharp. prime lenses tend to be sharper from corner to corner anyway than a lens that has a zoom function to it. My favorite lenses to use for night photography are the Zeiss Batis 18-millimeter prime (it’s a very sharp lens) and the Zeiss Loxia 21-millimeter prime.
Add People To The Scene
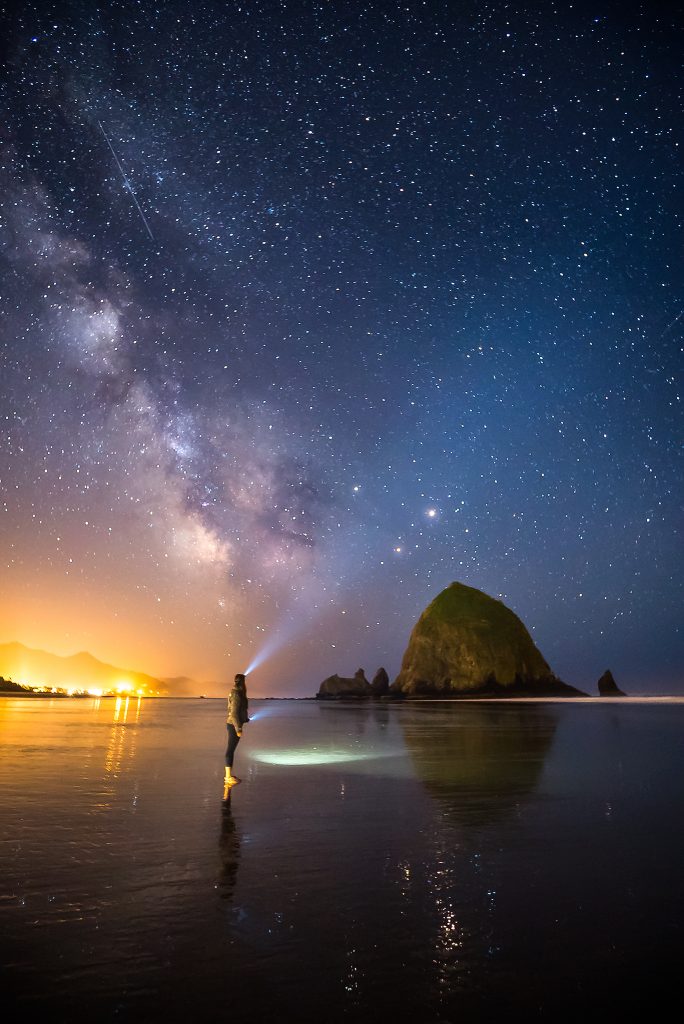
I love adding the human element to my night photography. When I add a human element, I’ll focus on the person, and I usually use a light to do that. So, I bring lights with me. A headlamp will work just fine, but I have other stronger lights. I use Lume Cubes sometimes, and I have a light that I love called an Ice Light; it puts out a lot of light. It can basically light up the scene.
I use that to light up my subject, and then, I’ll focus on the subject just to make sure the subject is perfectly in focus. Then, I will adjust that light. Sometimes, I leave the light on so that I’m getting more light in the foreground and I can have shorter exposures.
For me, that’s the ideal way to shoot the human element. The shorter exposure you can get, the crisper and still they can be. People move even after they think they’re being really still. If you have to stand for 30 seconds, your body is constantly swaying naturally. You can try to hold still, but if you have a really long exposure with a person in it, you’re going to see movement. So, ideally, you want to get as short of an exposure as possible. I like to aim for two seconds or less. And you can do that by adding light, using a headlamp or a flashlight to light paint in the scene.
Some cameras are just better in low light situations.
Research Gear
In the daytime, it doesn’t really matter what gear you have, you can get a good shot. At nighttime, it’s the same idea, but your gear can be a real limitation at night. It can be really frustrating. If you can’t focus on the star to infinity, you need to be able to go out during the day, find infinity on your lens, and not move from infinity when you get on location. This also means you can’t shoot different focal distances to get sharper images and stuff like that. Some cameras don’t really handle the low light situations very well, so gear can be really limiting.
Definitely, do your research. Some lenses are better than others. With some lenses, the stars will look more like little birds or little airplanes in the edges of the frame. Some cameras are not equipped with sensors that can handle low light or higher ISOs very well.
One of the challenges that I have as a night photographer is that I have really, really poor vision. I’m borderline legally blind in my left eye; luckily, my right eye is pretty good. So, it can be really challenging for me not only to focus but to see the whole thing that I’m working with. One of the ways that I have overcome that challenge or that limitation is by shooting Sony.
My favorite camera is the Sony A7S. So, it’s got a real monster sensor and it allows me to shoot shorter exposures with higher ISOs than say other cameras that have better resolution but less light sensitivity. And another thing that Sony has that helps me with that limitation is that it has focus-peaking, so when you turn the focus wheel, as there’s more contrast in say the foreground that you’re focused on or the mountain that you’re focused on in the distance. As you adjust, you get these red lines that show areas of high contrast.
Shoot With Other Photographers
Whether you take photography workshops or just go out and shoot with a friend, you will learn more by shooting with other people. I teach photography workshops, but I still learn something new, even if that is just seeing things from a new perspective when I’m shooting next to somebody.
