It’s finally pumpkin pie season. That time of the year when the weather has turned and everything you eat is rich, filling, and spice-laden. When a crackling fire and a glass of bourbon are the best companions a person could hope for. When we’d all feel the impulse for a little cozy quarantining, had we not already been doing exactly that for half a year.
It should come as no surprise that, as 2020 winds down, the desire to plant my face in a pumpkin pie is amped up to the Nth degree. Aside from craving comfort food, I legitimately feel peaceful when baking. I long for that tranquility right now.
As far as homemade baked desserts go, pumpkin pie is like a starter course. Cheats abound. Want to use a frozen crust? Go for it. Need to crack open a can of Libby’s? That’ll work, too. For me, making pumpkin pies from scratch was born out of necessity. I’ve lived abroad pretty much exclusively since 2003. Back in the day, if you wanted to make a pumpkin pie in Moscow or Jakarta, you needed to do that shit yourself from top to bottom. There were no pie shells in the freezer sections or cans of puree on the shelves.
The recipe I’m lining out below isn’t particularly difficult, but it’s not the easiest thing in the world either. If you have a little time (I’d bet you do) and a little patience, you can master this recipe and add your own tweaks. The margin for error is pretty big here — when you combine eggs, pumpkin, milk, sugar, and spice it’s hard to make anything un-tasty.
What you’ll need in the kitchen:
- 9-inch pie tin
- Baking dish
- Mixing bowls
- Whisk
- Spatula
- Kitchen knife
- Wooden spoon or fork
- Scale
- Baking sheet
- Sieve
- Box grater
- Rolling pin
- Fork
- Cooling rack
Step 1: Pumpkin Puree
Ingredients:
- 1 Hokkaido Pumpkin
- Sea Salt
This is really simple. Preheat your oven to 400F/175C.
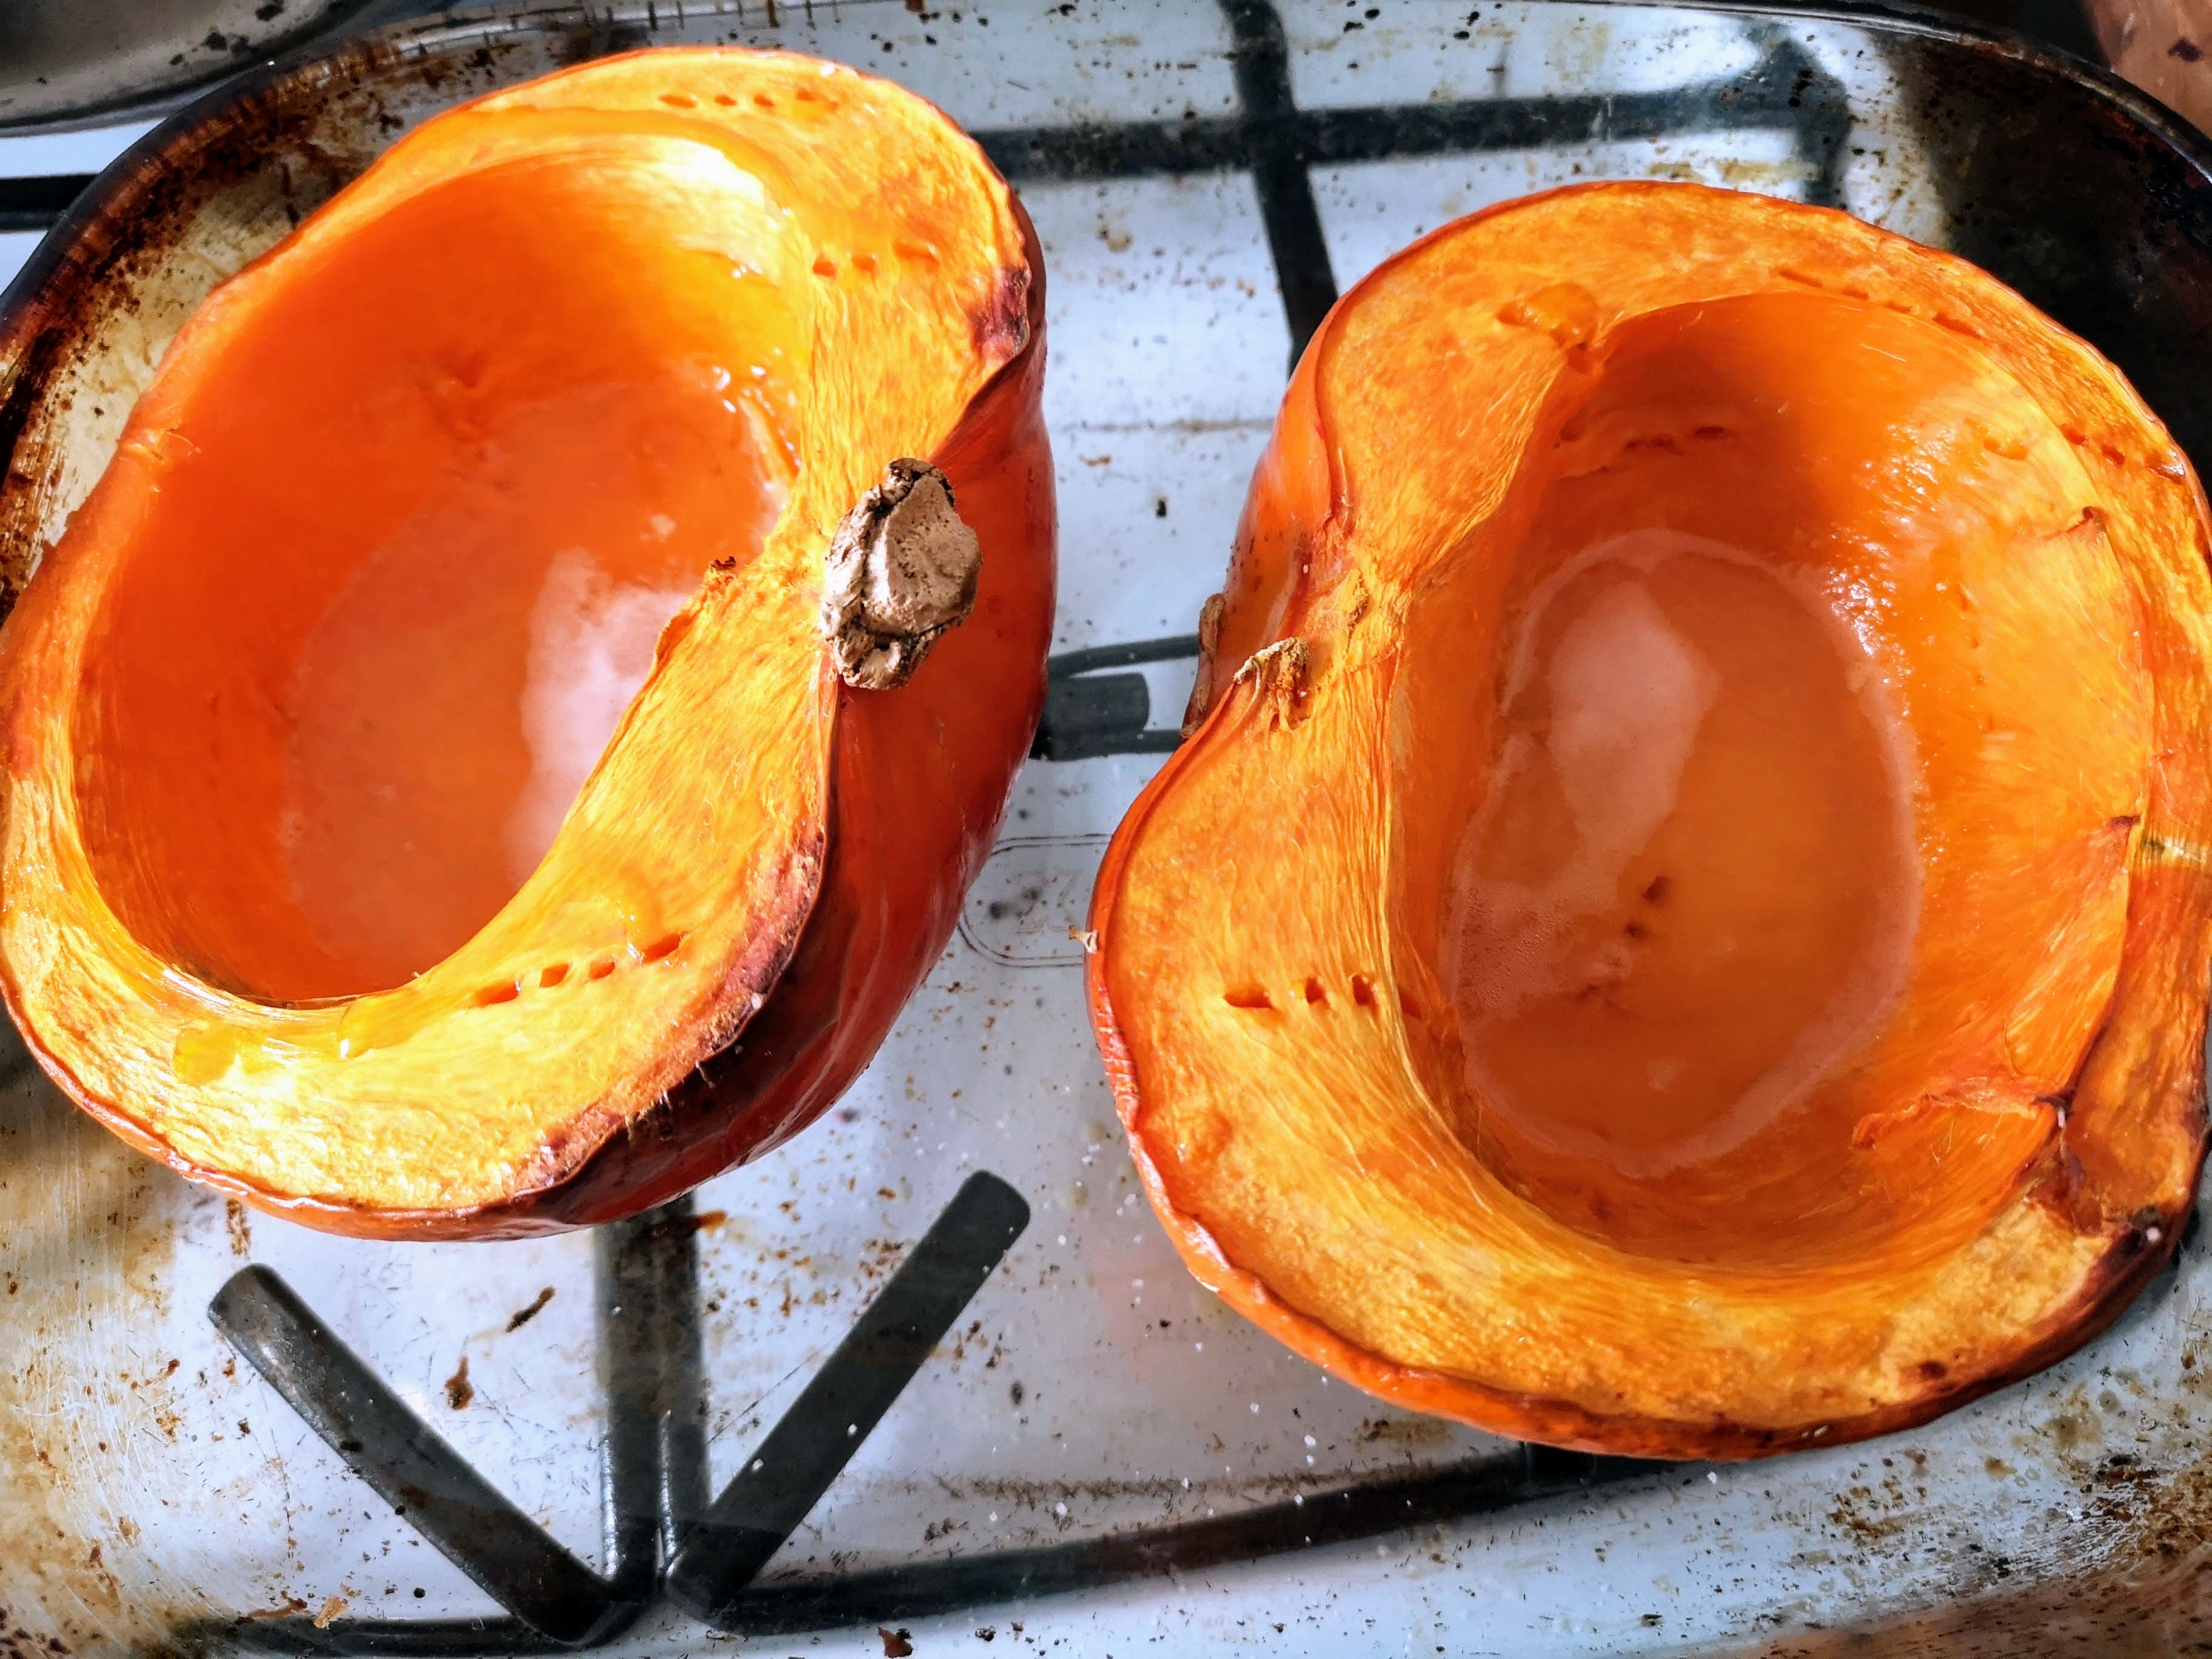
Cut the pumpkin in half. Remove the seeds and all the sinew from the cavity. Place the pumpkin on a baking sheet or in a baking dish. Stab with a fork. Sprinkle with a pinch of salt over each half. Bake for 60 mins.
I check in on my pumpkin after 45 minutes to see if it’s baked. If a fork goes into the flesh without resistance it’s ready. Mine actually took the full 60 minutes this time around.
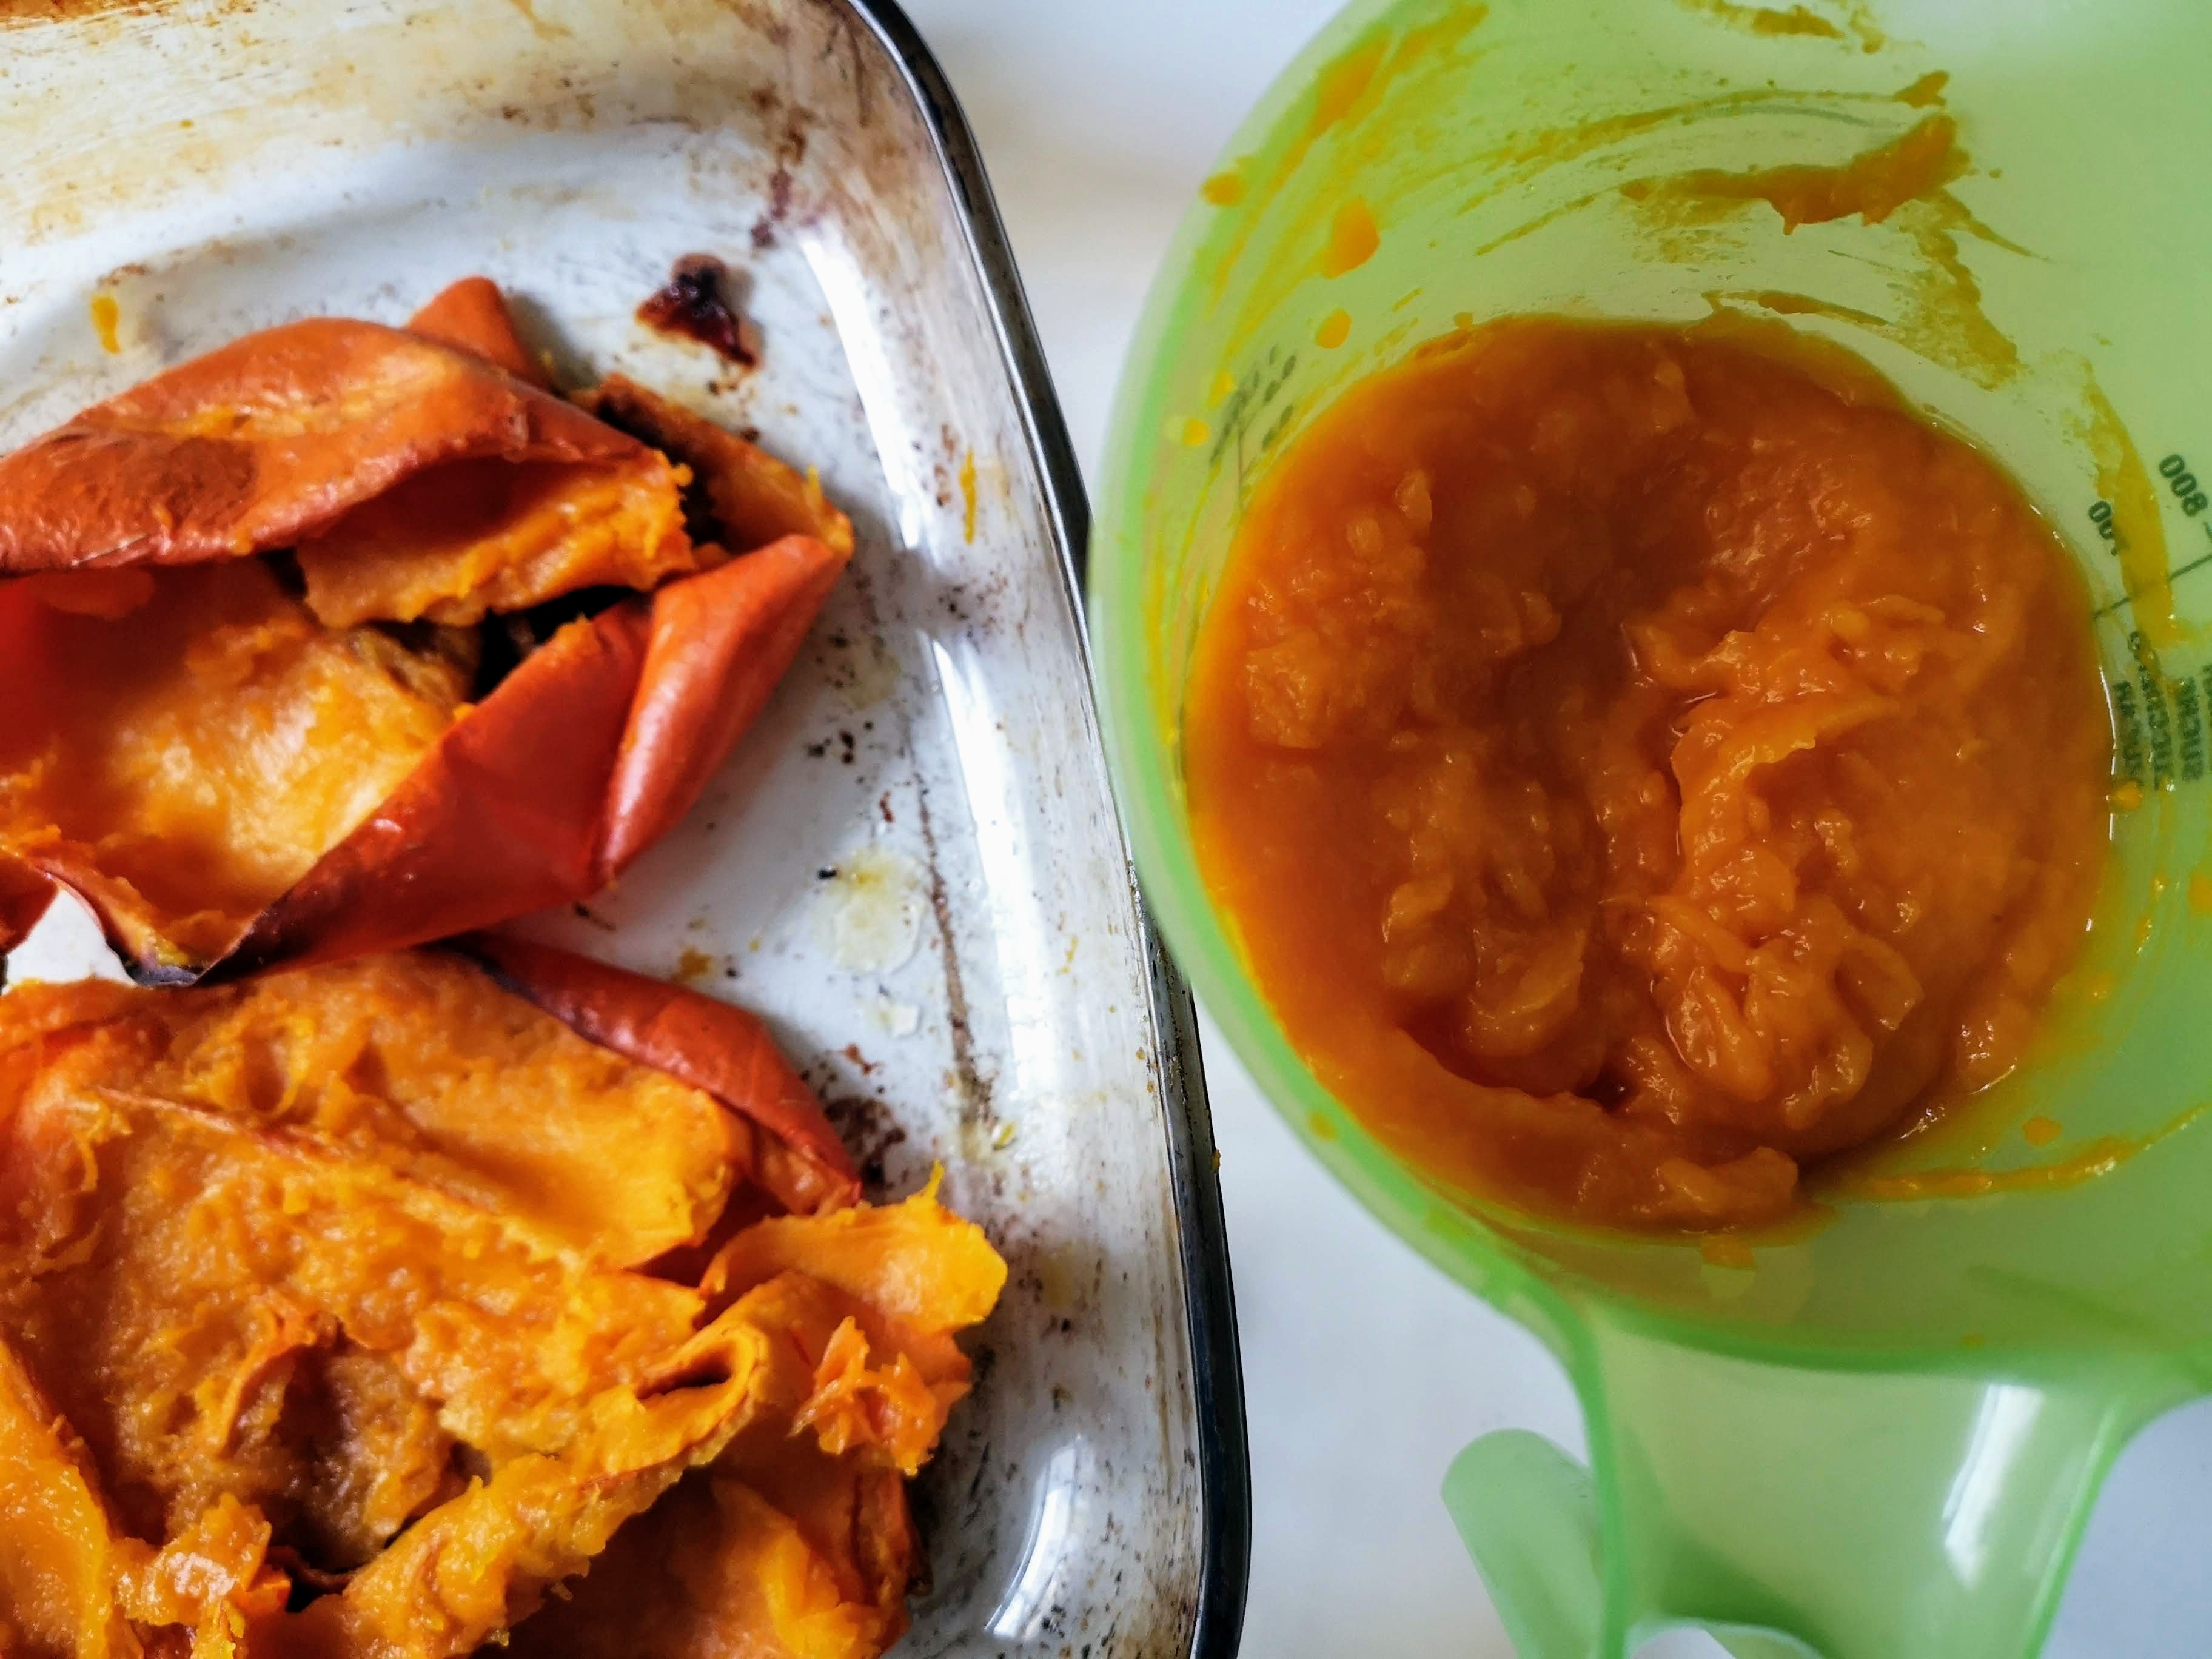
Let cool for another hour. Use a spoon to scoop the flesh from the skin. Then mash the pumpkin flesh into a puree. It’s really that straightforward and you don’t need to open a can of mystery pumpkin.
When I’m done, I turn the oven up to 425F/220C to preheat it for baking the pie.
Step 2: The Pie Dough
Ingredients:
- 10-oz./285g all-purpose flour
- 1 tsp./5g seal salt
- 4-oz./110g frozen unsalted butter
- 4-oz./110g frozen lard
- Ice water
Method:
There are a million crust recipes out there. I prefer a crust that has a serious flake to it that also gets a bit of a buttery crustiness. To achieve this, I use a half butter and half lard recipe. If you don’t want to use the lard, by all means just use butter.
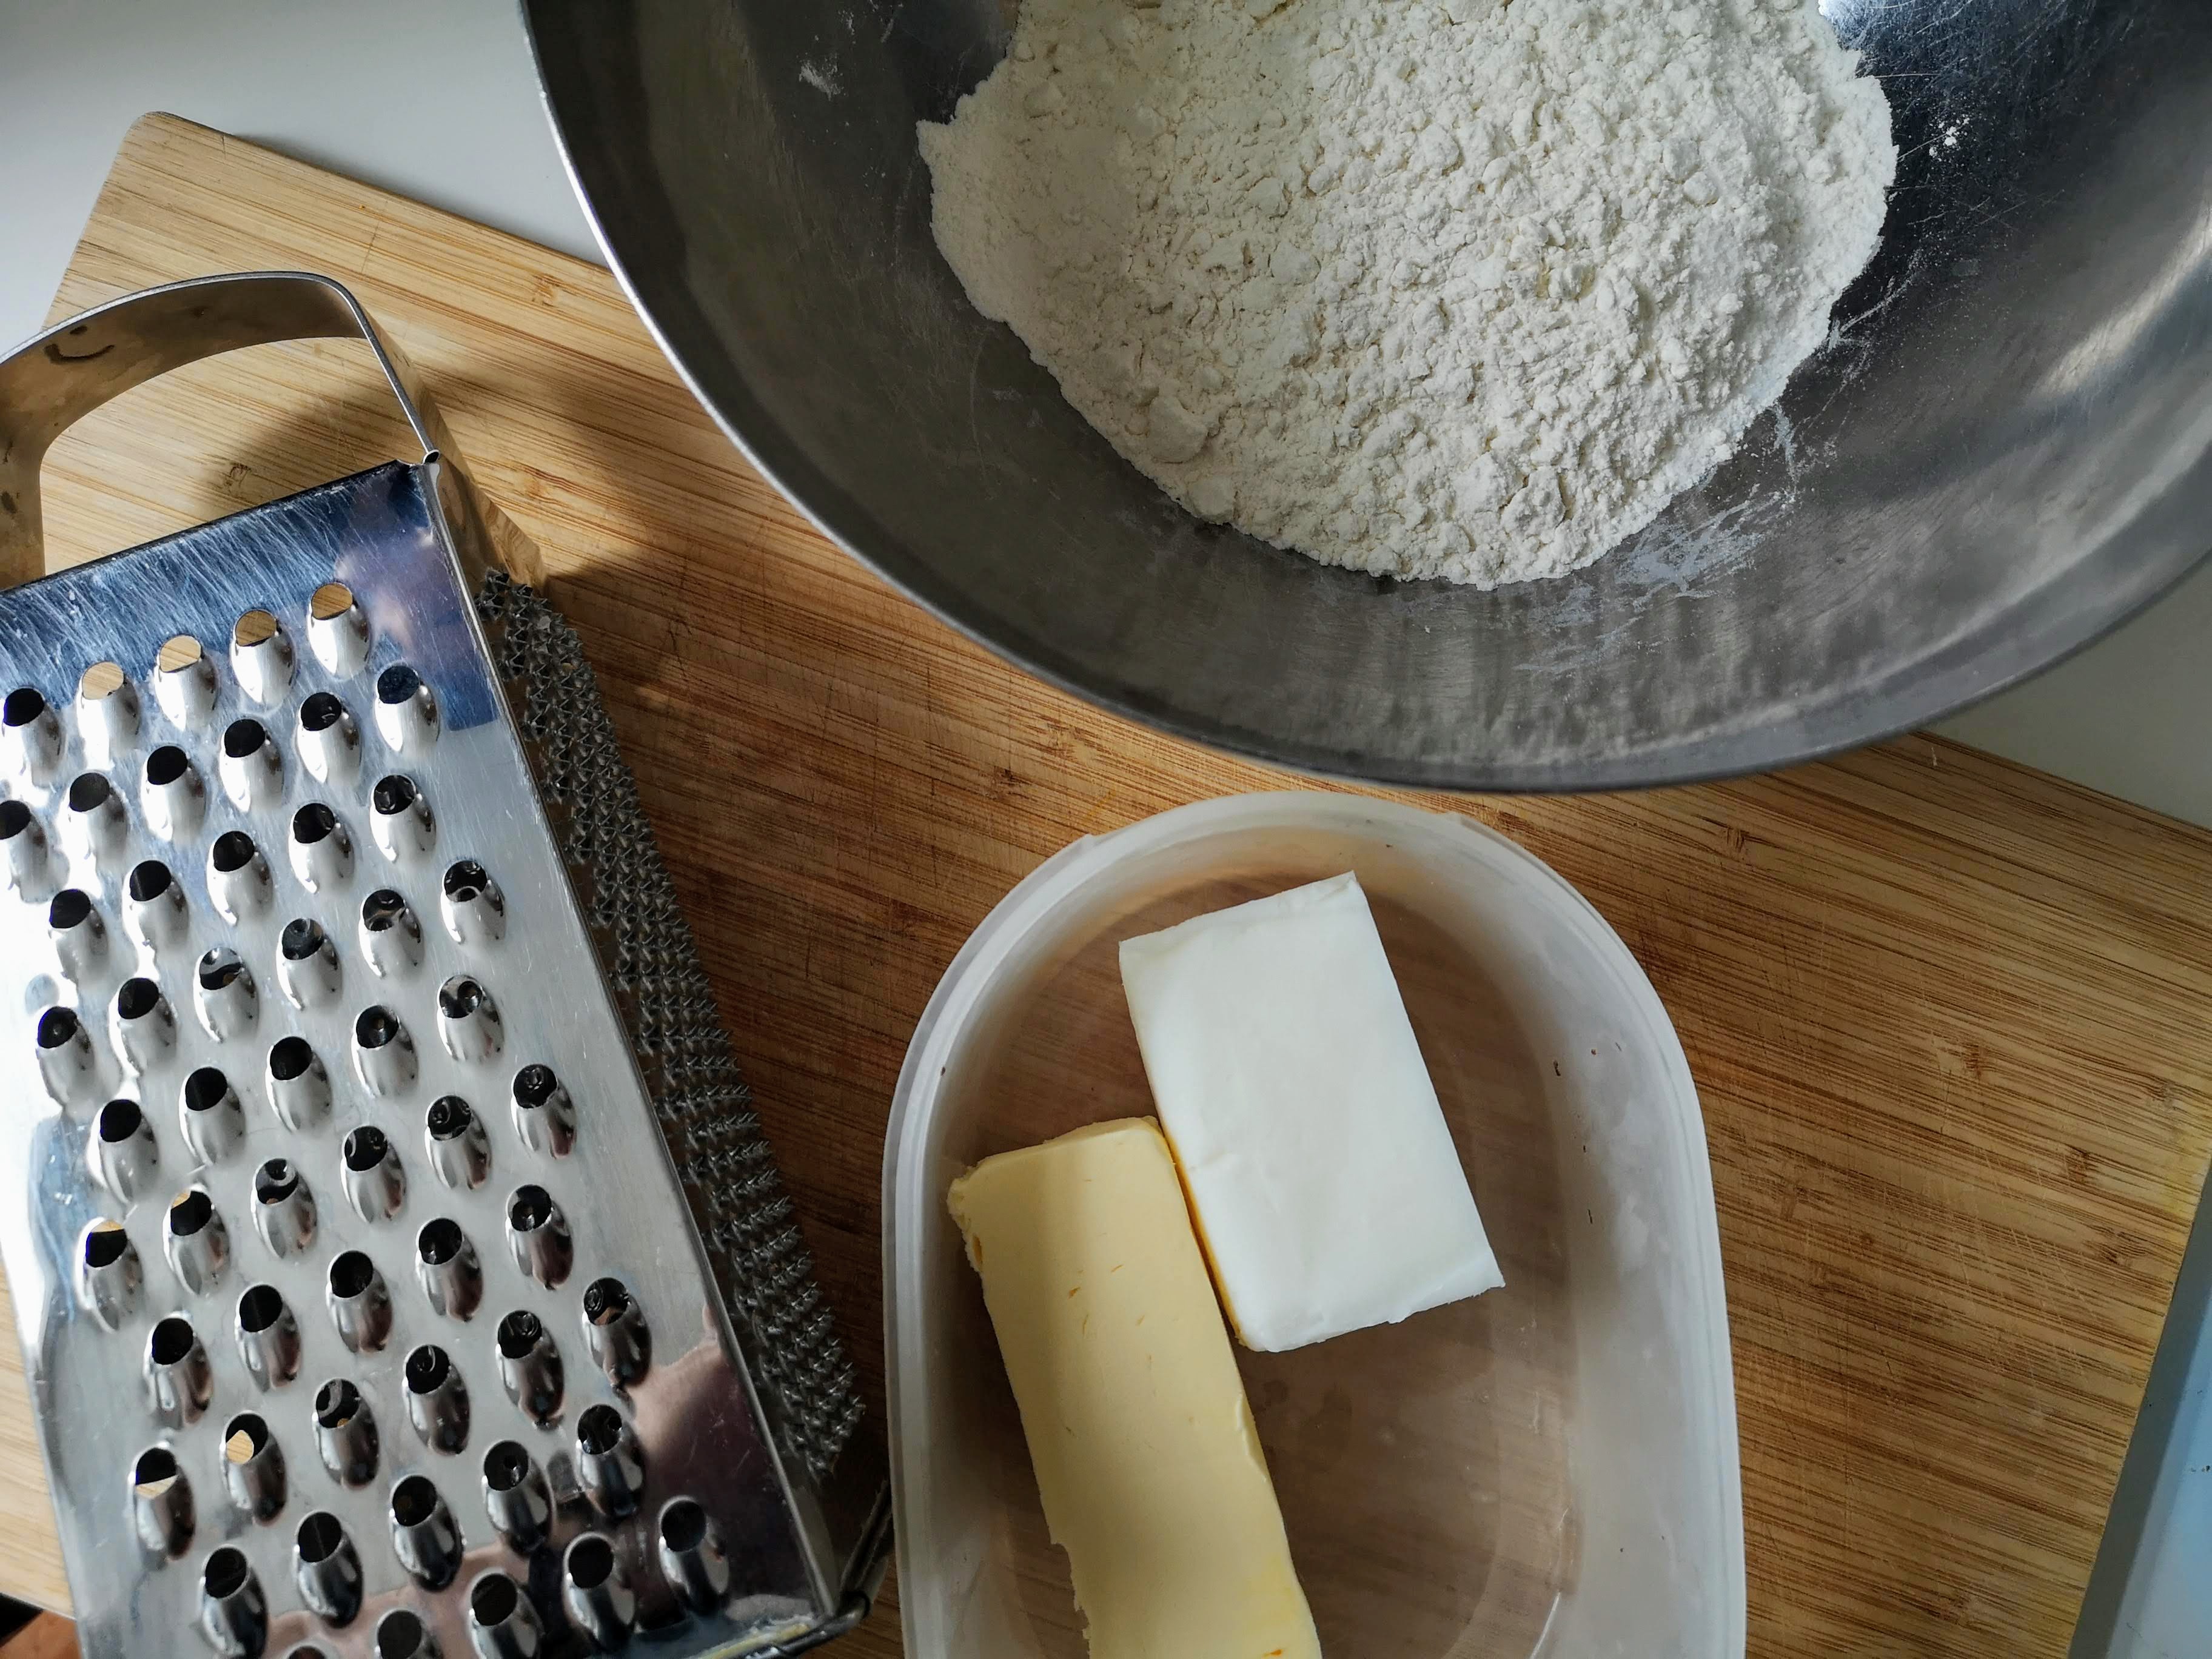
The first real step here is to weigh out your butter and lard and put it in the freezer for a few hours. You want to be able to grate it while also keeping it as cold as possible.
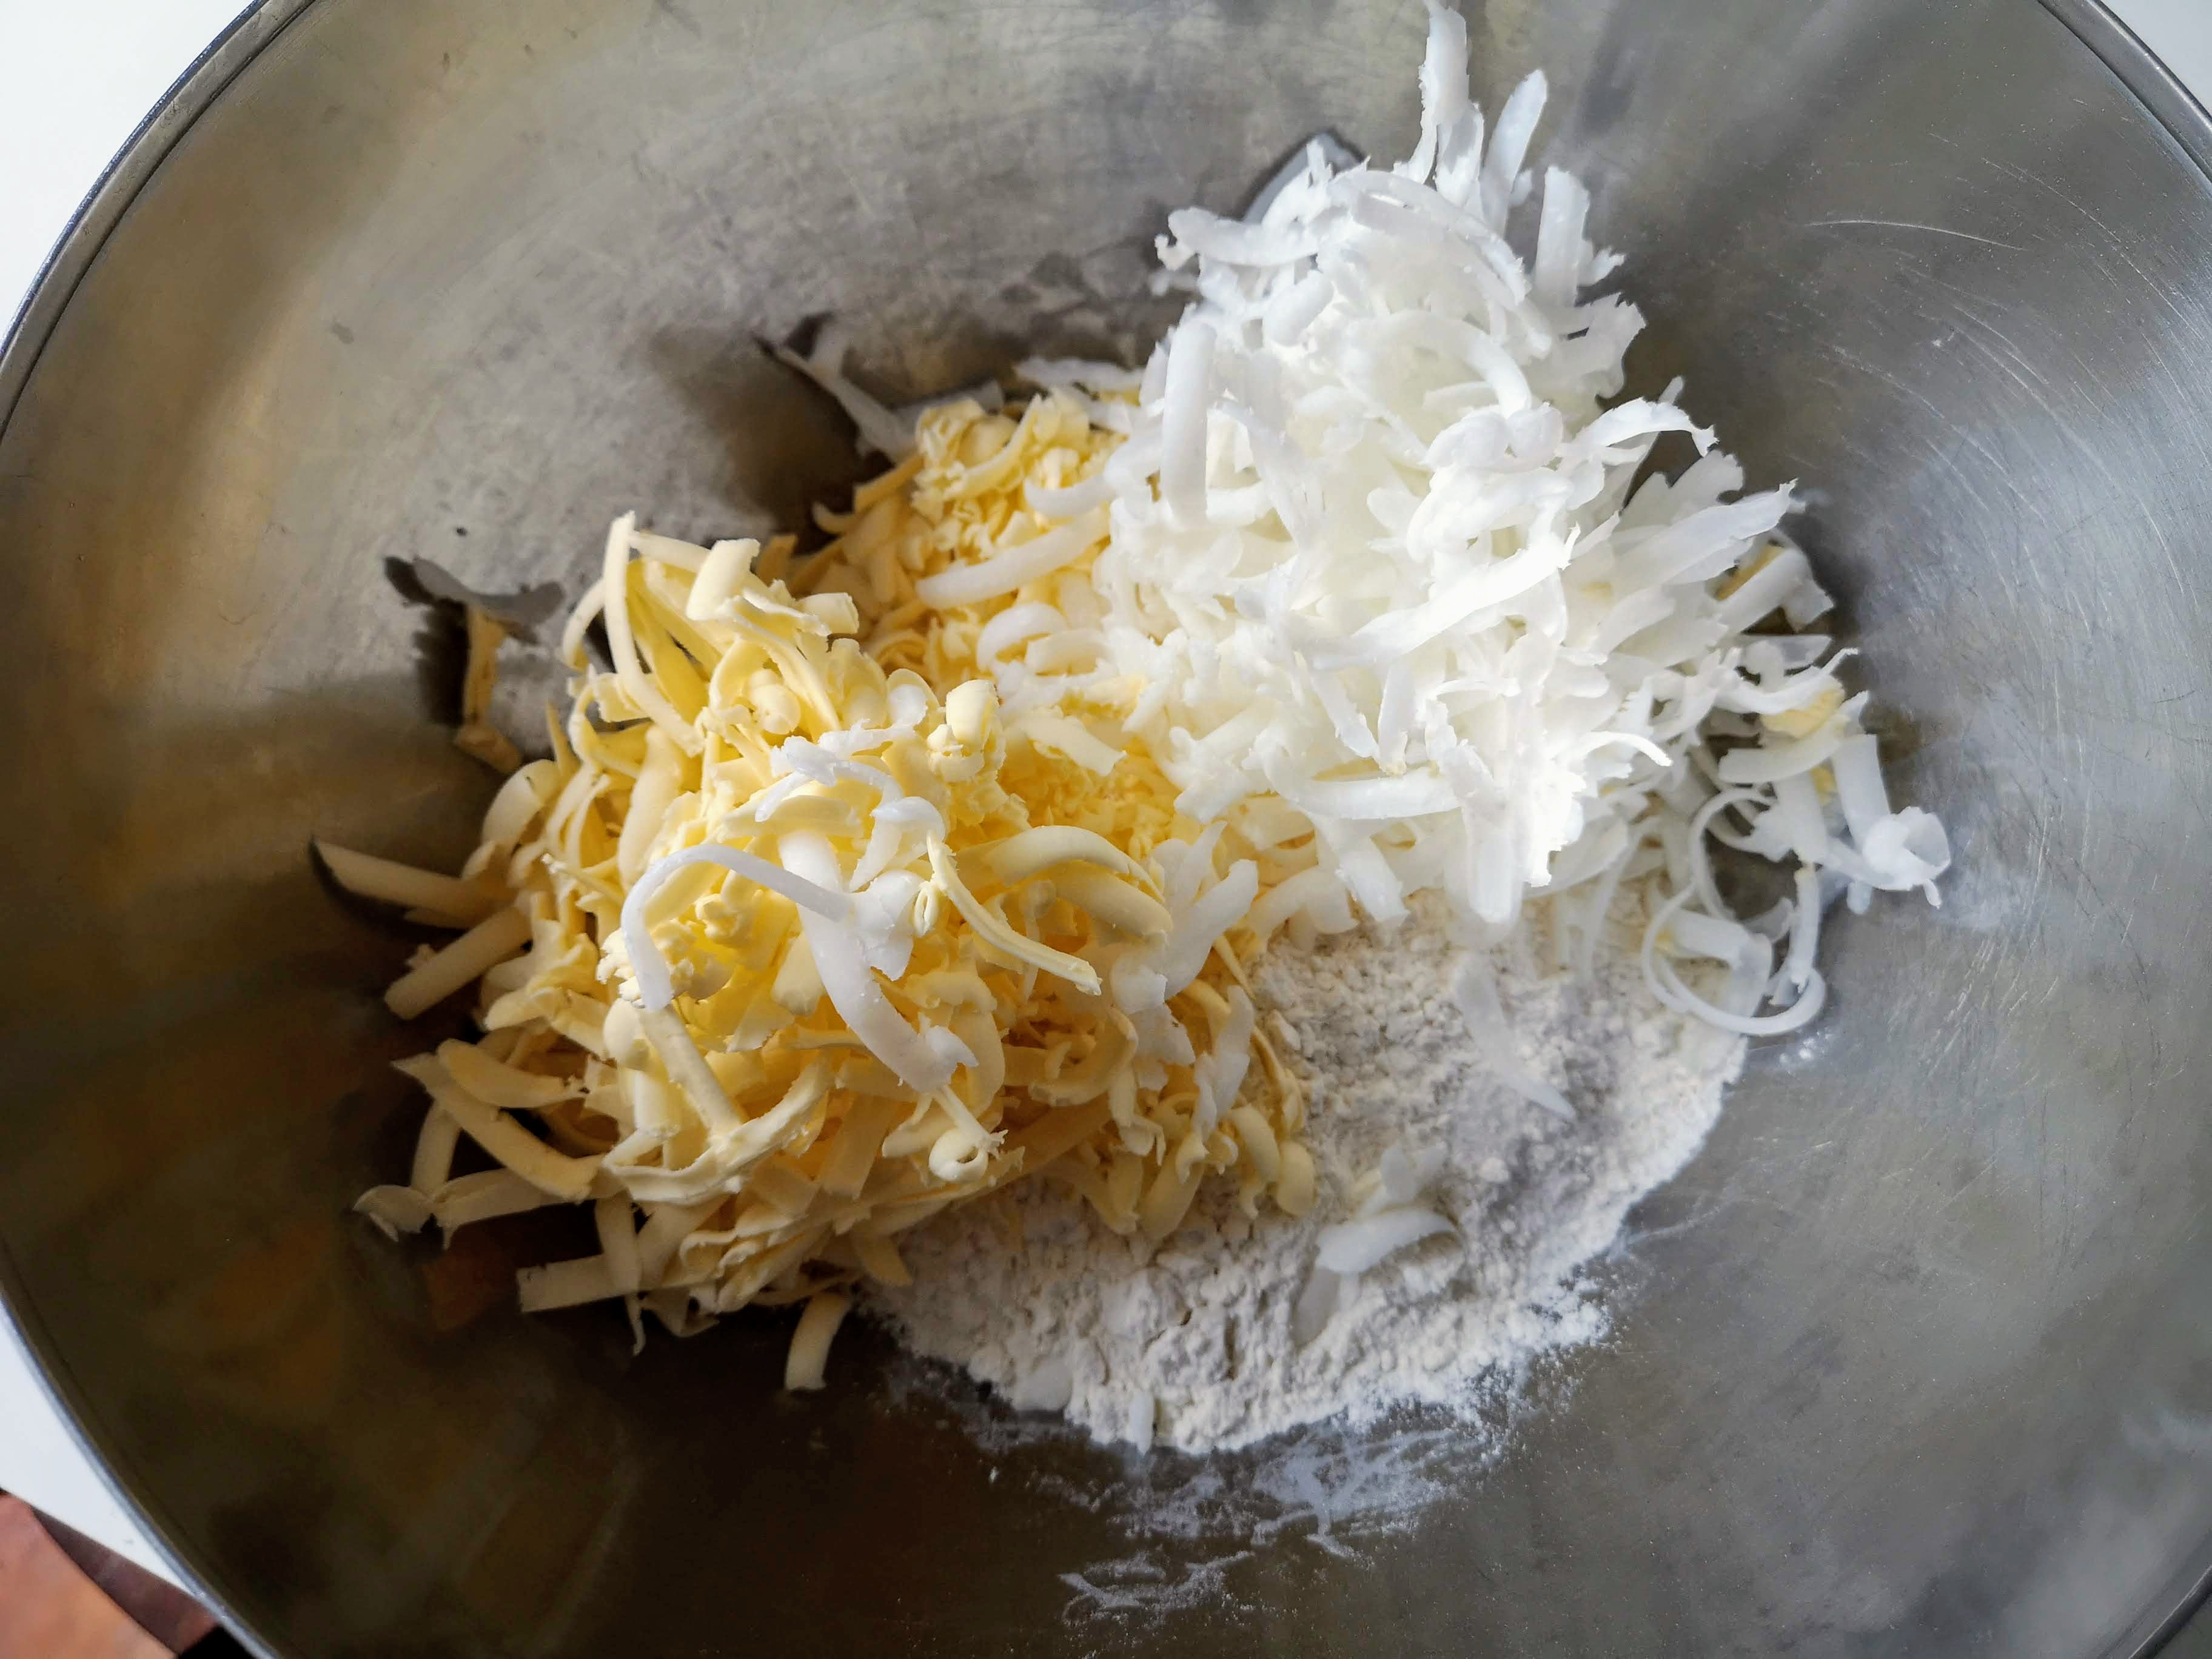
While the butter and lard are still in the freezer, I weigh out my flour and salt in a mixing bowl. I also prep my small cup of ice water.
Once that’s ready, I fish out the butter and lard and grate it quickly. It should still be frozen when you add it to the flour.
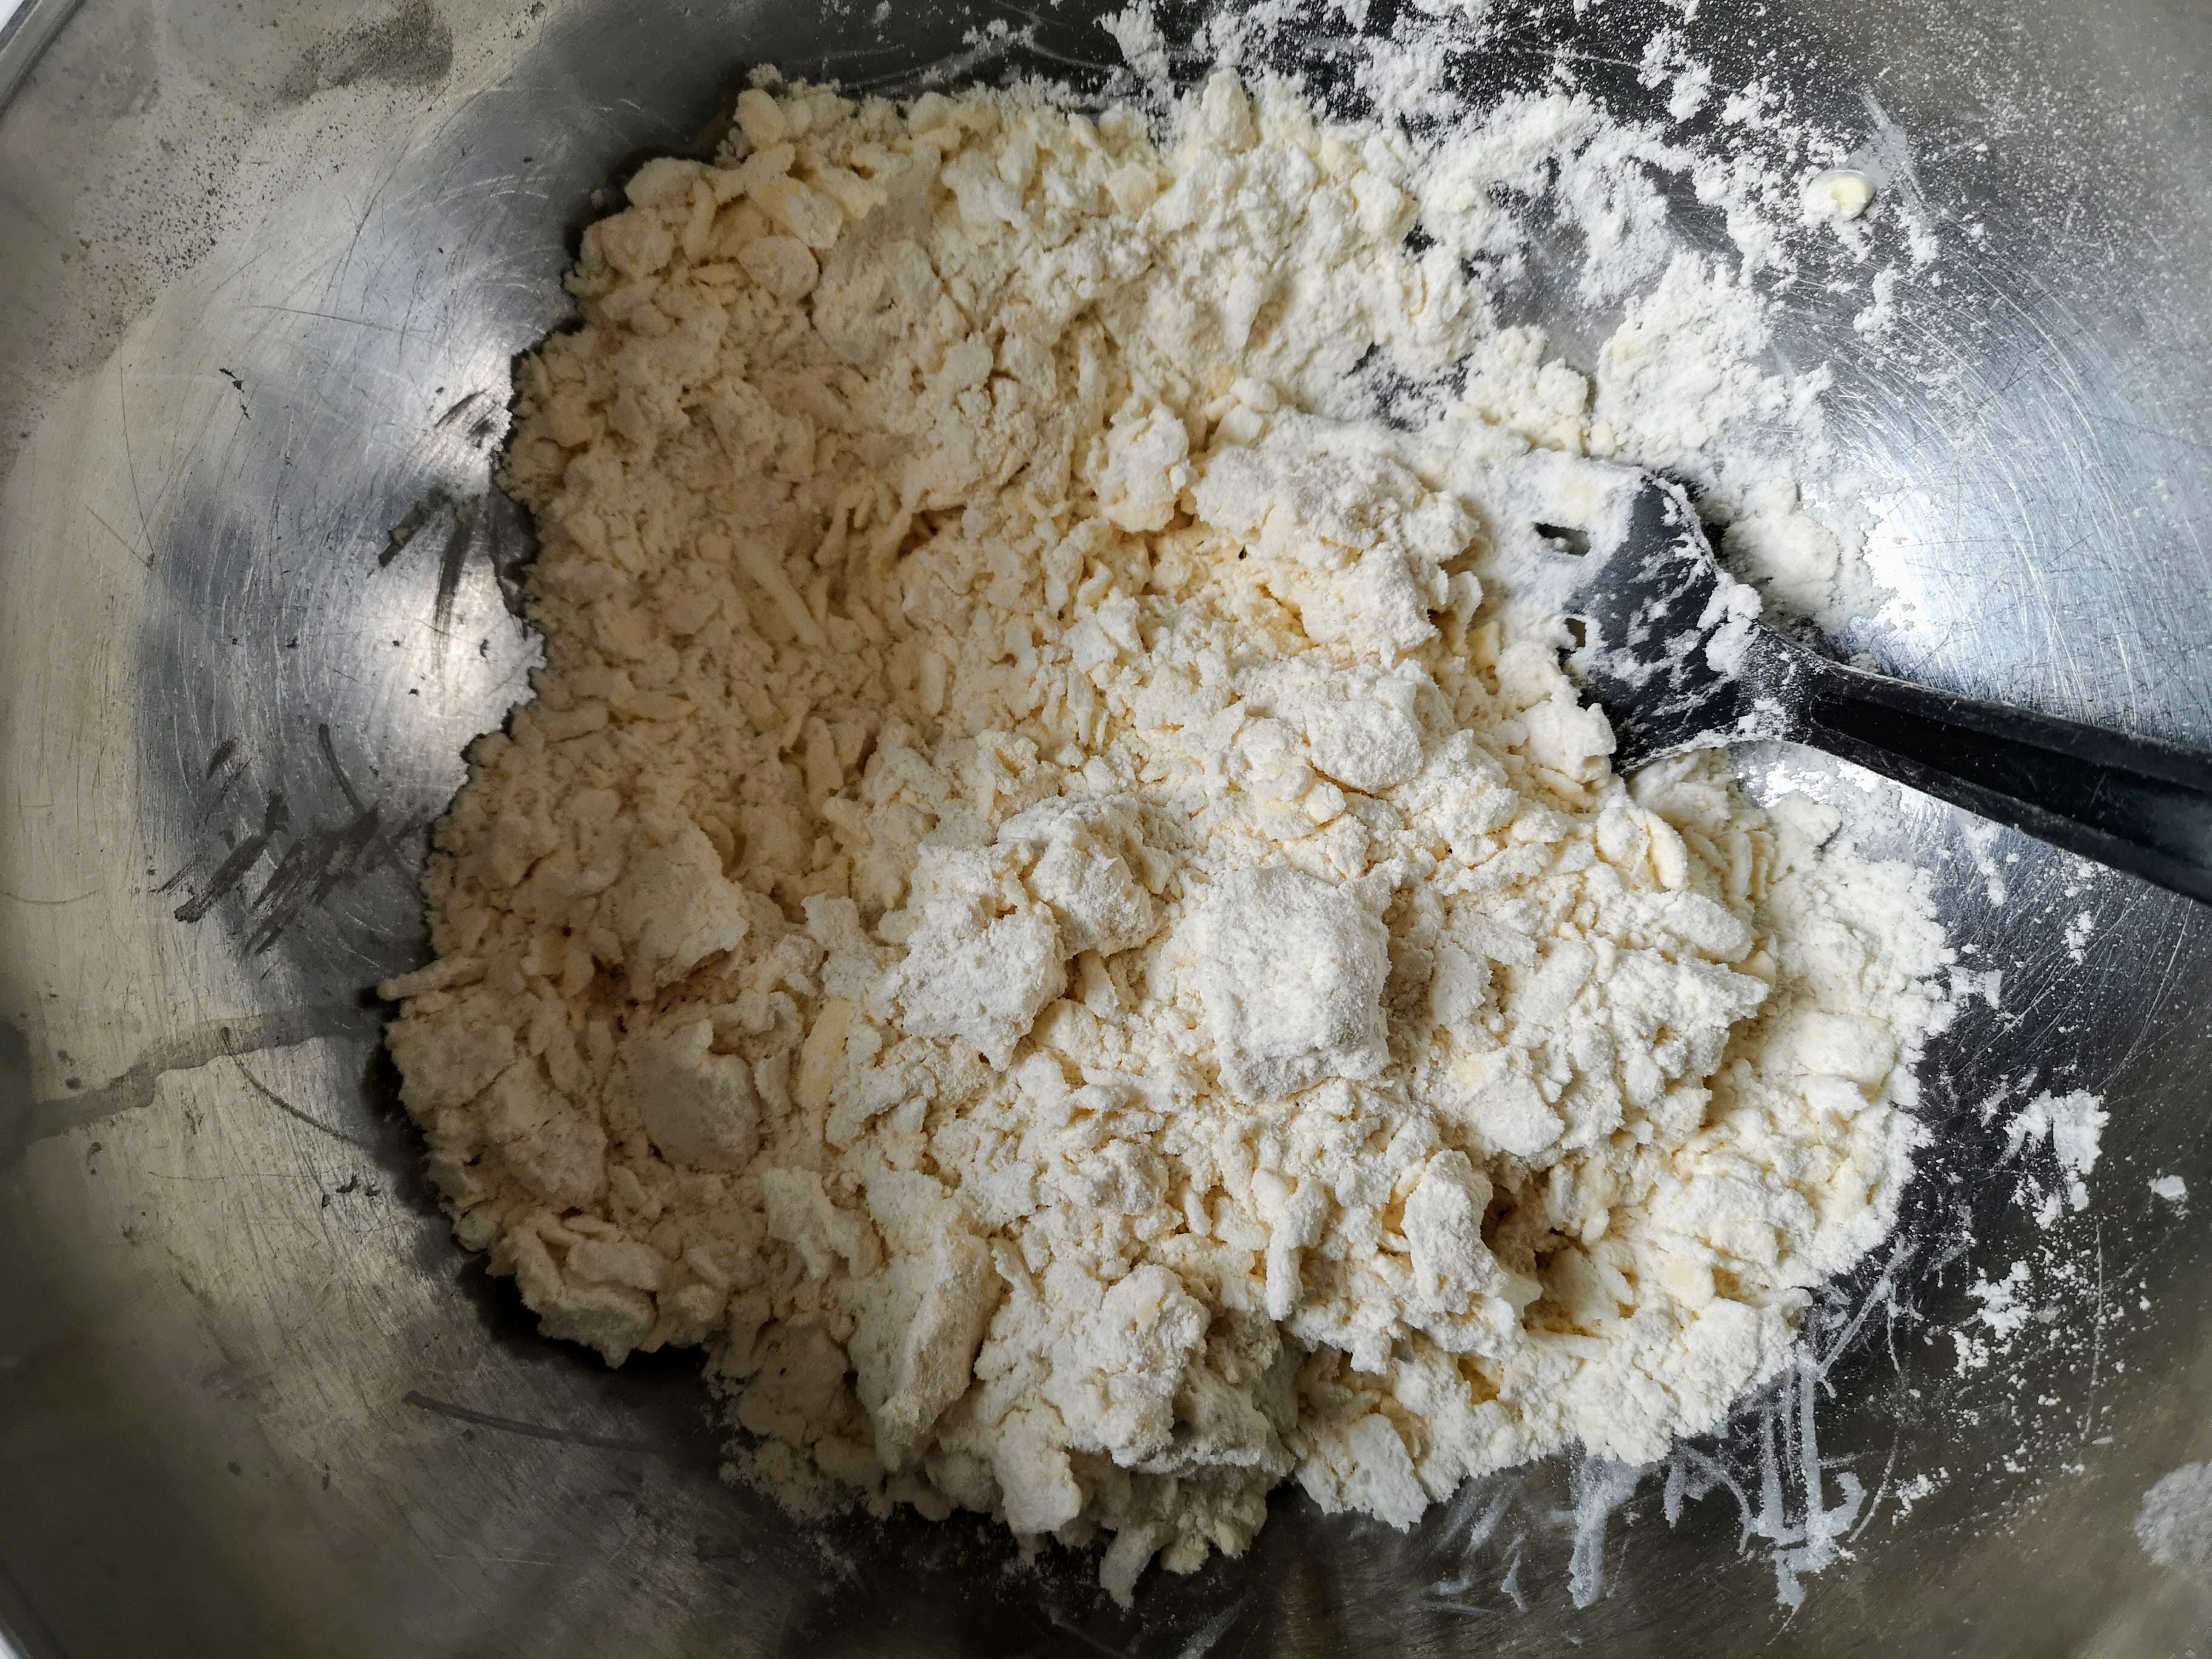
I use a big sort of salad fork thing for smooshing the butter and lard into the flour. You can use a food processor with a blade if you want to. But I find that makes too small of fat pouches in the flour and lowers the flaky/crusty factor down the line. As with southern biscuits, you want ice-cold butter layers that’ll release their water as steam while in the oven and create those flaky layers, leaving behind the fat to render into crisp edges.
Once the butter and lard are roughly mixed in, I start adding the ice water. The amount to use is going to vary wildly depending on where you are. I ended up using 150ml (about five ounces).
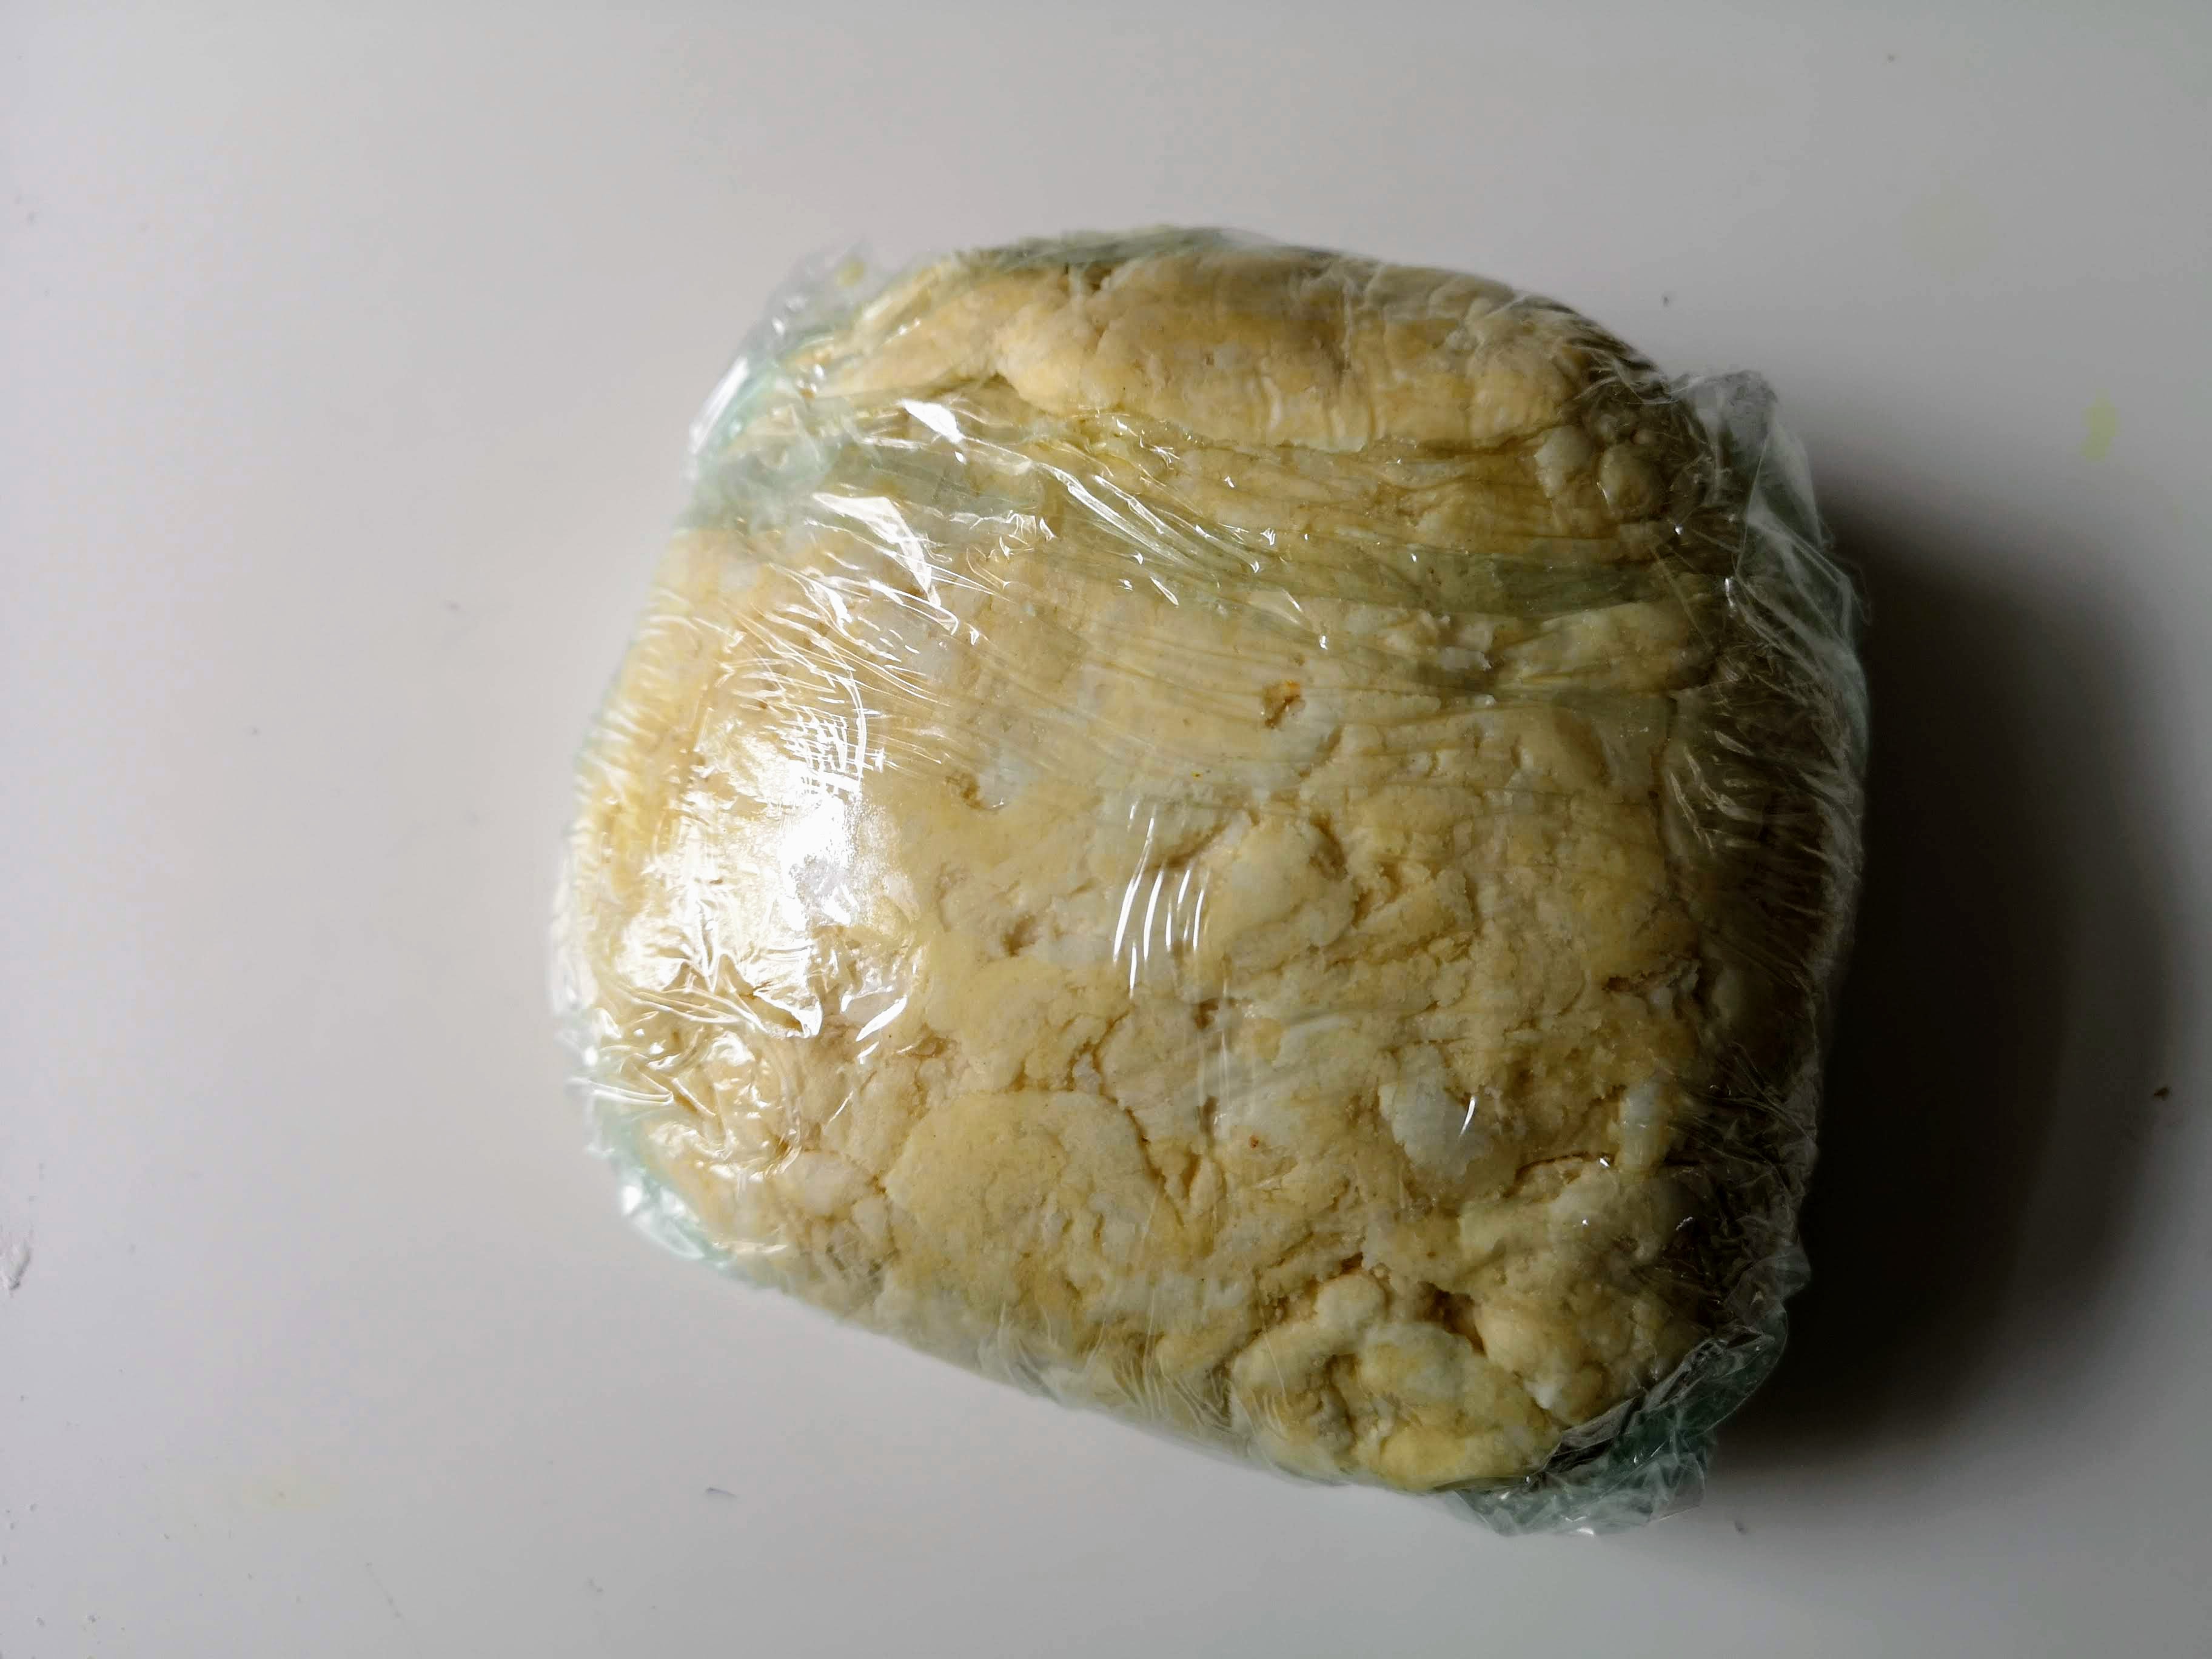
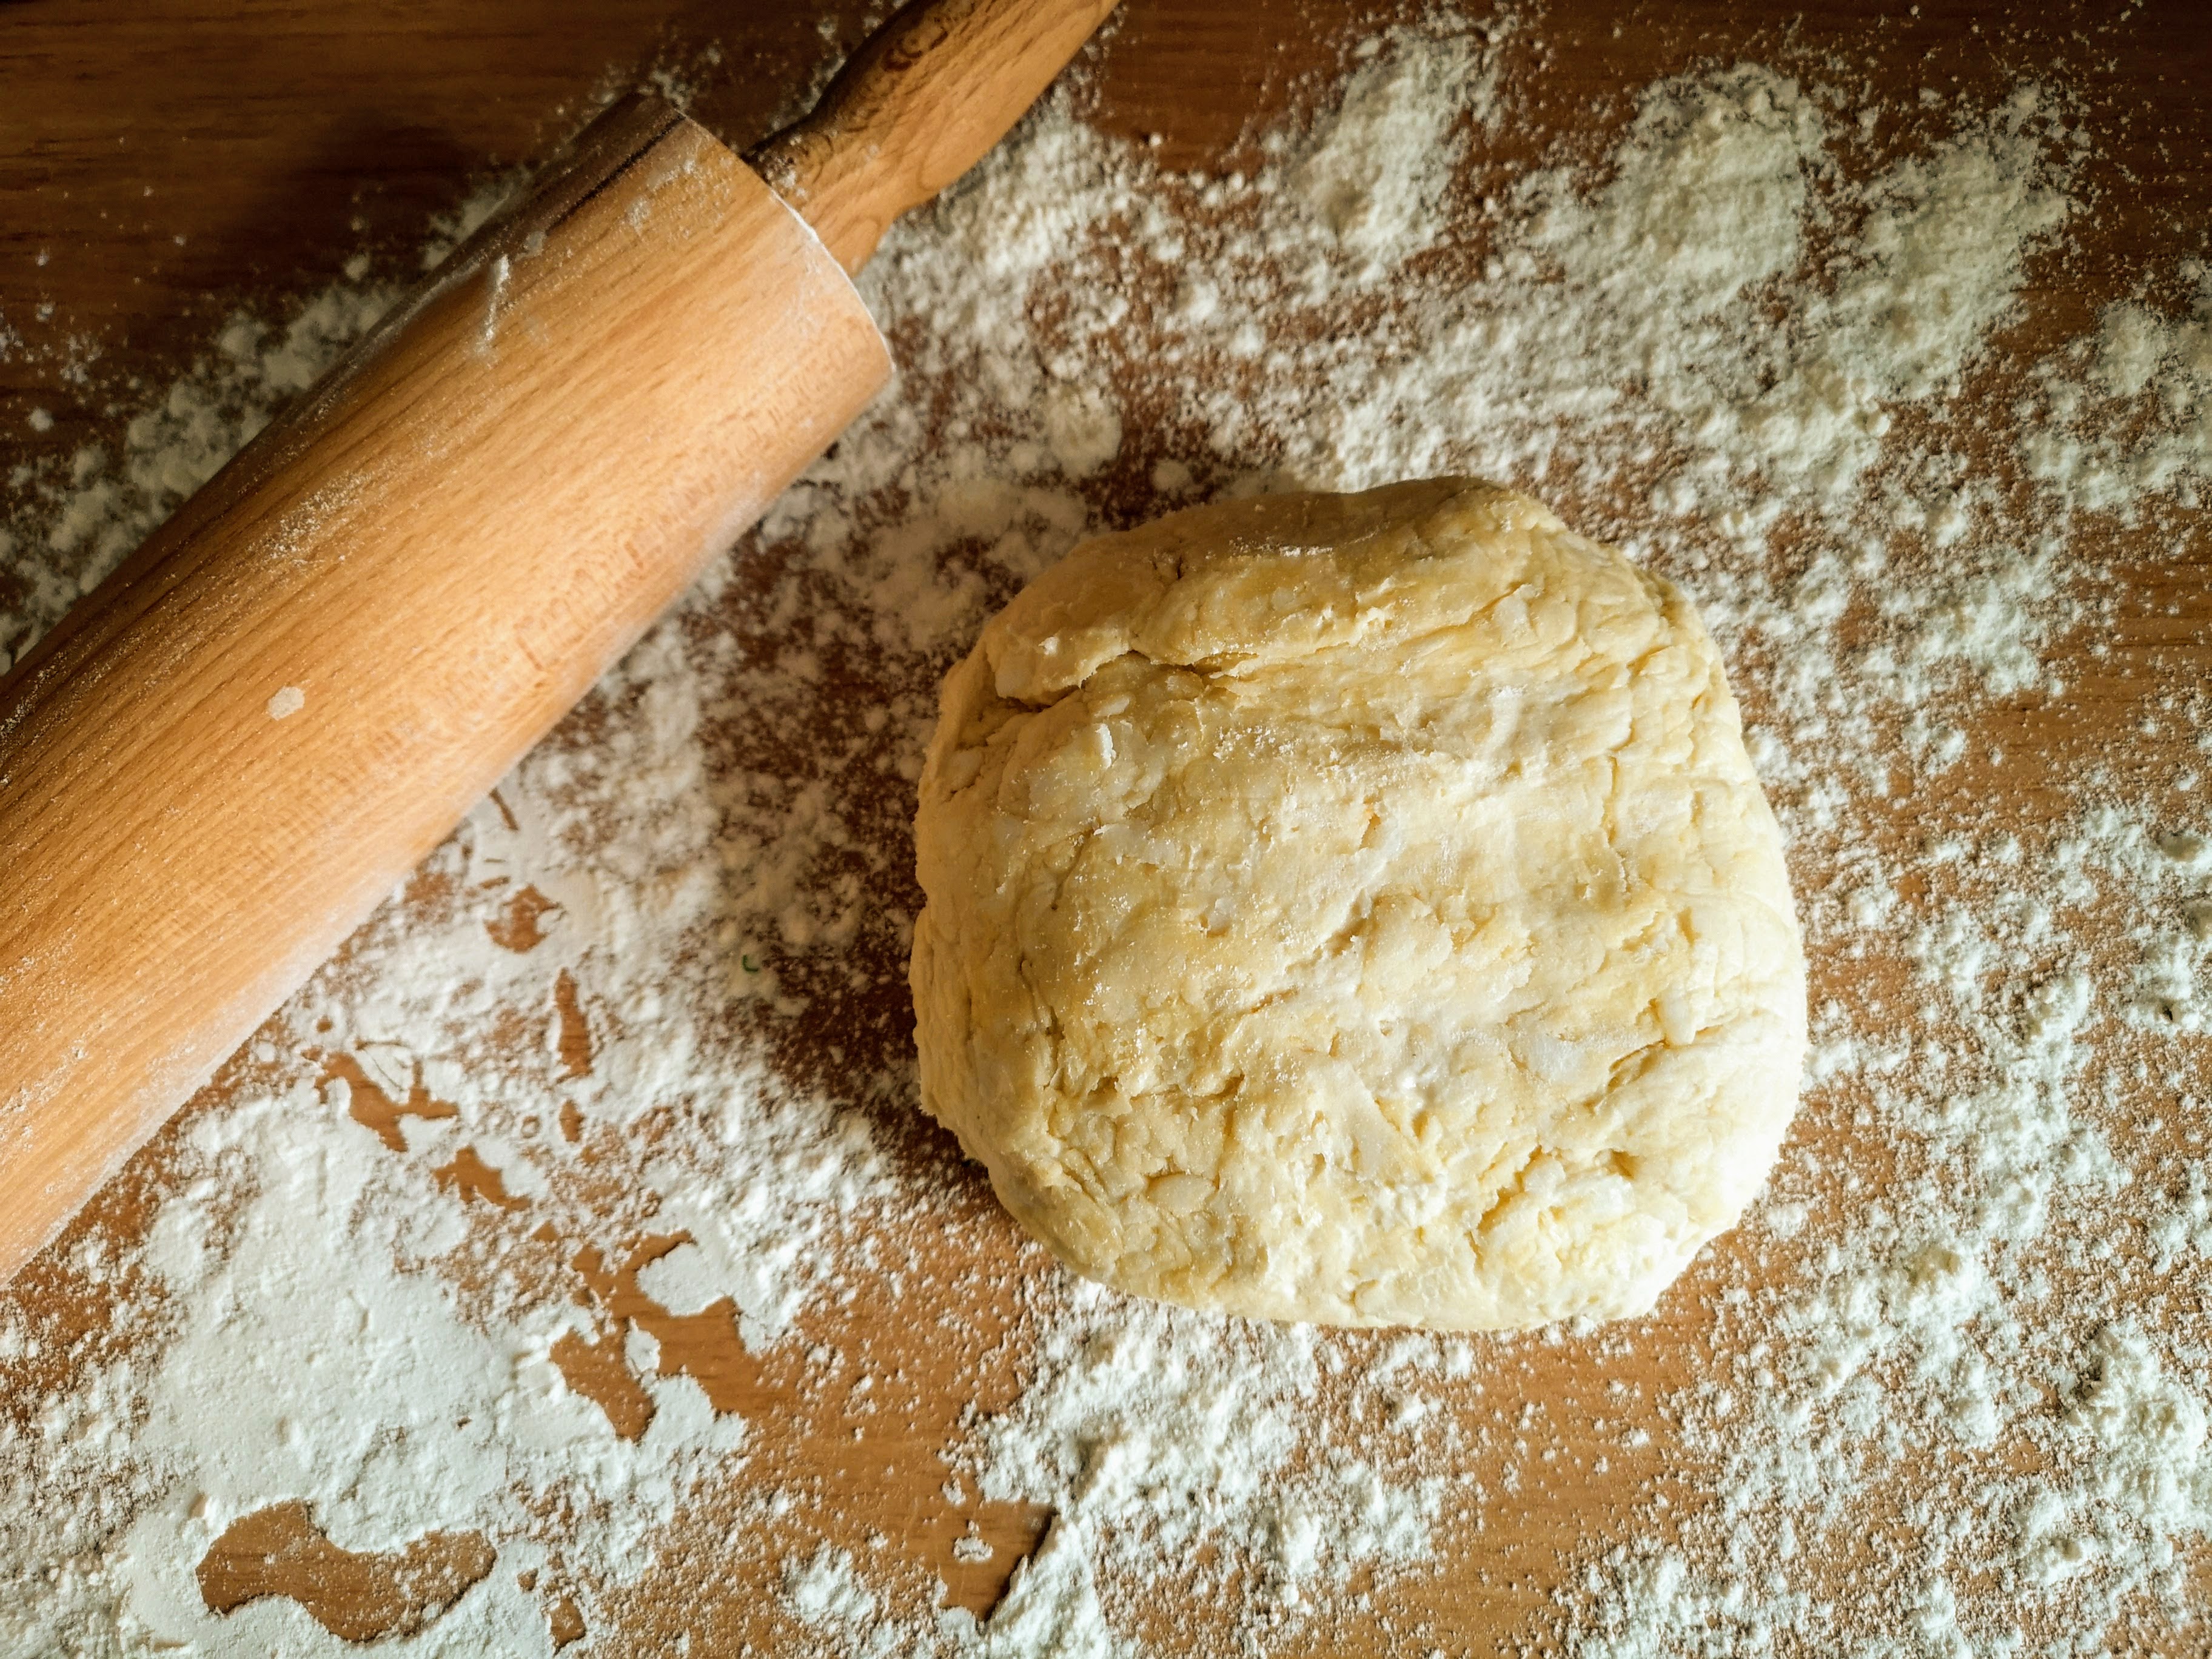
Once the flour is hydrated enough to form a rough ball of dough, I use my hands to bring it all together. I then wrap the dough ball in plastic wrap fairly tightly and place that in the fridge to rest and cool back down for anywhere from 30 minutes to two hours.
Step 3: The Filling
Ingredients:
- 2 large eggs plus 1 yolk
- 3.2-oz./90g packed brown sugar
- 1 10-oz./300ml can condensed milk
- 26-oz./.75l pumpkin puree
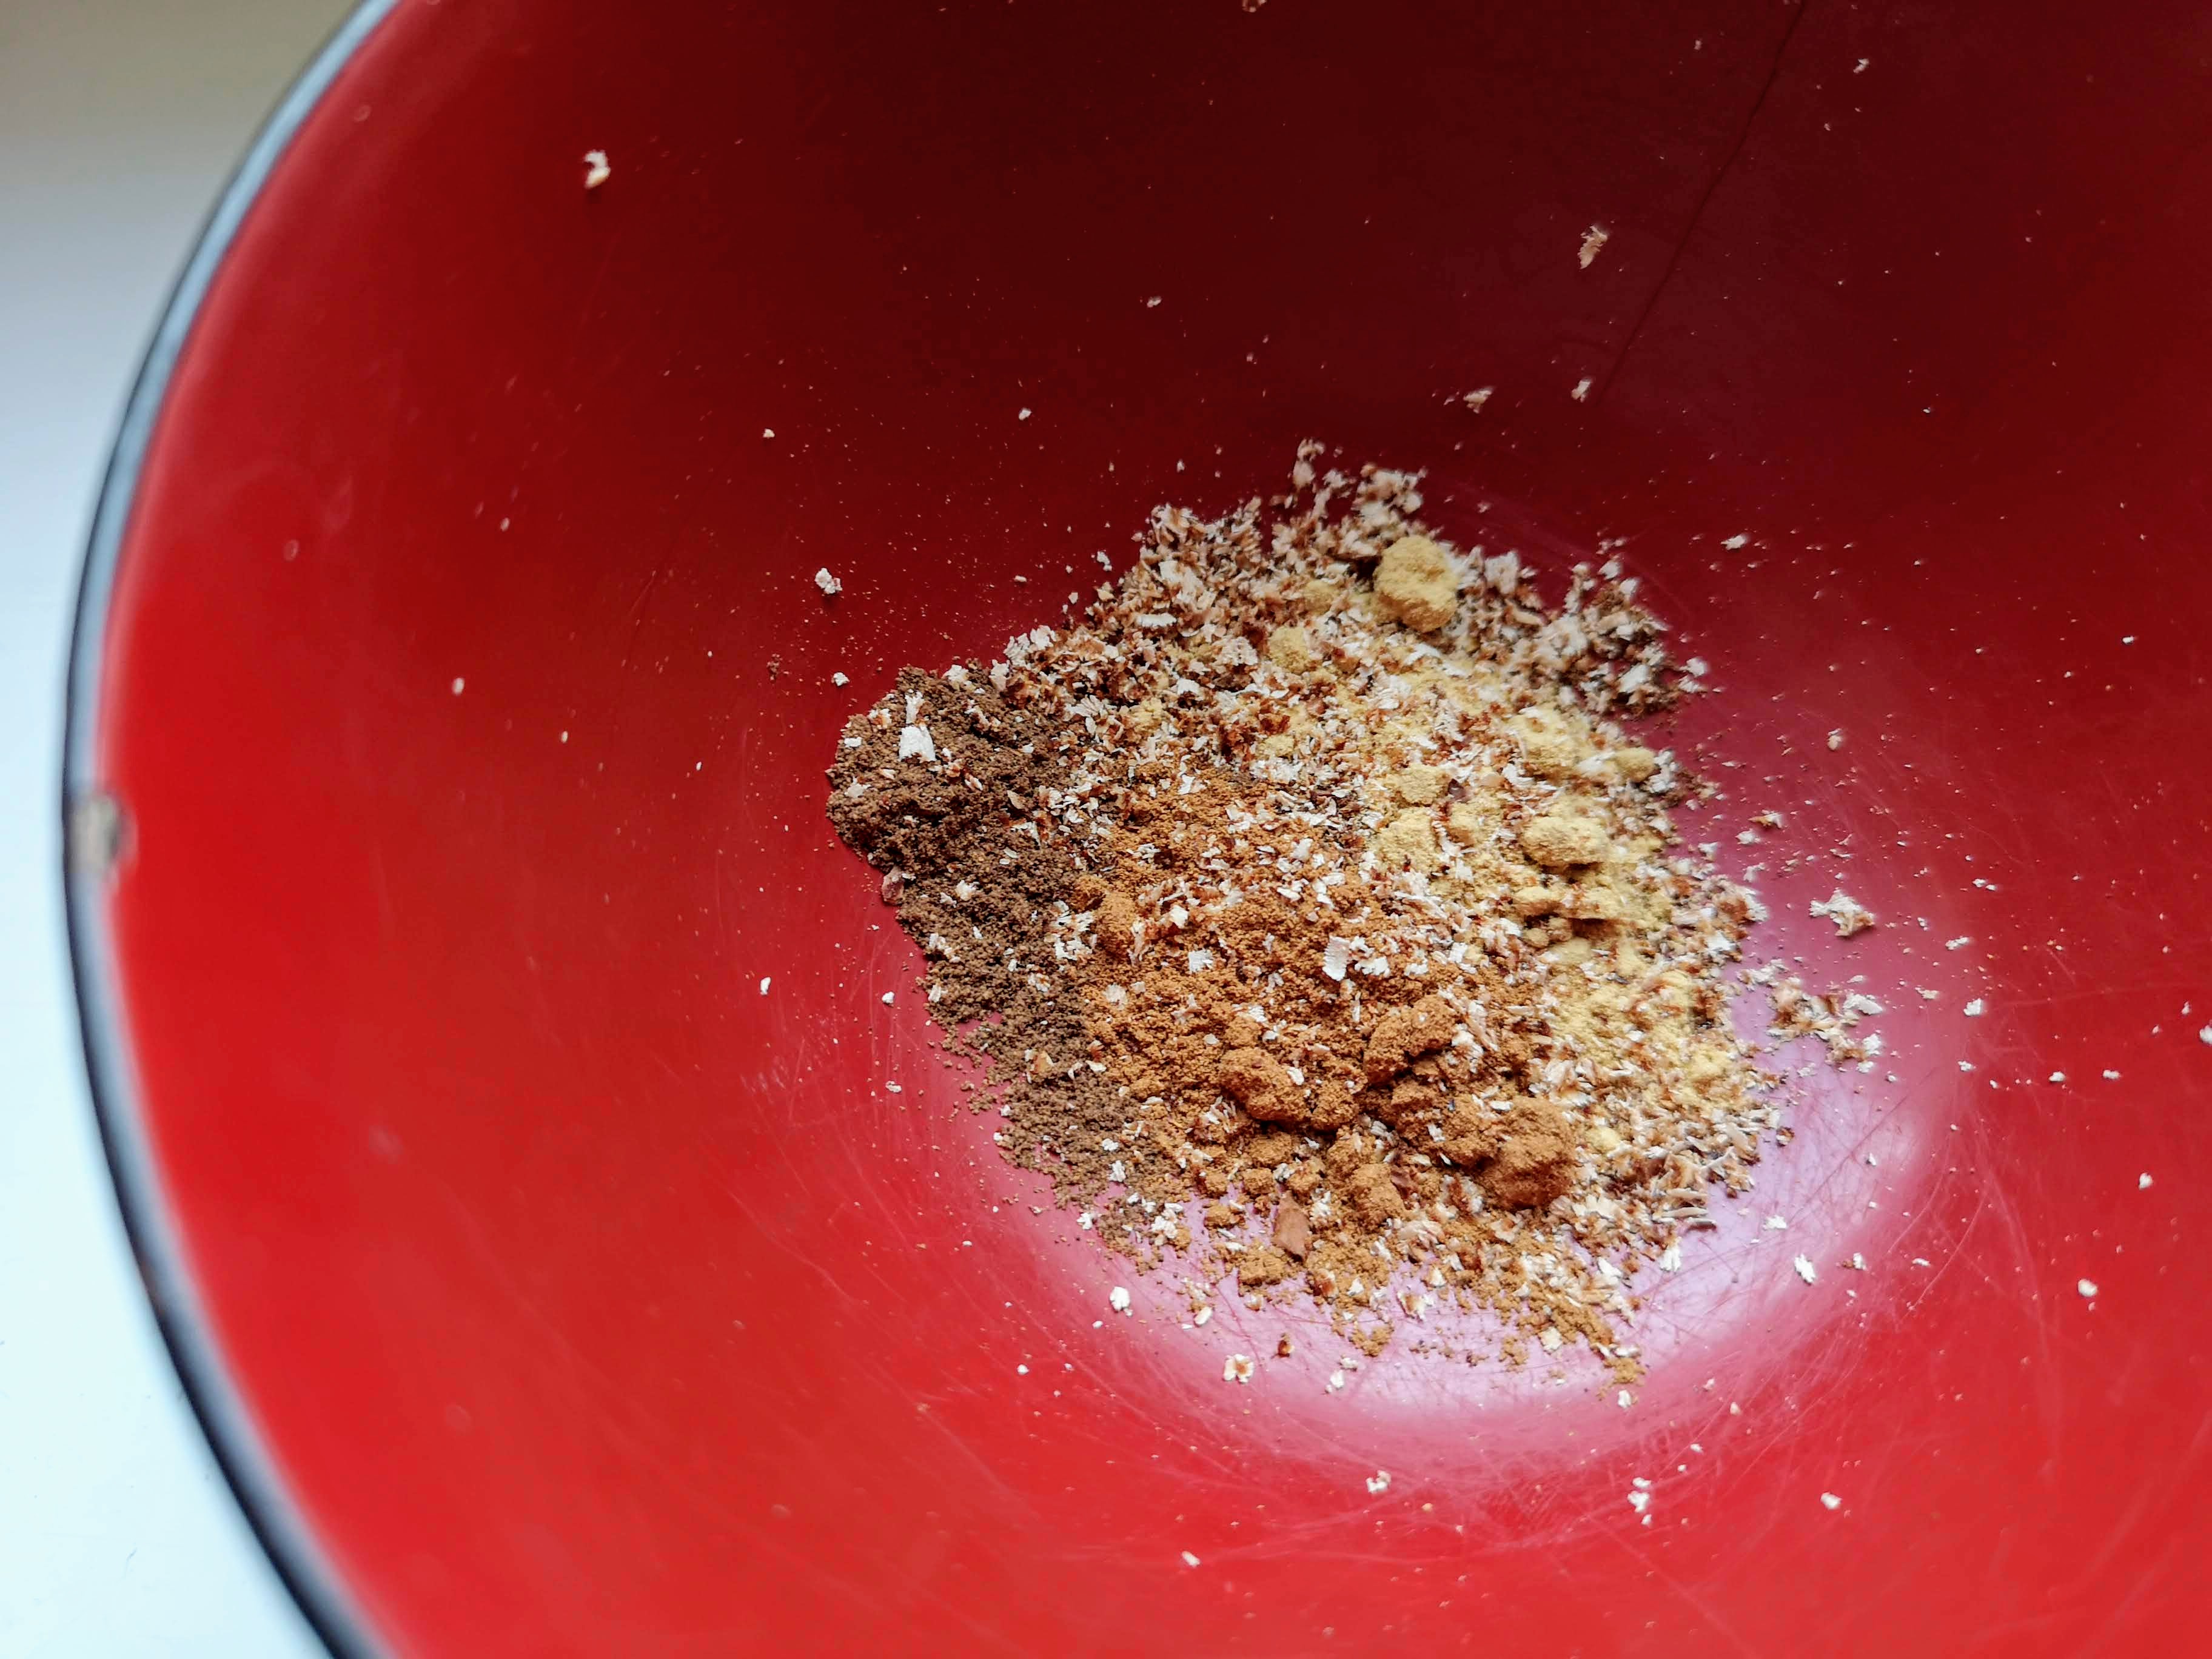
- 1 tsp./5g ground cinnamon
- 1/2 tsp./2.5g ground ginger
- 1/2 tsp./2.5g ground allspice
- 1/2 tsp./2.5g ground nutmeg
- 1 pinch of ground clove
- 1 tsp./5g sea salt
EDITOR’S TIP: Vanilla bean at Whole Foods is $8 per bean. Don’t buy it. On eBay, it’s more like $1 per bean. Buy that — add it. Liberally. Use the husk to season your sugar.
Technique:
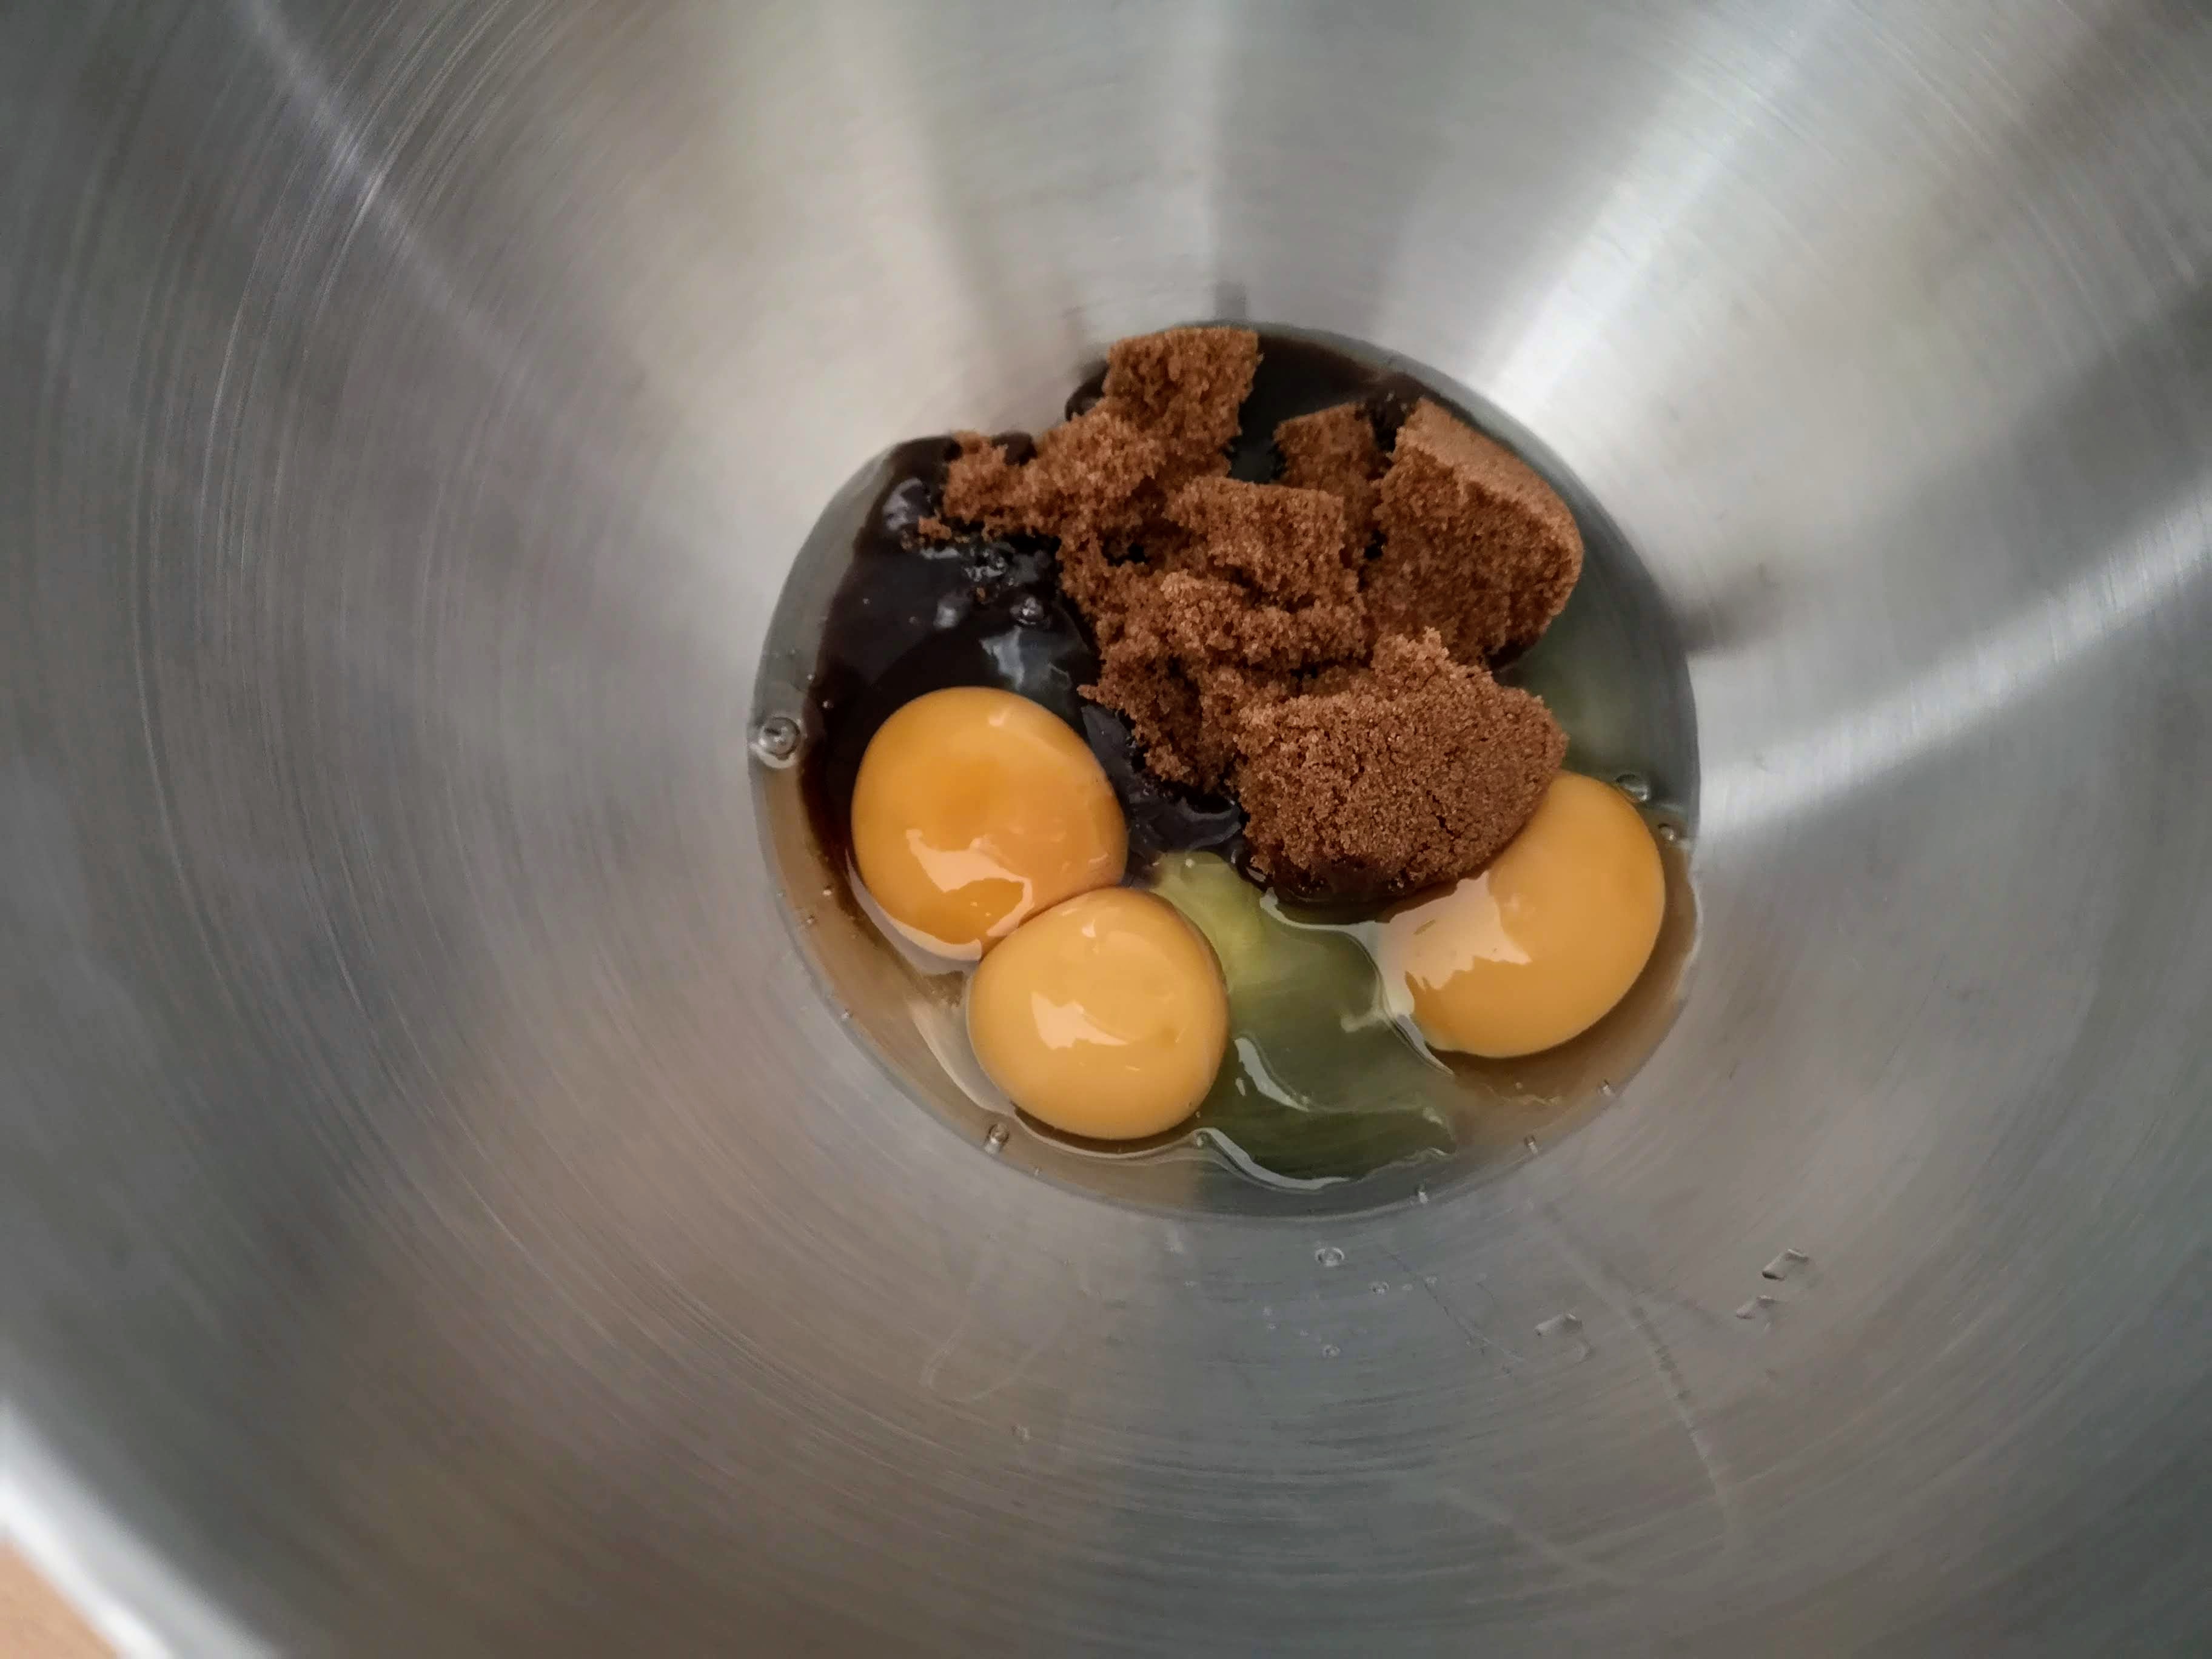
While your dough is resting in the fridge, you have plenty of time to make the filling. I get my ingredients ready. I weigh out the sugar, separate an egg yolk, open the condensed milk can, weigh out the spices and salt, and make sure my pumpkin puree is room temp or cold. You don’t want to use hot puree from the oven. It’ll scramble the eggs.
First, I add the eggs and brown sugar to a mixing bowl and whisk until fully combined and the whites of the eggs are starting to bubble a bit (maybe three minutes tops).
Next, I add in the can of syrupy condensed milk, spices, salt, and pumpkin puree. I then whisk that until it’s completely emulsified and smells like pumpkin pie. There’ll be a moment when it takes on that iconic pumpkin pie smell and you’ll know you’re on the right path.

Step 4: Roll Out Pie Crust
Snag your pie crust from the fridge. Generously flour your work surface and your rolling pin or wine bottle or whatever you can use to roll out some pie dough.
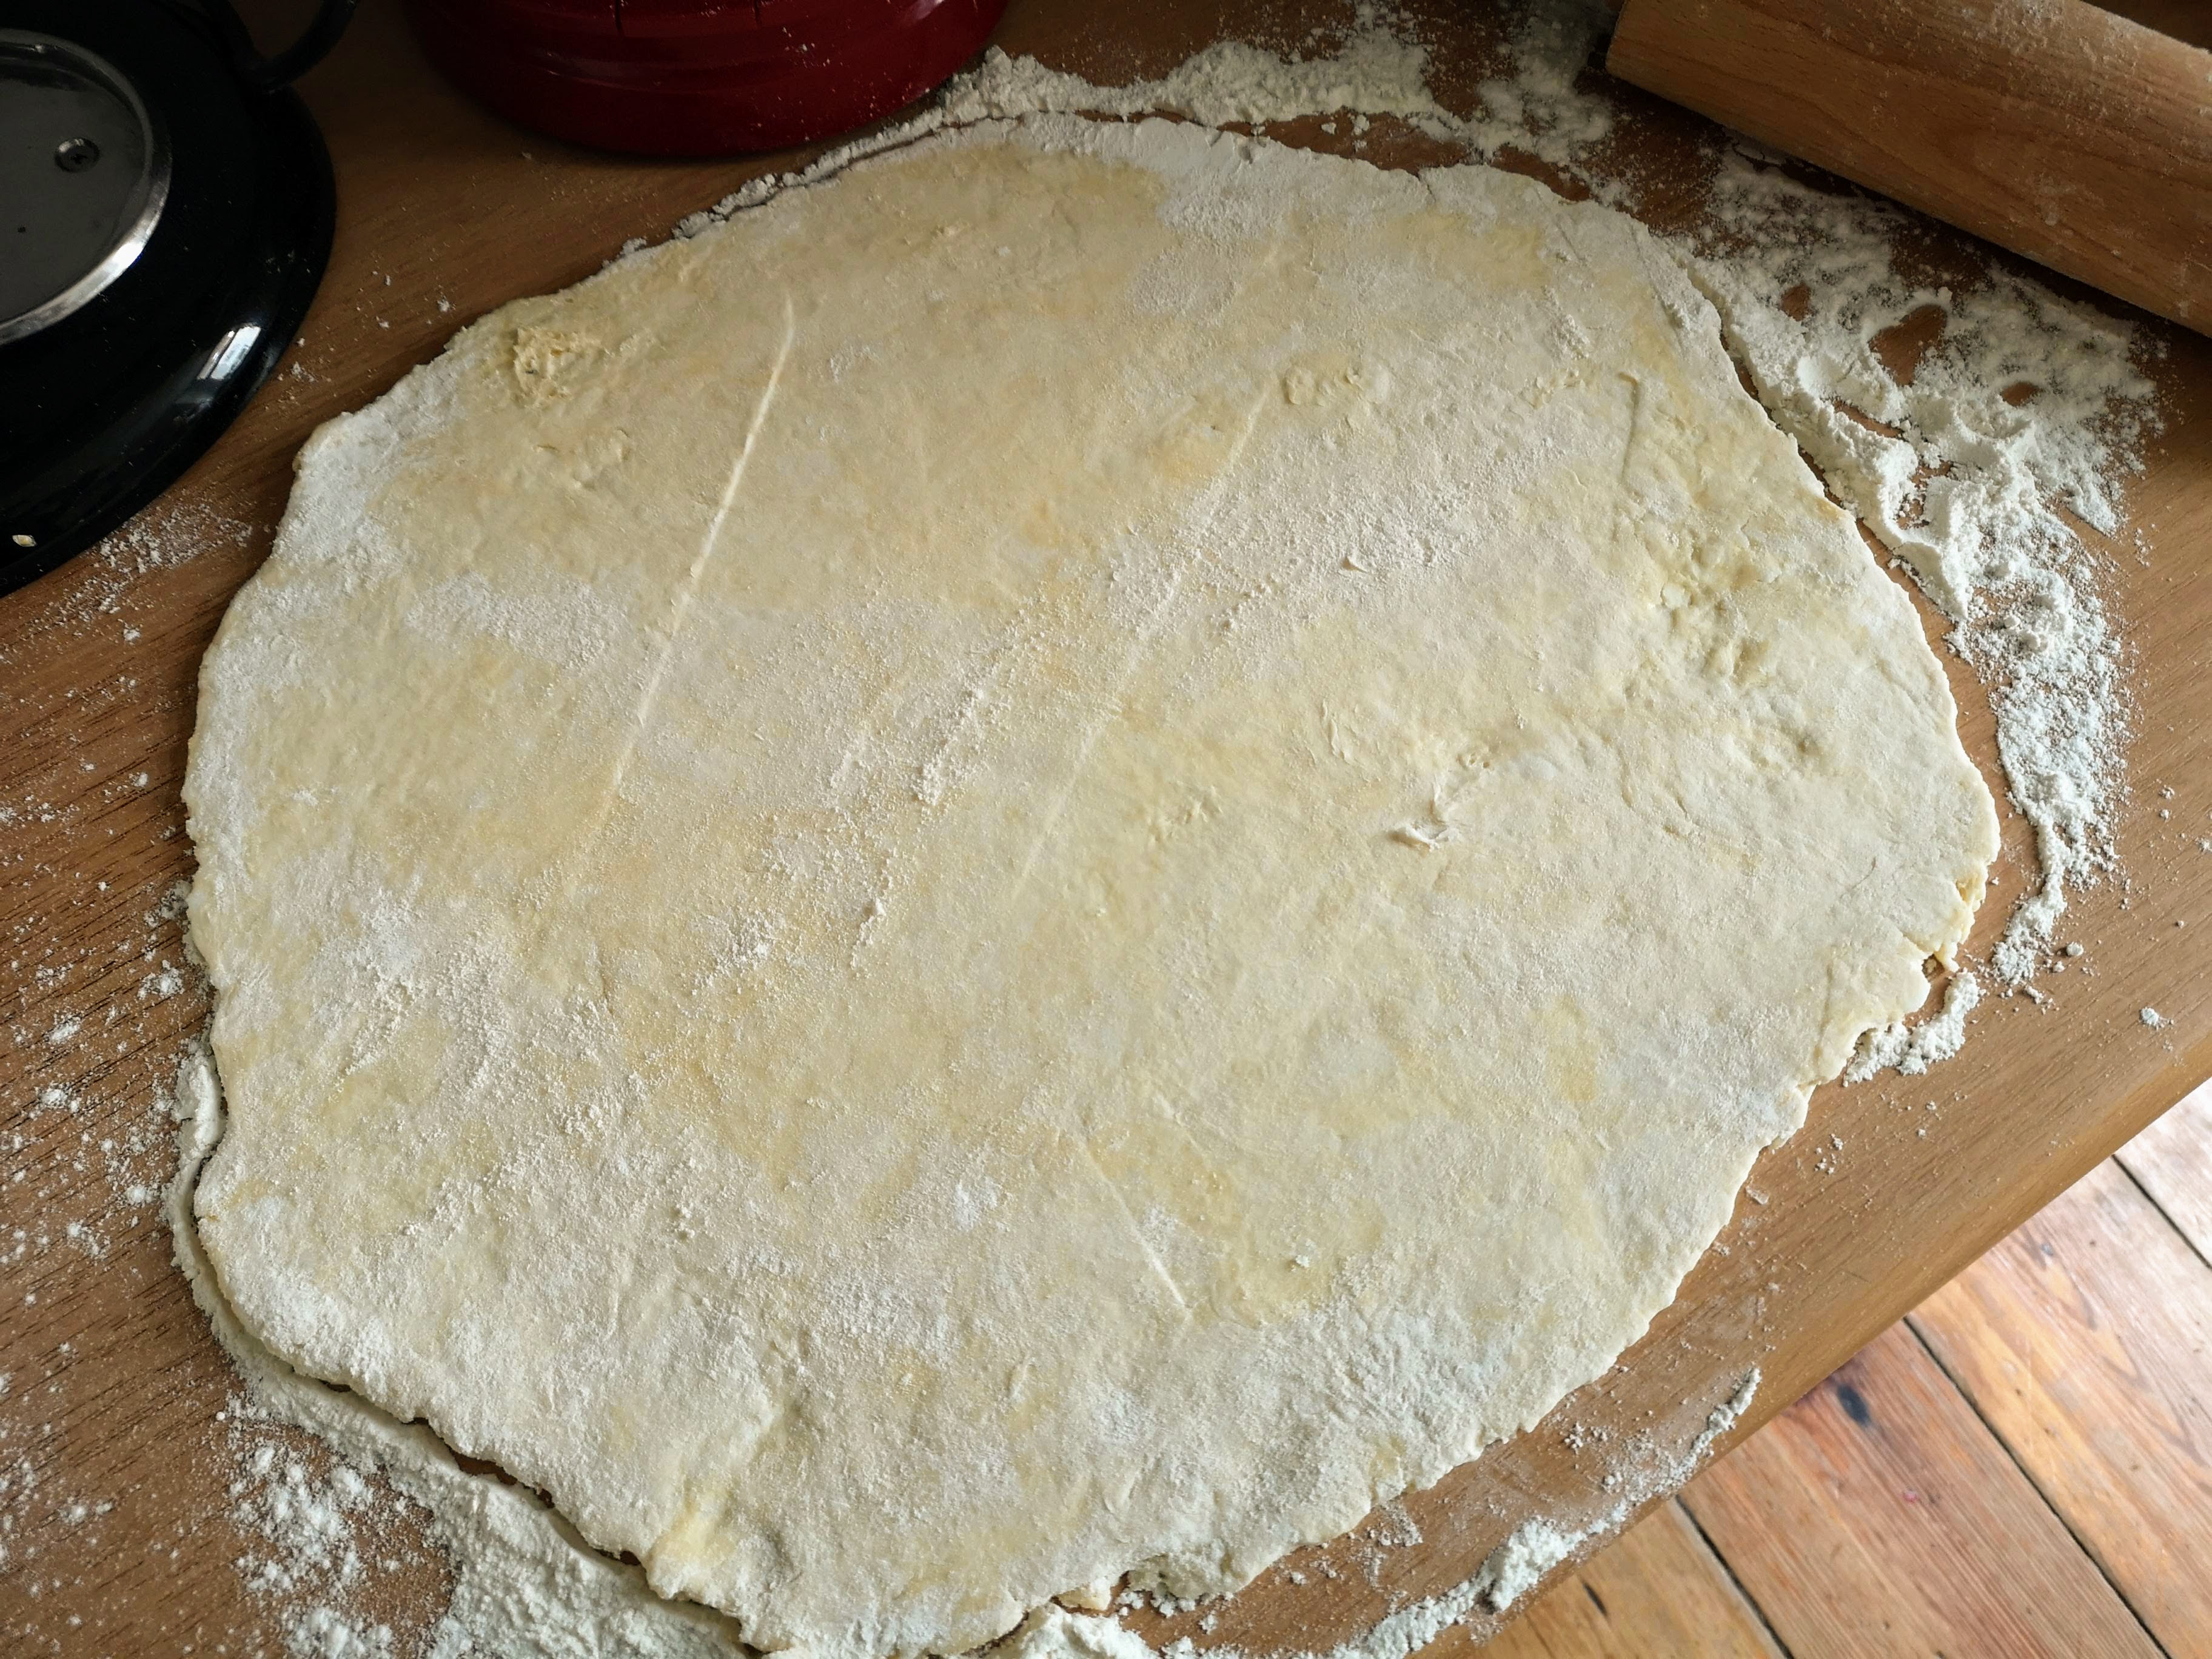
I place the dough in the middle of the floured counter and start working the dough away from me while turning a quarter-turn after every roll. I make sure to keep plenty of flour on the roller and surface.
I roll my pie dough out to about one-quarter inch thickness with a little extra heft.
I then use the rolling pin to roll the dough up to transfer it to the pie tin (you can use a bottle of wine for this too). I make sure not to press down on the dough while it’s on the rolling pin. I then roll the pin back and unfurl the pie dough over the tin.
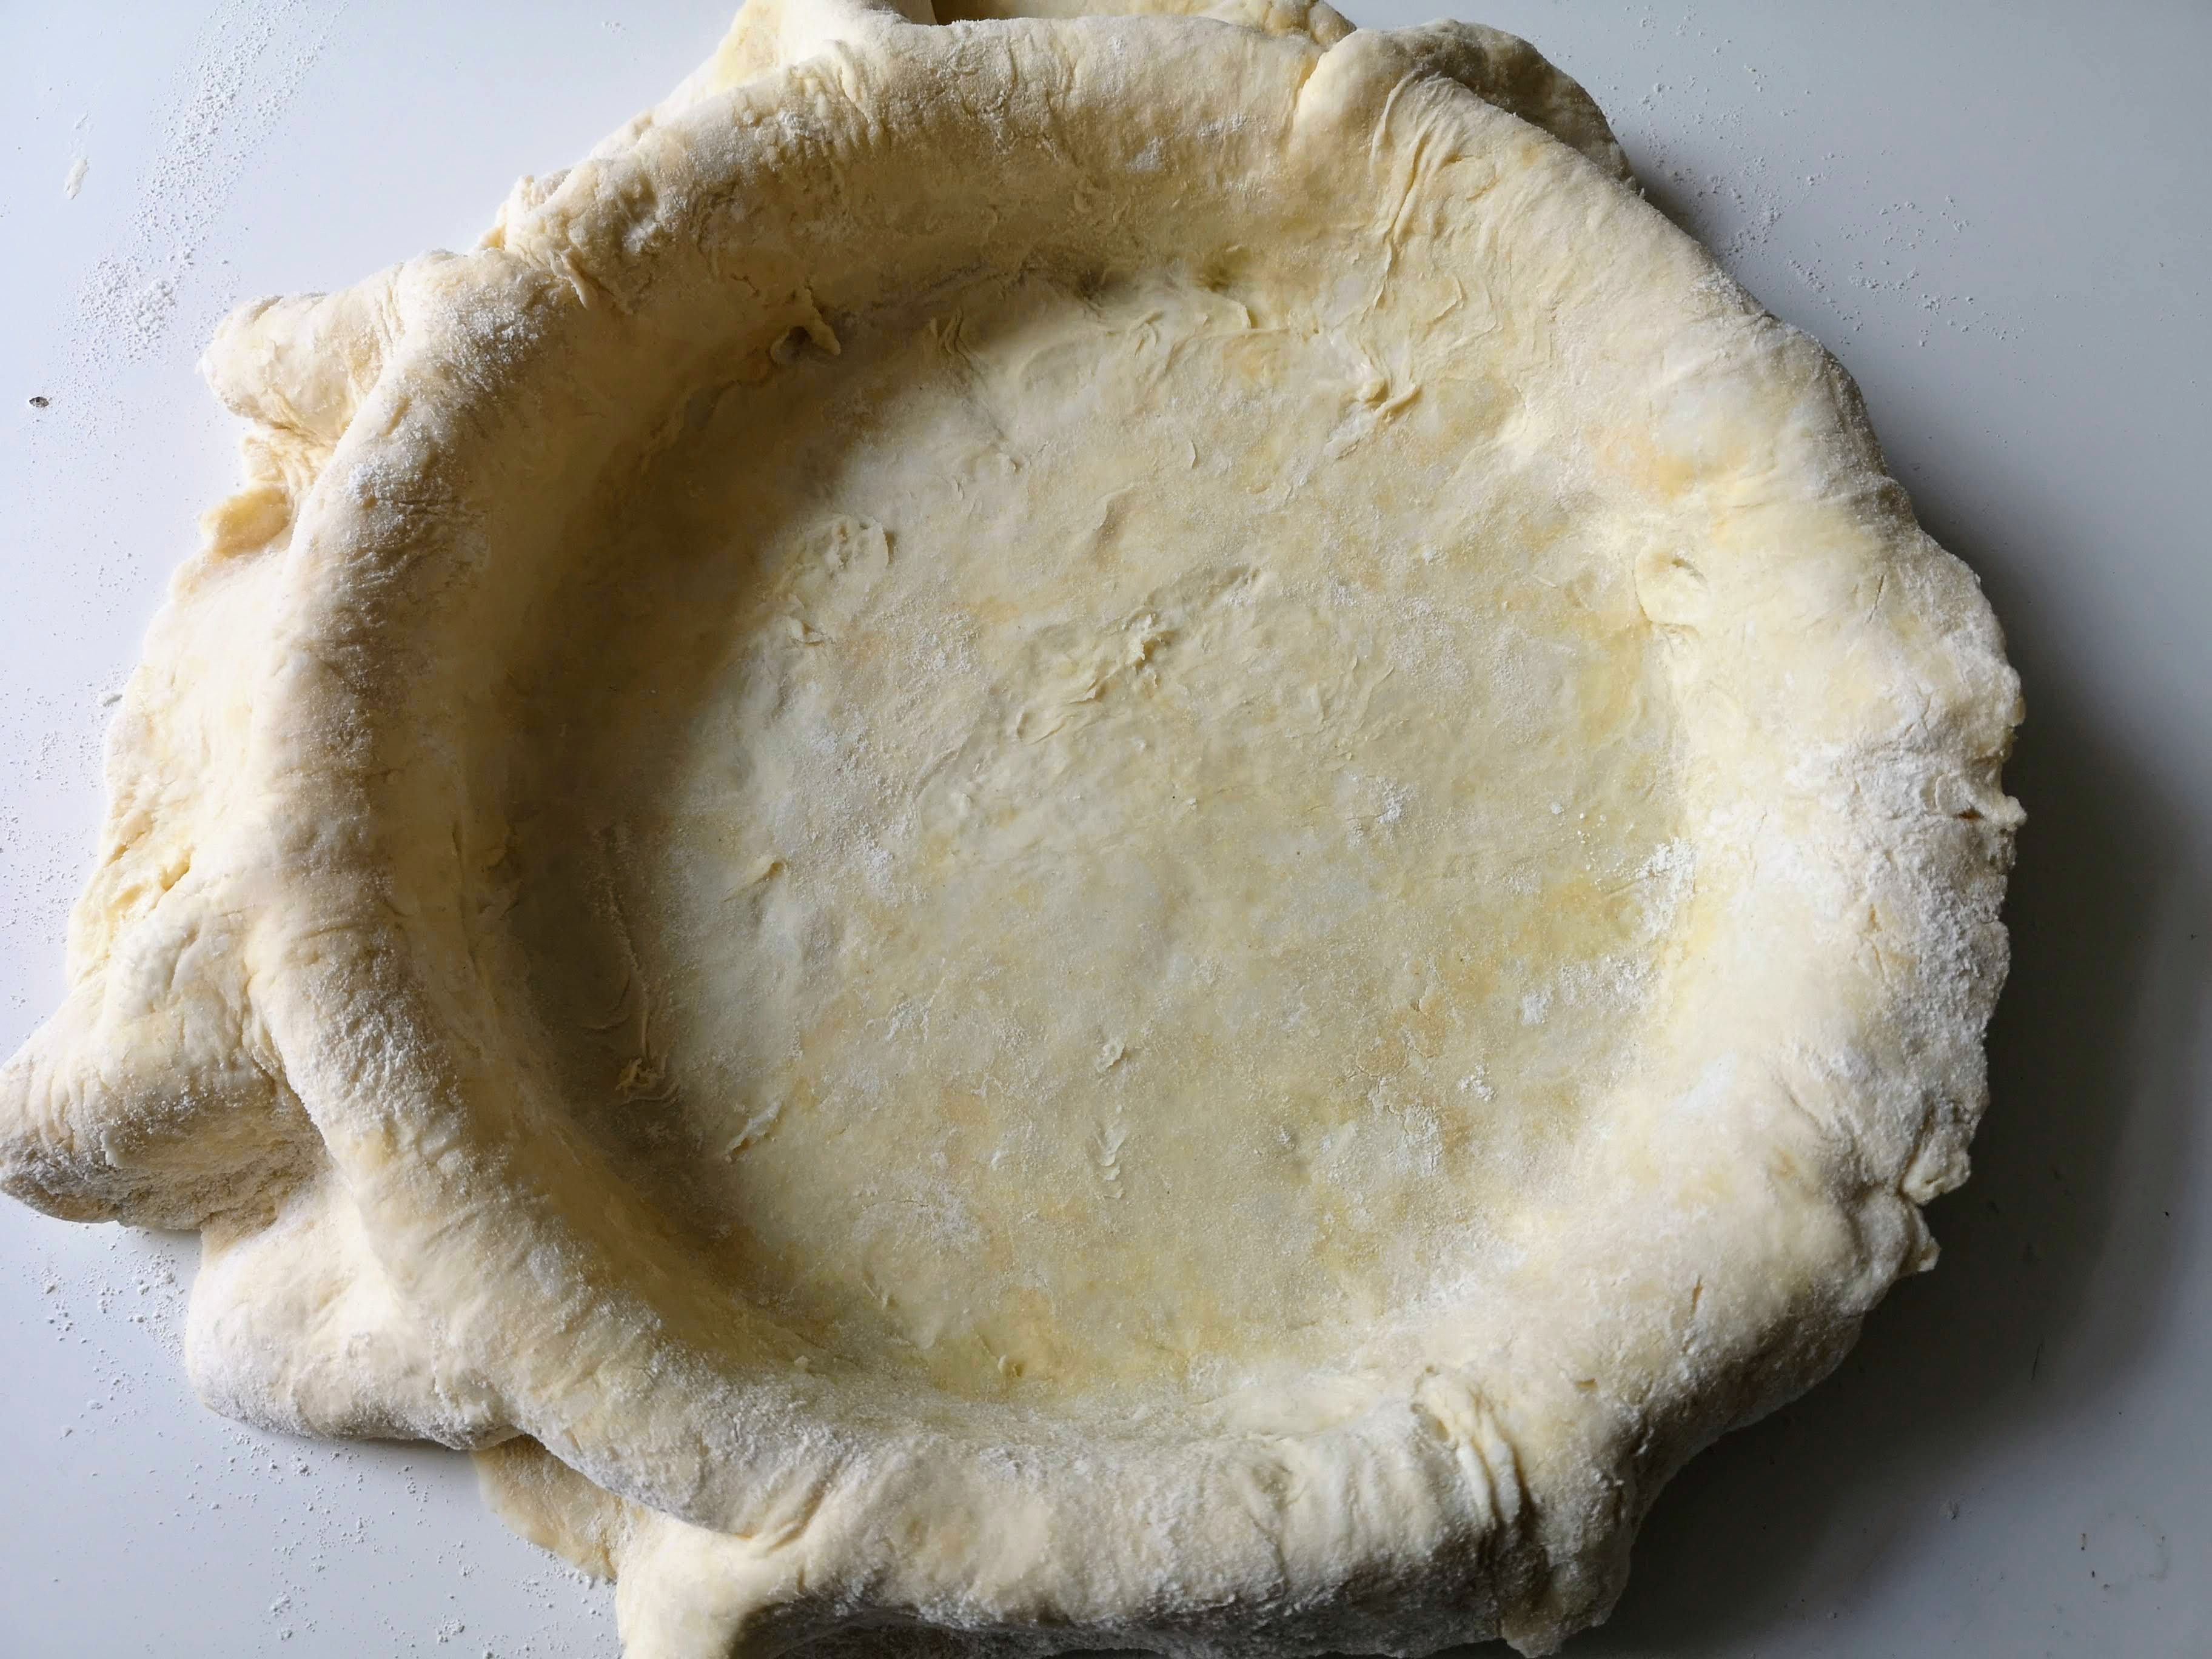
I lift the edges of the dough up, which allows the dough to fall into the bottom edges of the tin. I gingerly use the back of my index finger to adhere the dough into the edges, making sure never to stretch the dough.
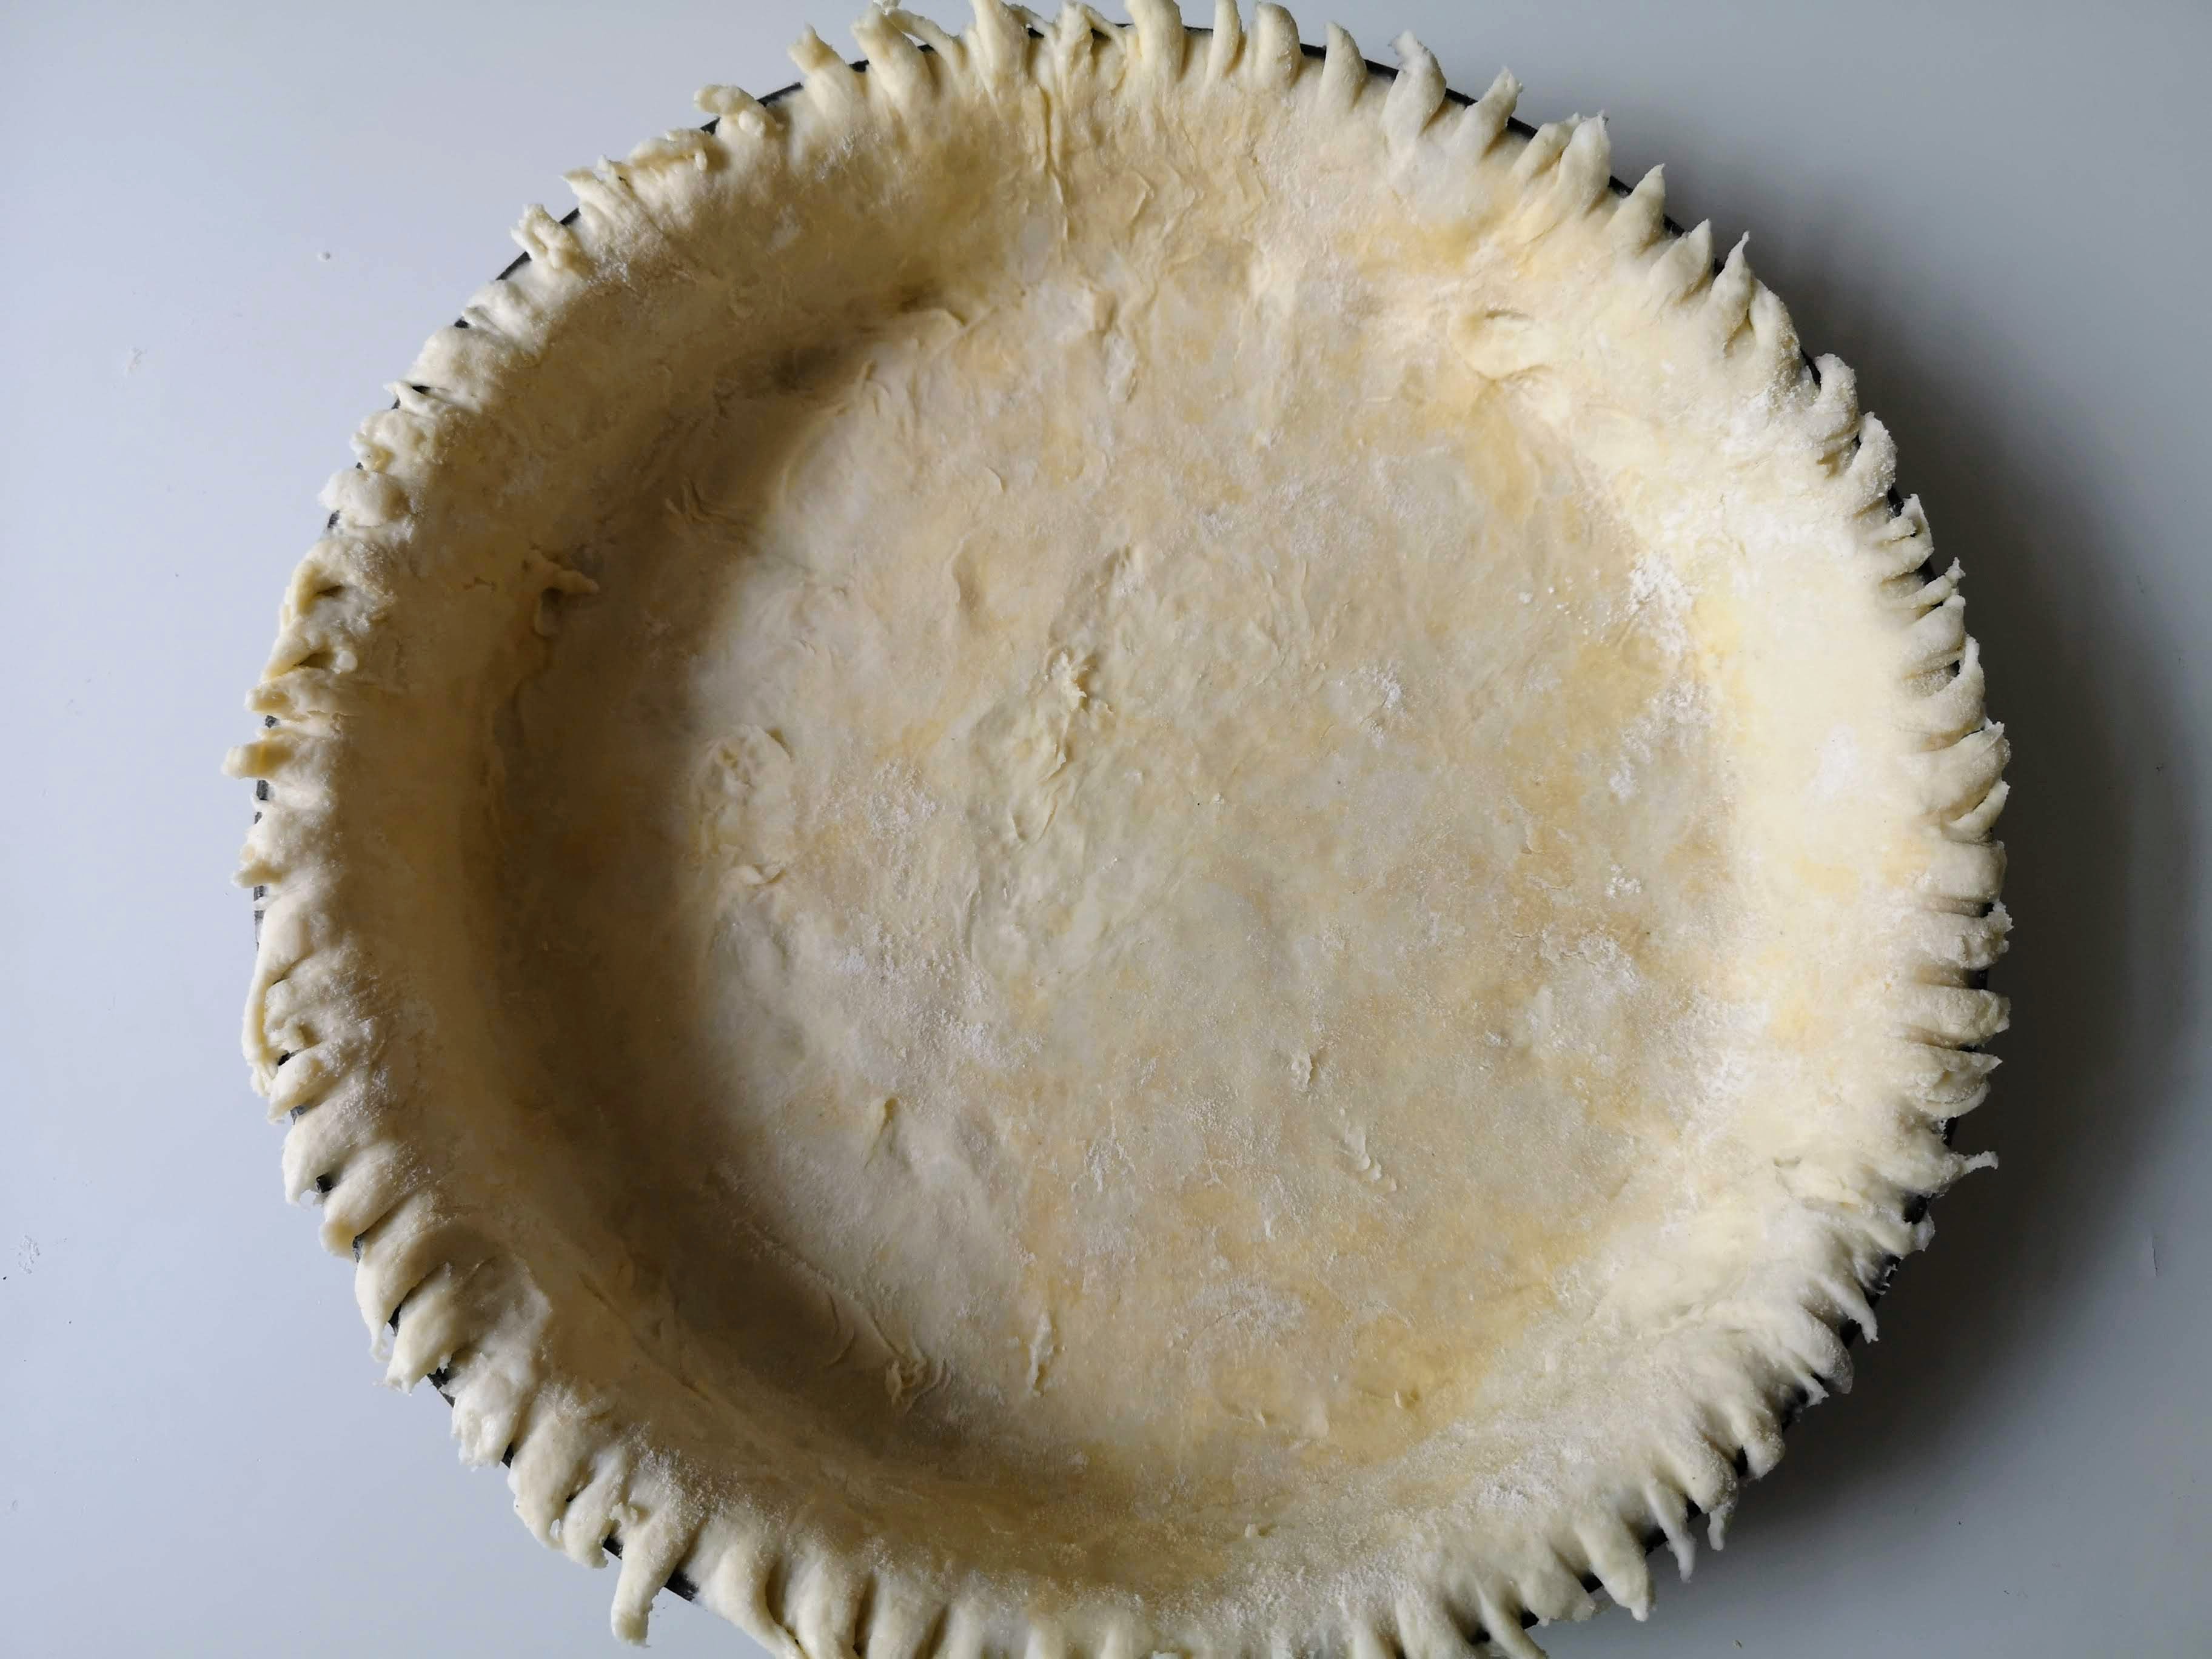
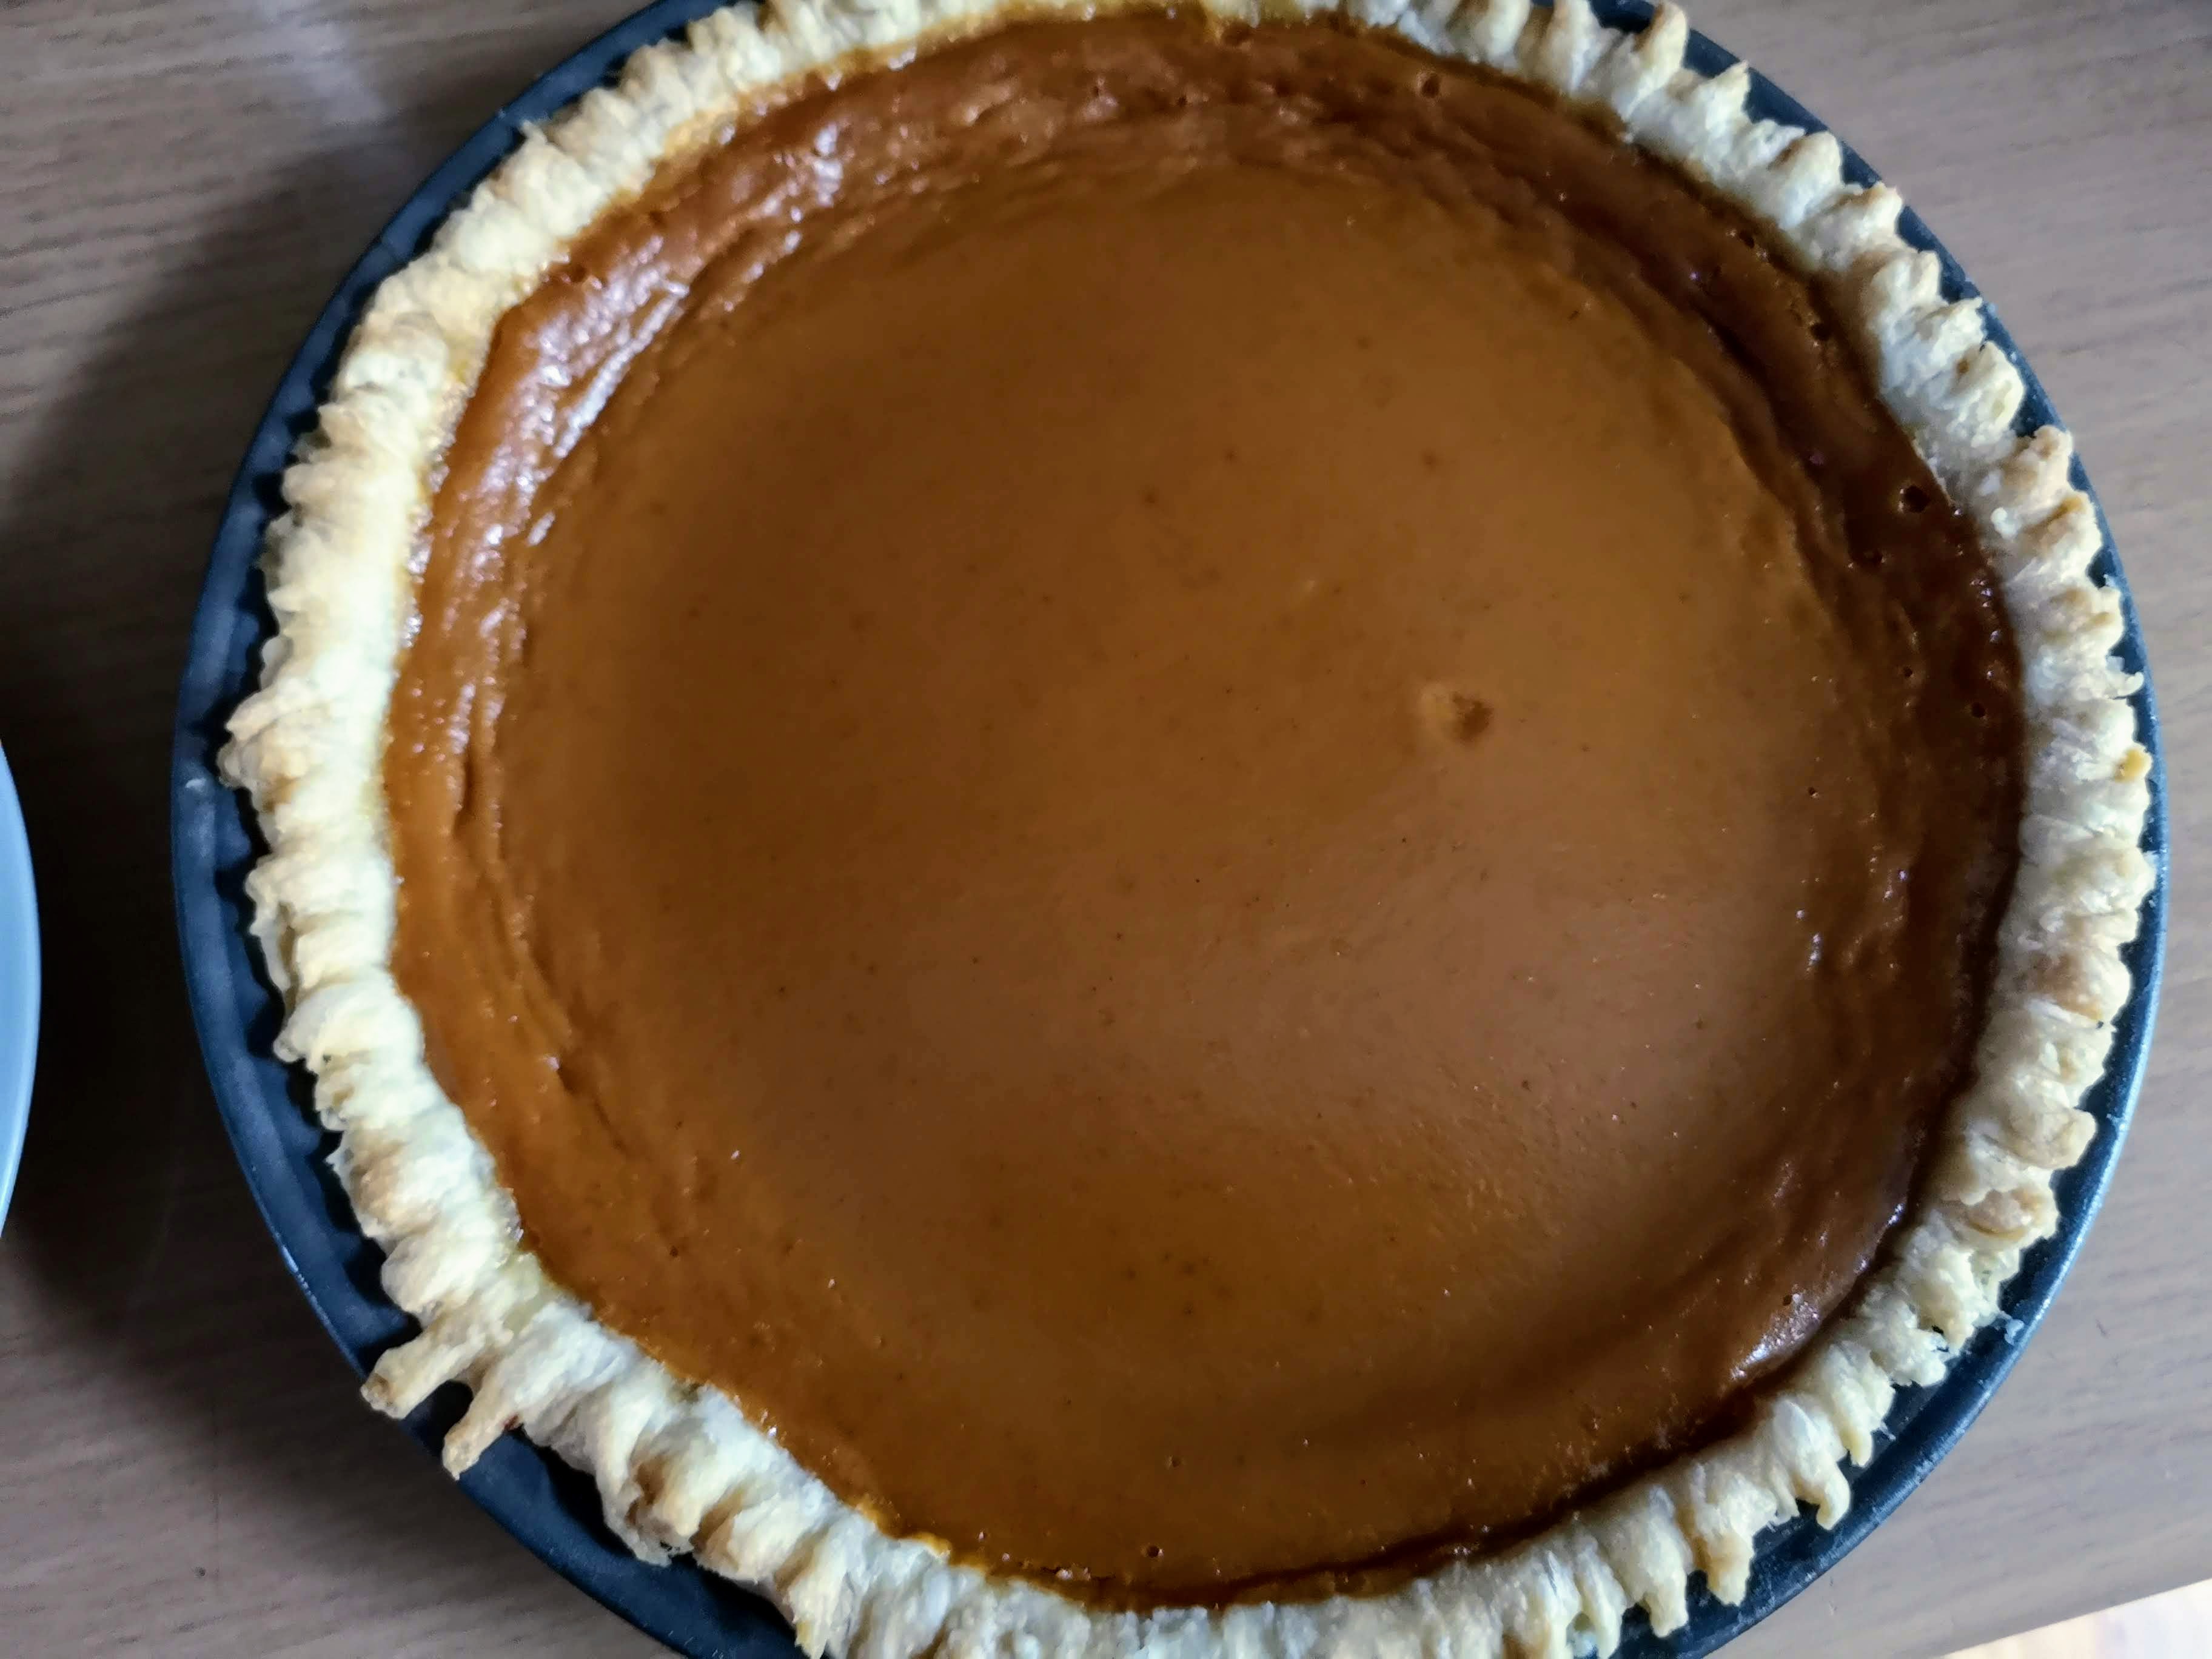
Finally, I use this weird old three-tined fork that was left at some apartment I moved into somewhere to flute the edges. I basically just push down on the edge of the pie tin with the fork tines and let it slide off the tin, creating the pattern you see below. The tines also cut the excess dough off at the same time.
I place the pie crust back into the fridge for a final ten minute cool down before putting everything together.
Step 5: Bake The Pie
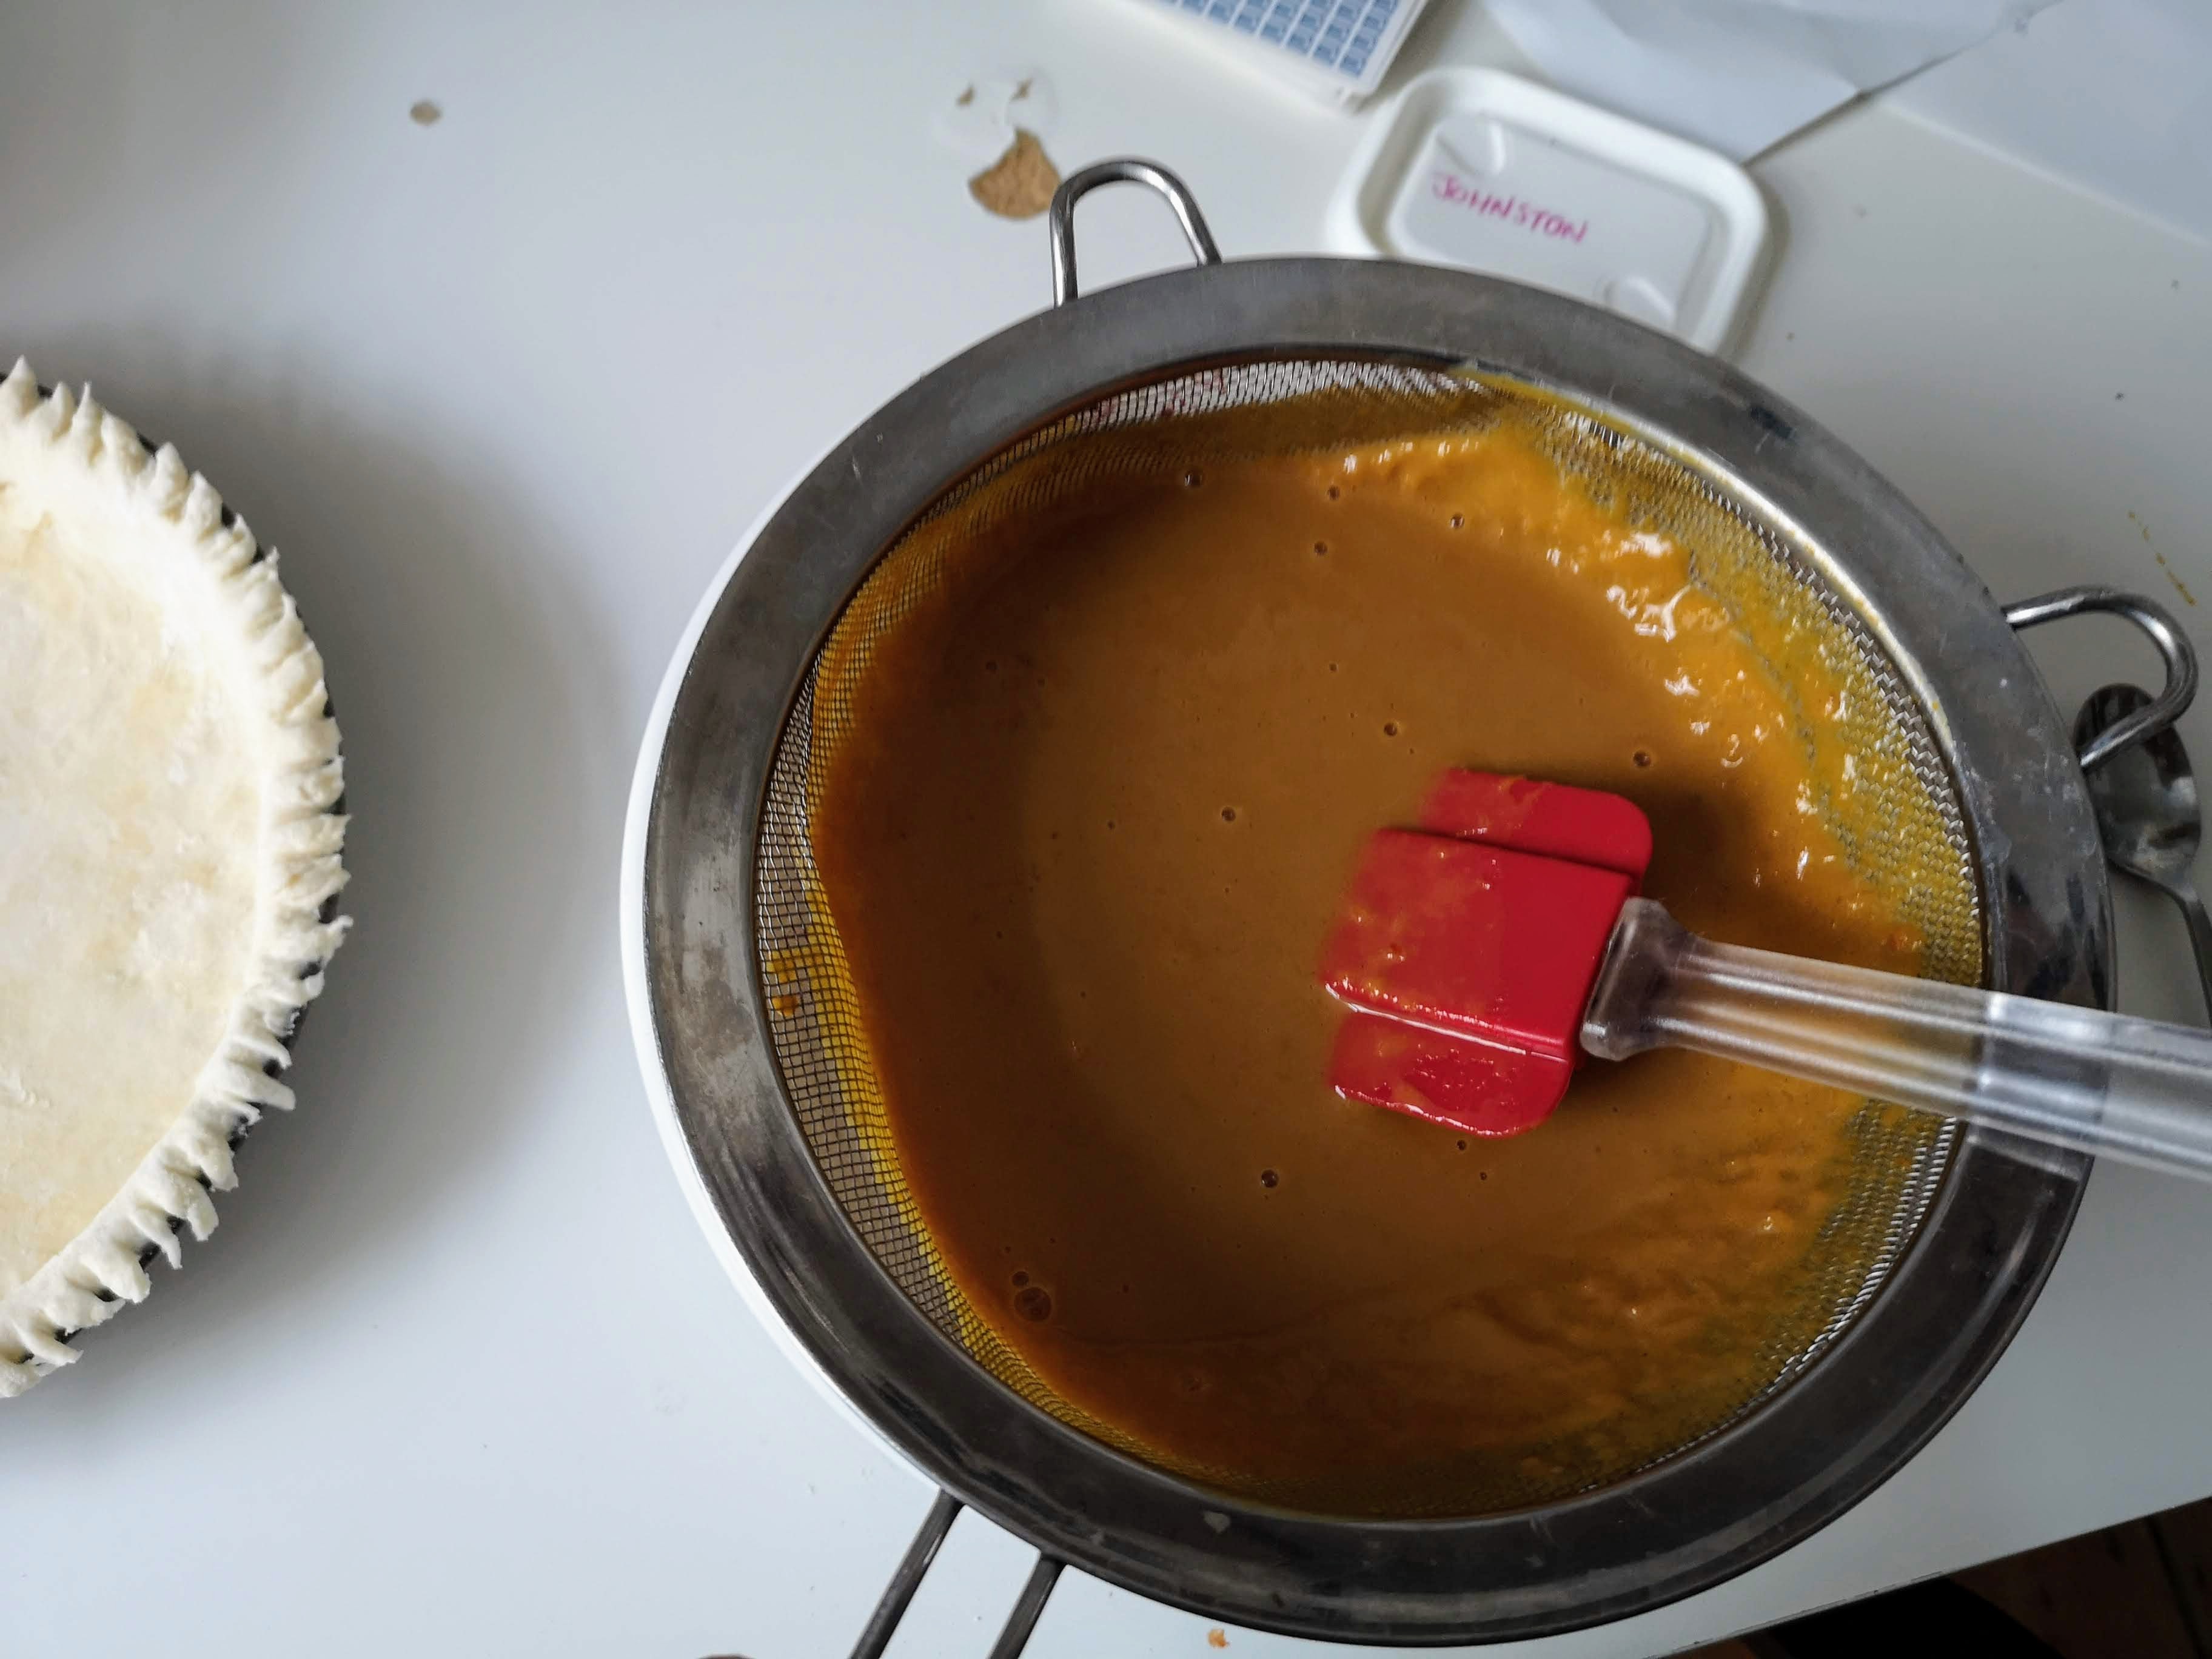
The last step is a crucial one which way too many home cooks skip. You need to run your pie filling through a fine sieve. This is how those French cremes get their airy nature before they’re brulee’d. Running pumpkin pie filling through the sieve takes an extra minute or two but will give your pie a real velvety body. You just have to be patient and work the filling through the sieve with a rubber spatula.
Once that’s done, I fetch my pie crust from the and fill it with the filling. It should come to within a quarter-inch of the top. That’s plenty, as the filling will expand as it bakes.
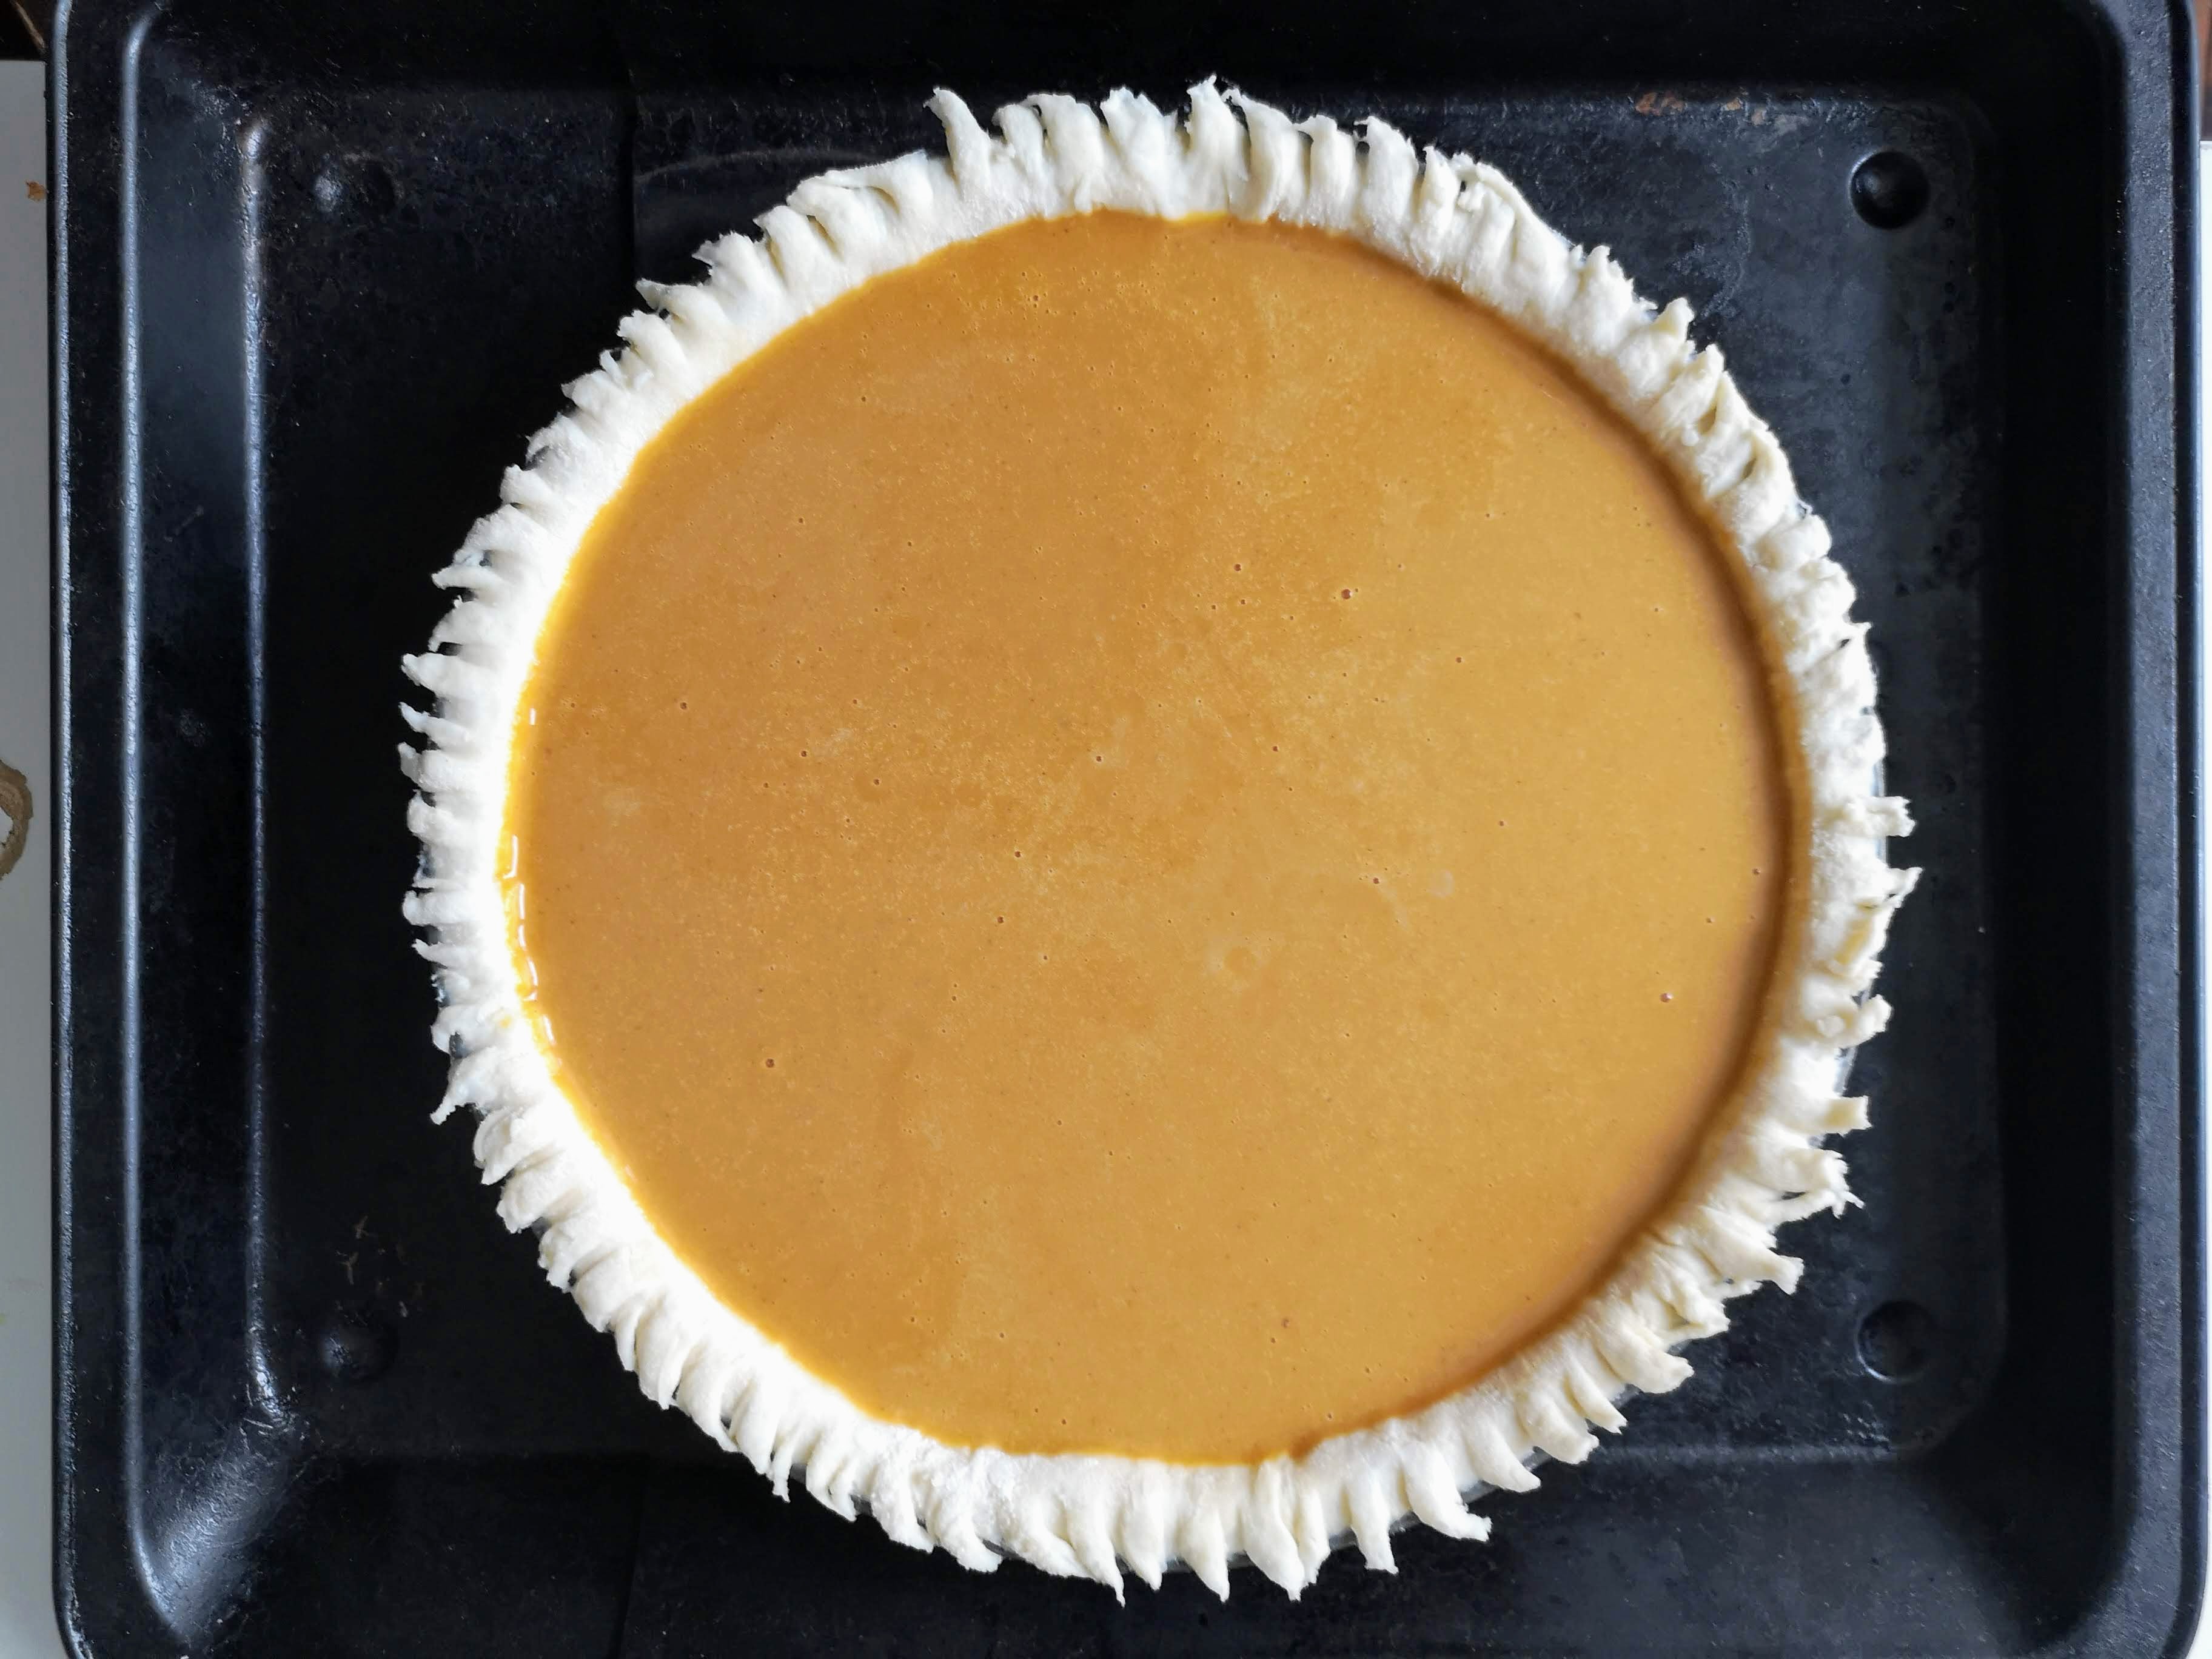
I place the pie tin on a baking sheet (this is more for ease of transport in and out of the oven than anything else). I place the pie into a 425F/220C oven for 15 minutes. This high temp bake will set the crust (in essence blind baking the crust without having to blind bake it separately).
After 15 minutes, I turn the oven temp down to 350F/175C and set a timer for 40 minutes. After 20 minutes, I turn the pie around and close the oven.
When my timer goes off, I check the pie. It’s still not quite set in the middle. You can tell if you give it a very gentle giggle and there’s still a soupiness to it. You want to avoid that. On this pie, I ended up setting my timer for another ten minutes.
After another ten minutes (65 minutes in total), my pie was done. The giggle in the middle of the pie is more like a firm Jell-O. That’s good. The warmth of the pie will radiate and finish baking the pie as it sits on the counter. It’ll continue to set up from there.
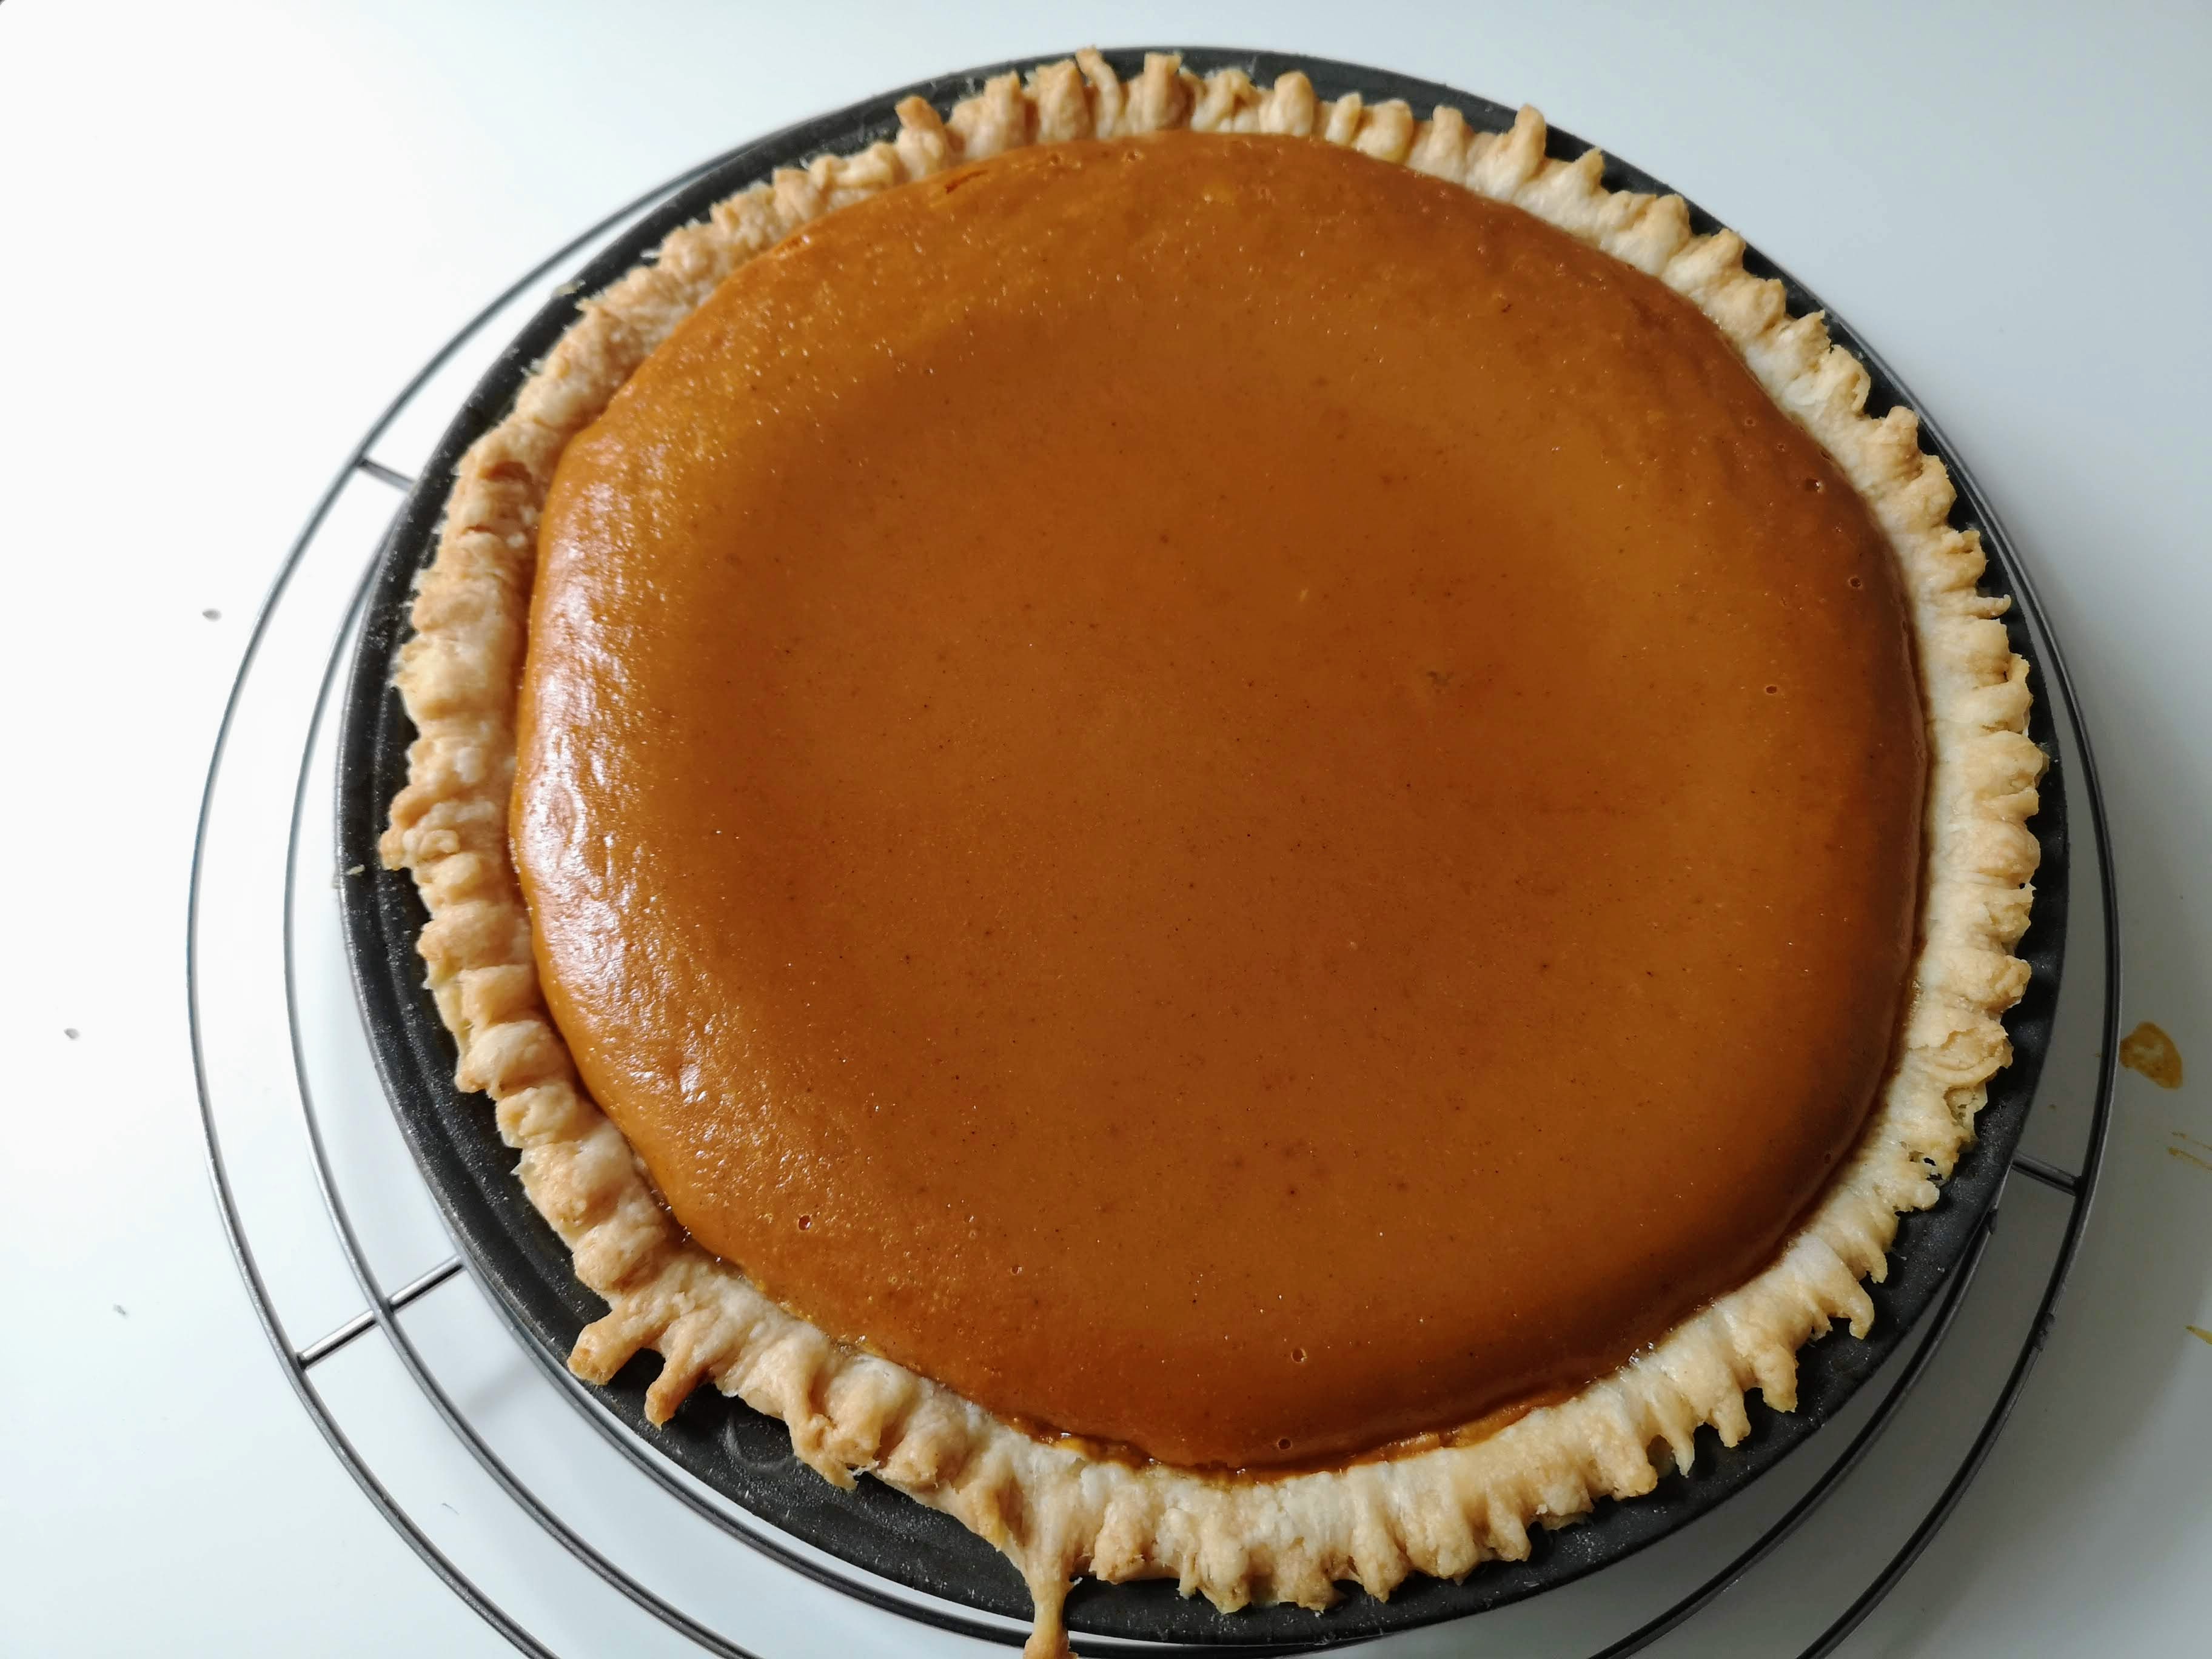
You’ll need to let this pie rest for a minimum of four hours. The puffiness will settle back into the body of the pie as seen below. You’ll know you can cut into it when you can pick up the pie tin and the bottom is room temp to touch.
After four excruciating hours of waiting (and a trip to the grocery store to pick up some vanilla ice cream), my pie was ready to dig into. I slice it into eight portions and start lifting out slices.
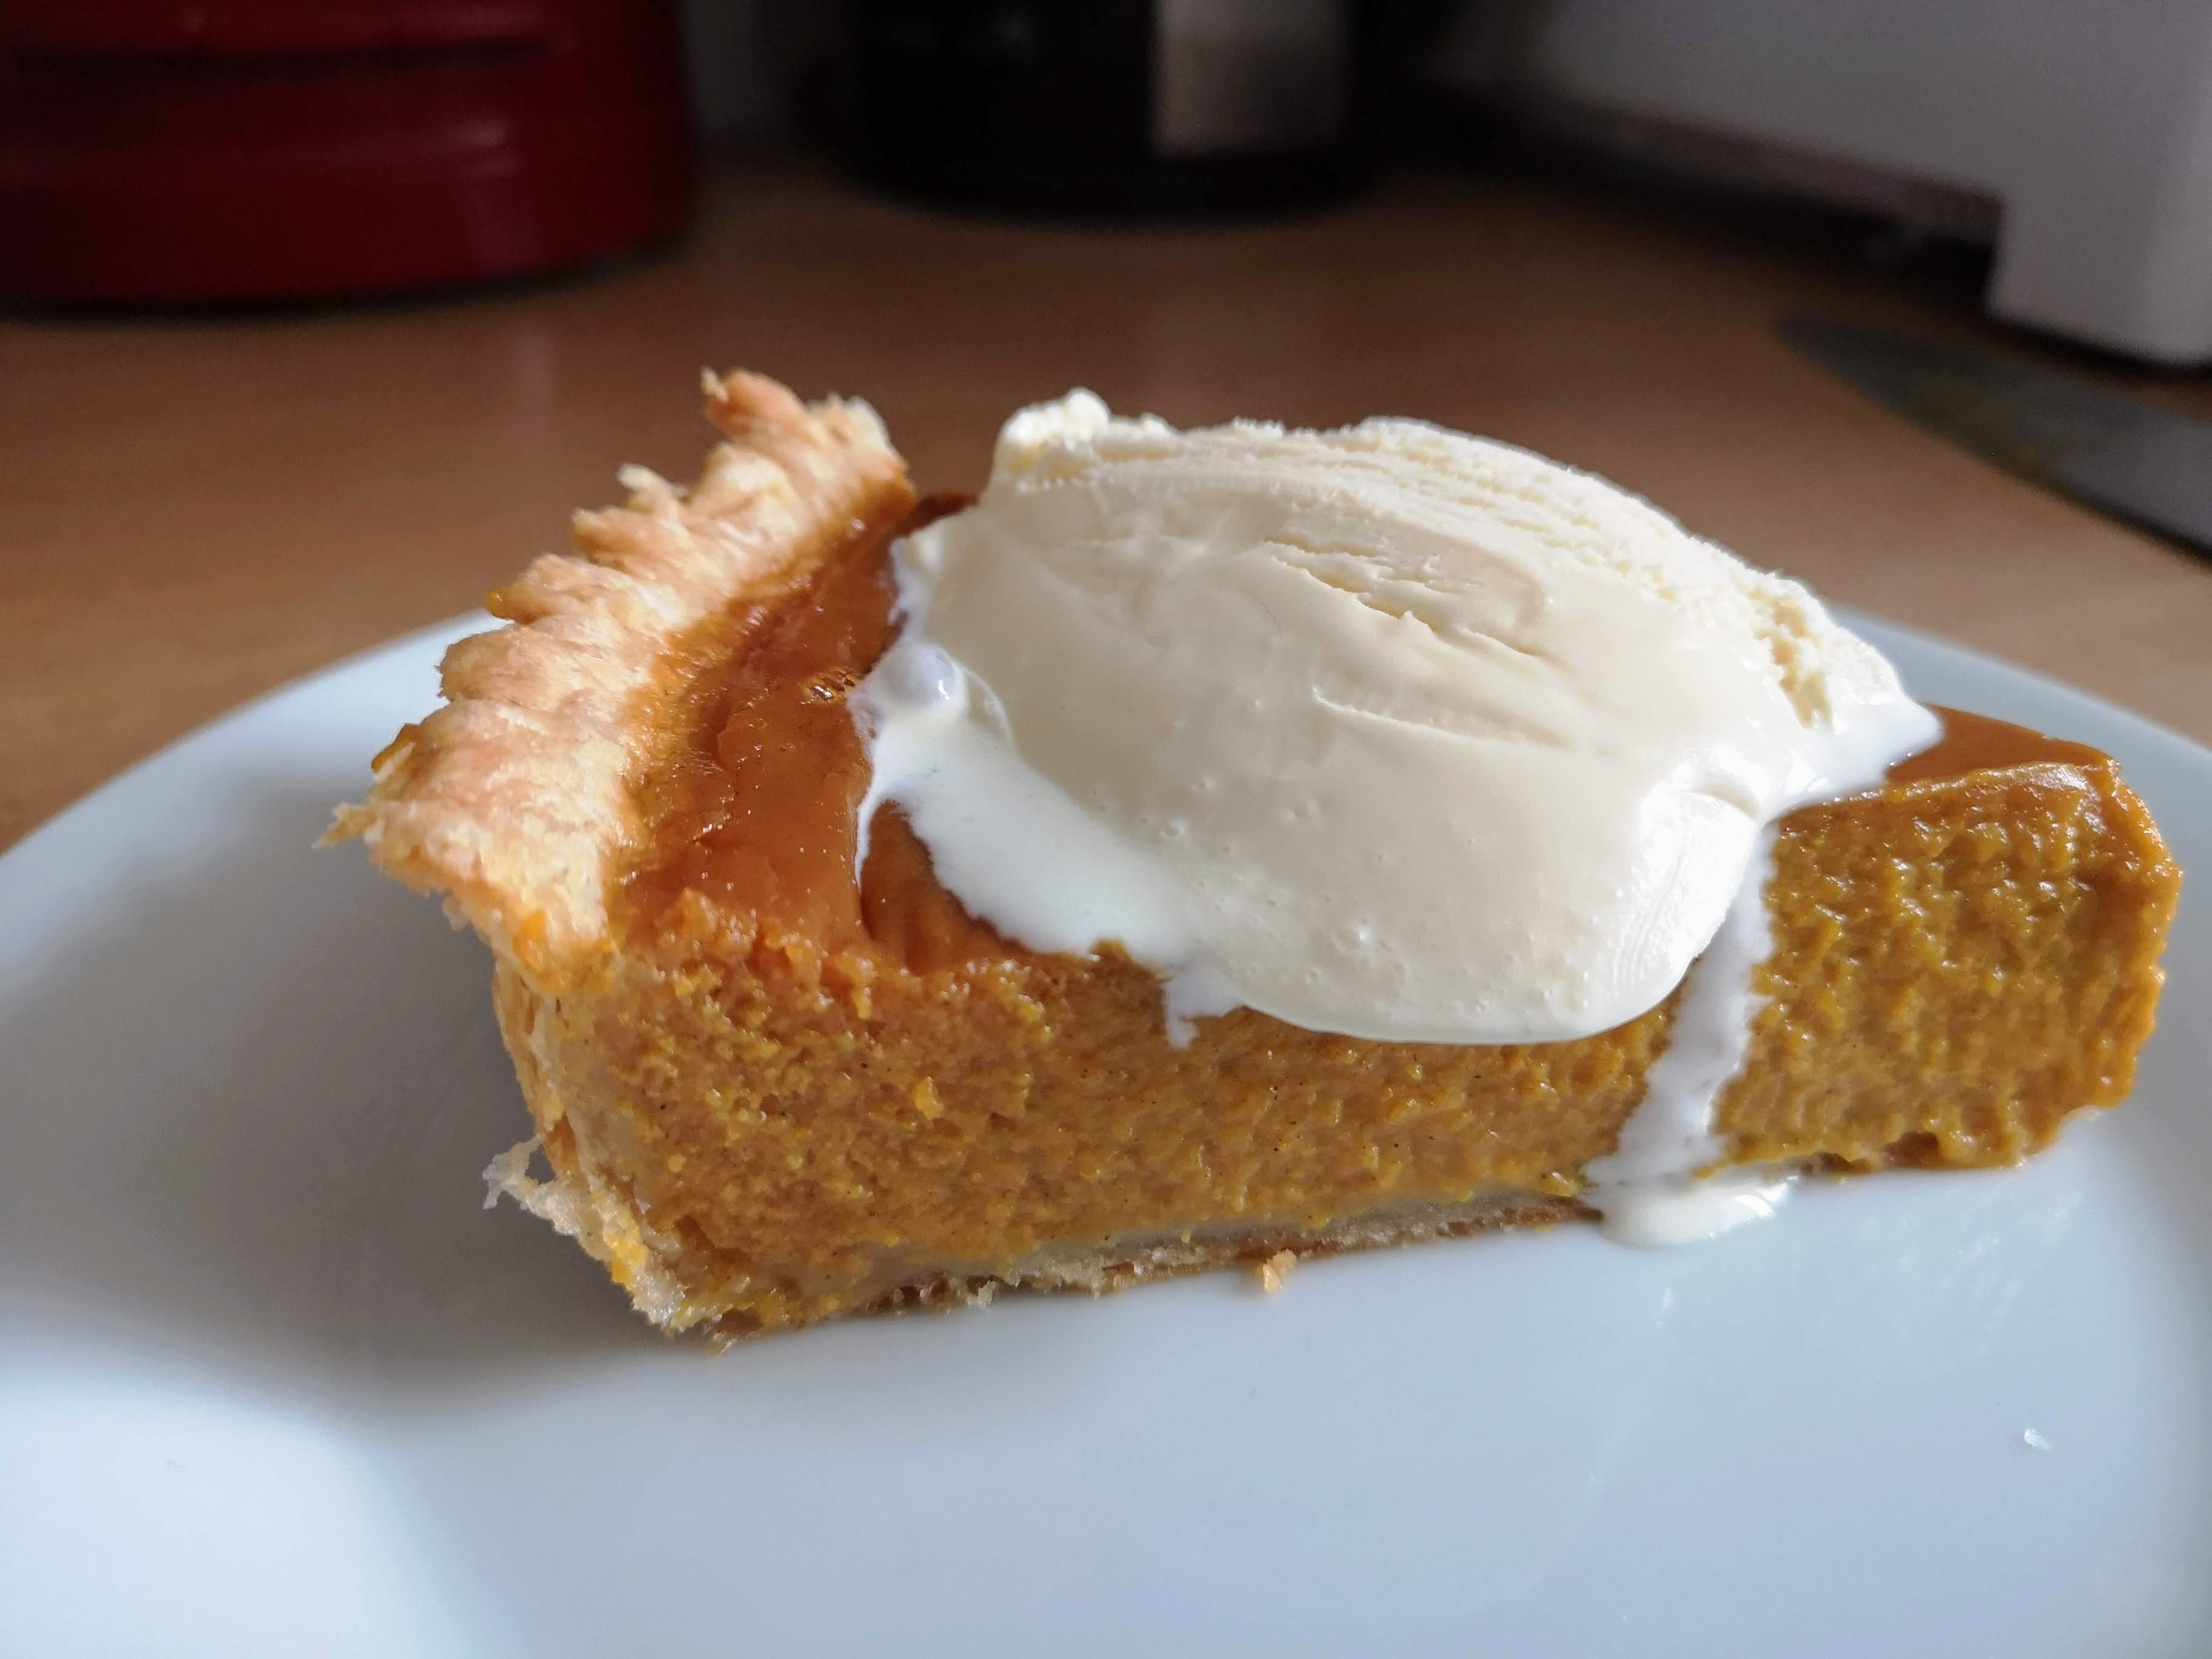
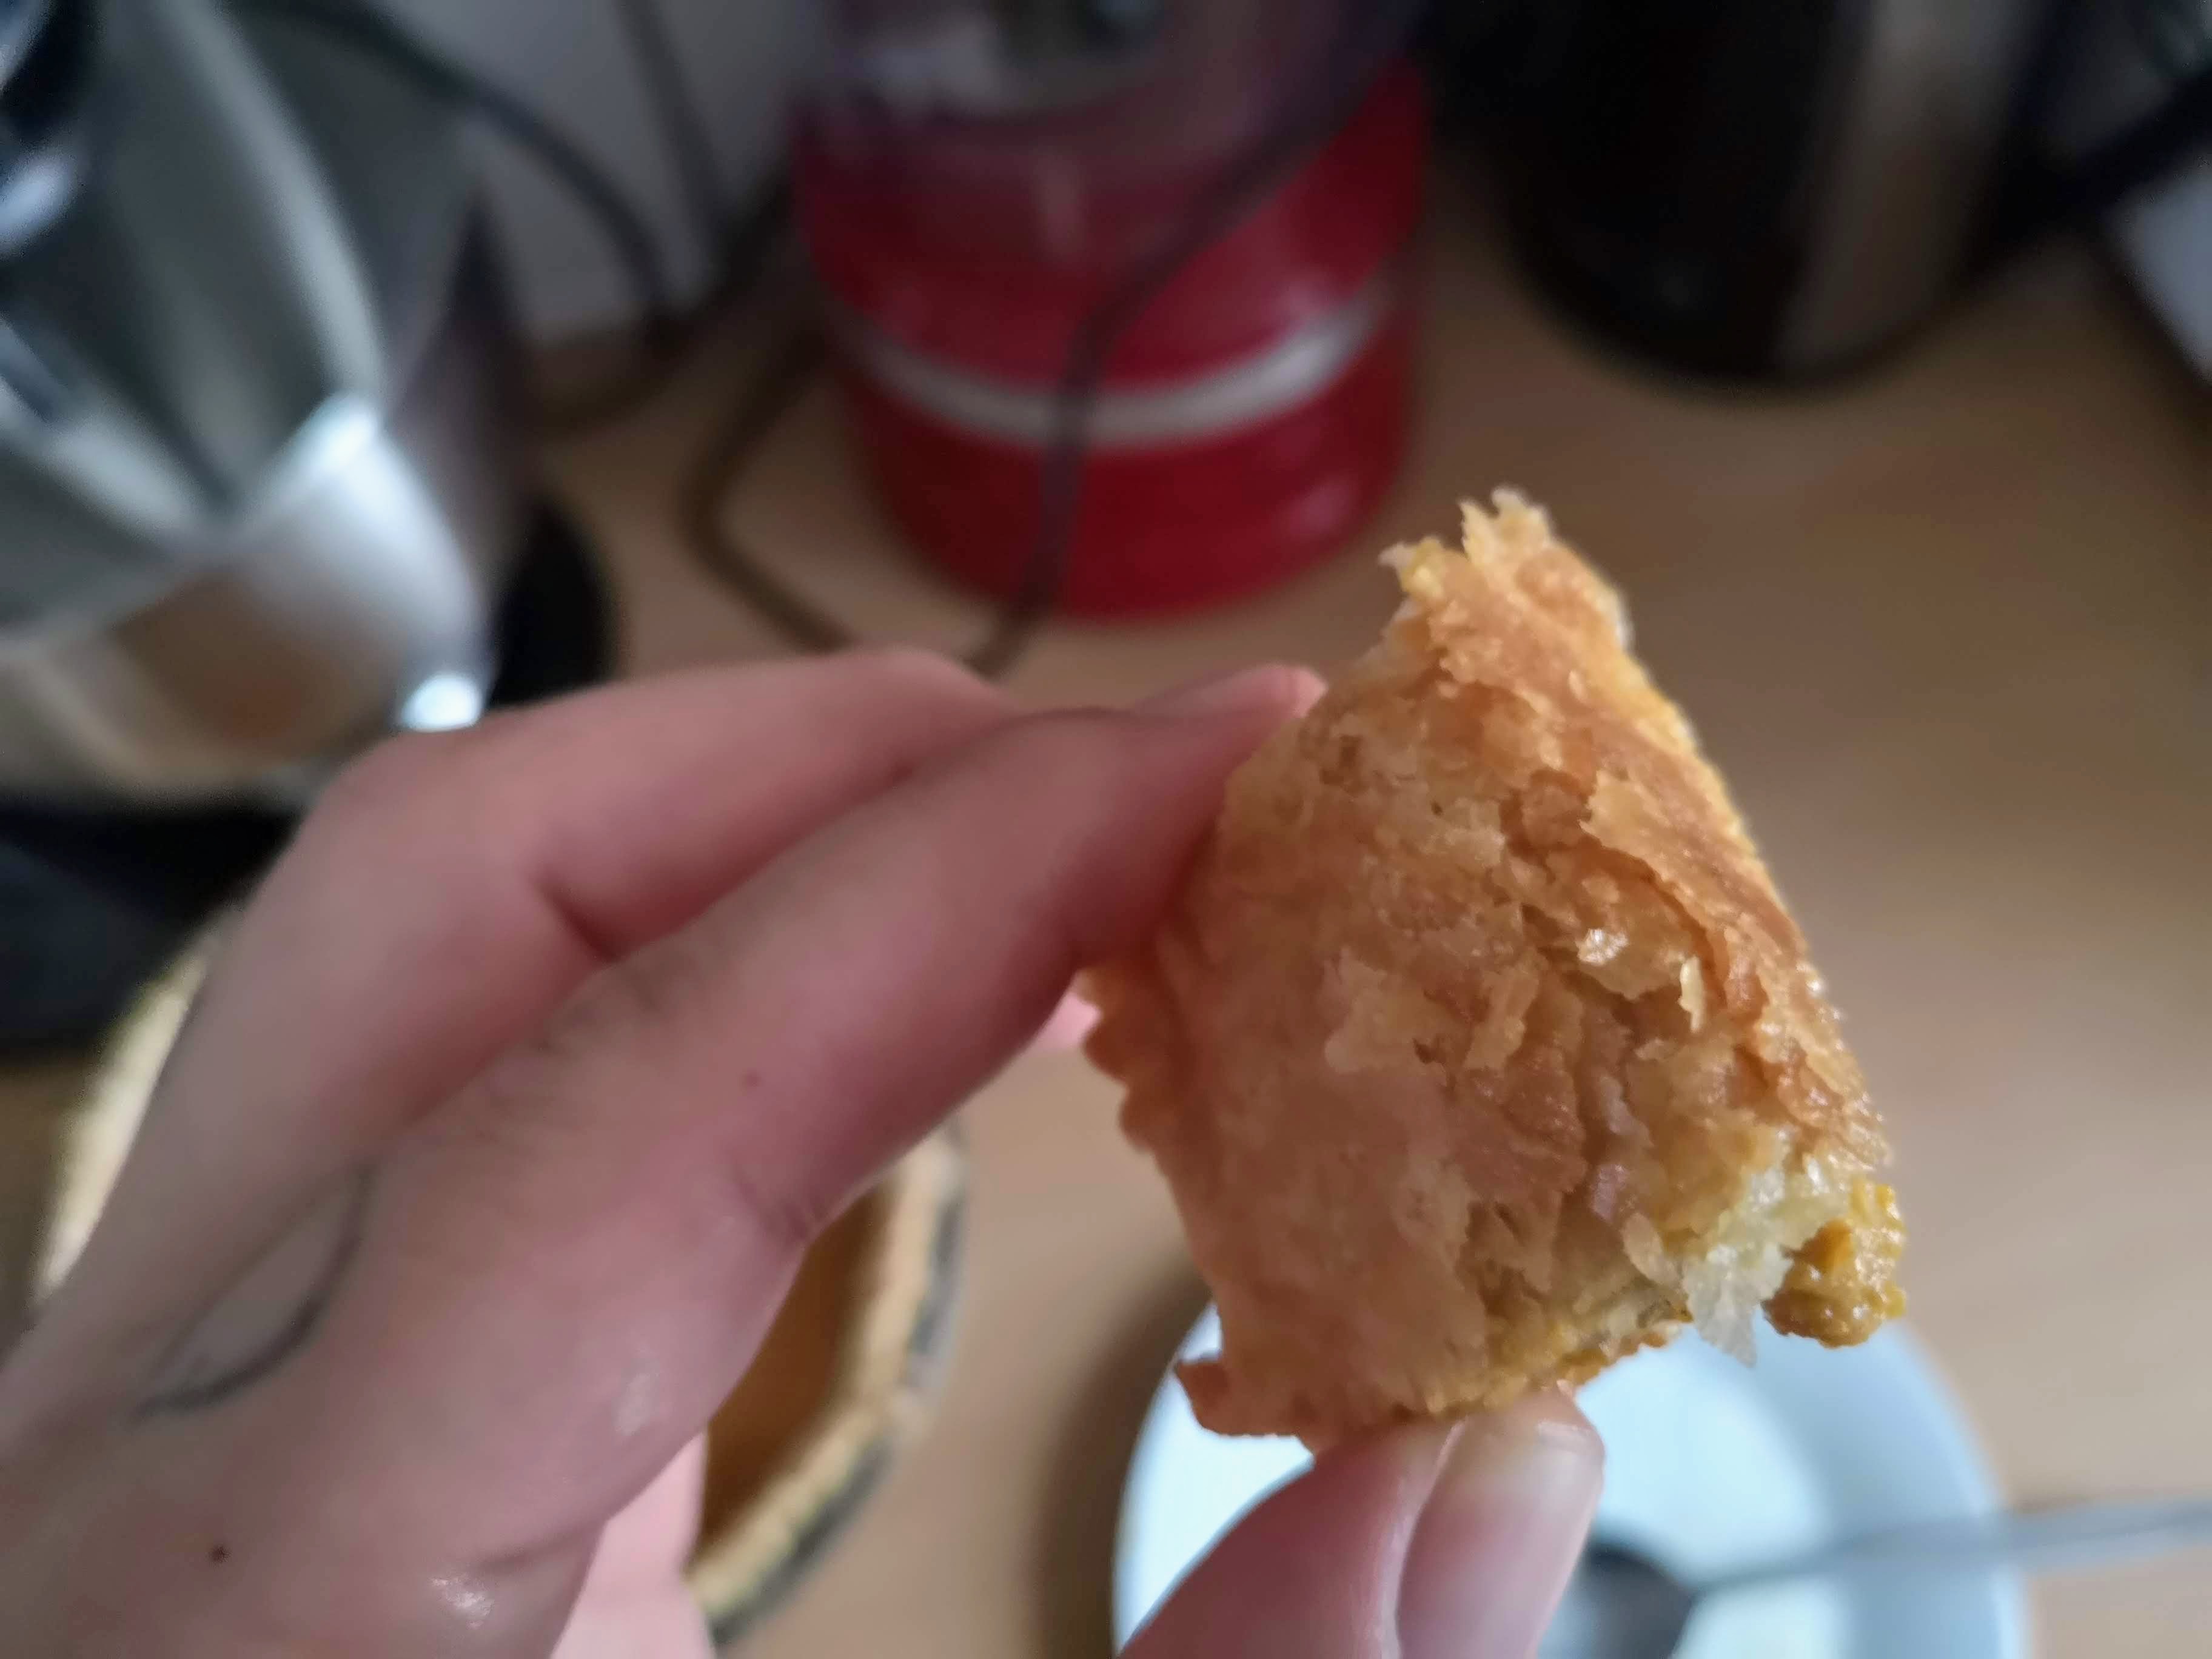
This was an exceptional pumpkin pie. The filling was mildly spicy, subtly sweet, creamy, airy, and full of fruity pumpkin earthiness. The crust was spot on. It was flaky, with buttery crisp edges and a nice savoriness thanks to that lard.
Just look at that crispy flaky crust in the photo below. That’s what you want in a pie crust. It’s the building block of the perfect dessert to power you through the end of the year.