Humans love photography. There is a natural human drive to capture images of those things we find beautiful or emotionally impactful. We fill albums and frames with pics and keep them where we can reflect on the images as we move through our days. We pay to enter galleries and museums full of photographs. We buy coffee table books with page after page of powerful visuals. All things considered, Instagram‘s popularity is no big surprise.
But it can be frustrating to encounter a breathtaking landscape while you are on a hike or waking along the beach and be unable to truly capture it. It’s an irritation that a lot of people feel and that’s because becoming an adept photographer takes time, patience, and serious learning. Everyone thinks they have a good eye, but do they have good technique?
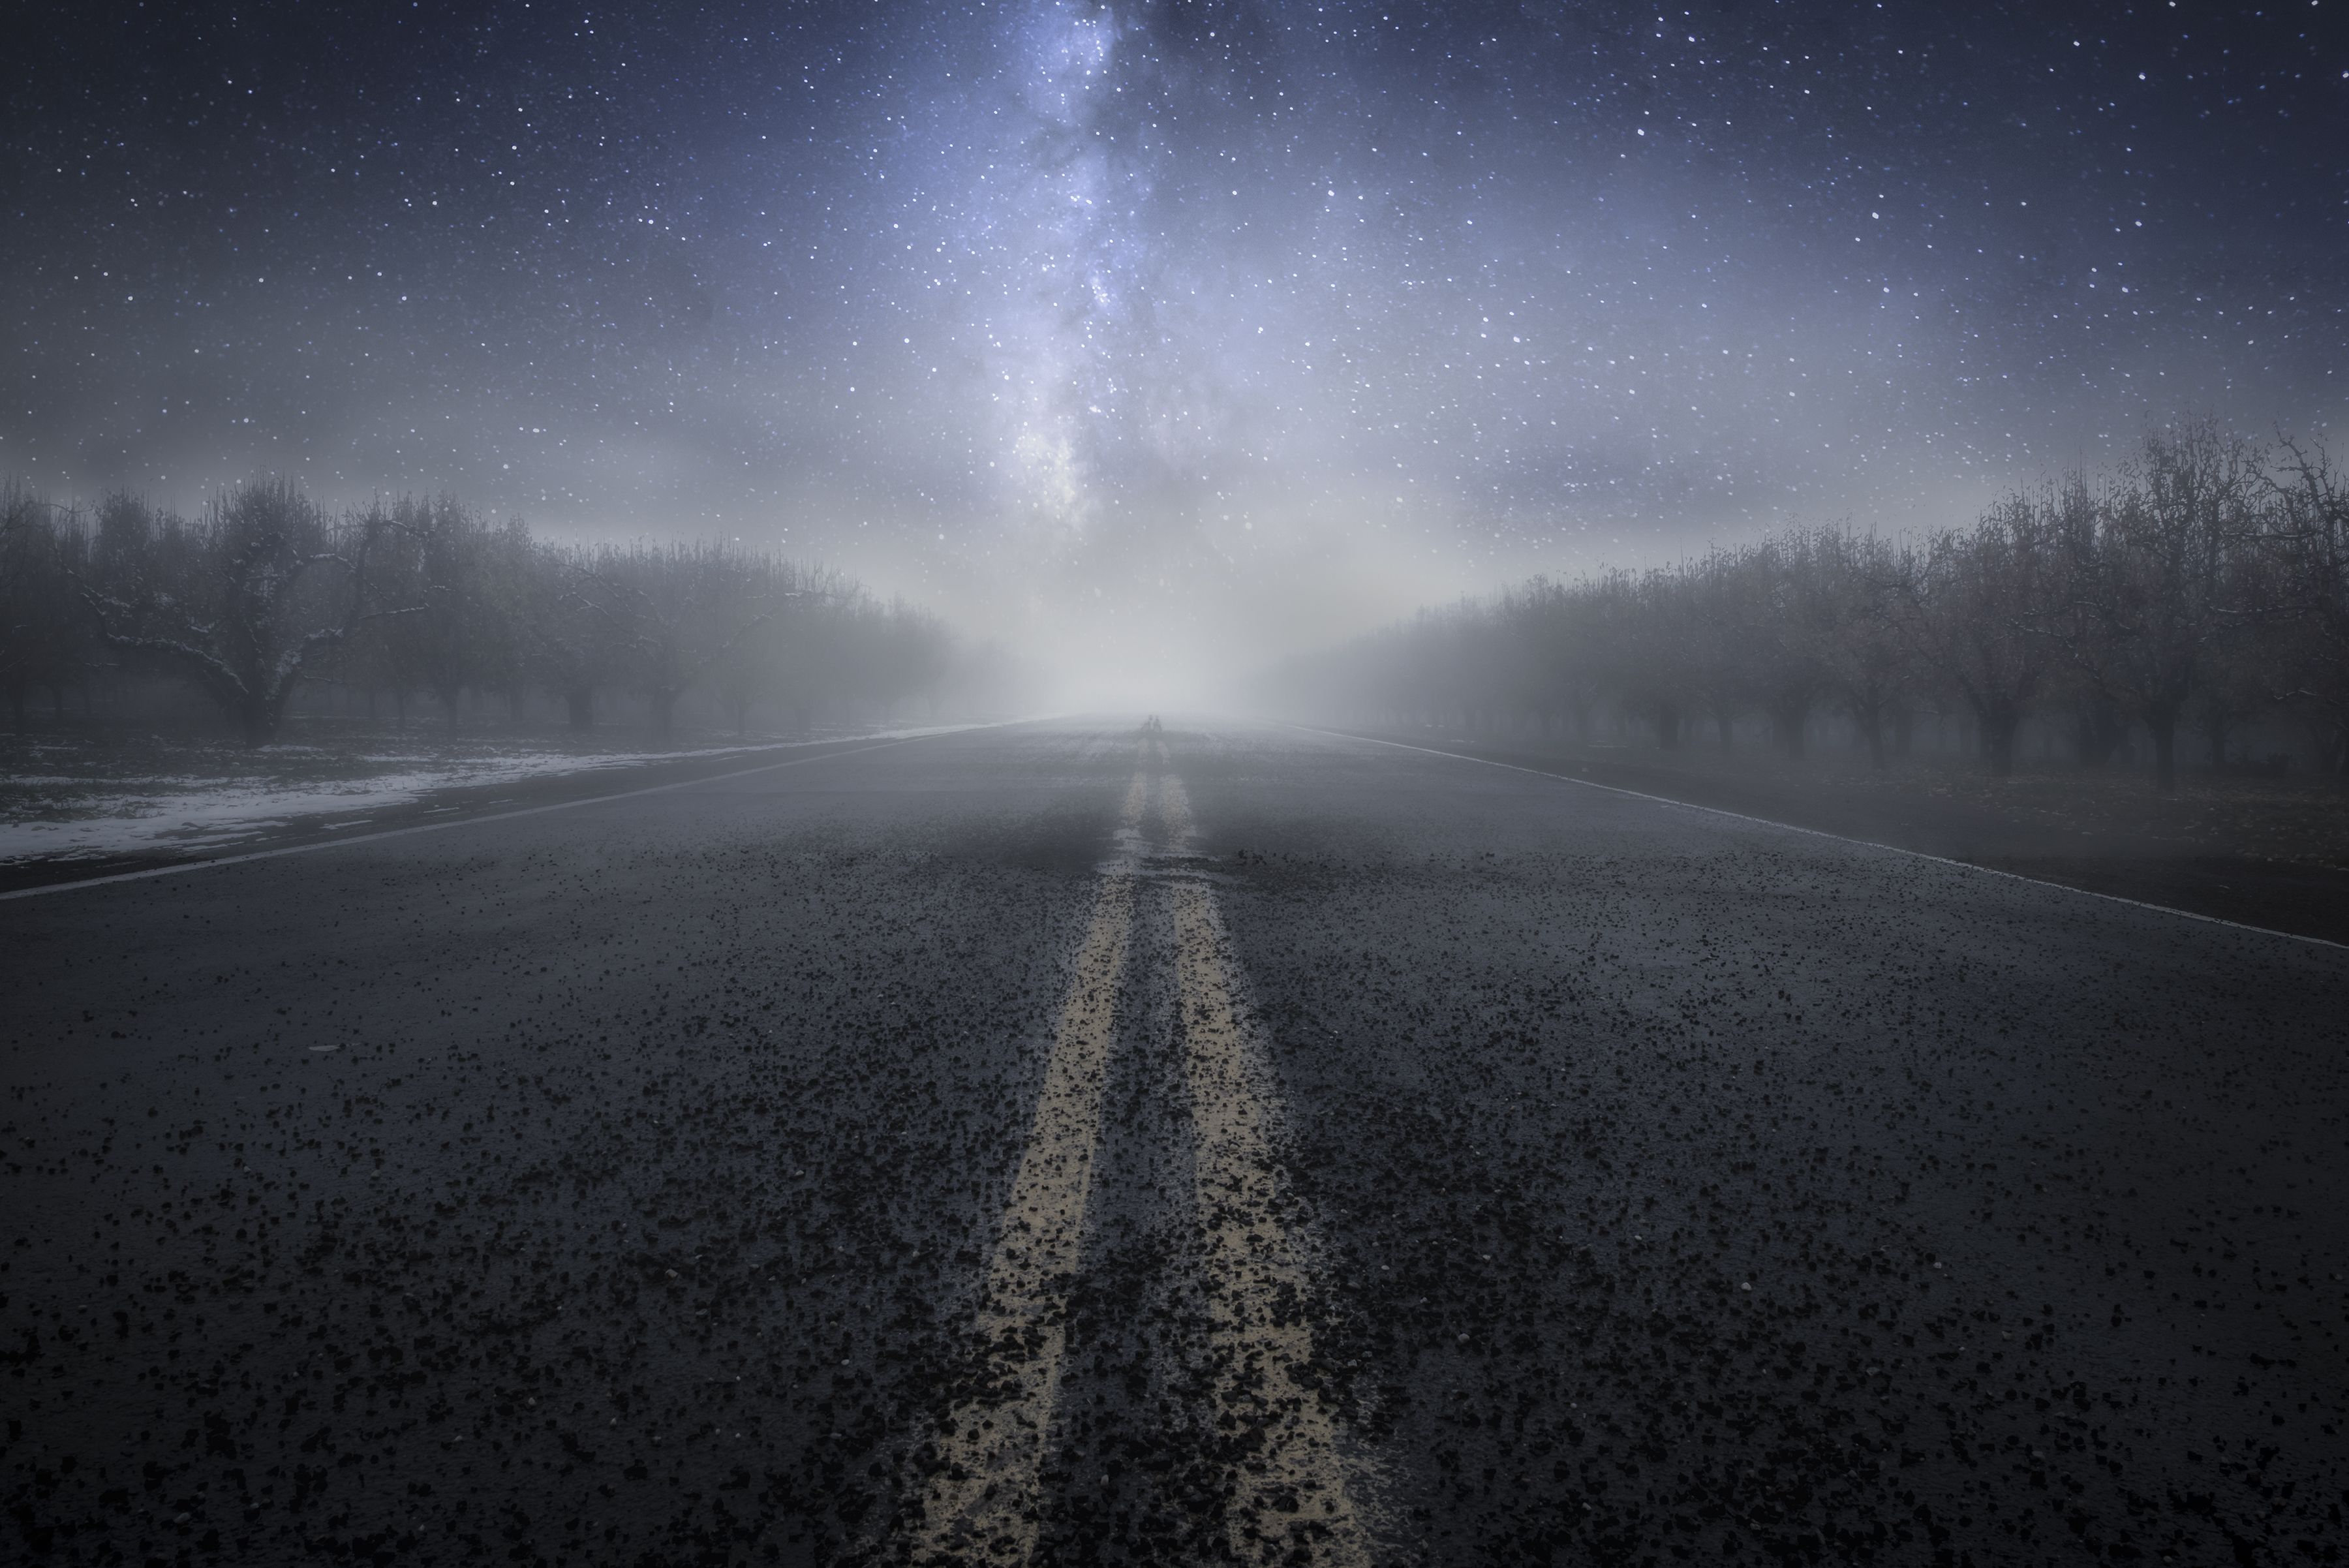
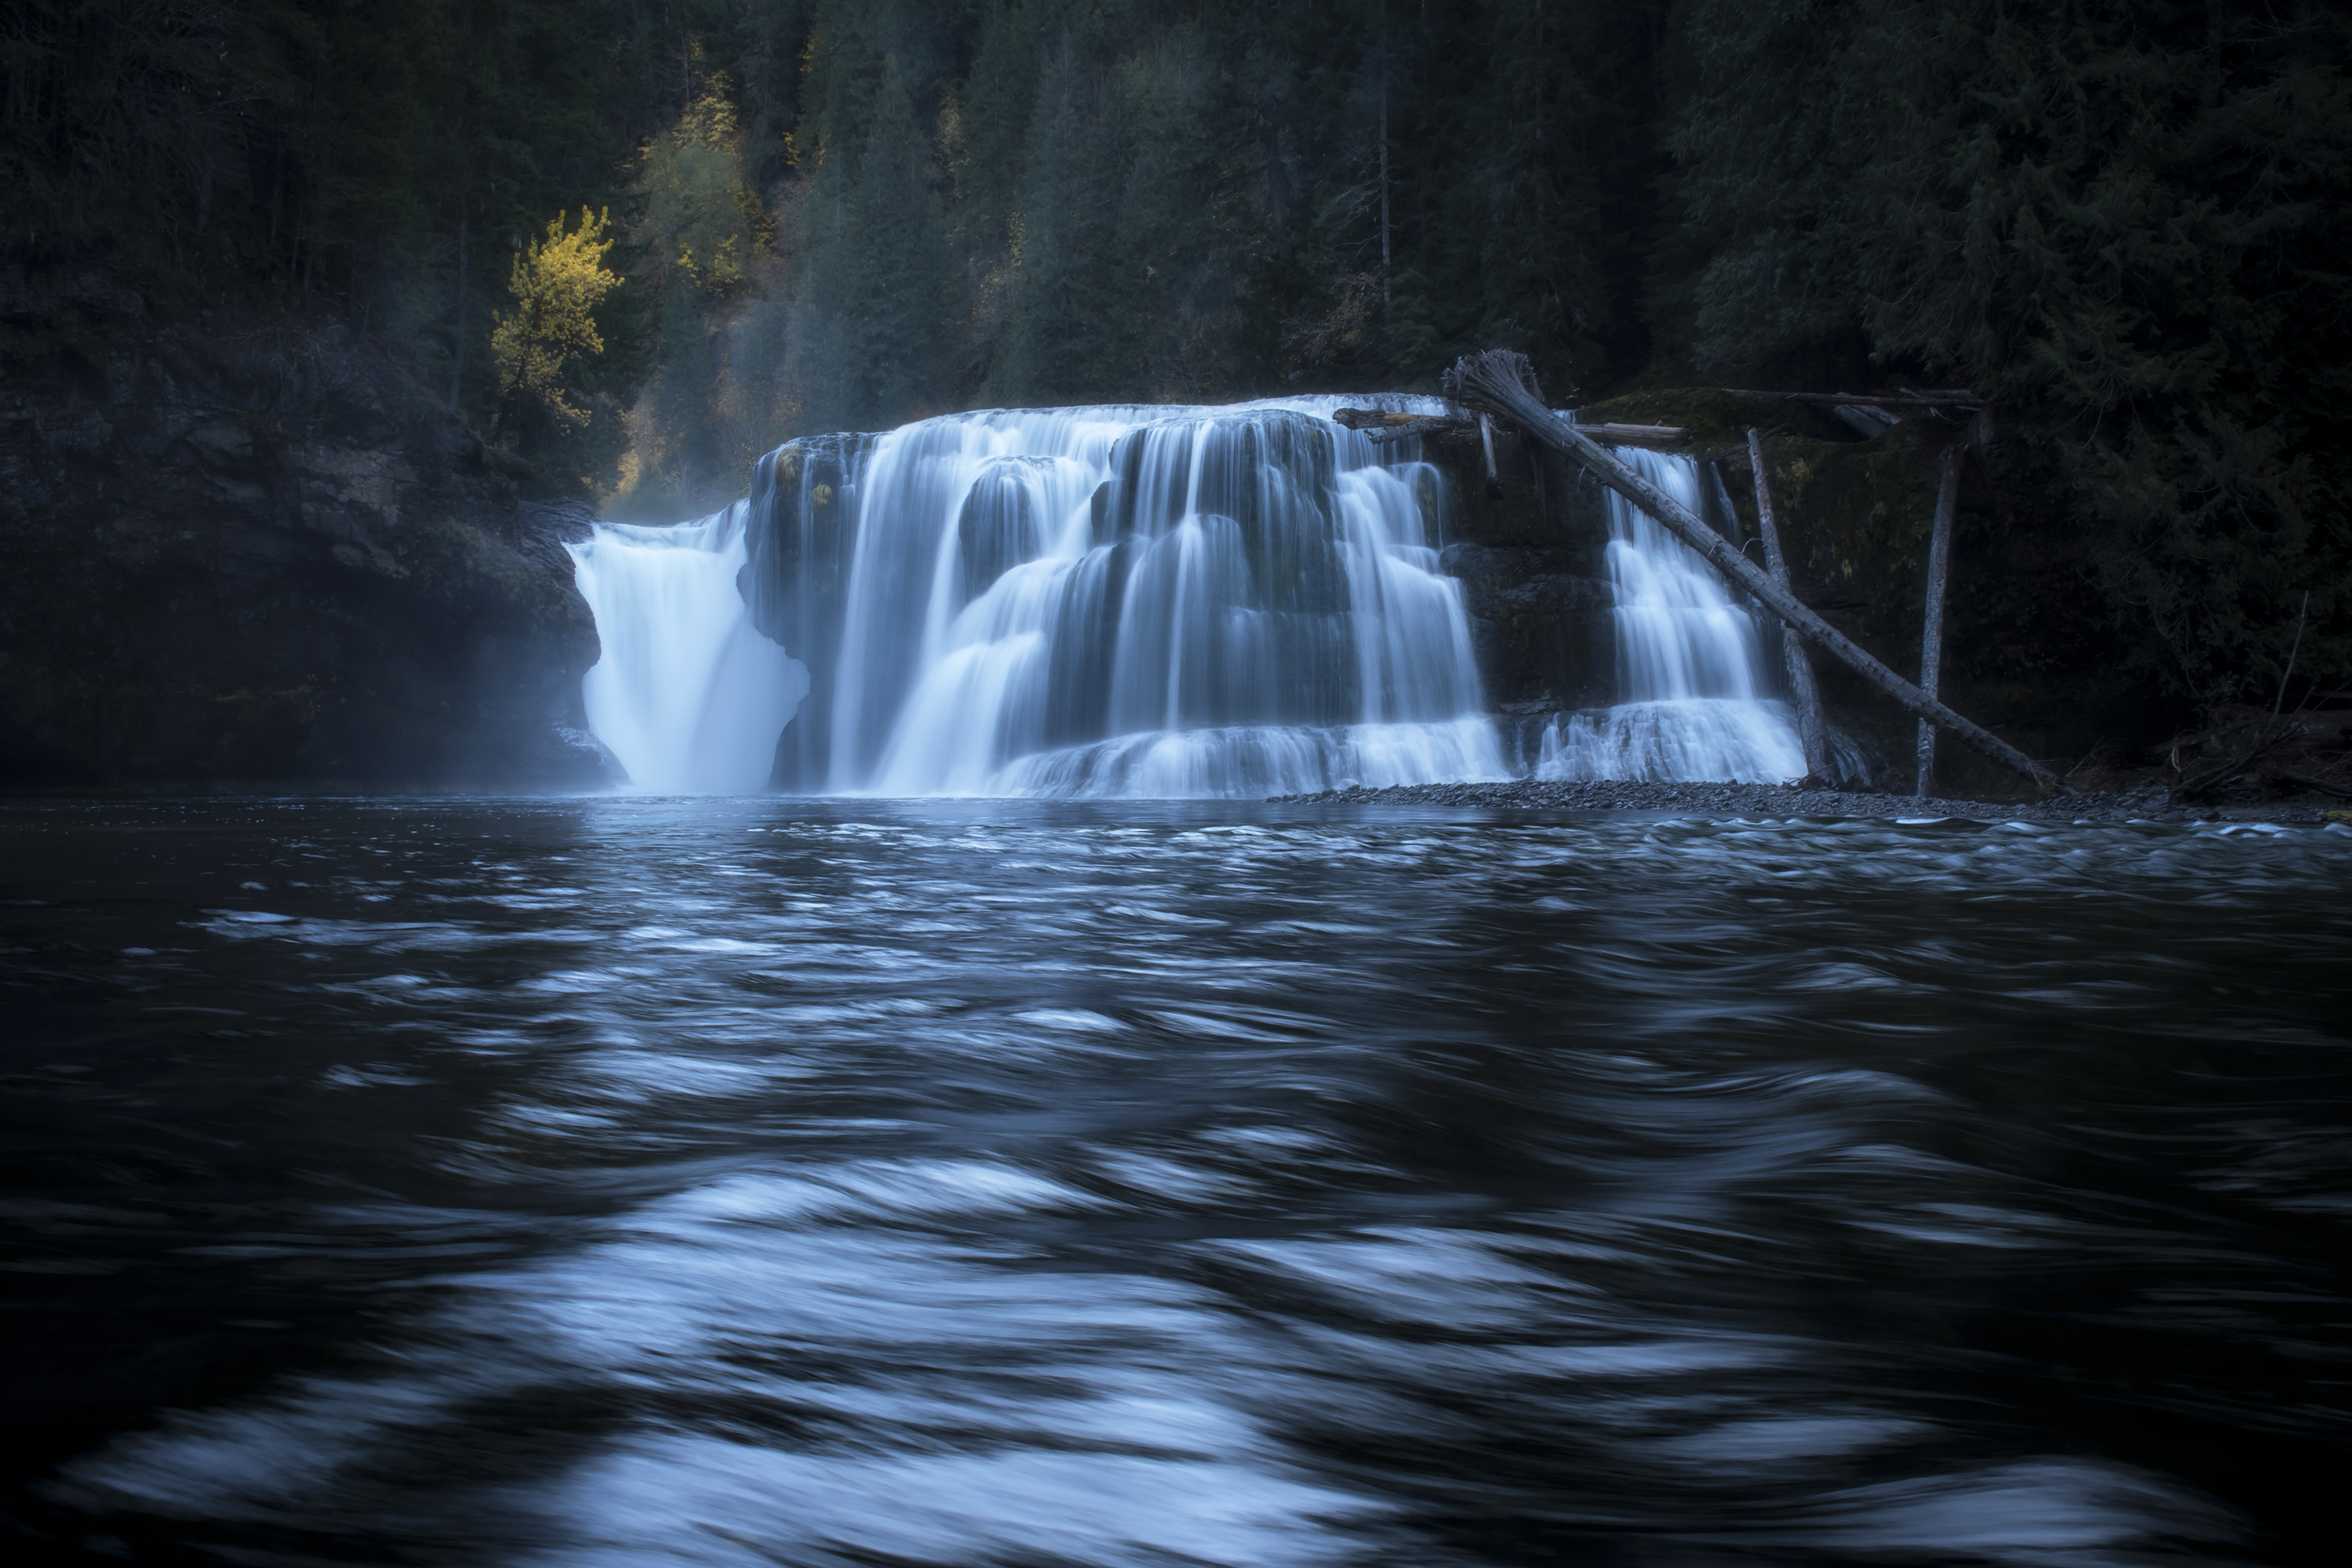
Rather than leave you to flail about independently with your camera or phone, we’re bringing you expert advice. Jerad Armijo blipped on our radar when he was featured as part of the #Nikon100 campaign on Instagram, which introduced a new talent every day for 100 days. We saw his nuanced, textured landscapes and knew he needed to give us insight into his craft.
Born in New Mexico and raised around the world as an Air Force brat, Armijo has found a home in Portland, Oregon, where he lives with his husband and their dog. The proximity to the natural beauty of the Pacific Northwest gives him a neverending parade of subject matter for his incredible landscape images. Beyond the excellent technical aspects of his work, what may make it acutely special is that he aims to include a piece of himself in every image that he takes. He wants the audience to know when he is happy or sad, and that communication is critical to Armijo in his growth as a photographer and as a person.
We asked Armijo to lay down the rules for excelling in natural landscape photography. This advice will help you level up as you take this hobby more seriously.
#1: Take Time to Plan
I’m a huge planner. I usually scout an area before I actually go and shoot the area. After examining that area with certain lighting, I know it’ll look fantastic in certain spots. A lot of my shots are actually pretty strategic.
I’m a huge avid planner who uses different apps: multiple weather apps and sunrise/sunset apps. That way, when I do go there with a weather type, I’ll make sure I get the shot I want. But usually, I think about it in my mind. I create the image in my mind beforehand, even the landscape with the proper lighting so I have an idea of what exactly I want.
#2: Get The Best Natural Lighting
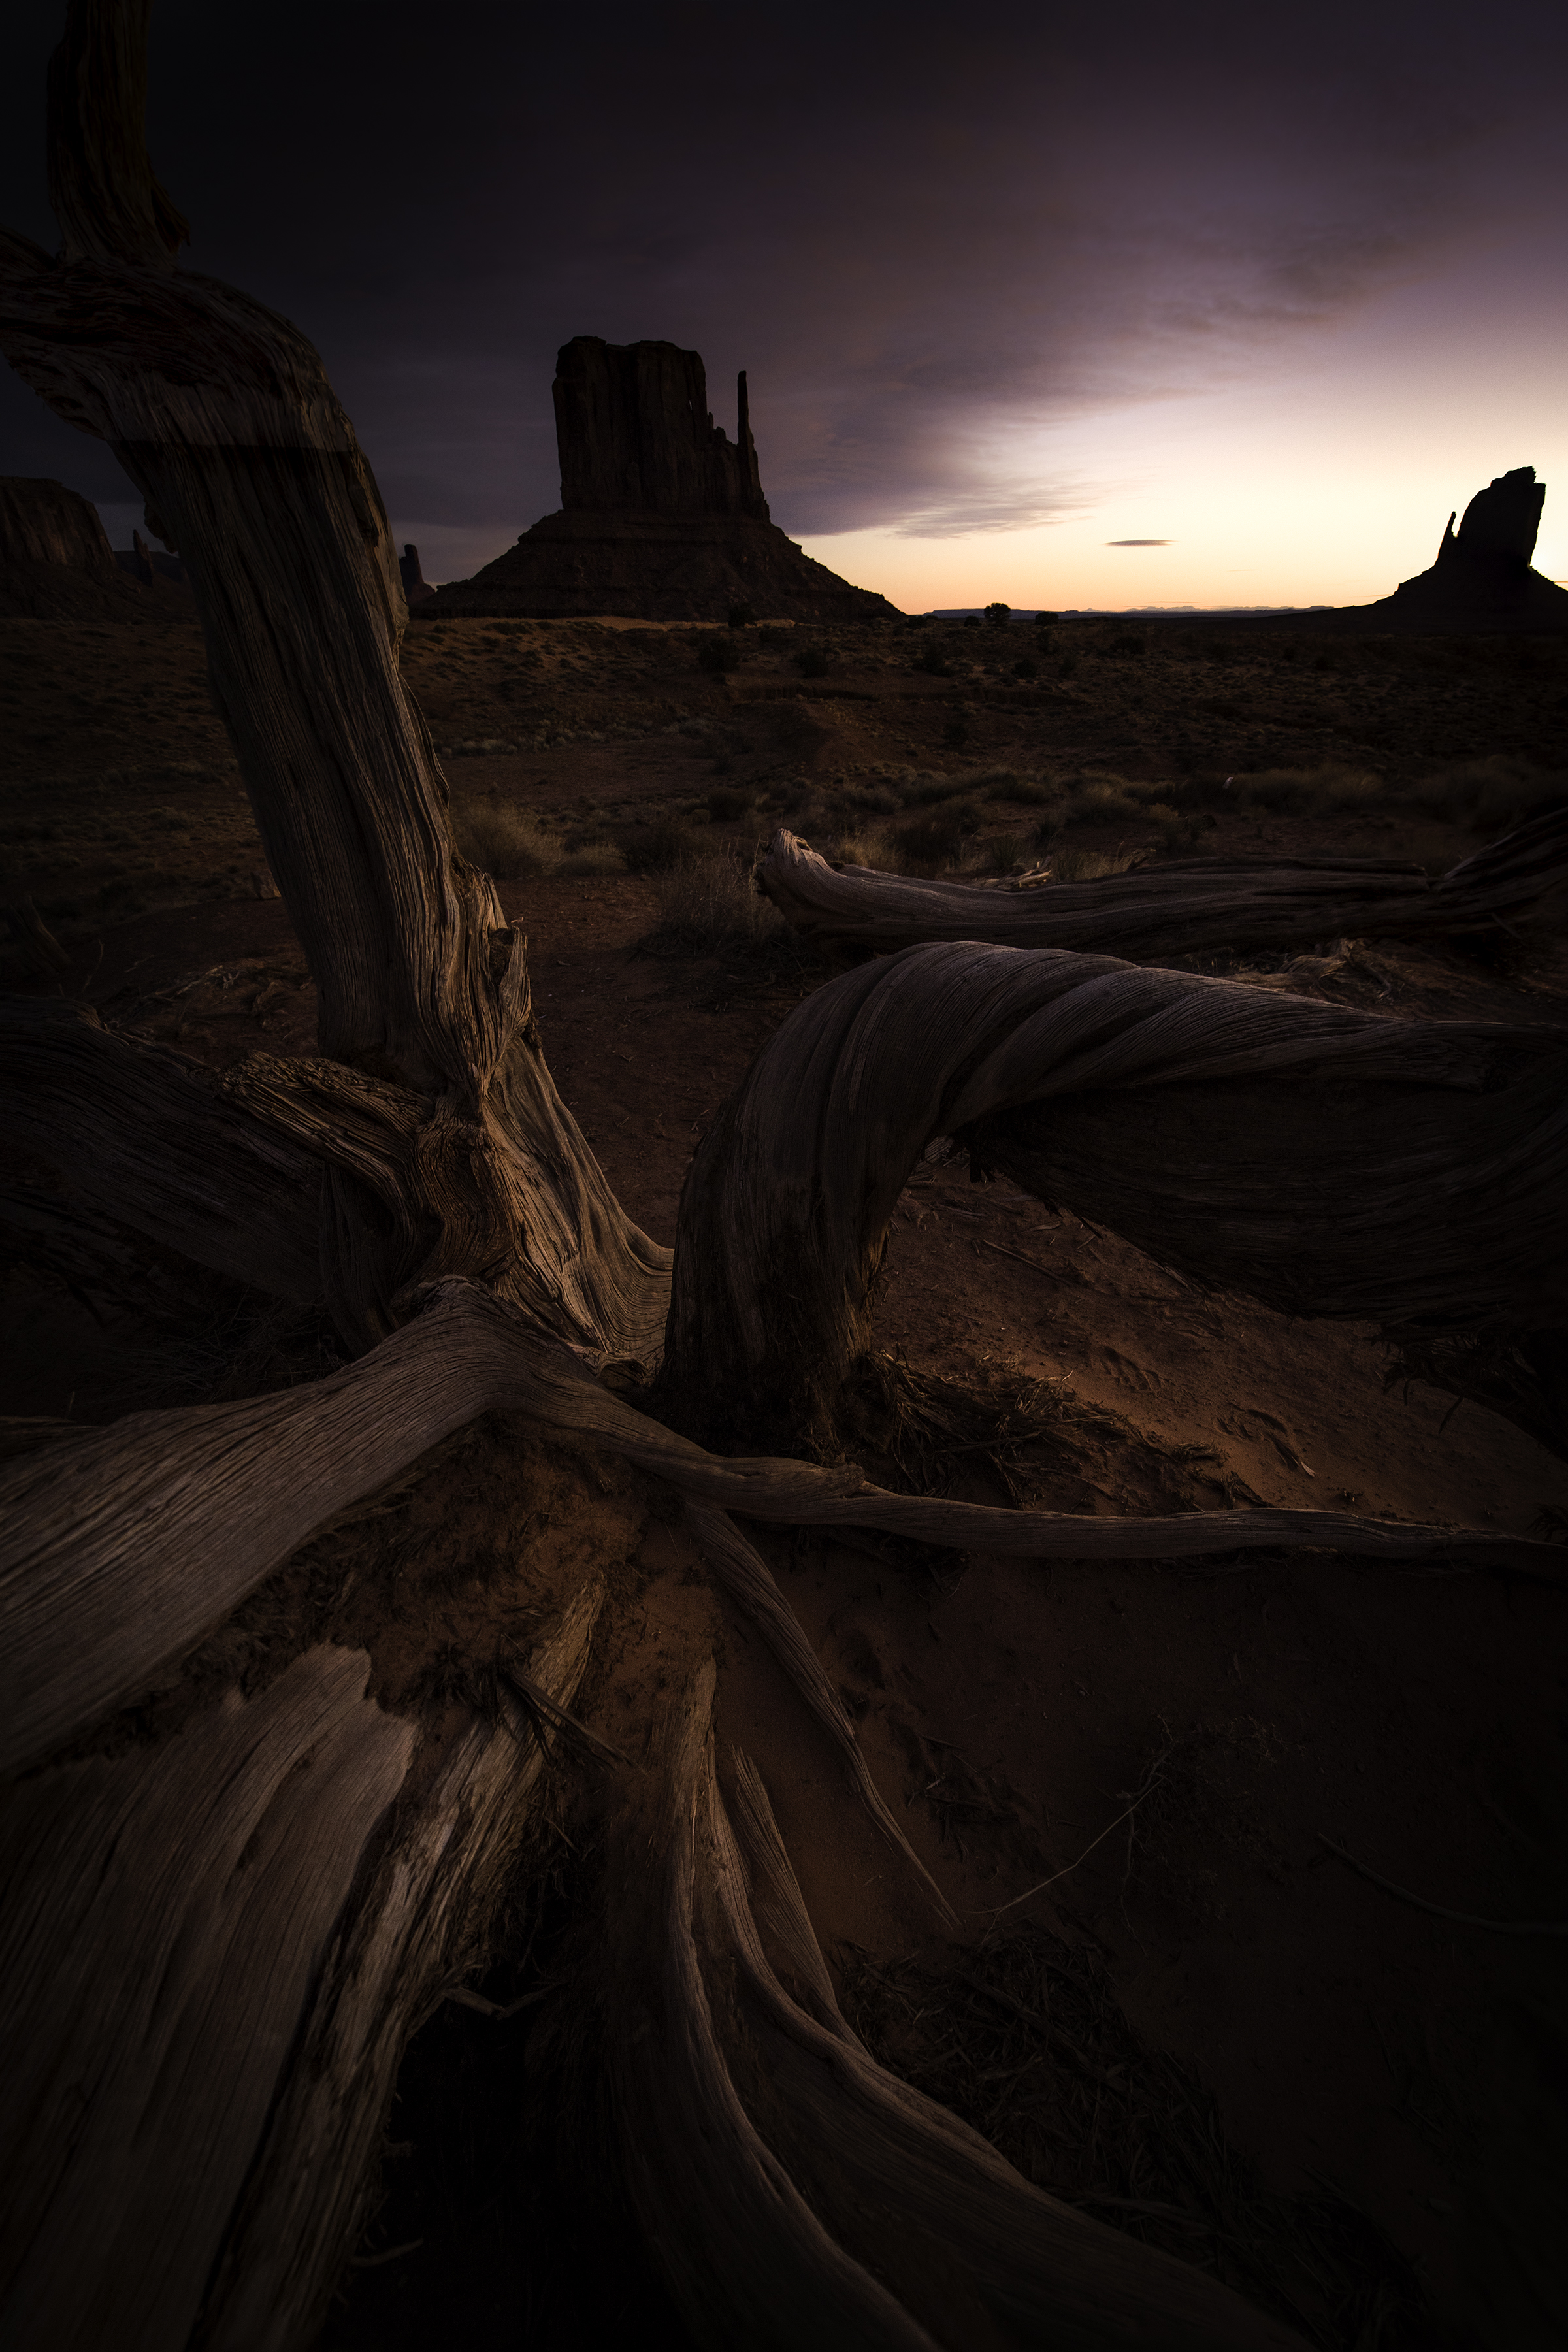
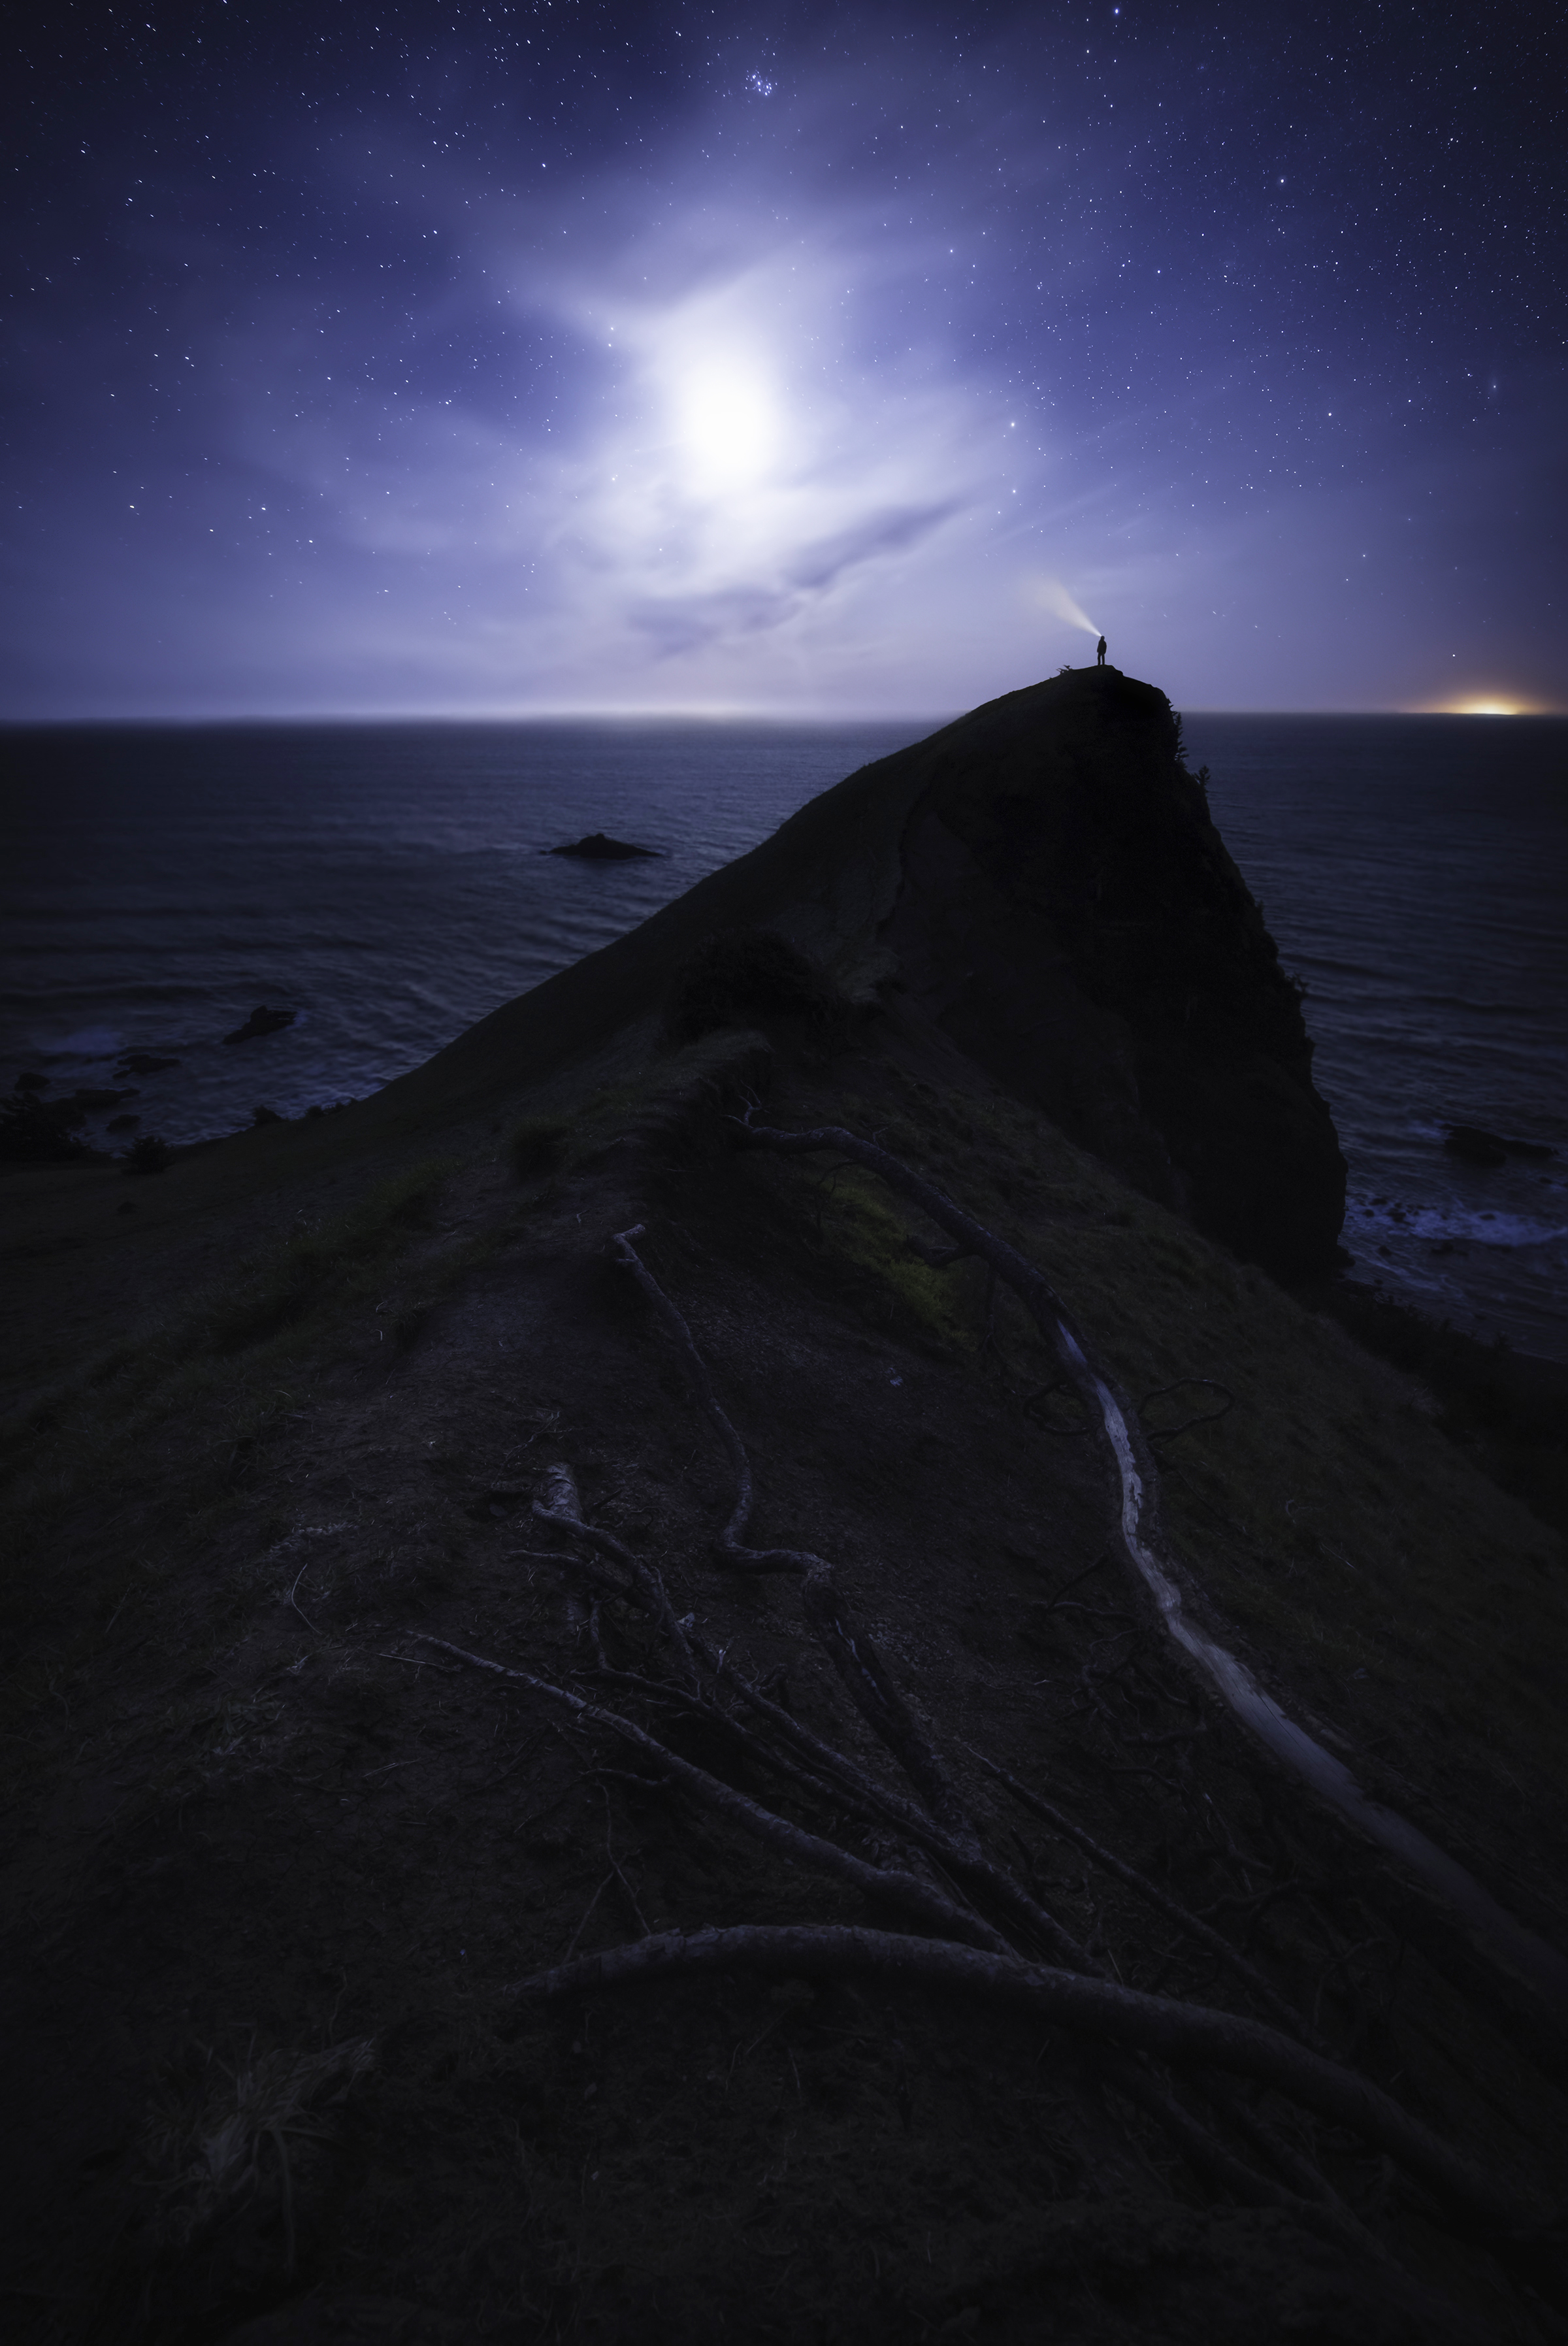
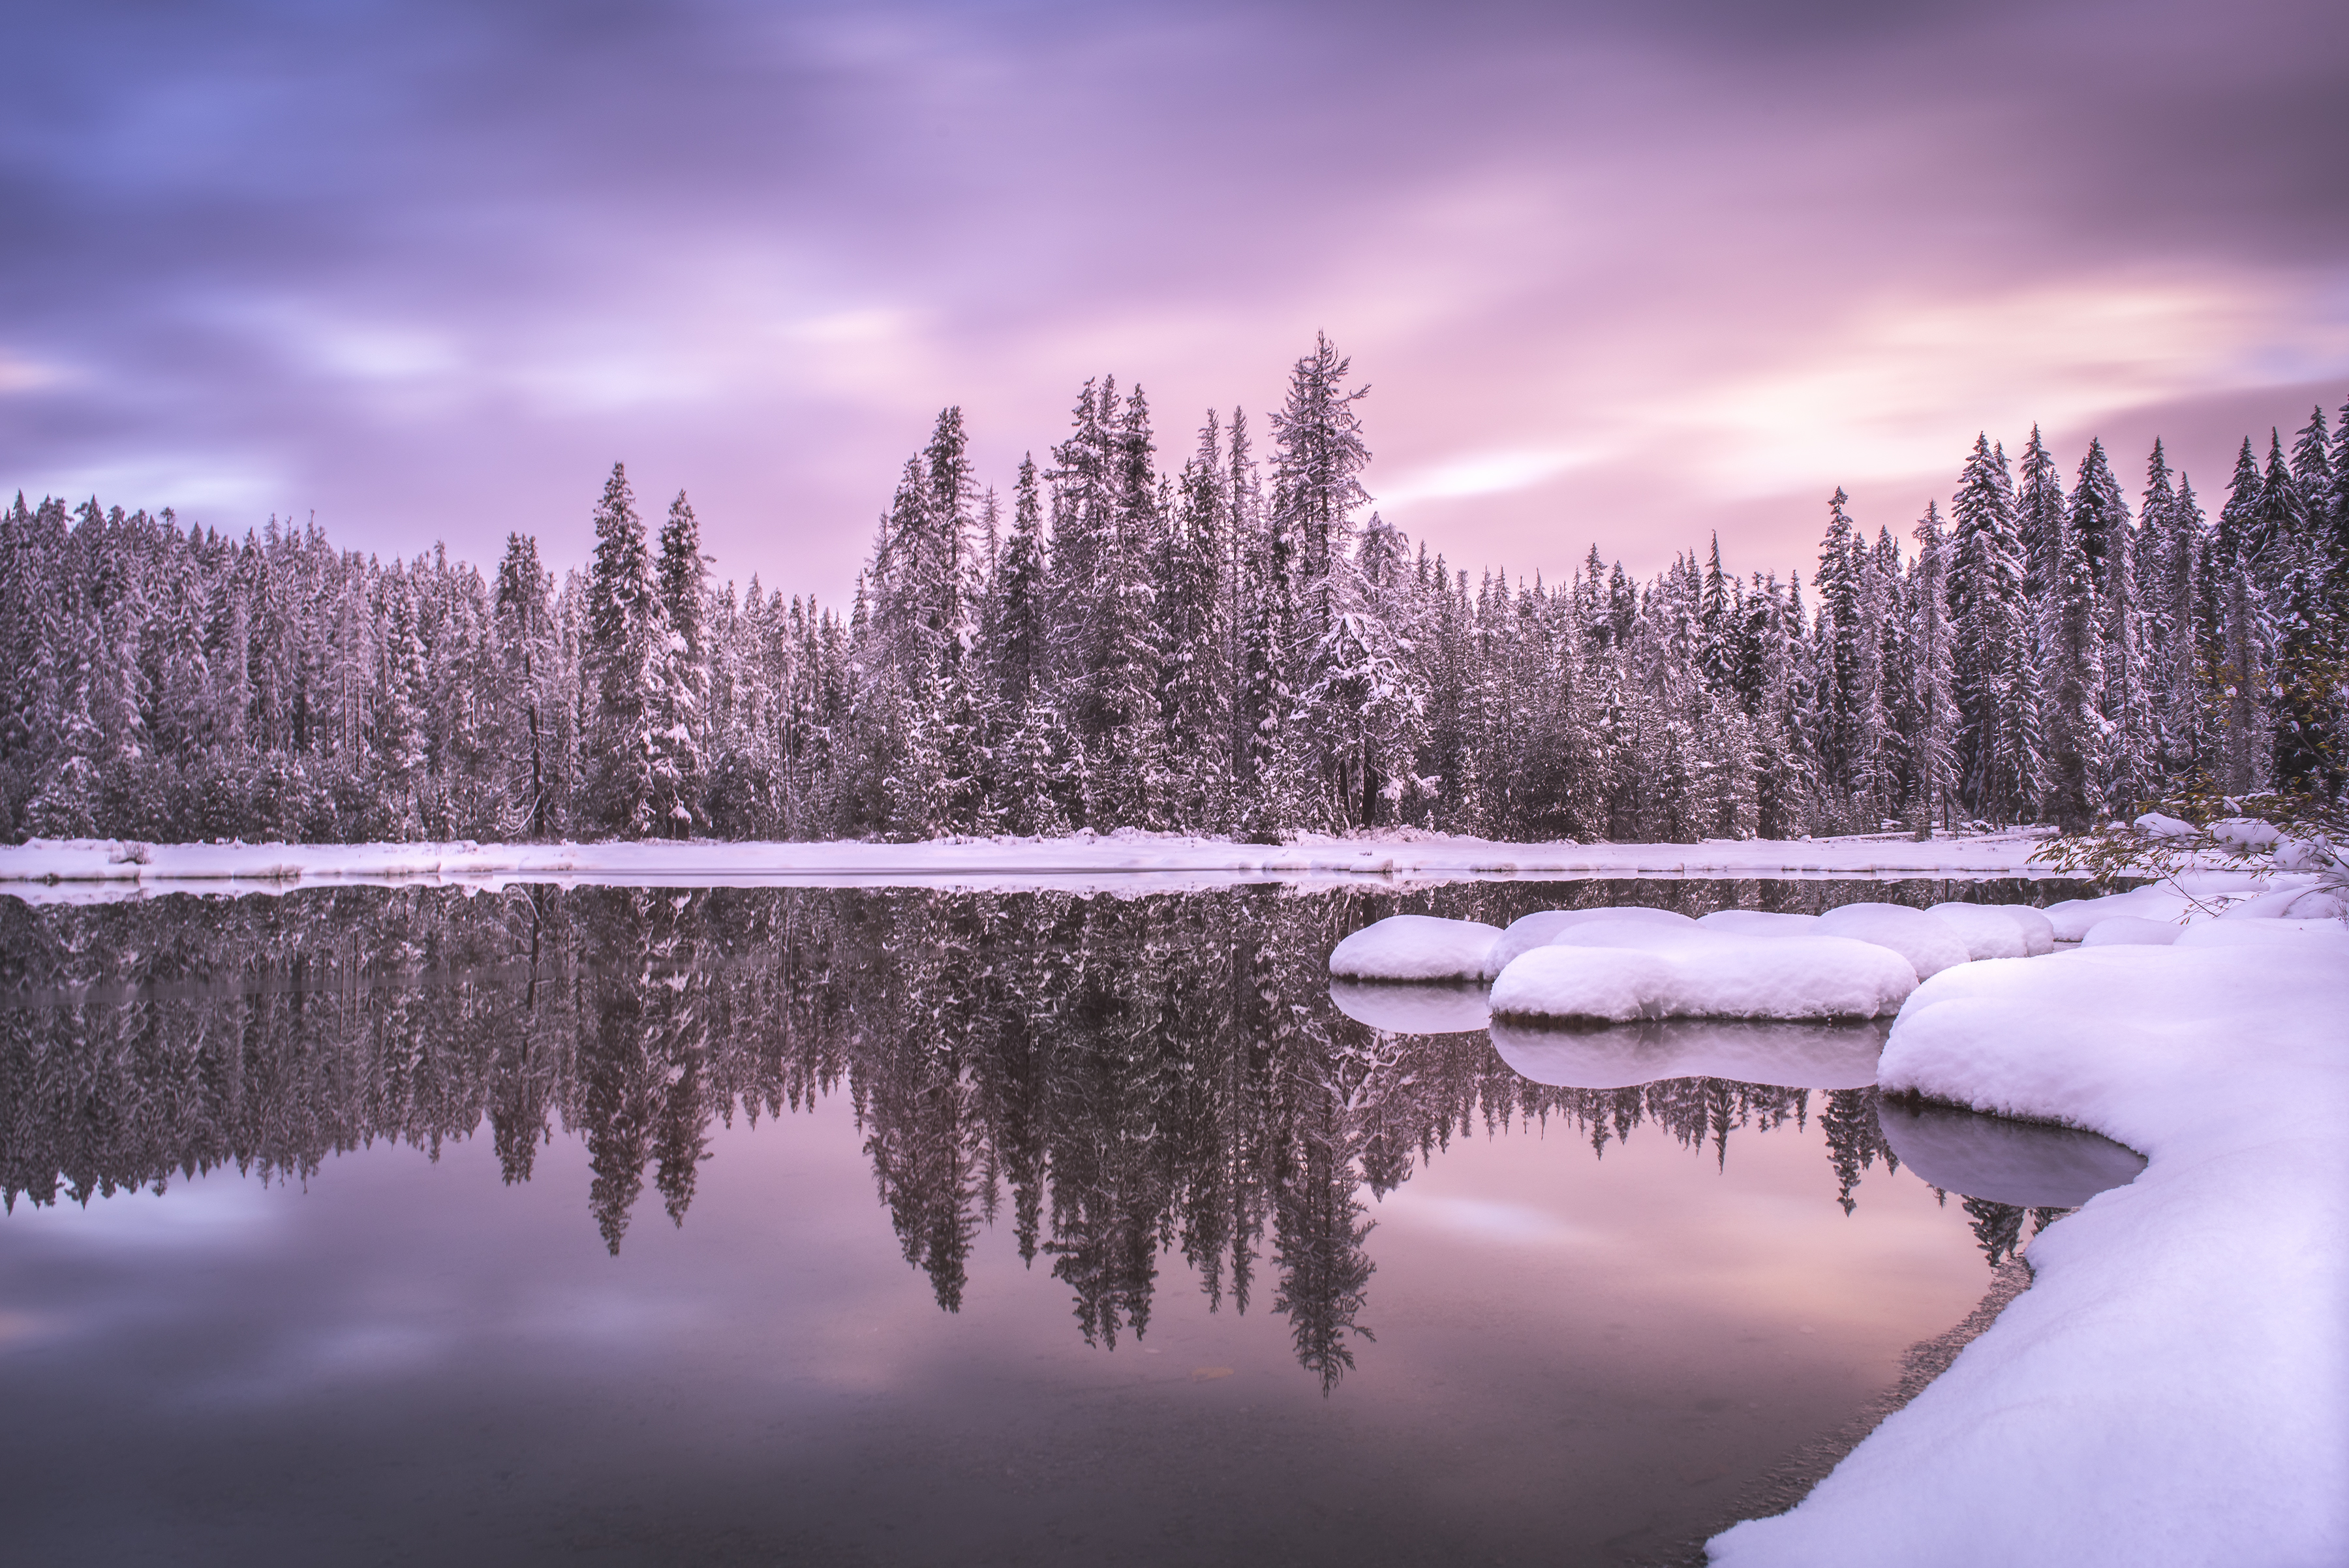
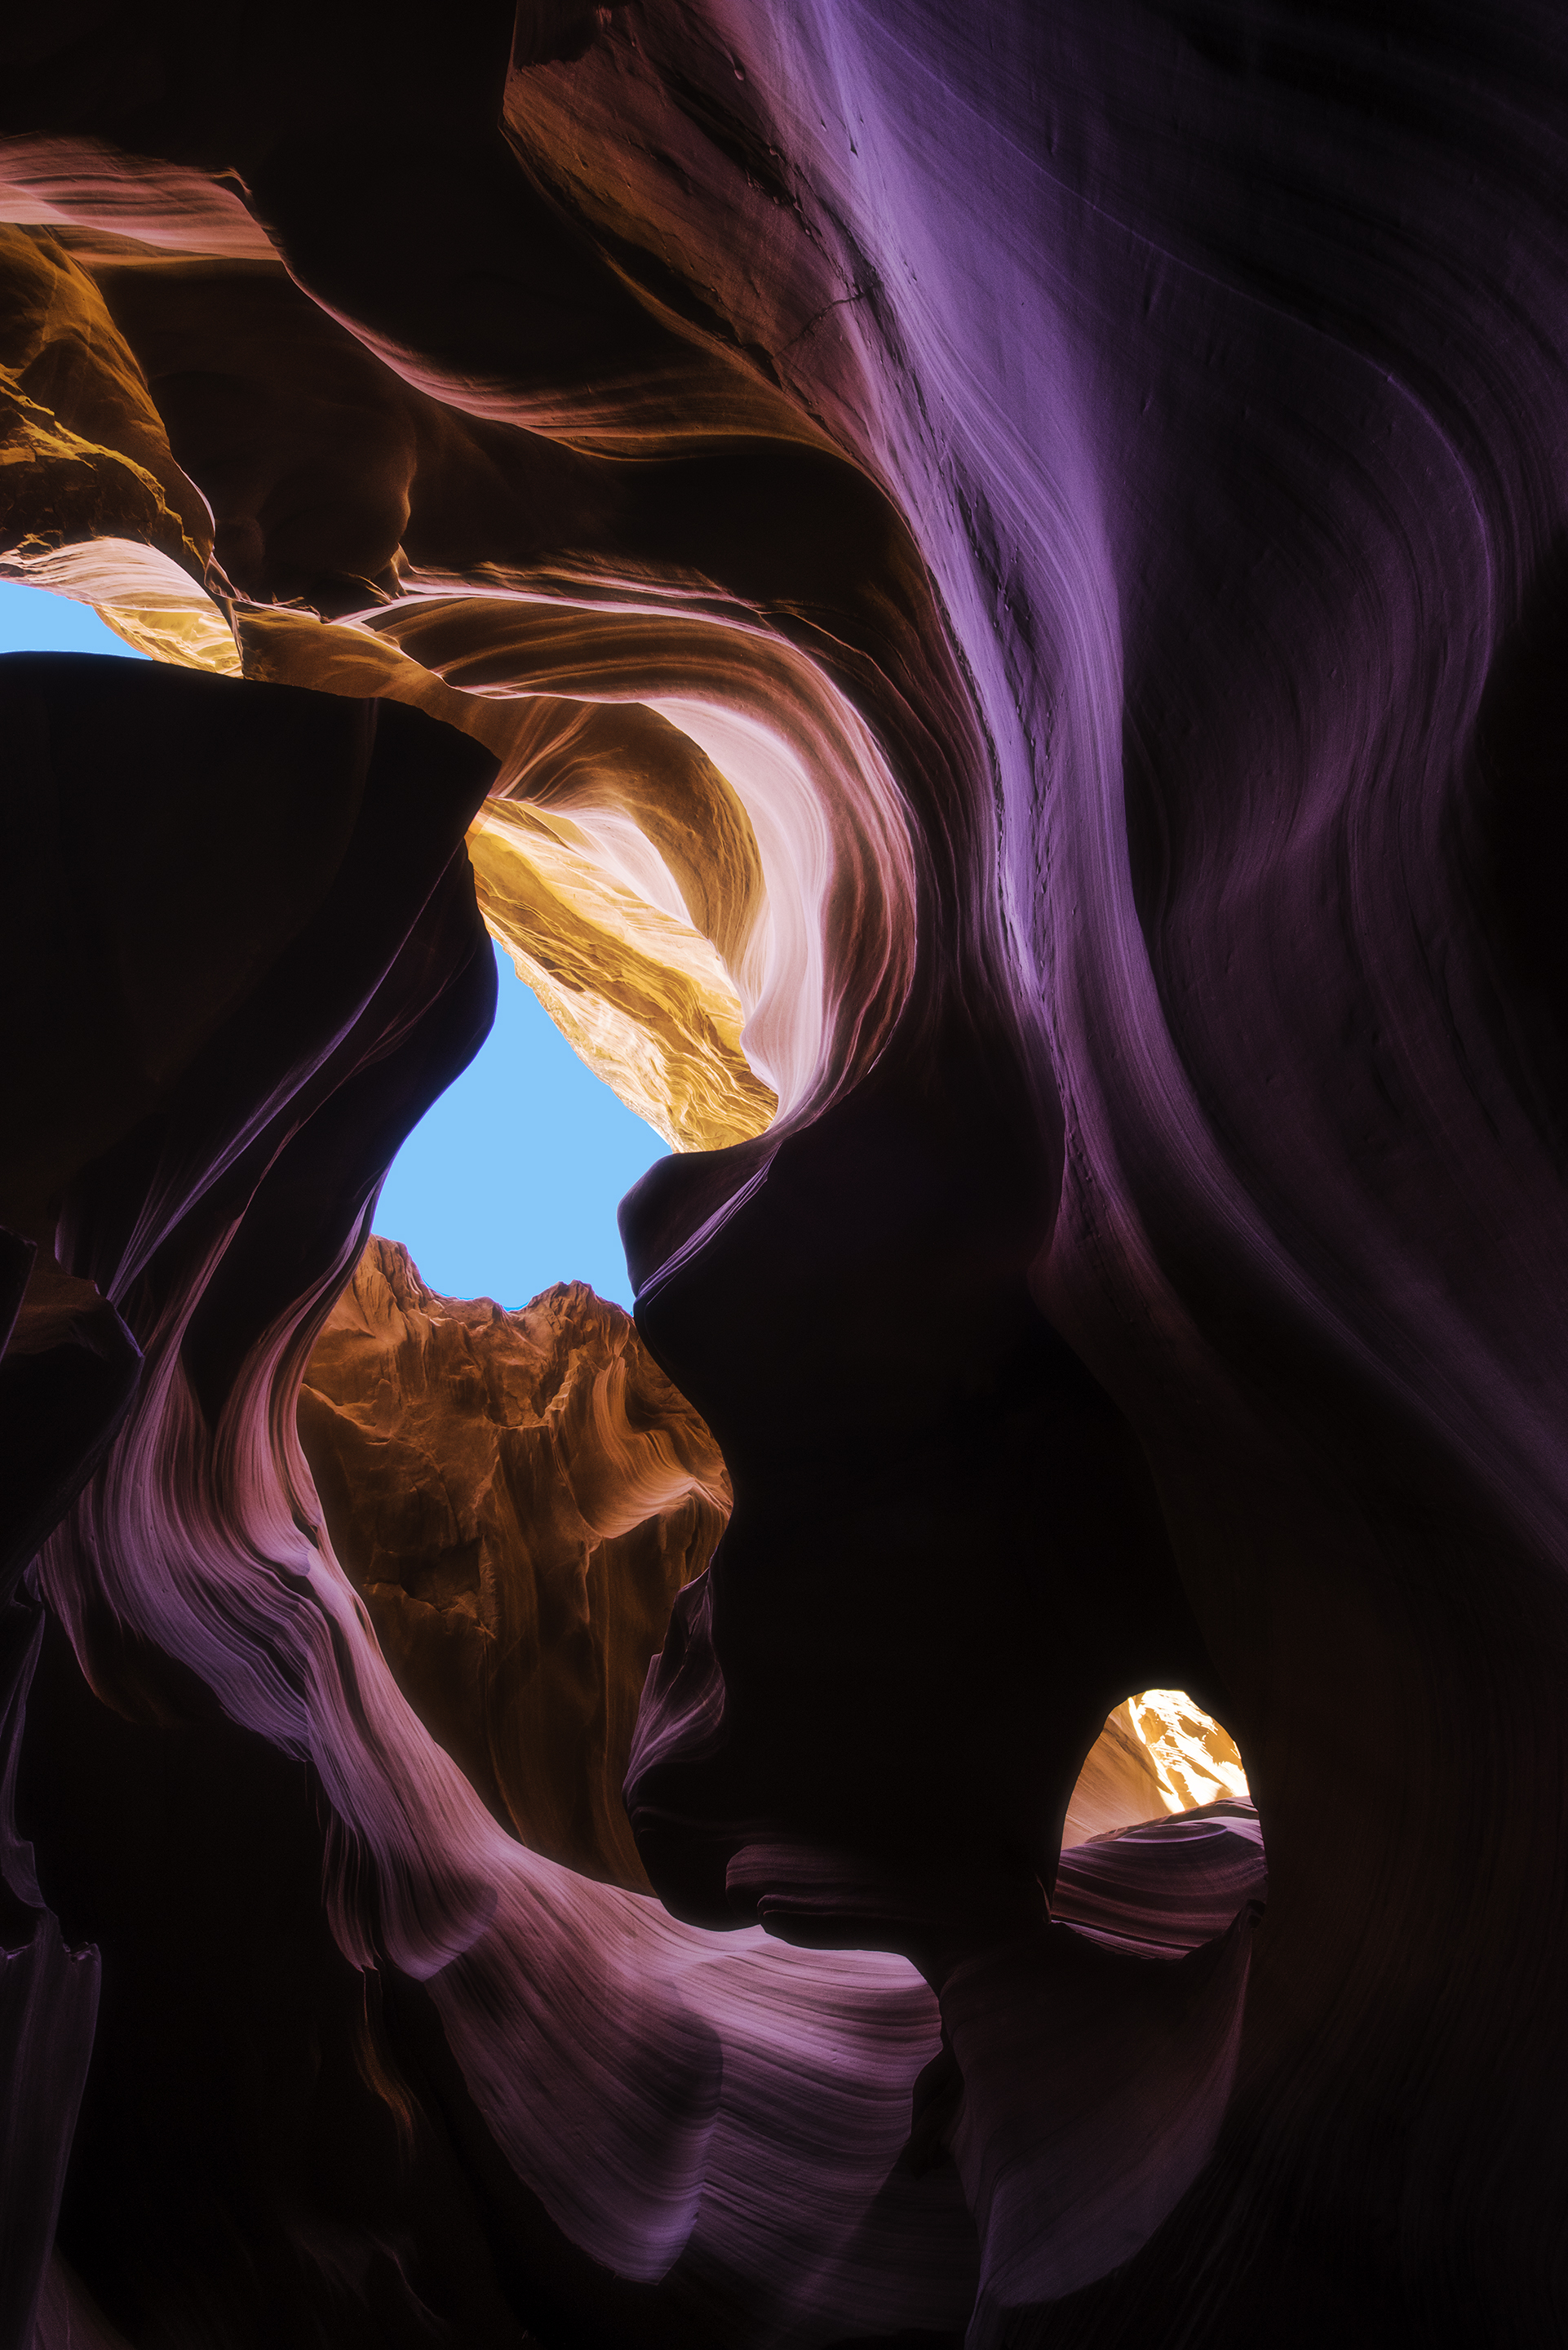
I love to shoot during the twilight blue hour and golden hour more so. More so blue hour because I love the blues and purples you get. These hours are an hour before sunrise and an hour after sunrise. So, there are two golden hours in a day. Two blue hours in a day. You can utilize both if you want to go crazy, if you want to shoot at odd hours every day. I usually just shoot one because I’m just exhausted after one. I’ll get up around 3 AM sometimes and head out to a spot, hike it, or whatever, make sure I’m there on time for sunrise or that blue hour depending on what exactly I want. If I want a ton of a twilight, purpley blue tint.
#3: Determine the Color Palette That Works For You
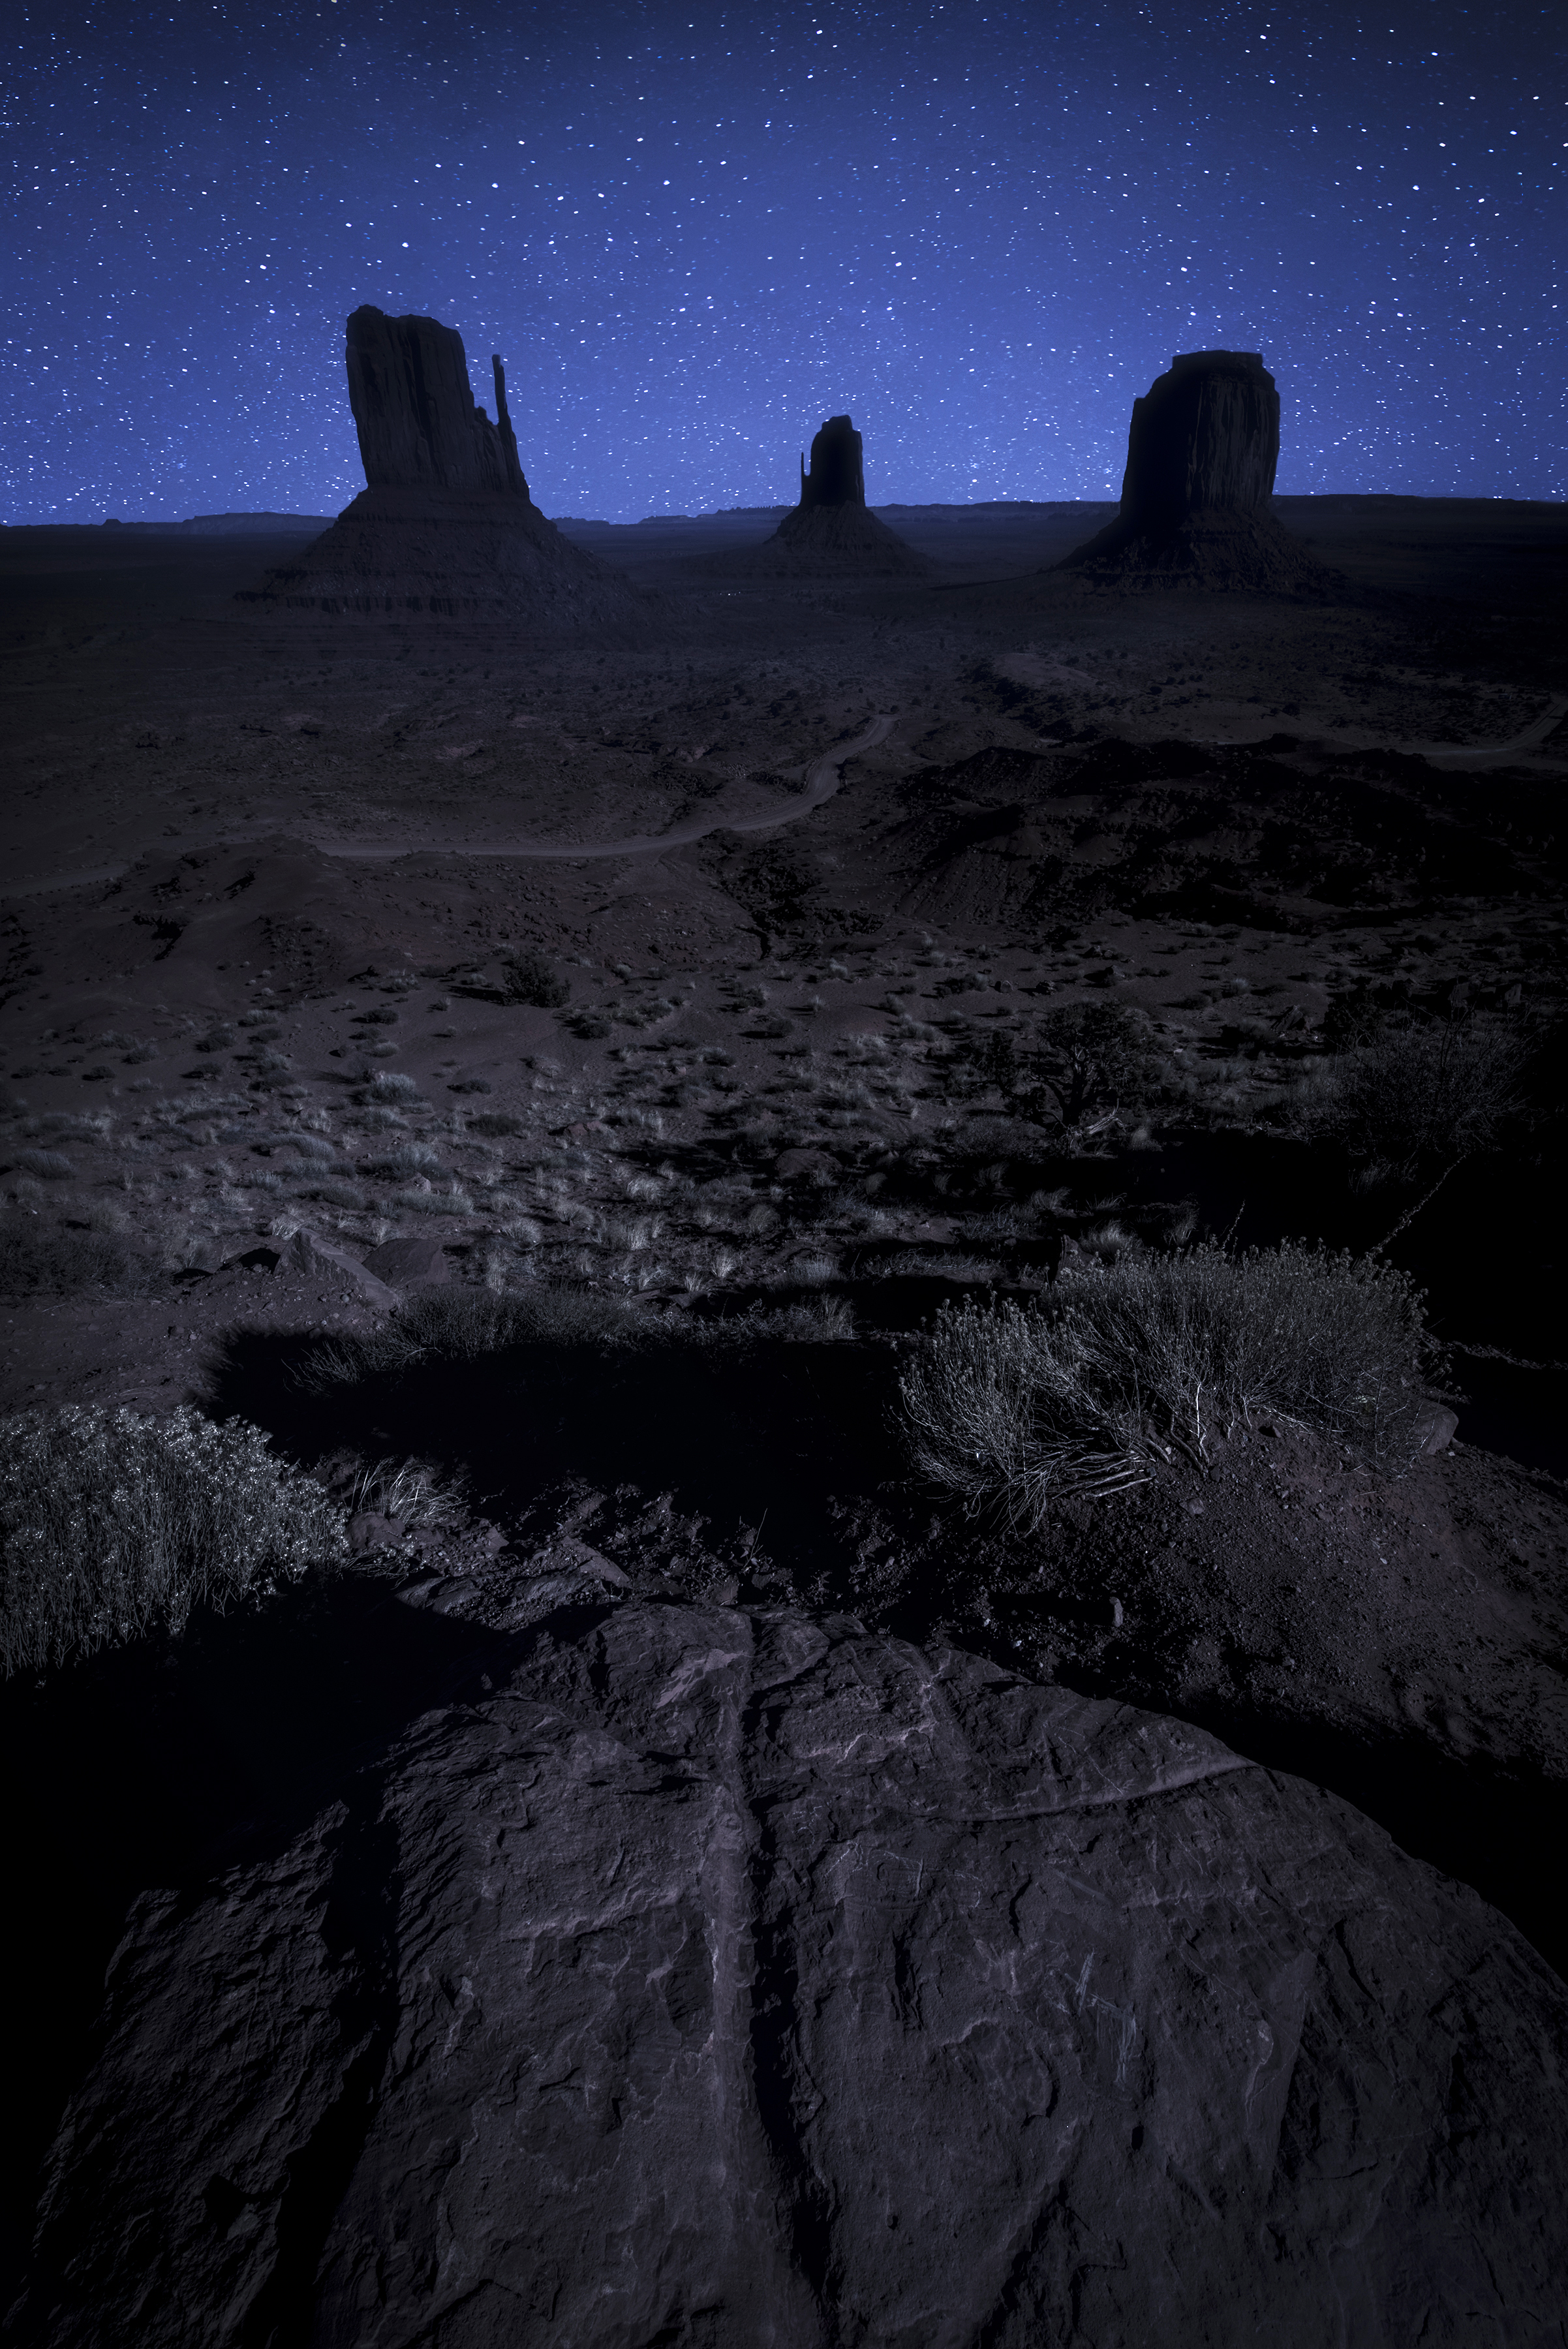
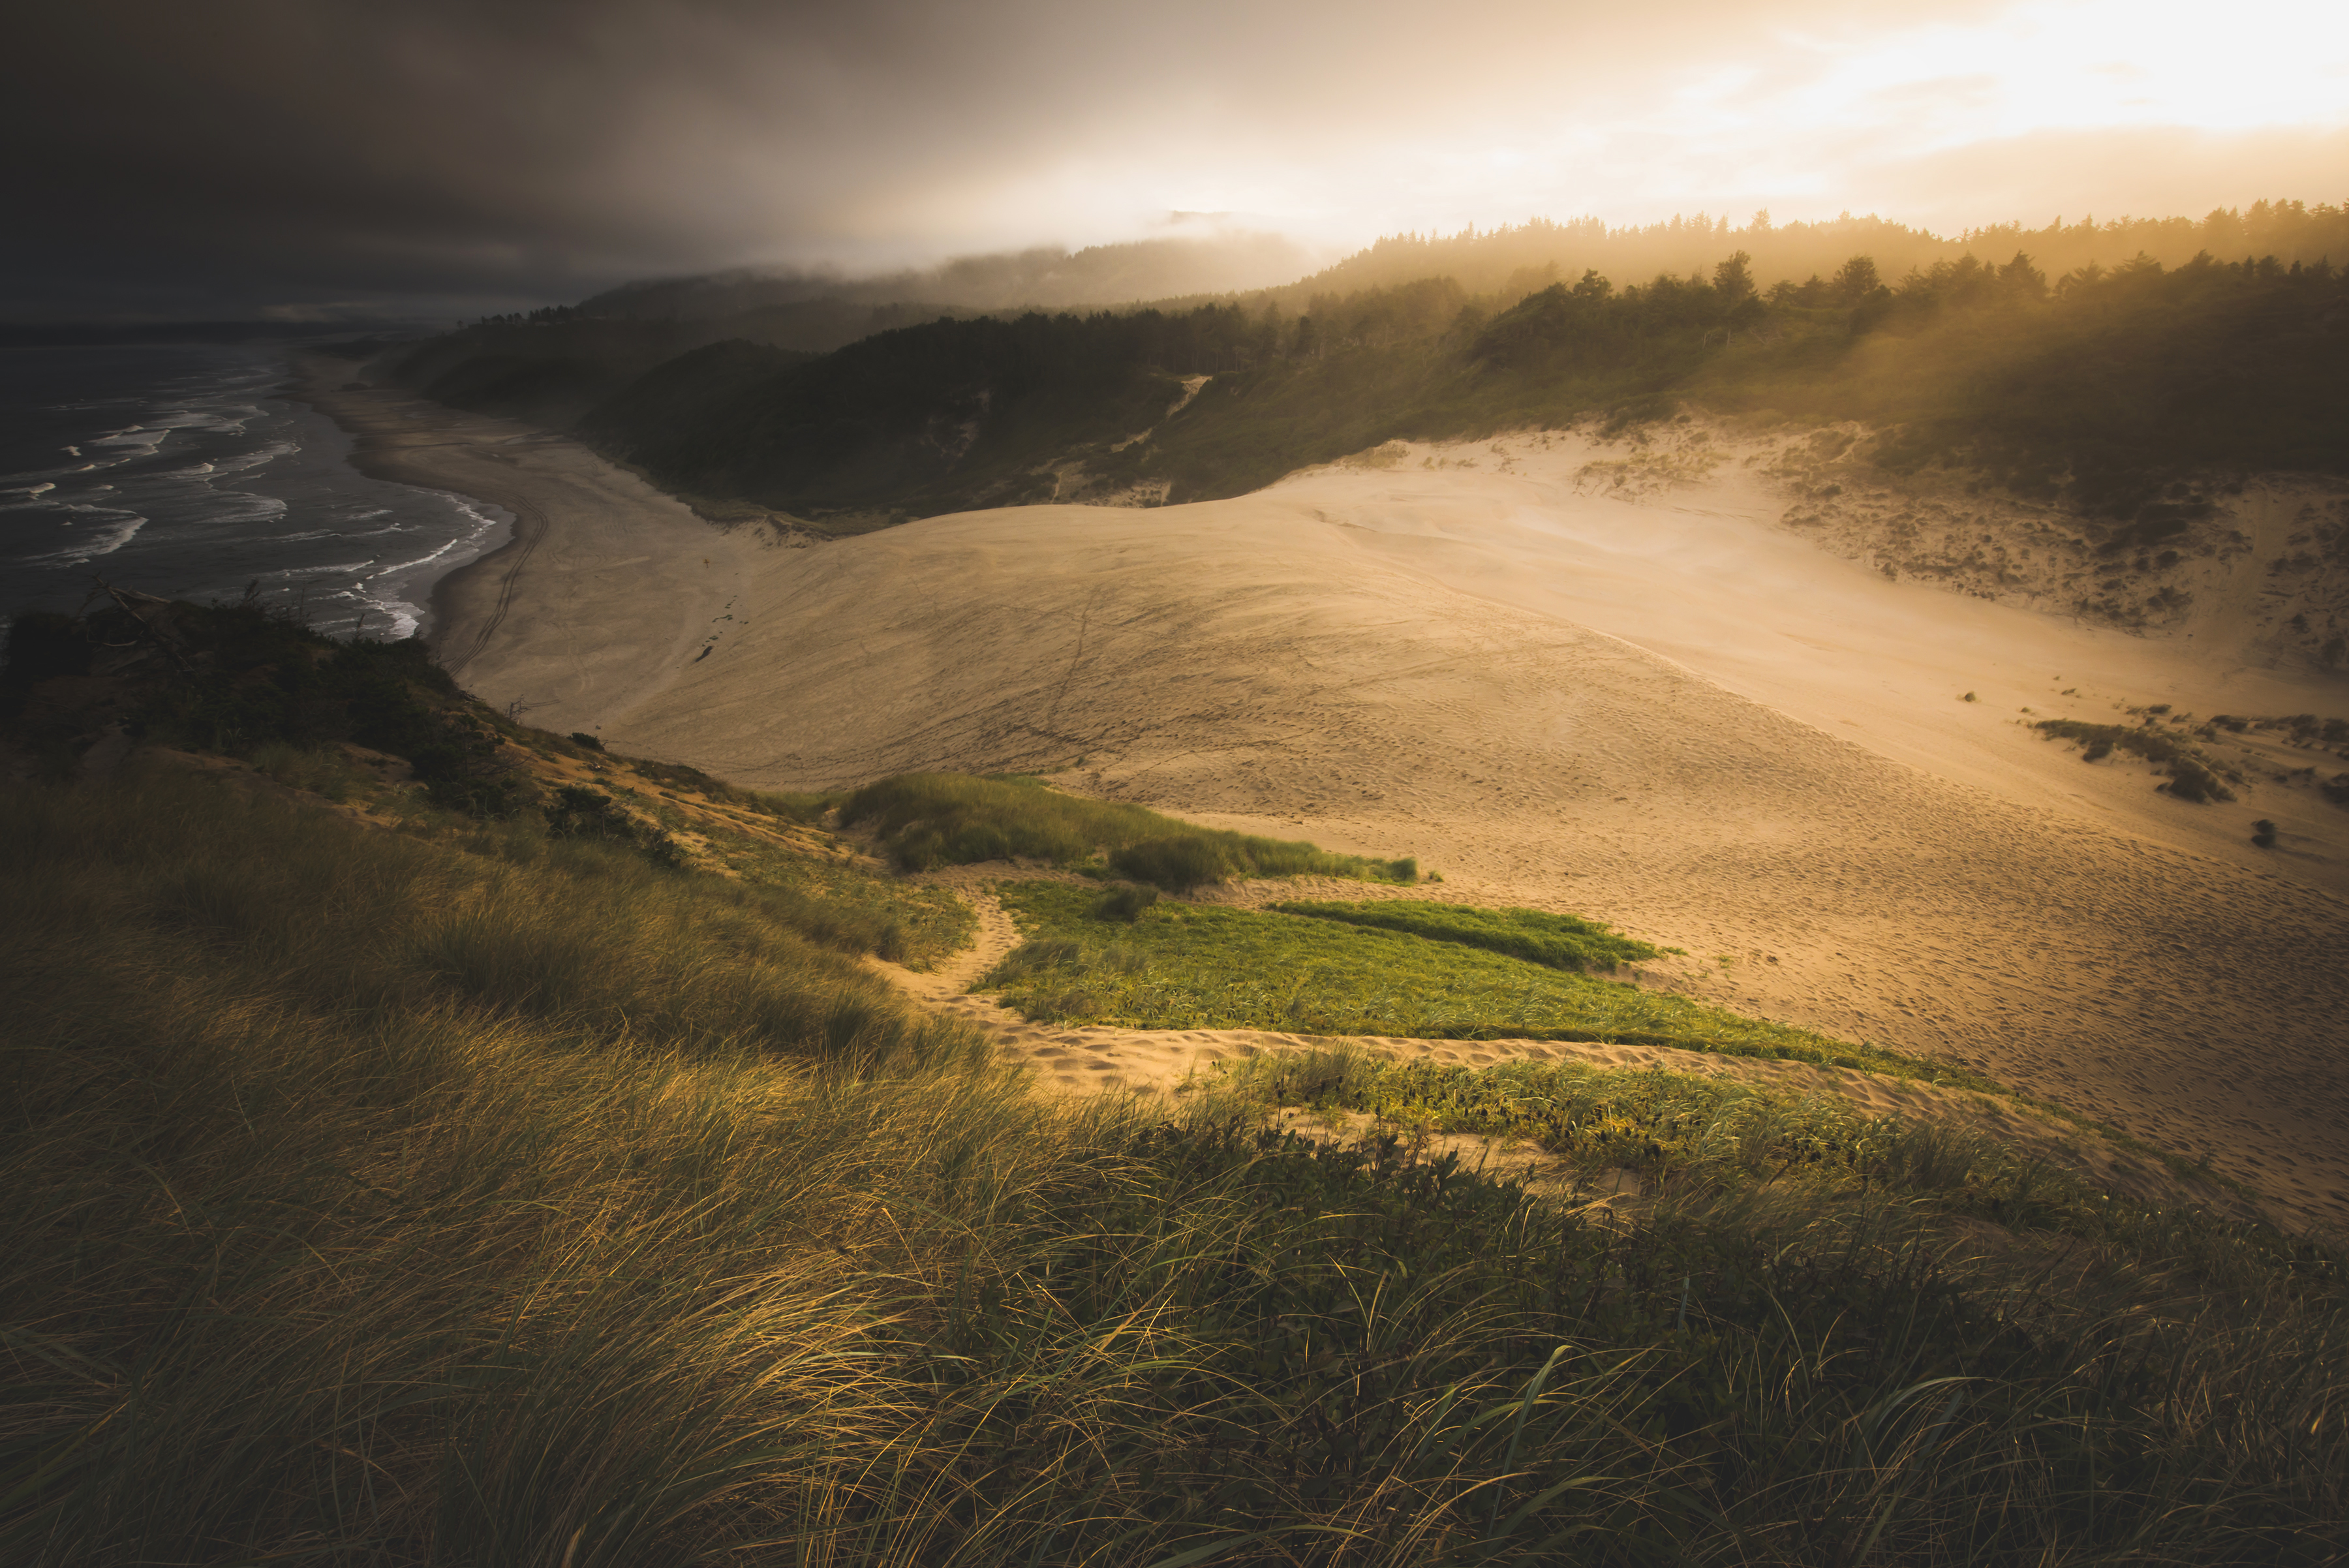
I’m pretty picky about my colors, for my shots anyway. Color is just a personal preference. And I think it’s dynamic in the sense that every landscape will look better at certain times. I don’t think every landscape will look the best at every time. So, for example, last night I went out to an area on the coast, and I wanted to go there for star shots and blue hour of sunset. But sunrise there is kind of lackluster in terms of color just because where the sun is positioned for that area. I need to plan a lot in terms of the sun alignment, moon alignment, moon phase. So if I, kind of, want a moonlit photo, I go on a full moon to get a natural blue-white tone.
#4: Be Mindful Of The Position Of The Sun And The Moon
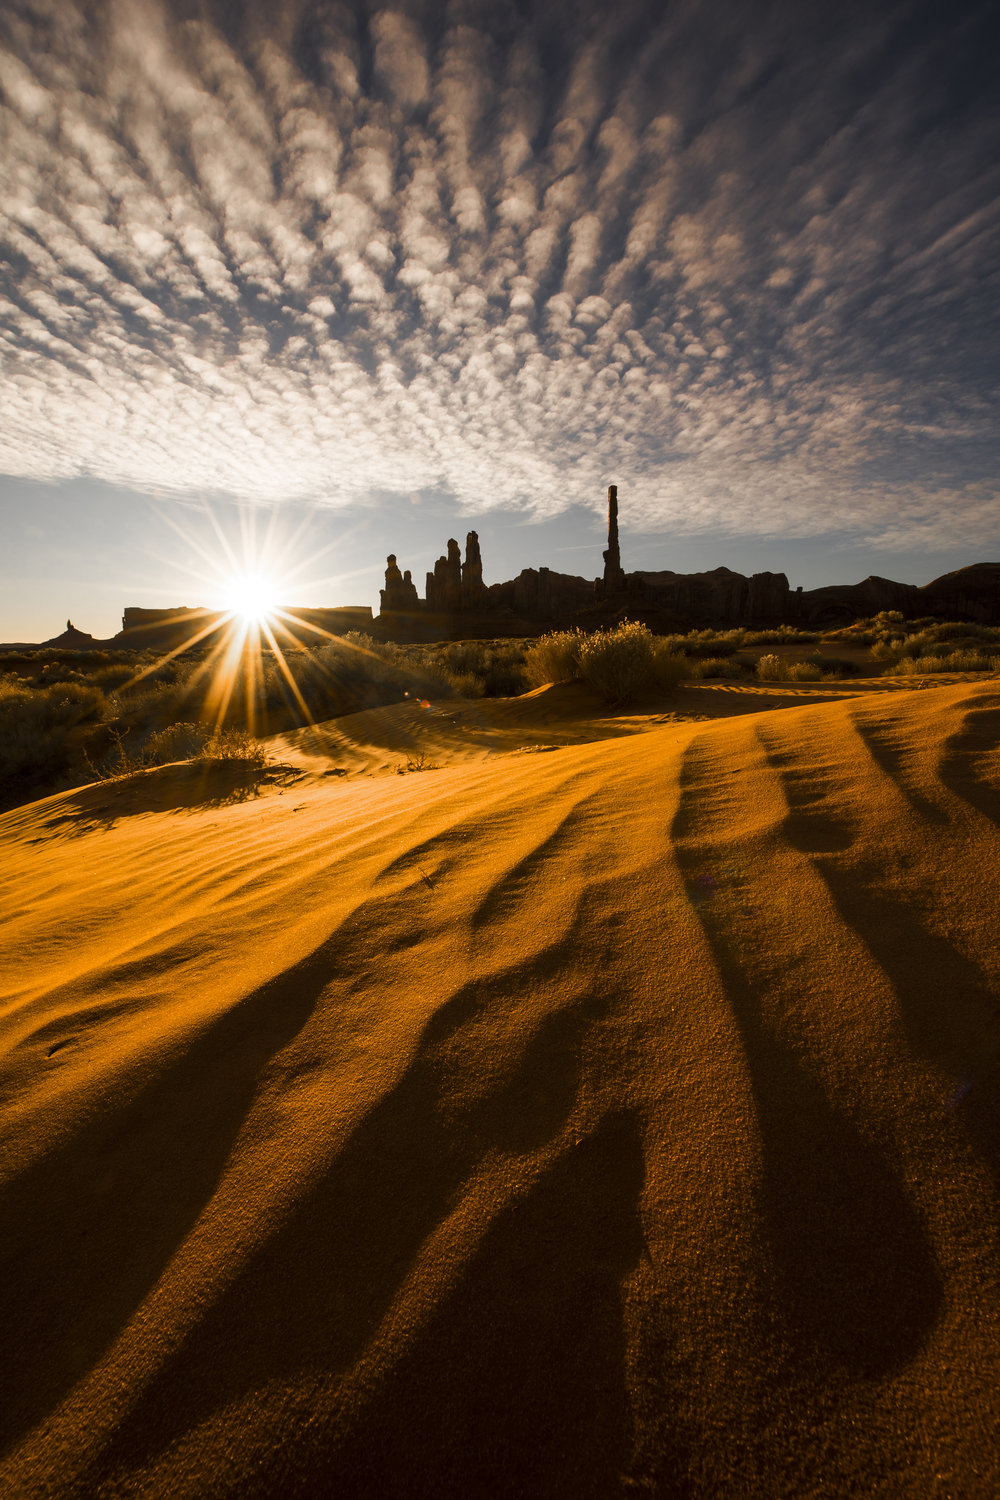
I don’t think there’s actually a preferred position overall. It depends on what you want in terms of lighting. So, for example, if it’s a full moon, and I want it positioned over a mountain, I have to plan for that. Plan it months in advance. Because of the moon position won’t be aligned perfectly until the end October or something. I’m just giving an example. So, it’s not like I can just go out there and take that shot. It can only happen in October.
So depending on your sun location, something can be back-lit, like a mountain; or it can be front-lit. Depending on the type of lighting you want, you’d go at different times of the year. If you want to go for sunsets, say Mt. Rainier in October, it’ll be back-lit at a certain location looking North; if that’s what you want.
You have to be creative with it. Right? I mean, sometimes it won’t align perfectly, sometimes it will. And, just depending on what you want for your shot, can alter it. And I use all different types of lighting. If you look through my photography, I utilize almost every aspect of light, but only in certain areas, because I think every area has certain qualities that shine out better with certain lighting than others. So, again, it’s very dynamic in every area you go to.
#5: Be Conscious Of Composition, But Break Rules
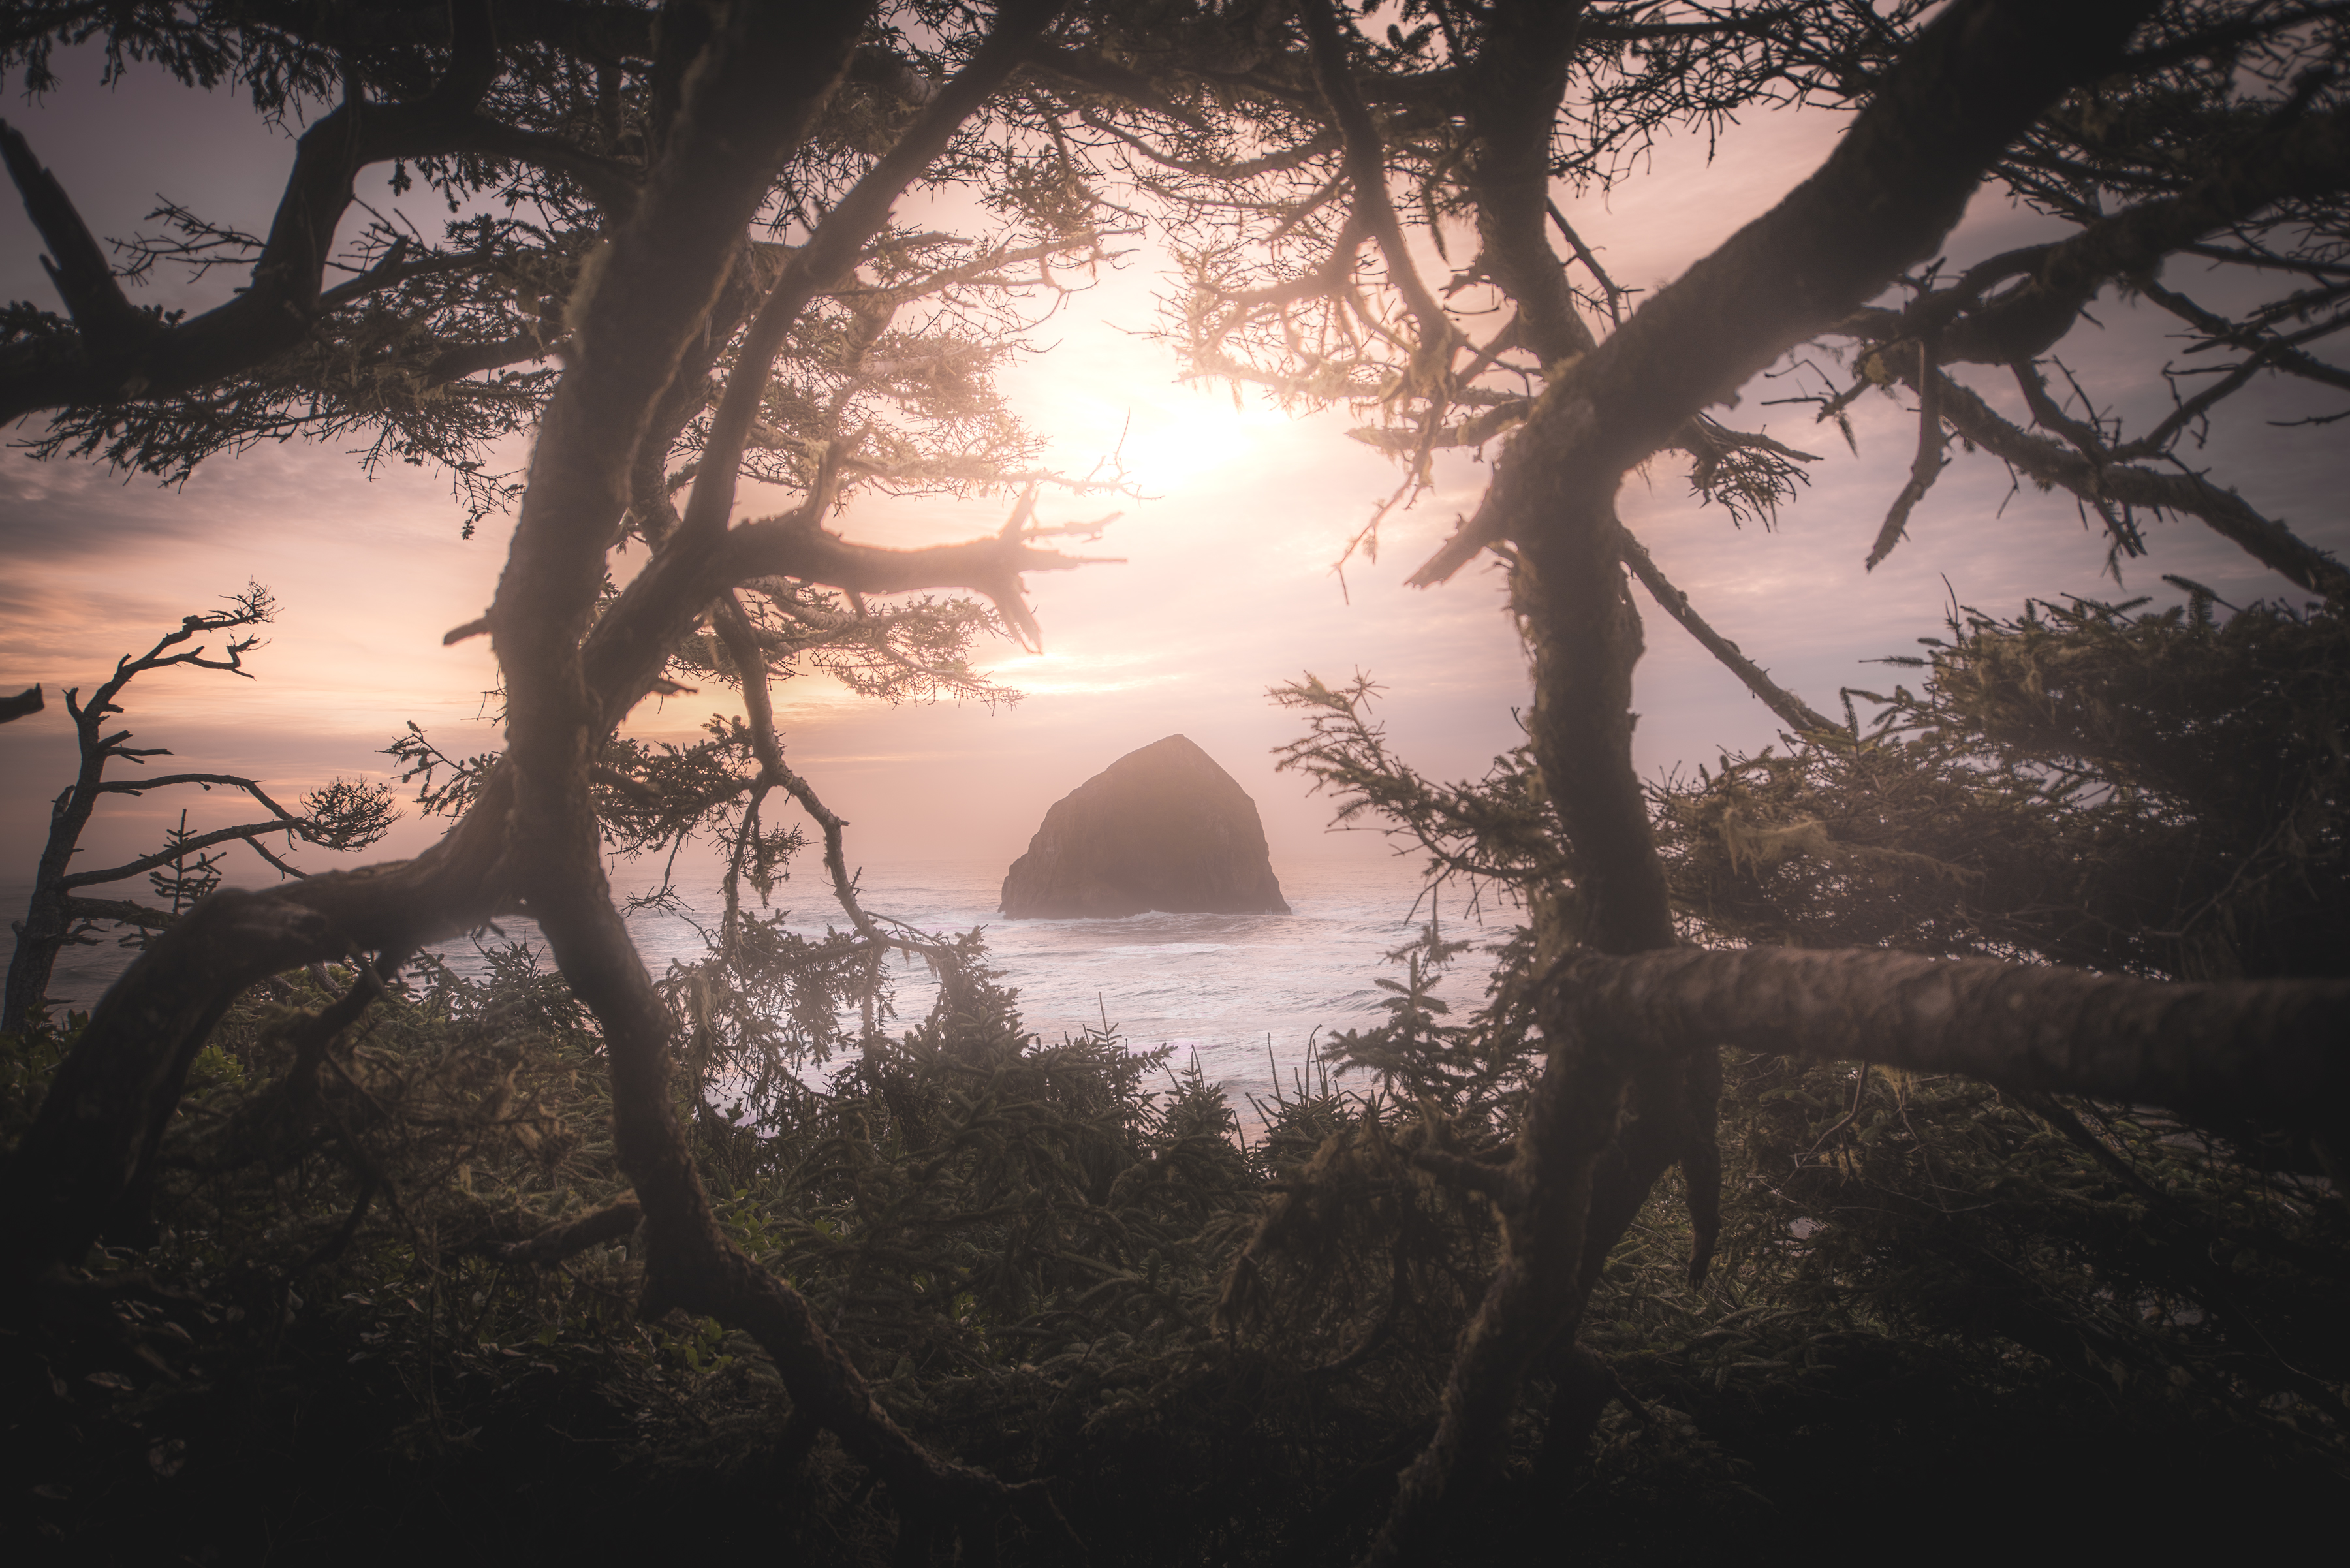
I like the look of symmetry. Naturally, humans are drawn to it. I prefer it. So, I like to use the rule of thirds in some aspects. That’s just a general rule for any photographer. It’s just very appealing to people’s eyes. It’s a way of framing. It’s just simple cross lines and such, And depending on where you position your camera and lens, it is how you can utilize that rule of thirds and position the objects you want in focus to appear very nice in the photo.
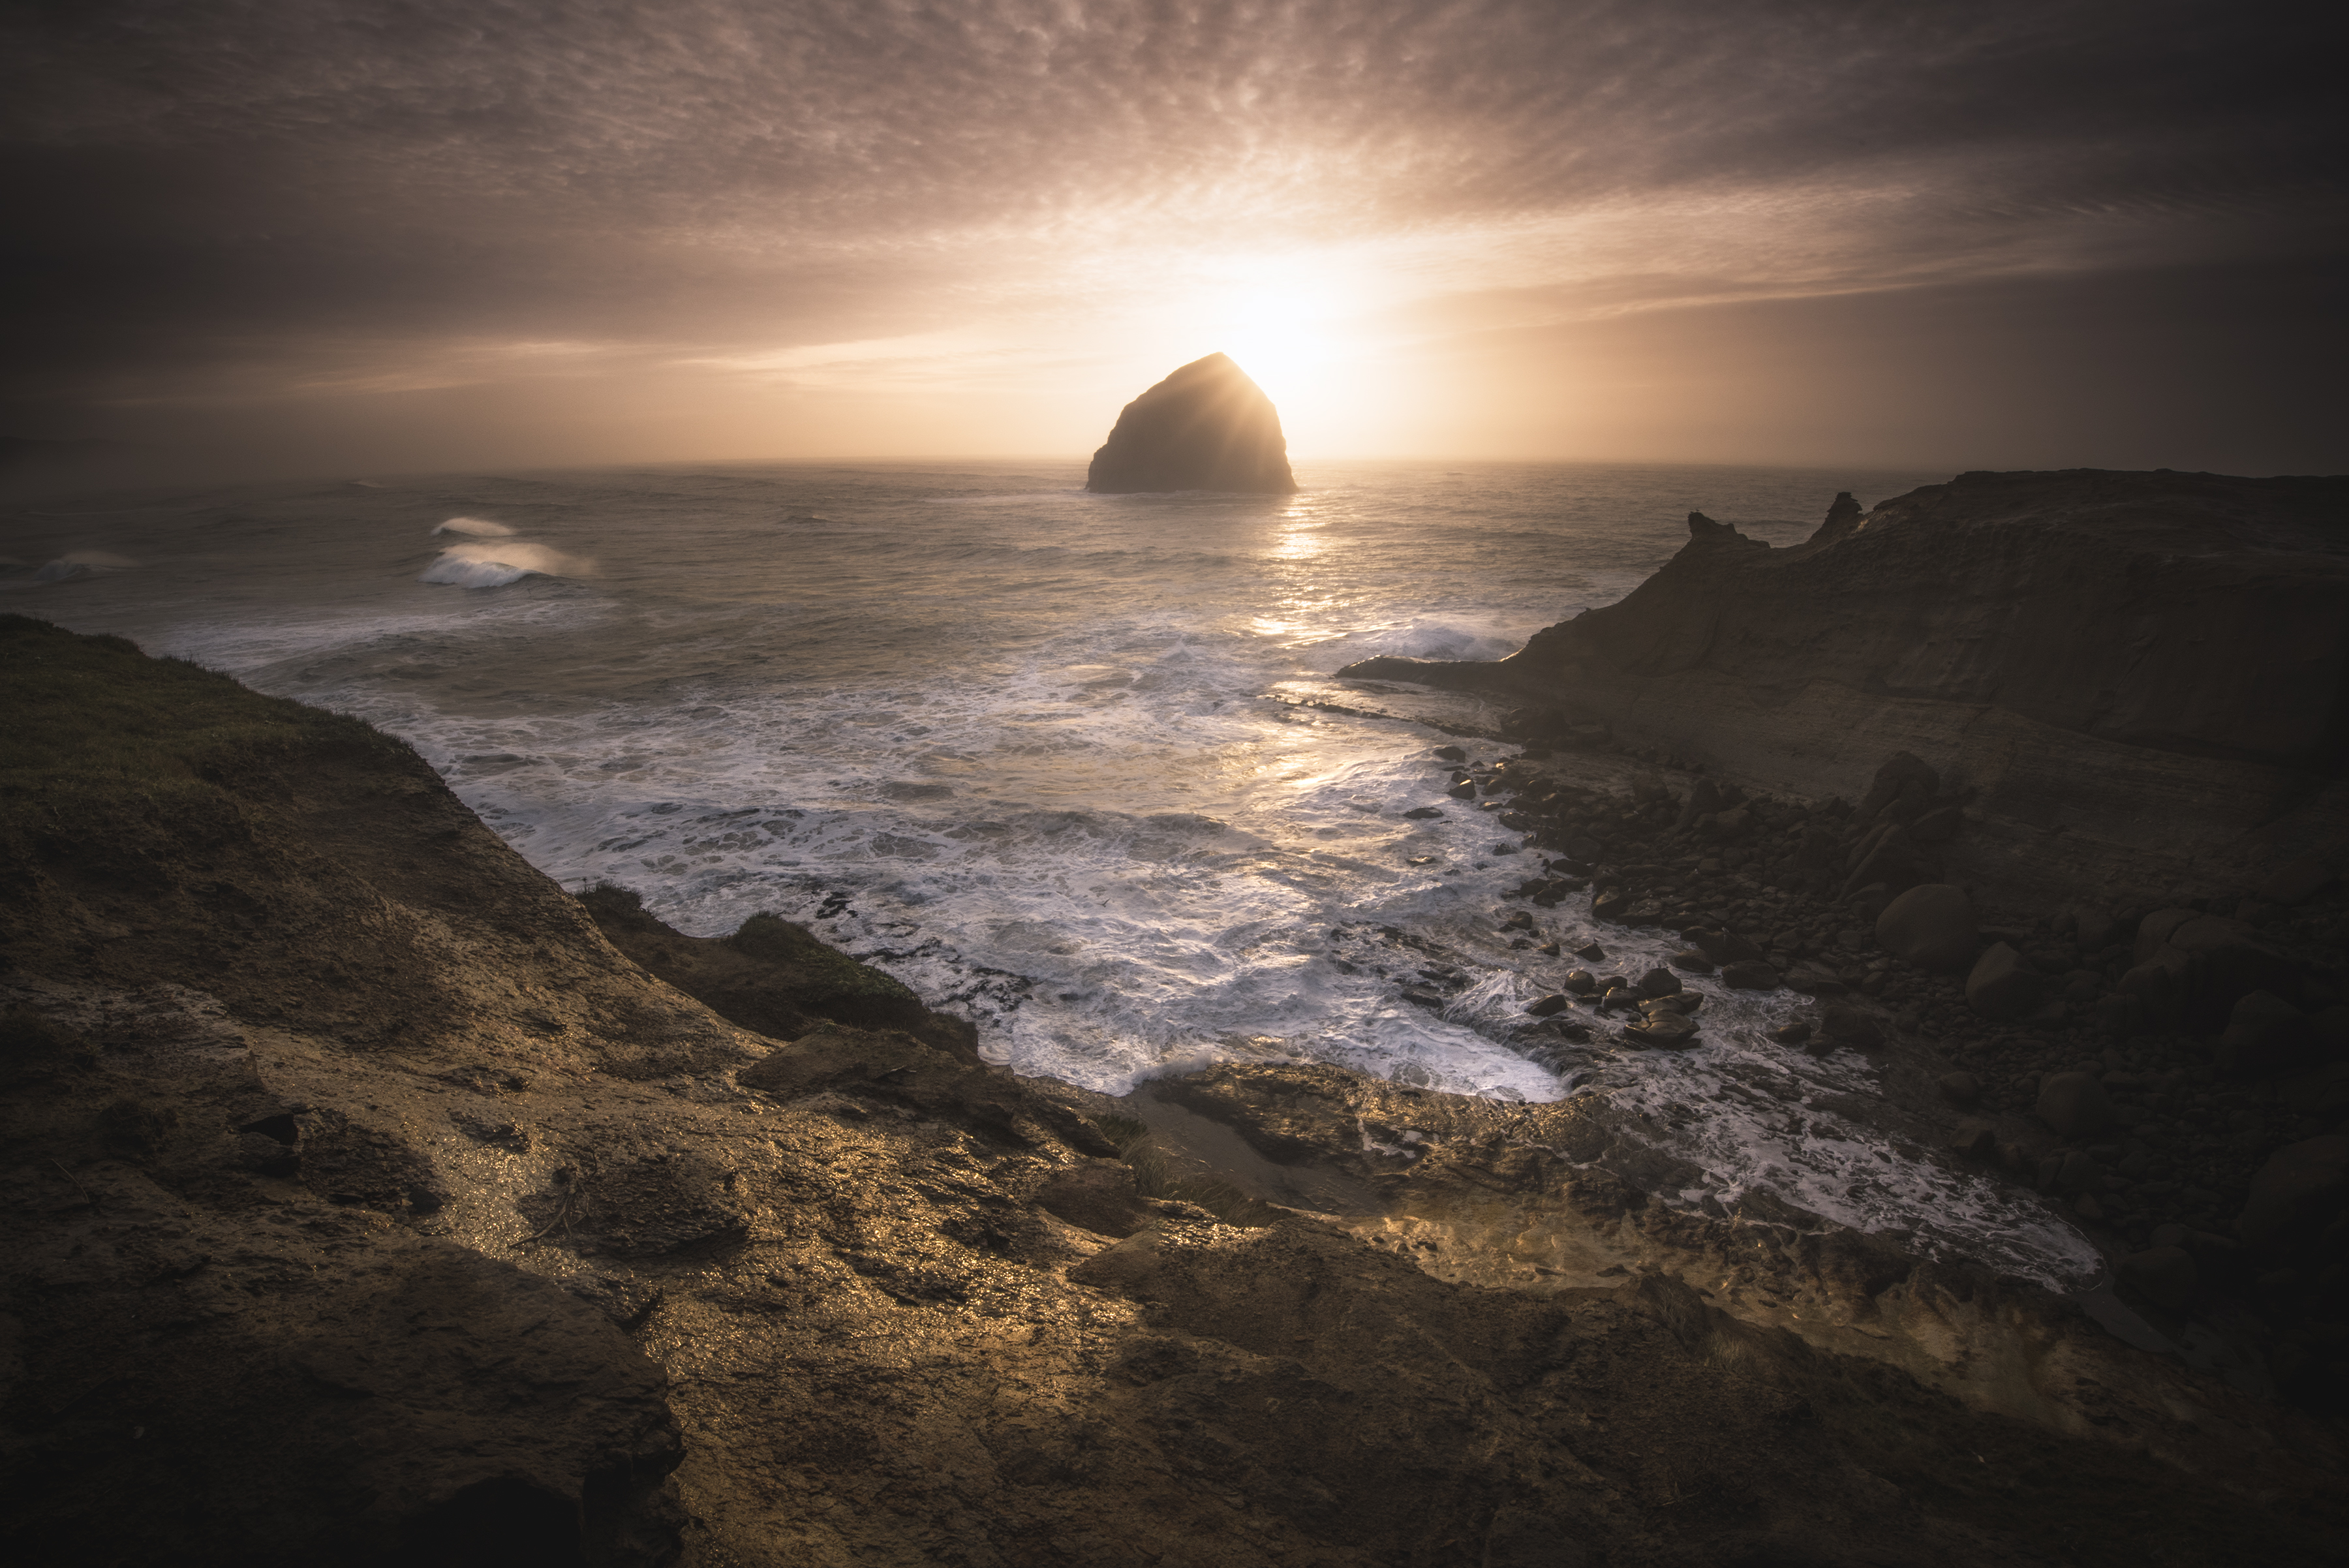
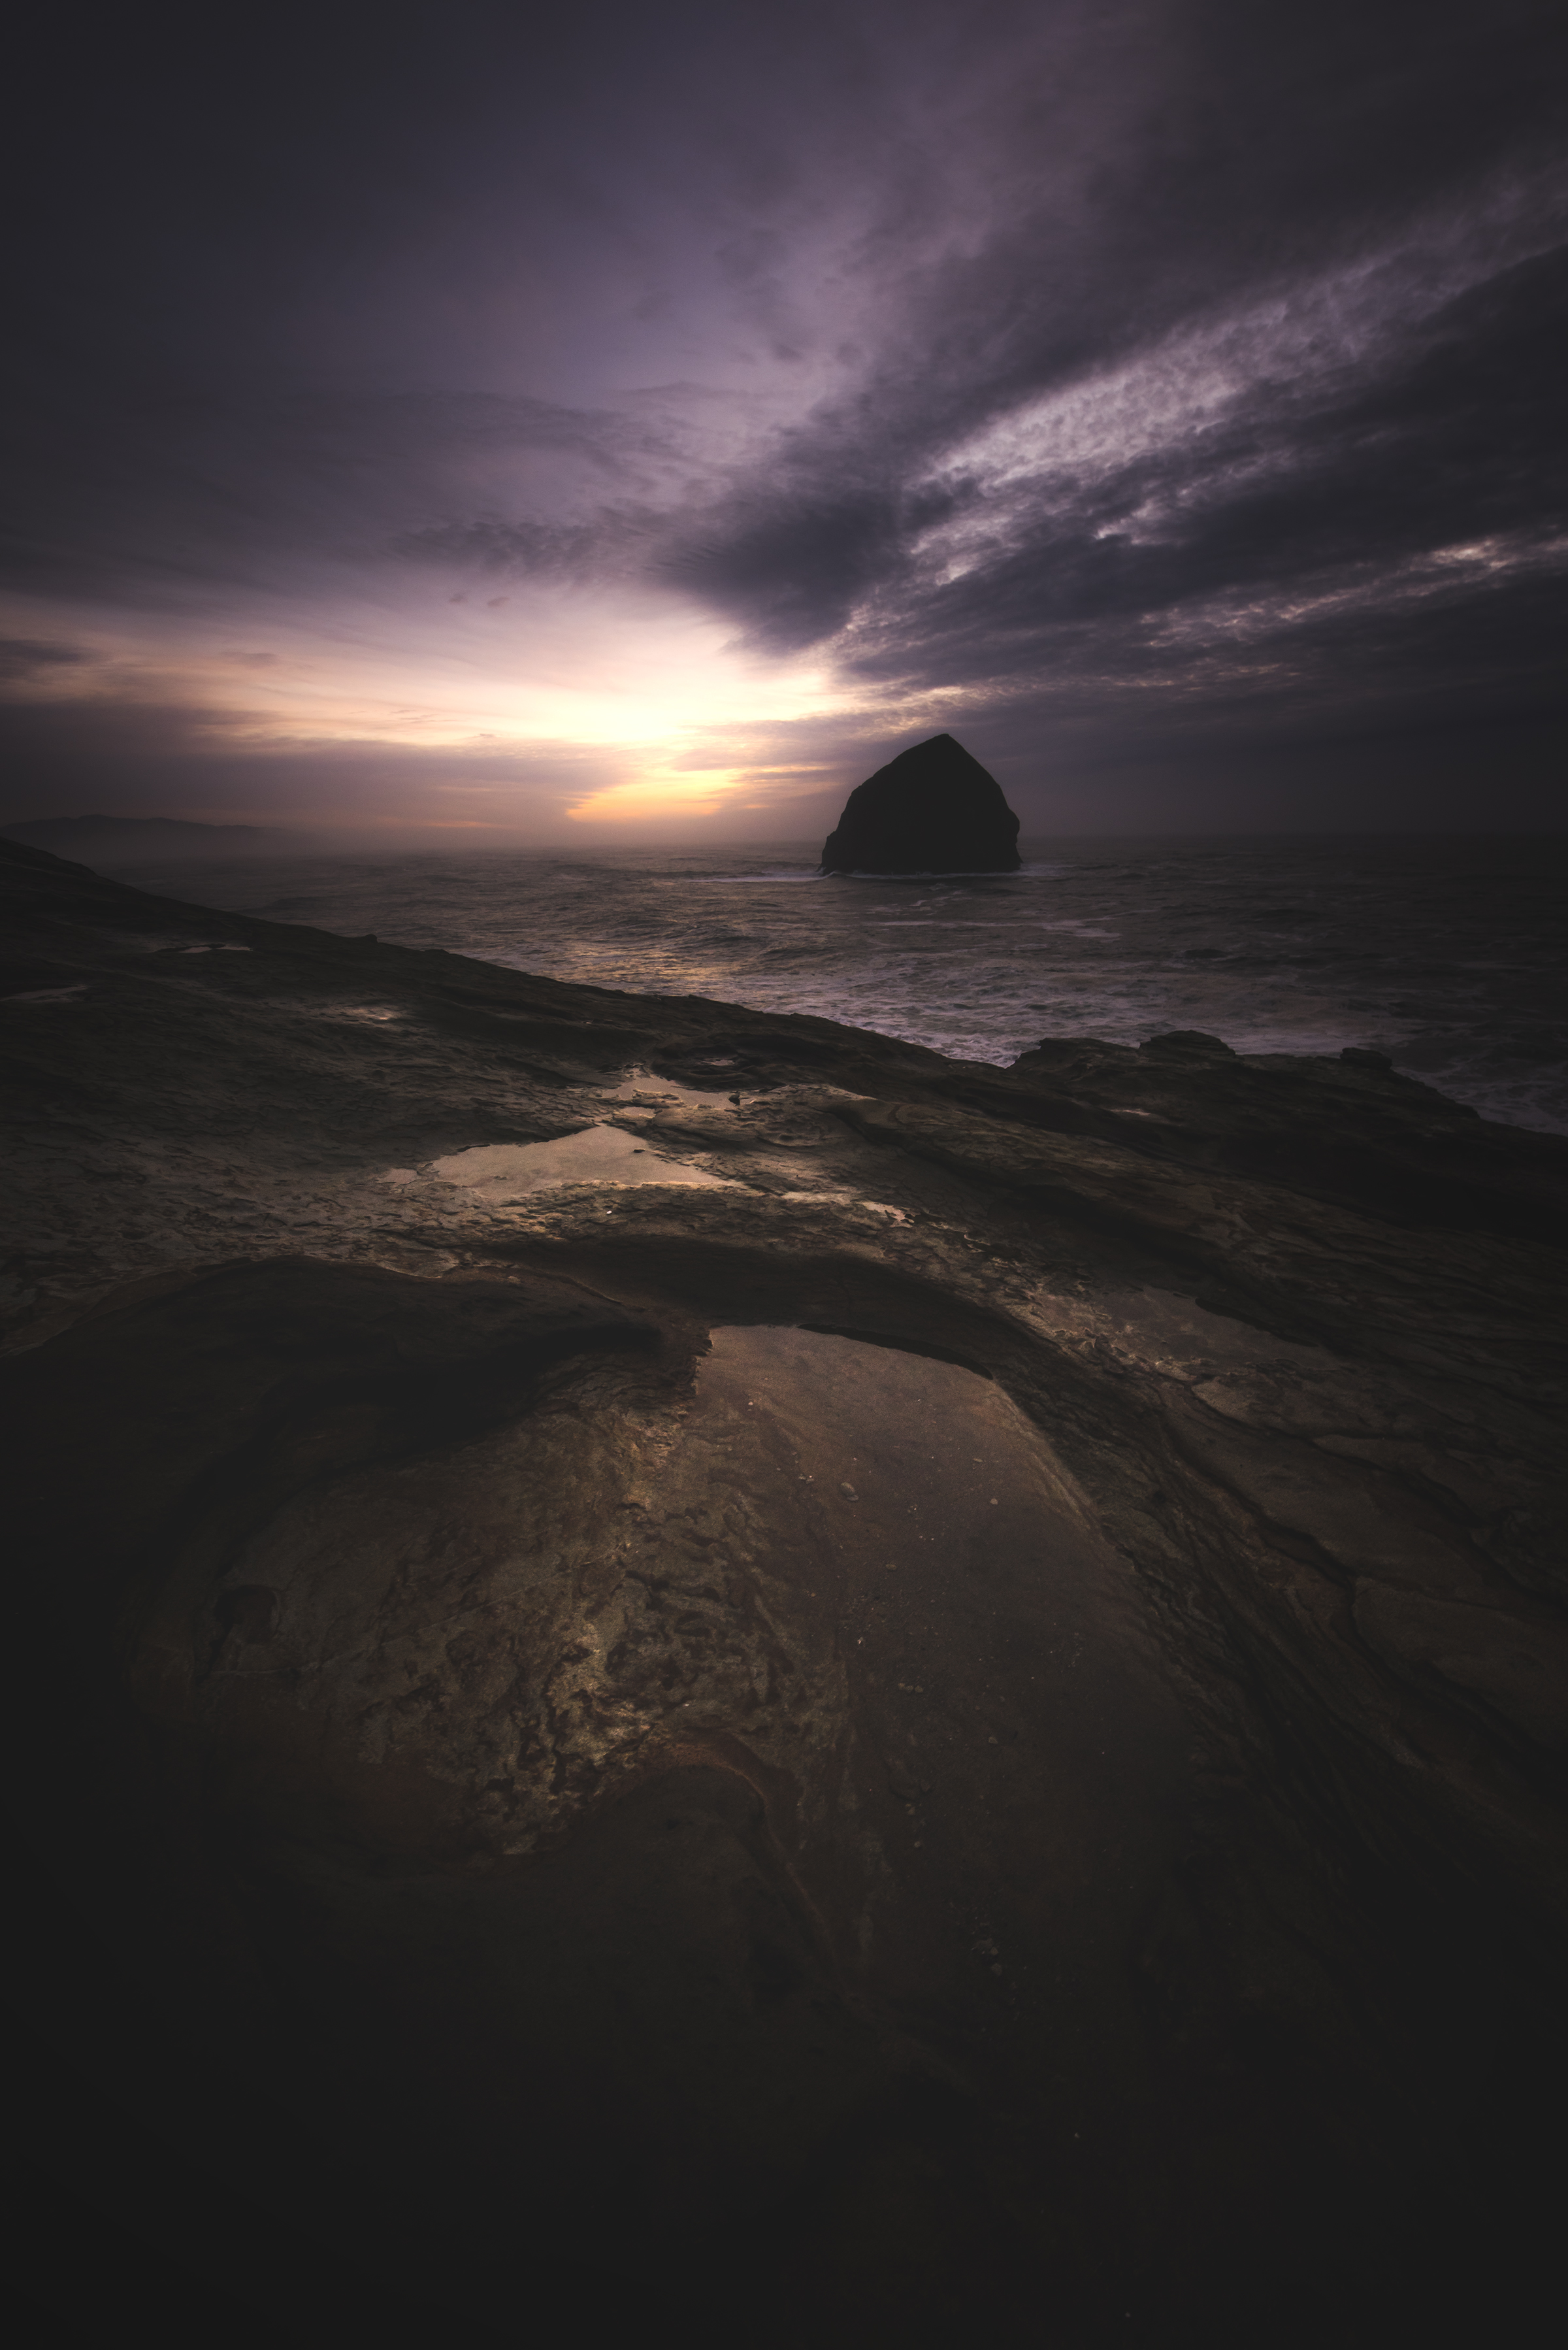
But, I also like breaking that rule every so often, if you can do it creatively. The mountain won’t be positioned on the right rule of third; it could be right in the middle. The Haystack Rock in one of my recent pictures I just took, it’s right in the middle. I like bending the rules a little. I don’t like to stay under one certain rule.
#6: Use A Wide-Angle Lens For Great Foregrounds
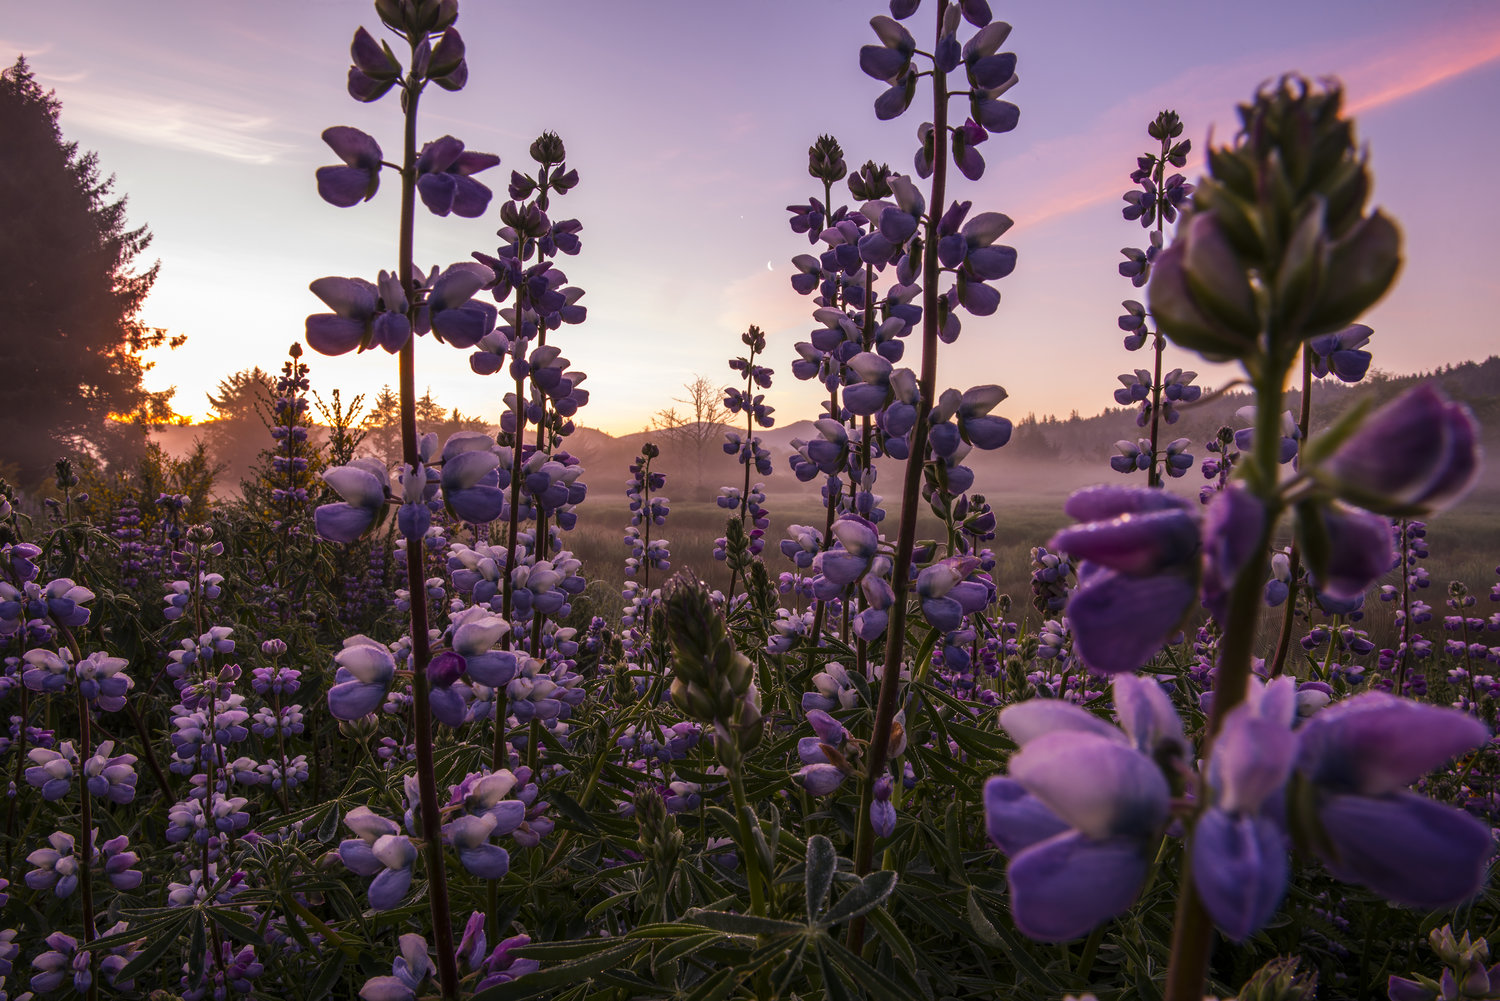
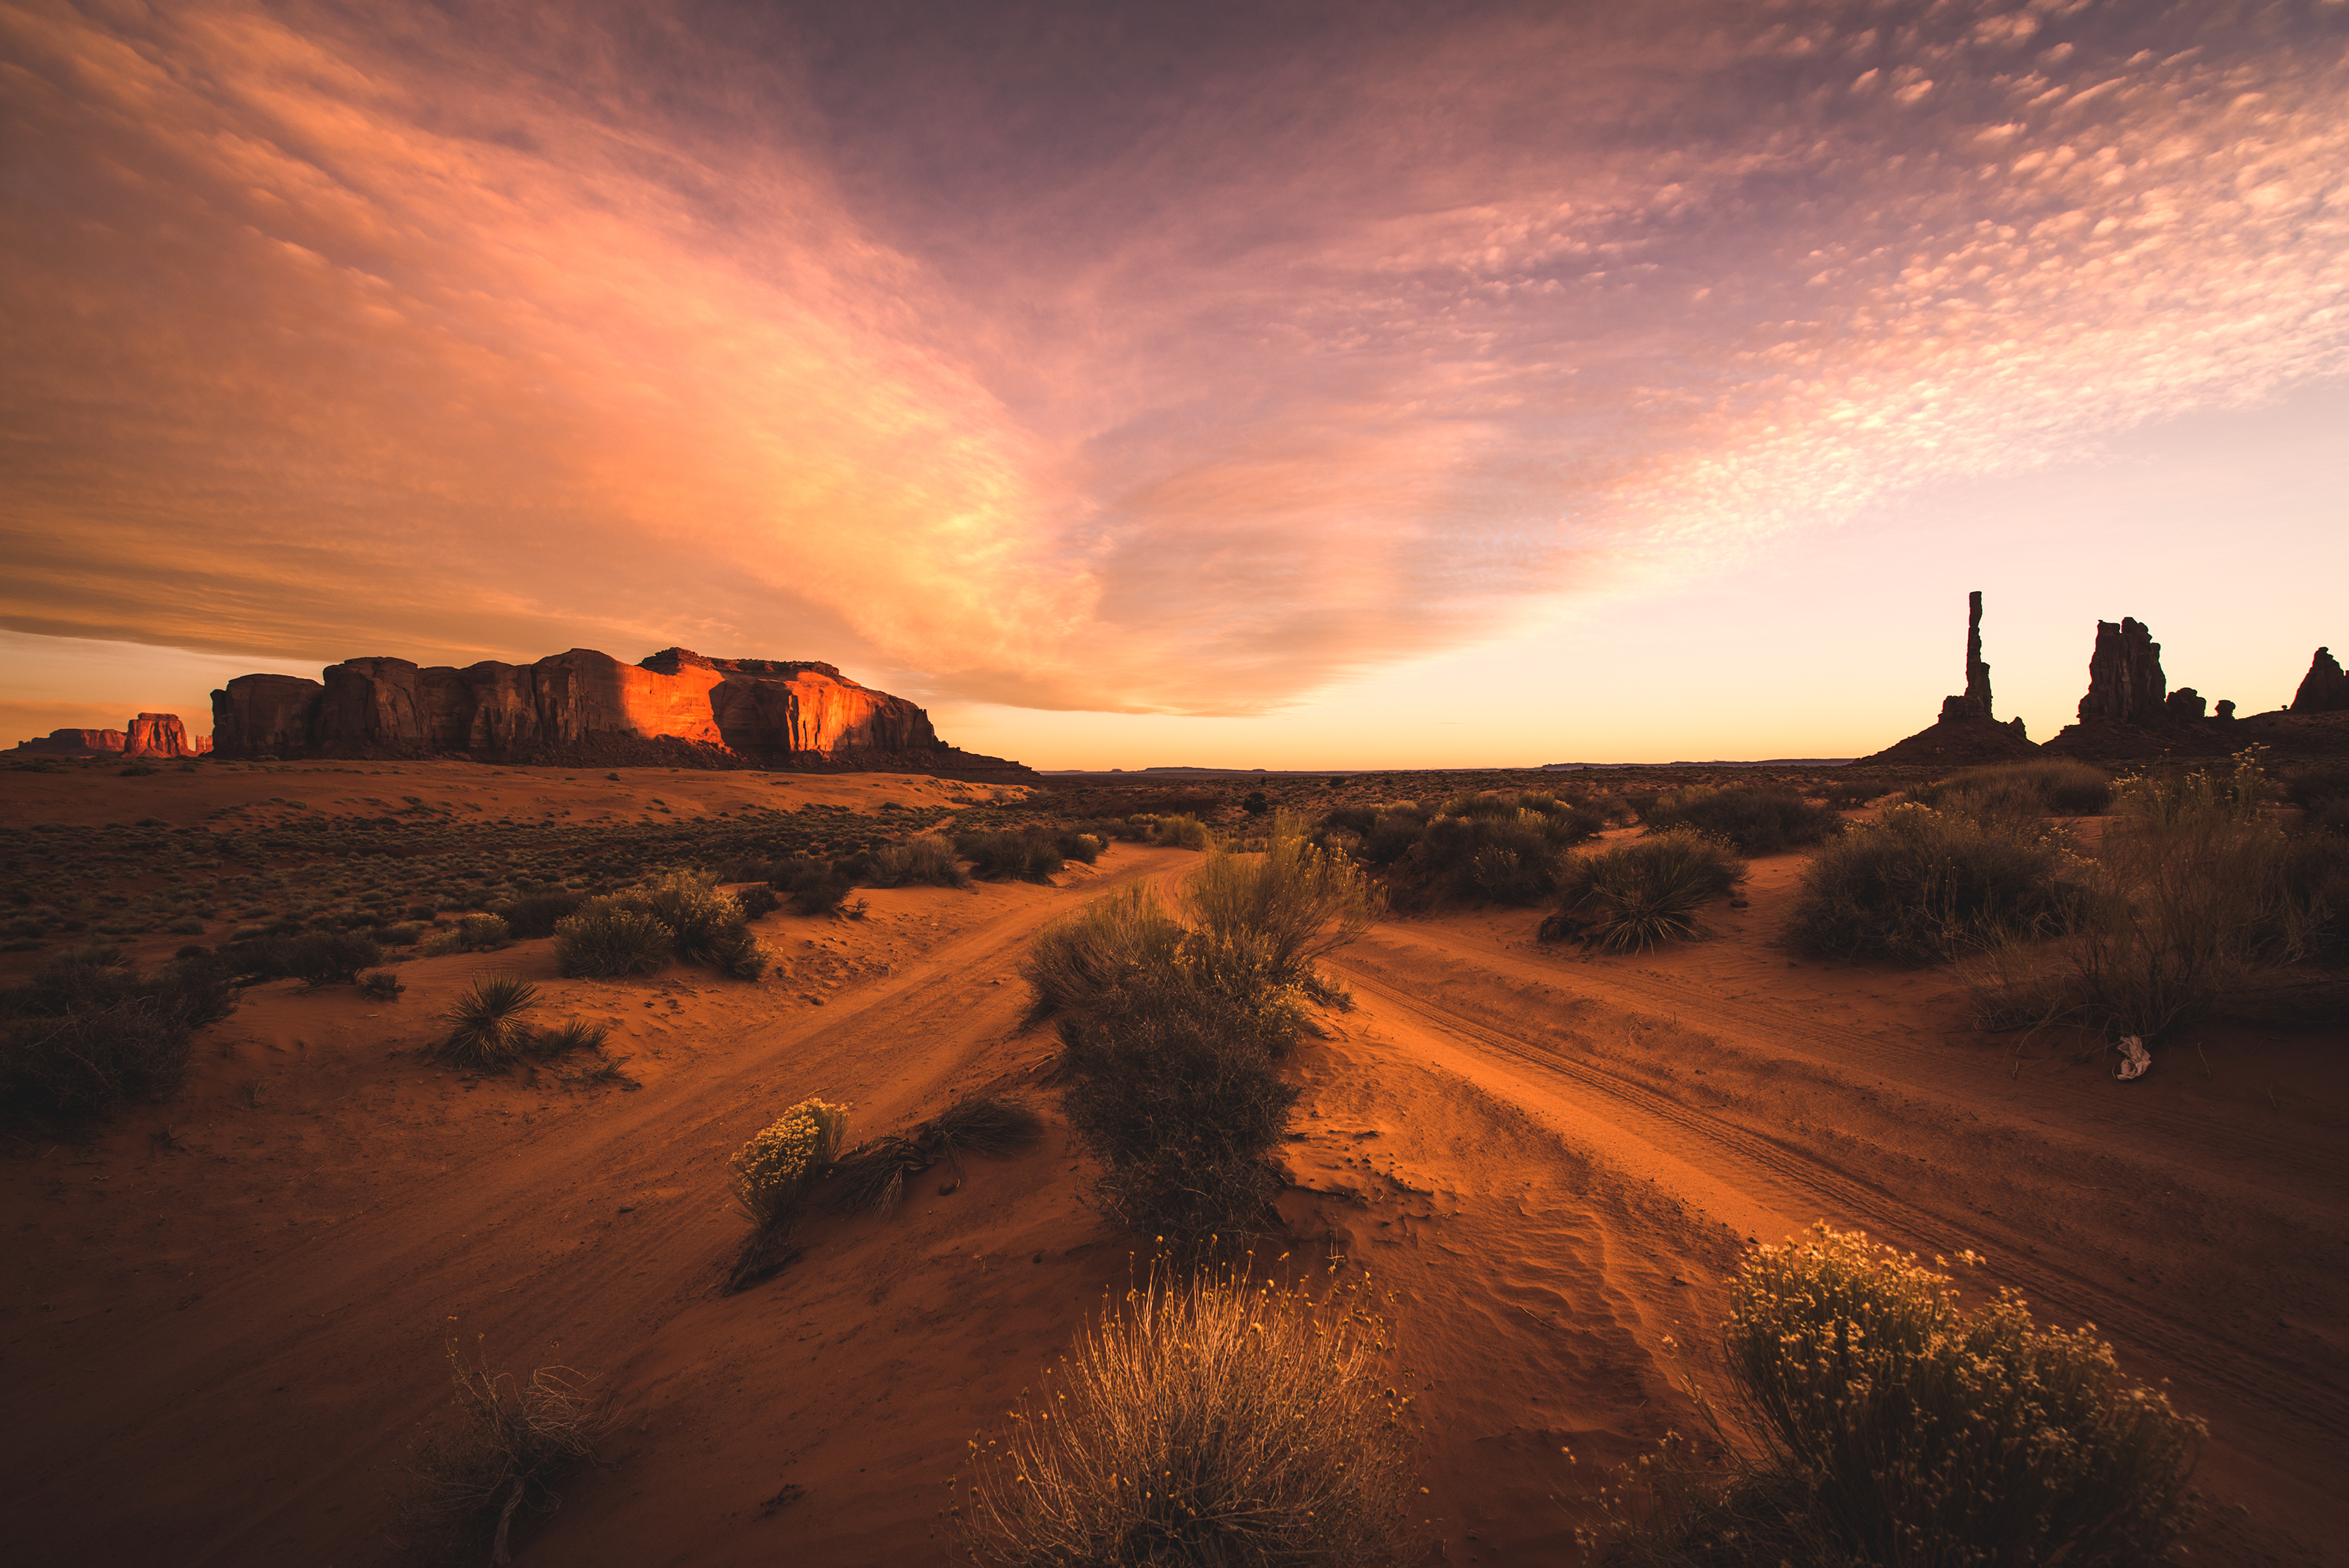
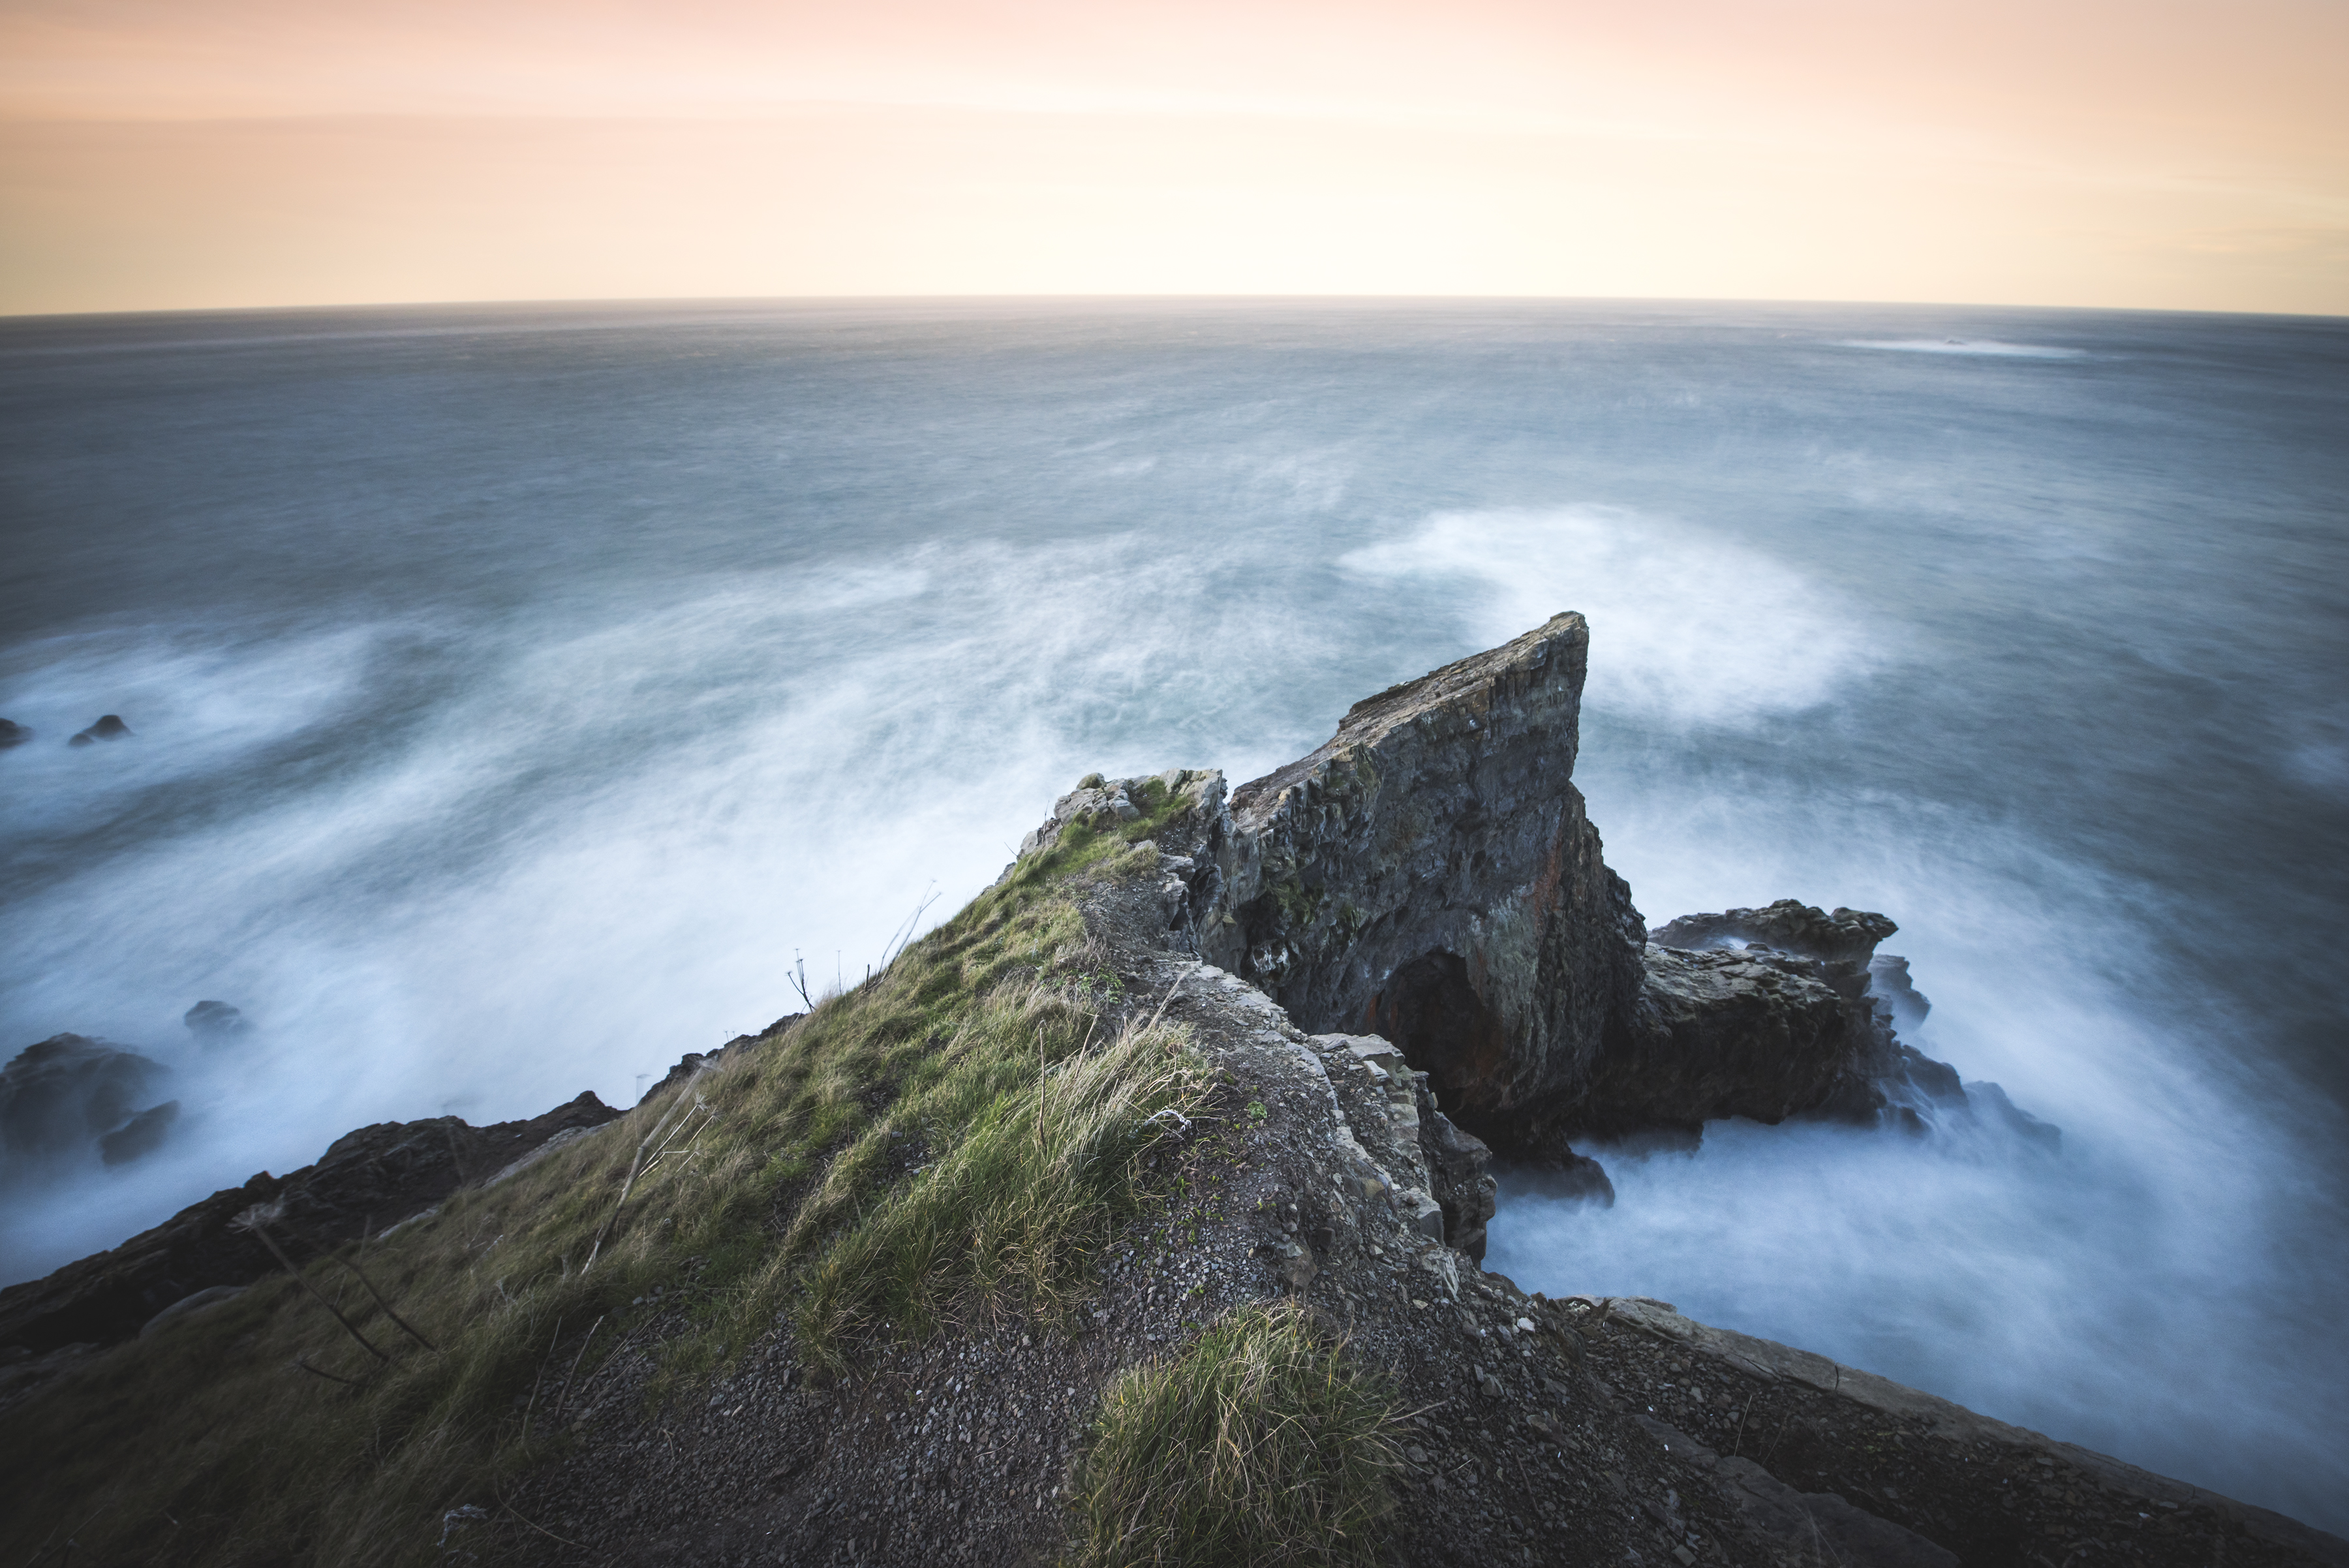
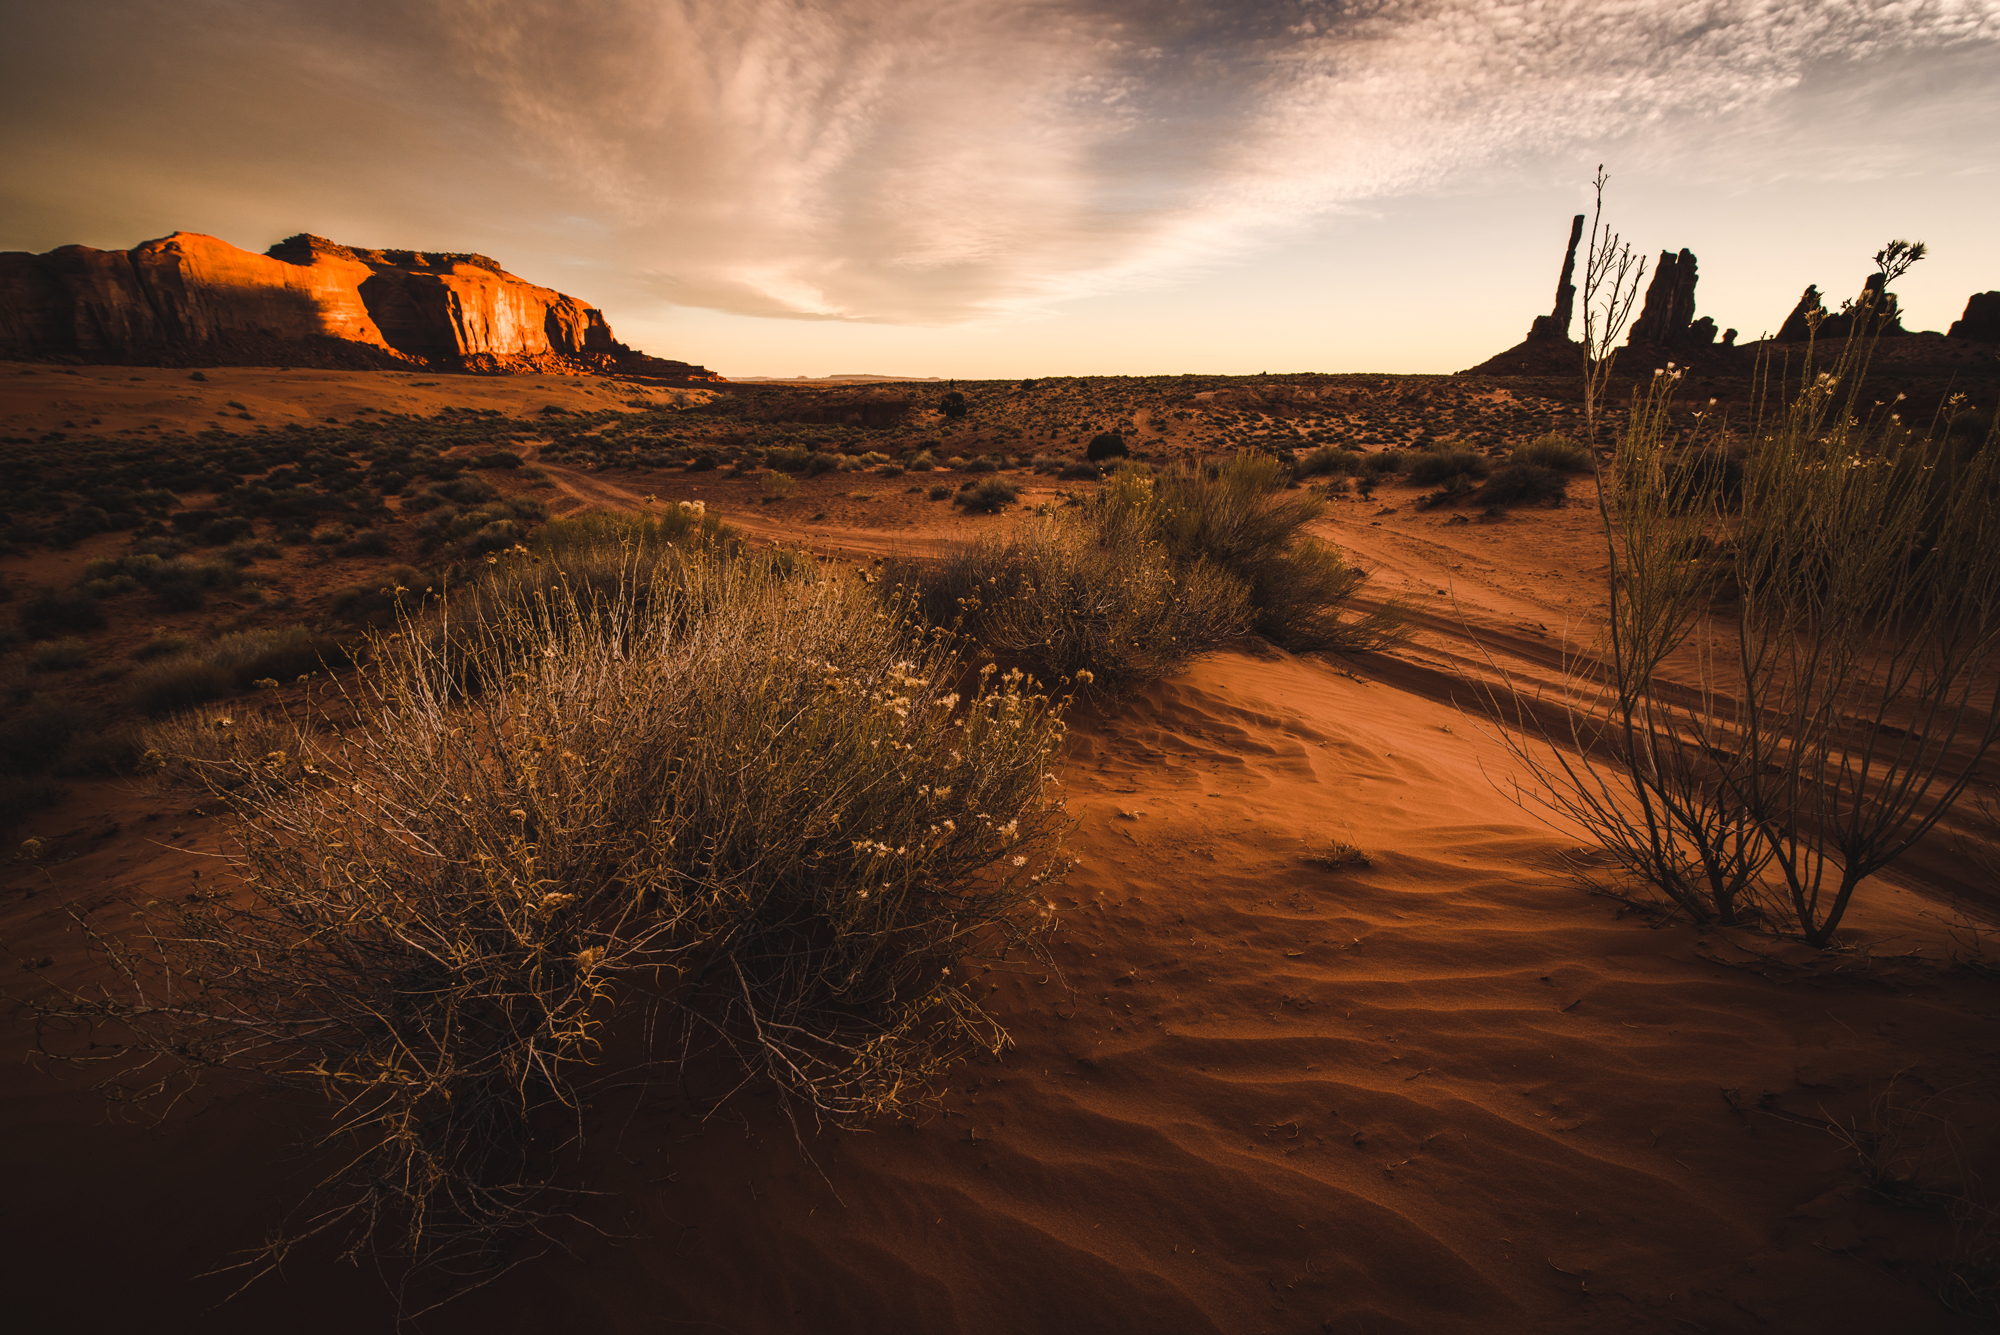
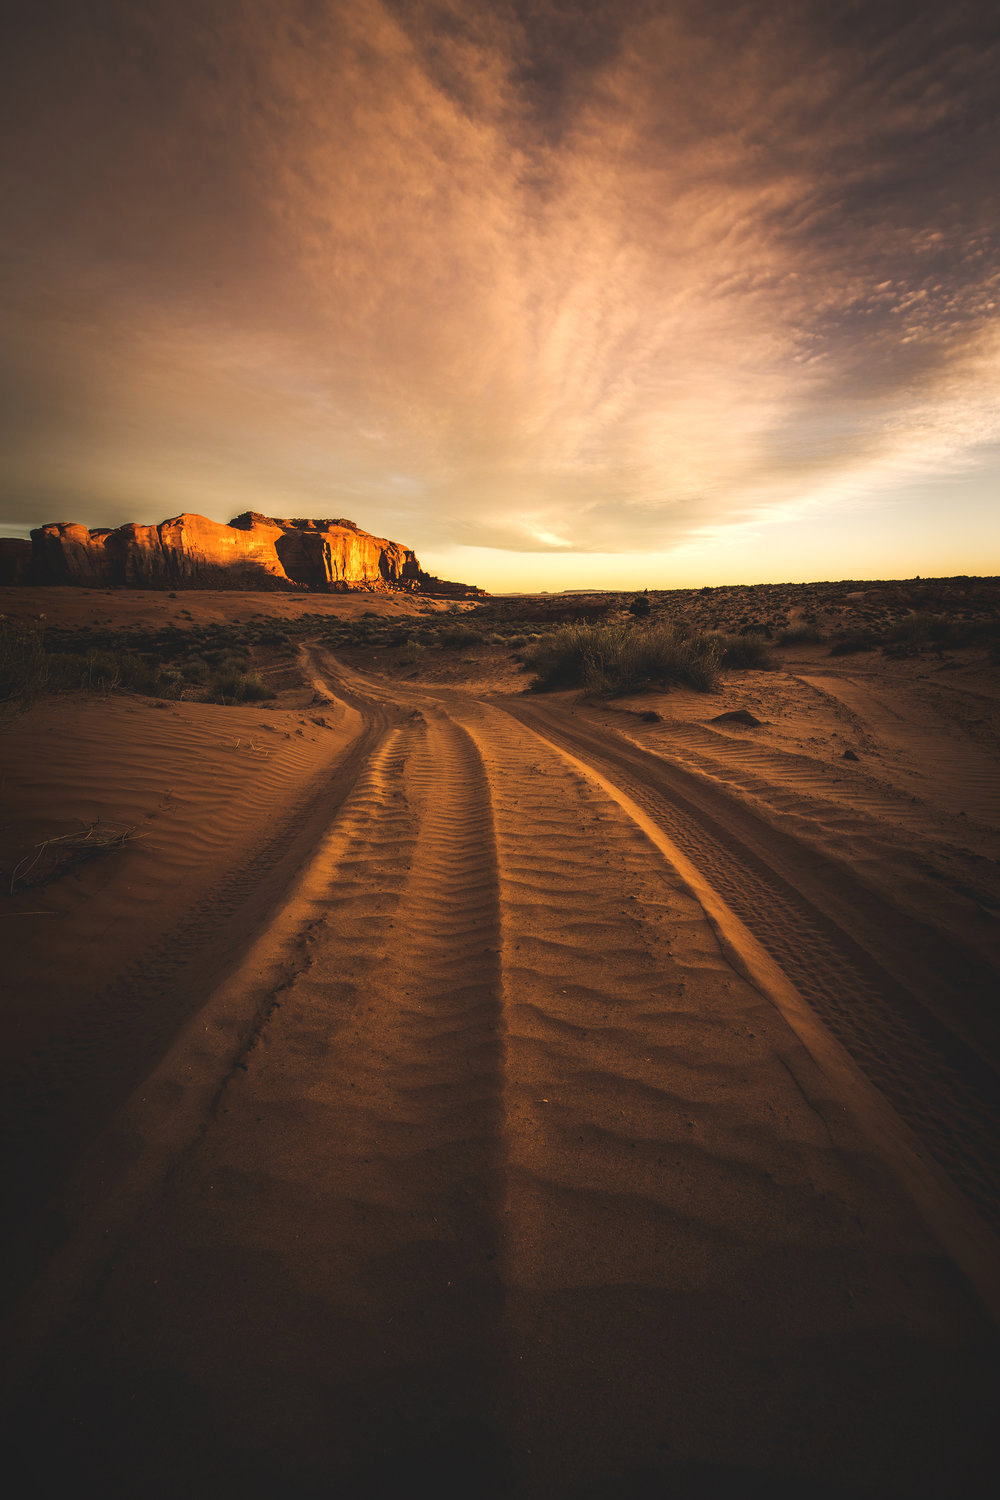
And for composition, I love great foreground. I like to use my Nikon wide angle lens to get a really nice foreground. So, that turns into the background. So, it leads your eye from foreground to the background. I really like details and textures. So, for my desert shots, for example, when I went to Monument Valley last December, I loved all the textures the desert had so I utilized that with the wide-angle lens to help draw your eye to the background, or foreground, depending on what I was trying to utilize.
A wide-angle lens brings everything really close to you, to the viewer, in the foreground. Depending on how you position or angle your wide-angle lens, it also distorts the image to make it appear bigger. I usually use it for the foreground a lot more to make it appear really wide, so you can appreciate all the details and textures of the sand or whatever I’m taking a photo of.
#7: Be Prepared To Improvise
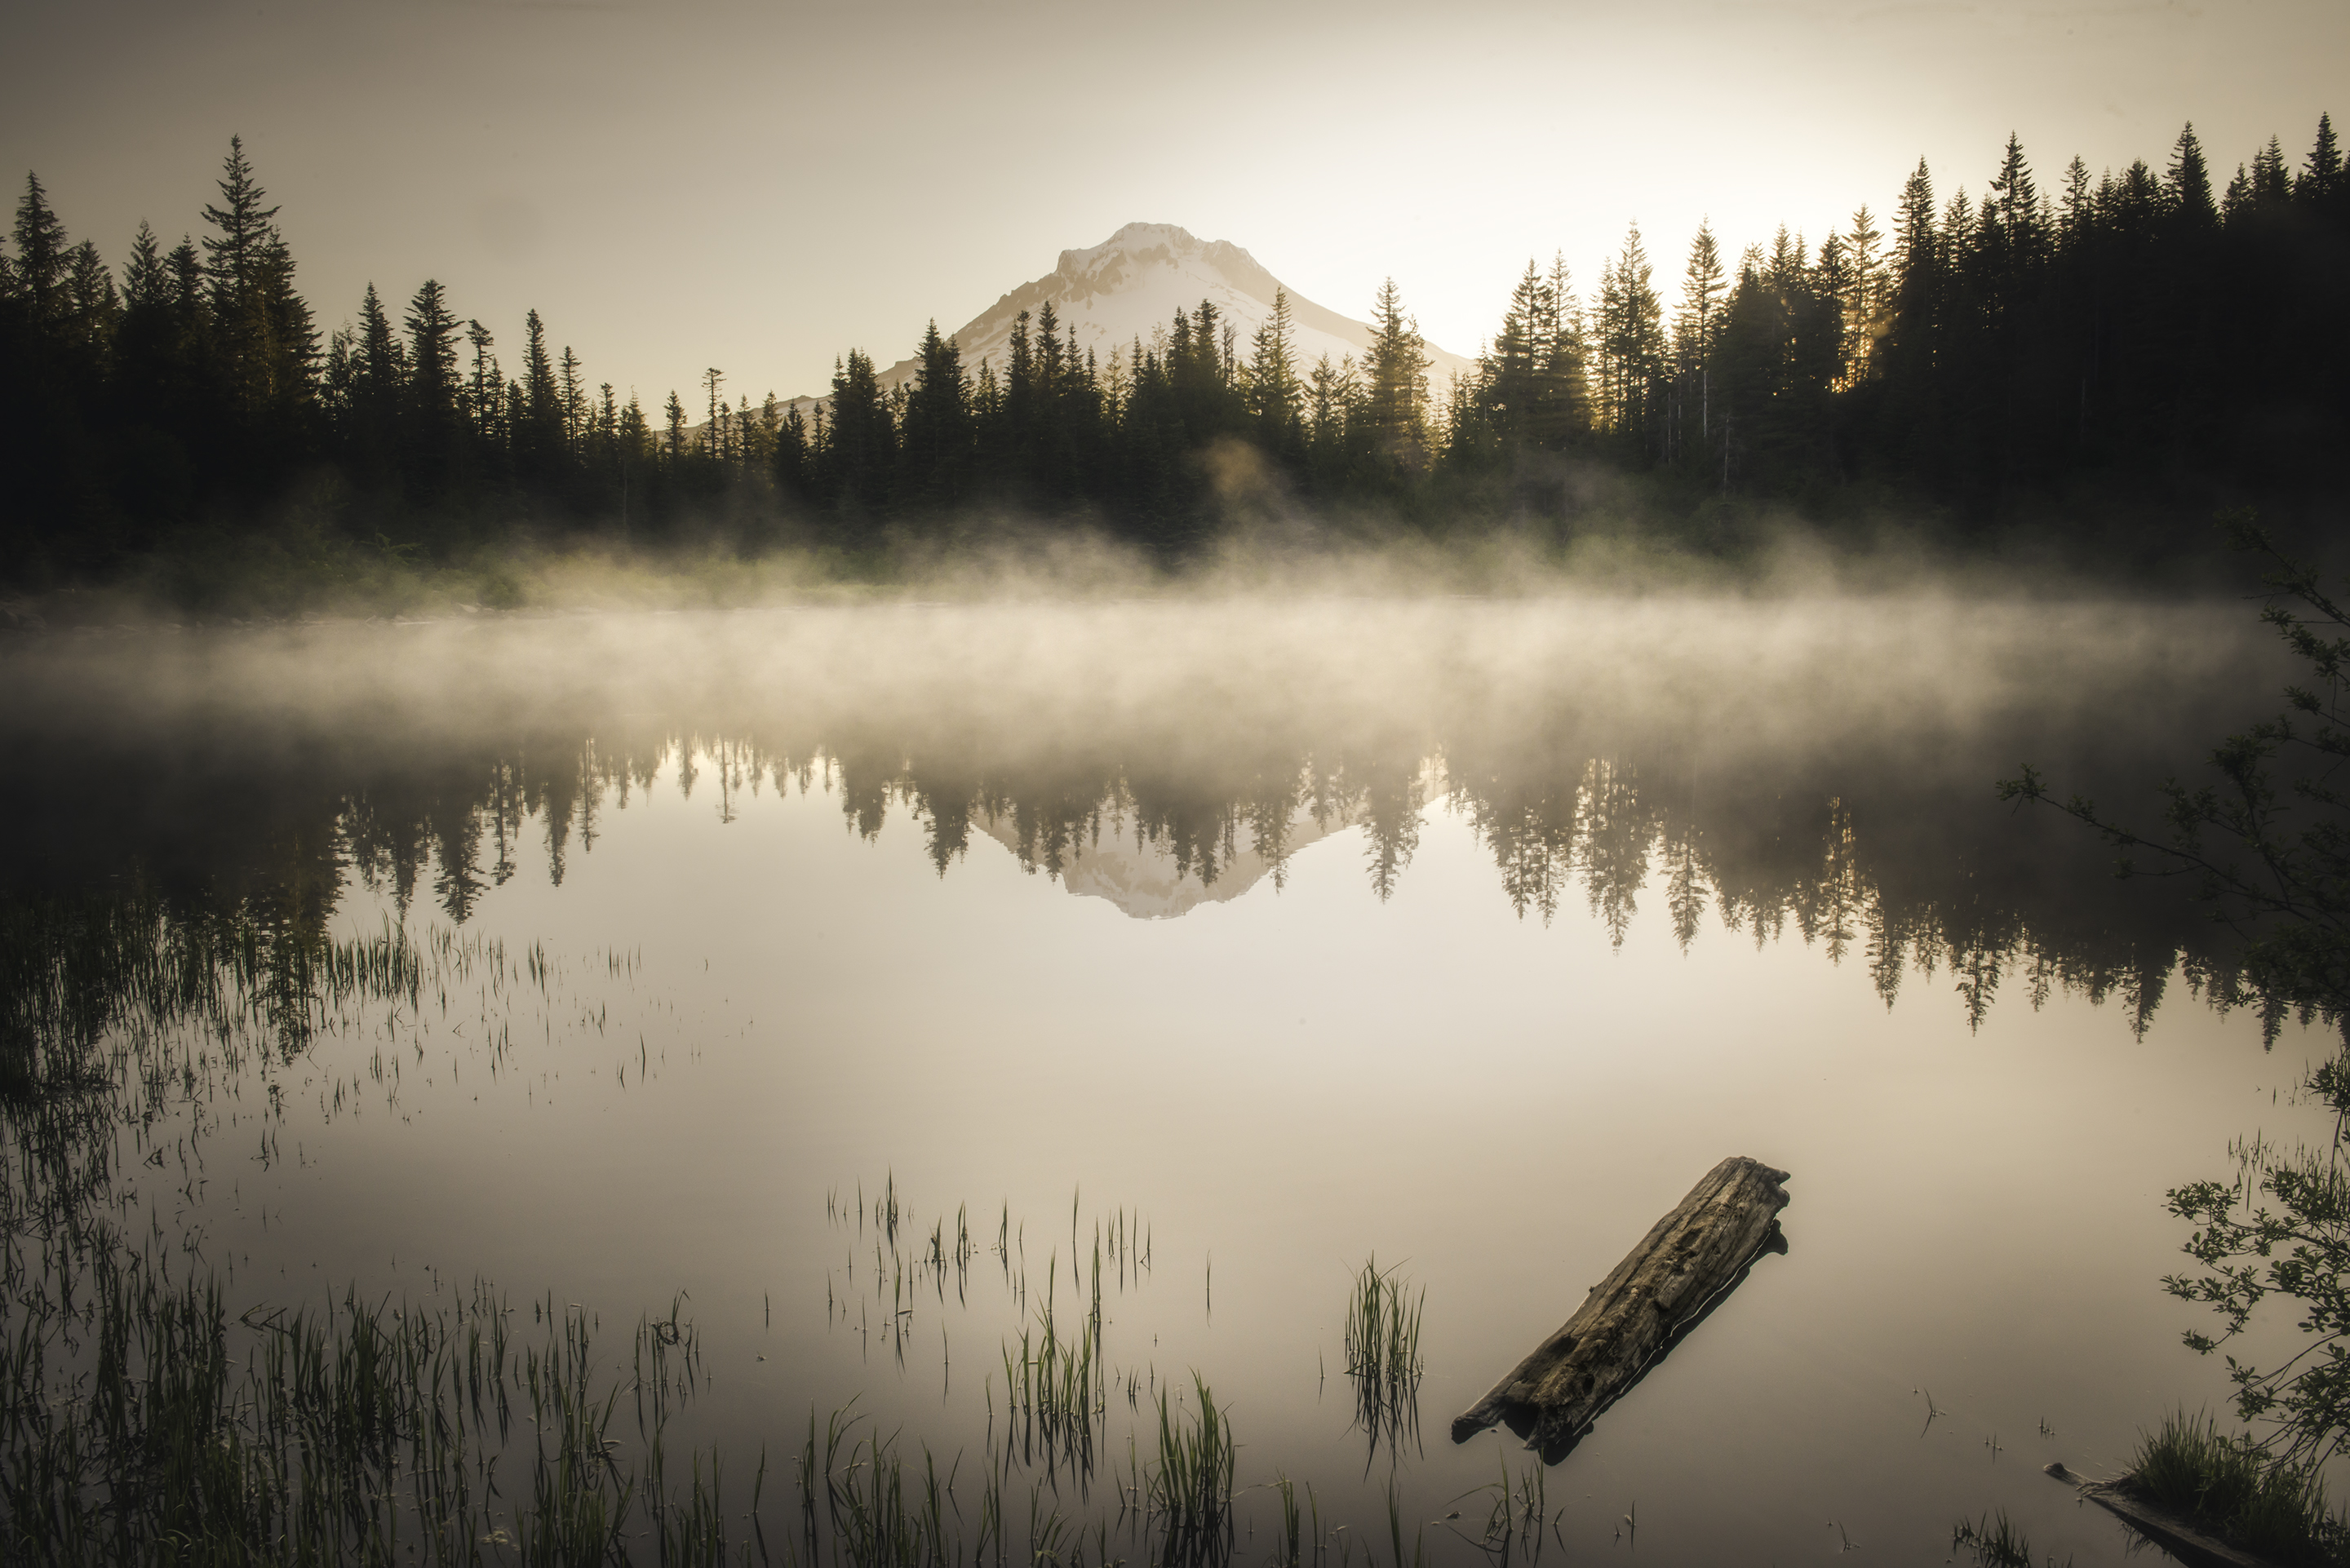
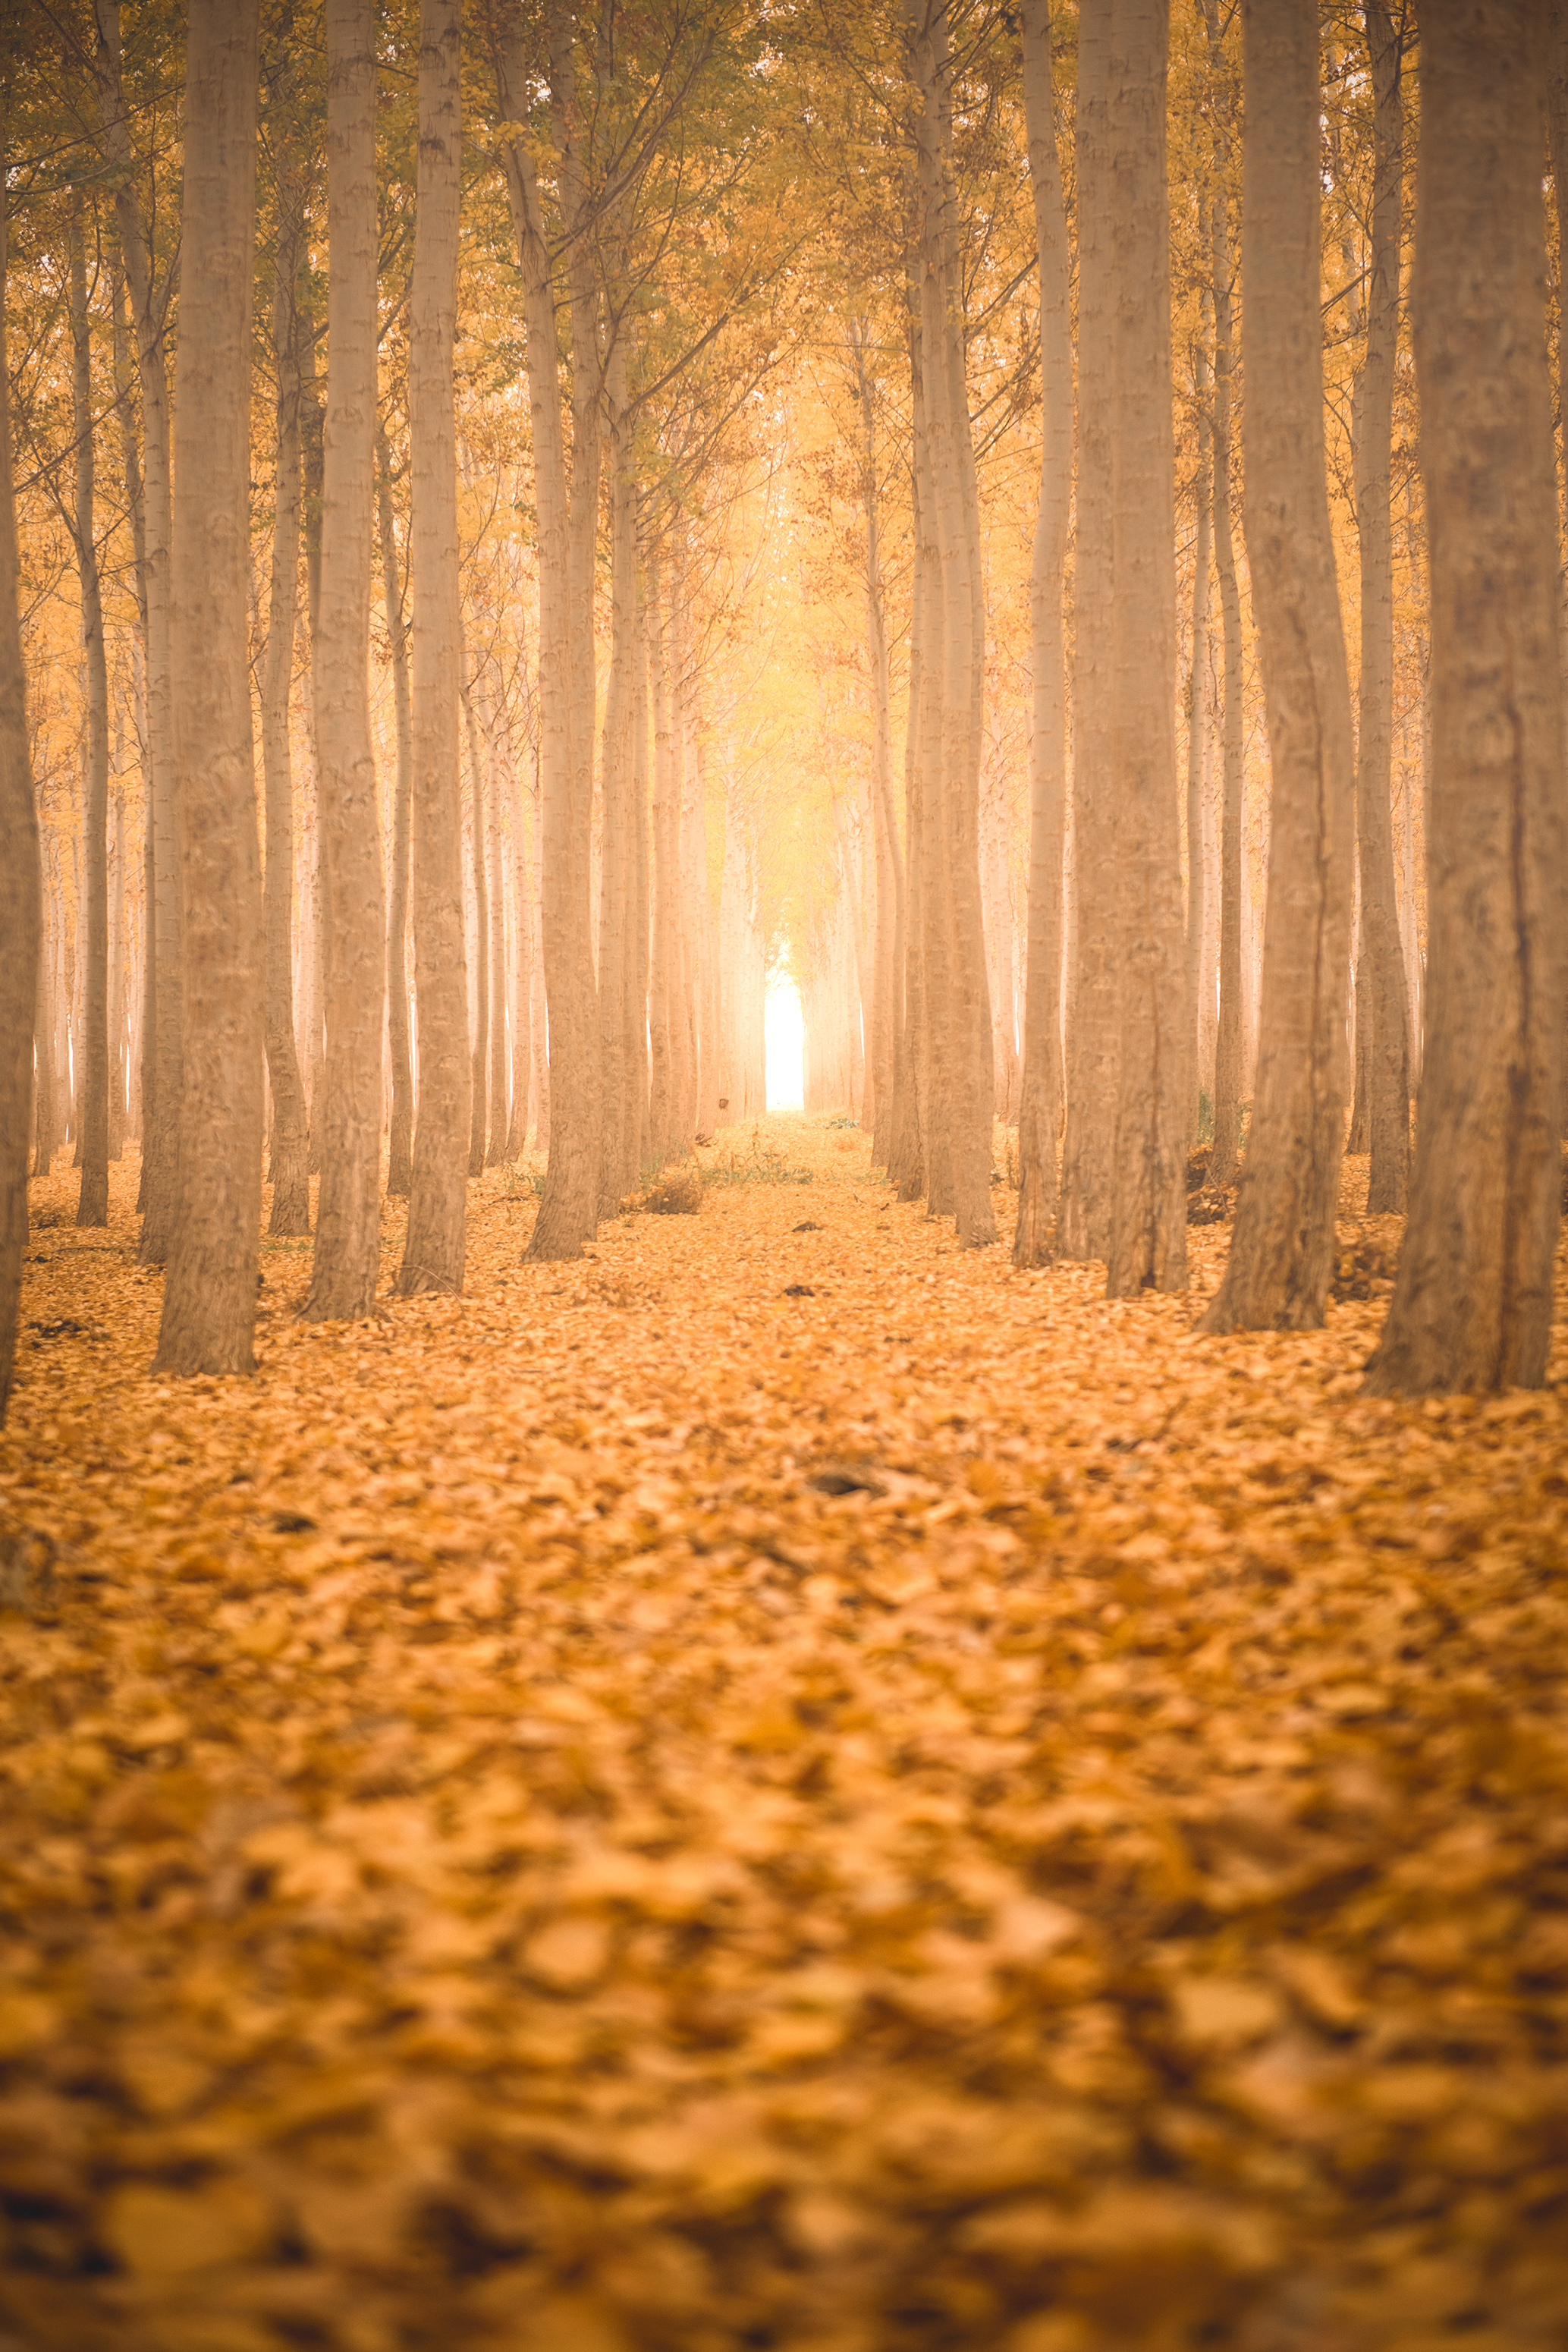
I really love color and texture, and in my shots, I try to utilize color and texture for my landscapes. That being said, really good lighting, anything that appears different, I think you should try to utilize really well and really quickly before it disappears. So, for example, a rolling cloud of fog coming in, into the coastline, that’s something unique. You should try to utilize it to the best of you can.
Or, reflections. For example, I went to Shiprock, New Mexico last October and it stormed the day before I went. There were random puddles throughout the land near Shiprock. I started looking carefully at these puddles to see if I could get a reflection of Shiprock, or any cool reflection of the giant monolith, and then, I finally found it. I try to pay attention to all these little reflective surfaces, too.
For that, you can’t really plan. I mean, in the sense, you could possibly, if you go after a rainstorm or a heavy rain or something of the sort. But for reflections and stuff, that’s very random. But if they’re there, do utilize them or try to find something to utilize because it adds so much flavor to your shot. Even if it doesn’t reflect the main subject, what if you had clouds in the sky that reflected into the reflection? It would look really beautiful regardless and give it a different texture to the foreground, which is really nice.
#8: Be True To Your Style
I wish people simply said just to photograph what you like way. Don’t do what anyone else is doing. Keep to your style regardless. You will only improve your own style over time. And over time, it’ll become your known style. So, if someone sees your photograph, they’ll be like, “Oh. Jared took that because that’s his style.” Even though your style may not shine as bright in the beginning doesn’t mean it won’t shine as bright in the end.
