Roasting a turkey can be a very hit and miss cooking endeavor. There’s a lot of nuance at play when cooking a whole bird of that size. Dark meat and white meat need to reach different temperatures in order to be fully cooked but not dry — leading to endless disappointments on Thanksgiving Day. Most chefs agree that there’s one way to increase your margin for error and get a good, even outcome. Brine that turkey.
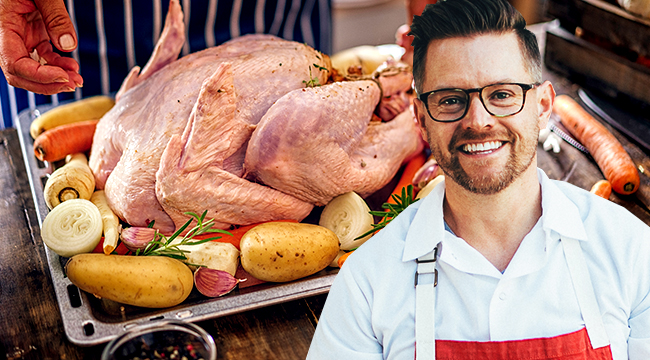
To master the art of the brine, we reached out to Top Chef champion (and fried chicken aficionado) Richard Blais. Since winning Top Chef All-Stars back in 2010, the star chef has shown up as a recurring guest judge on the show. He’s also opened two restaurants in San Diego (Juniper & Ivy and The Crack Shack) along wth a Crack Shack outpost in LA. So who better to teach us some serious poultry skills?
PART I: The Turkey
“If you can buy one fresh that’s great,” Blais says of scoring the right bird. “If you can find one naturally raised that’s good too. But it’s Thanksgiving and just having a bird and people to share it with is what’s important.”
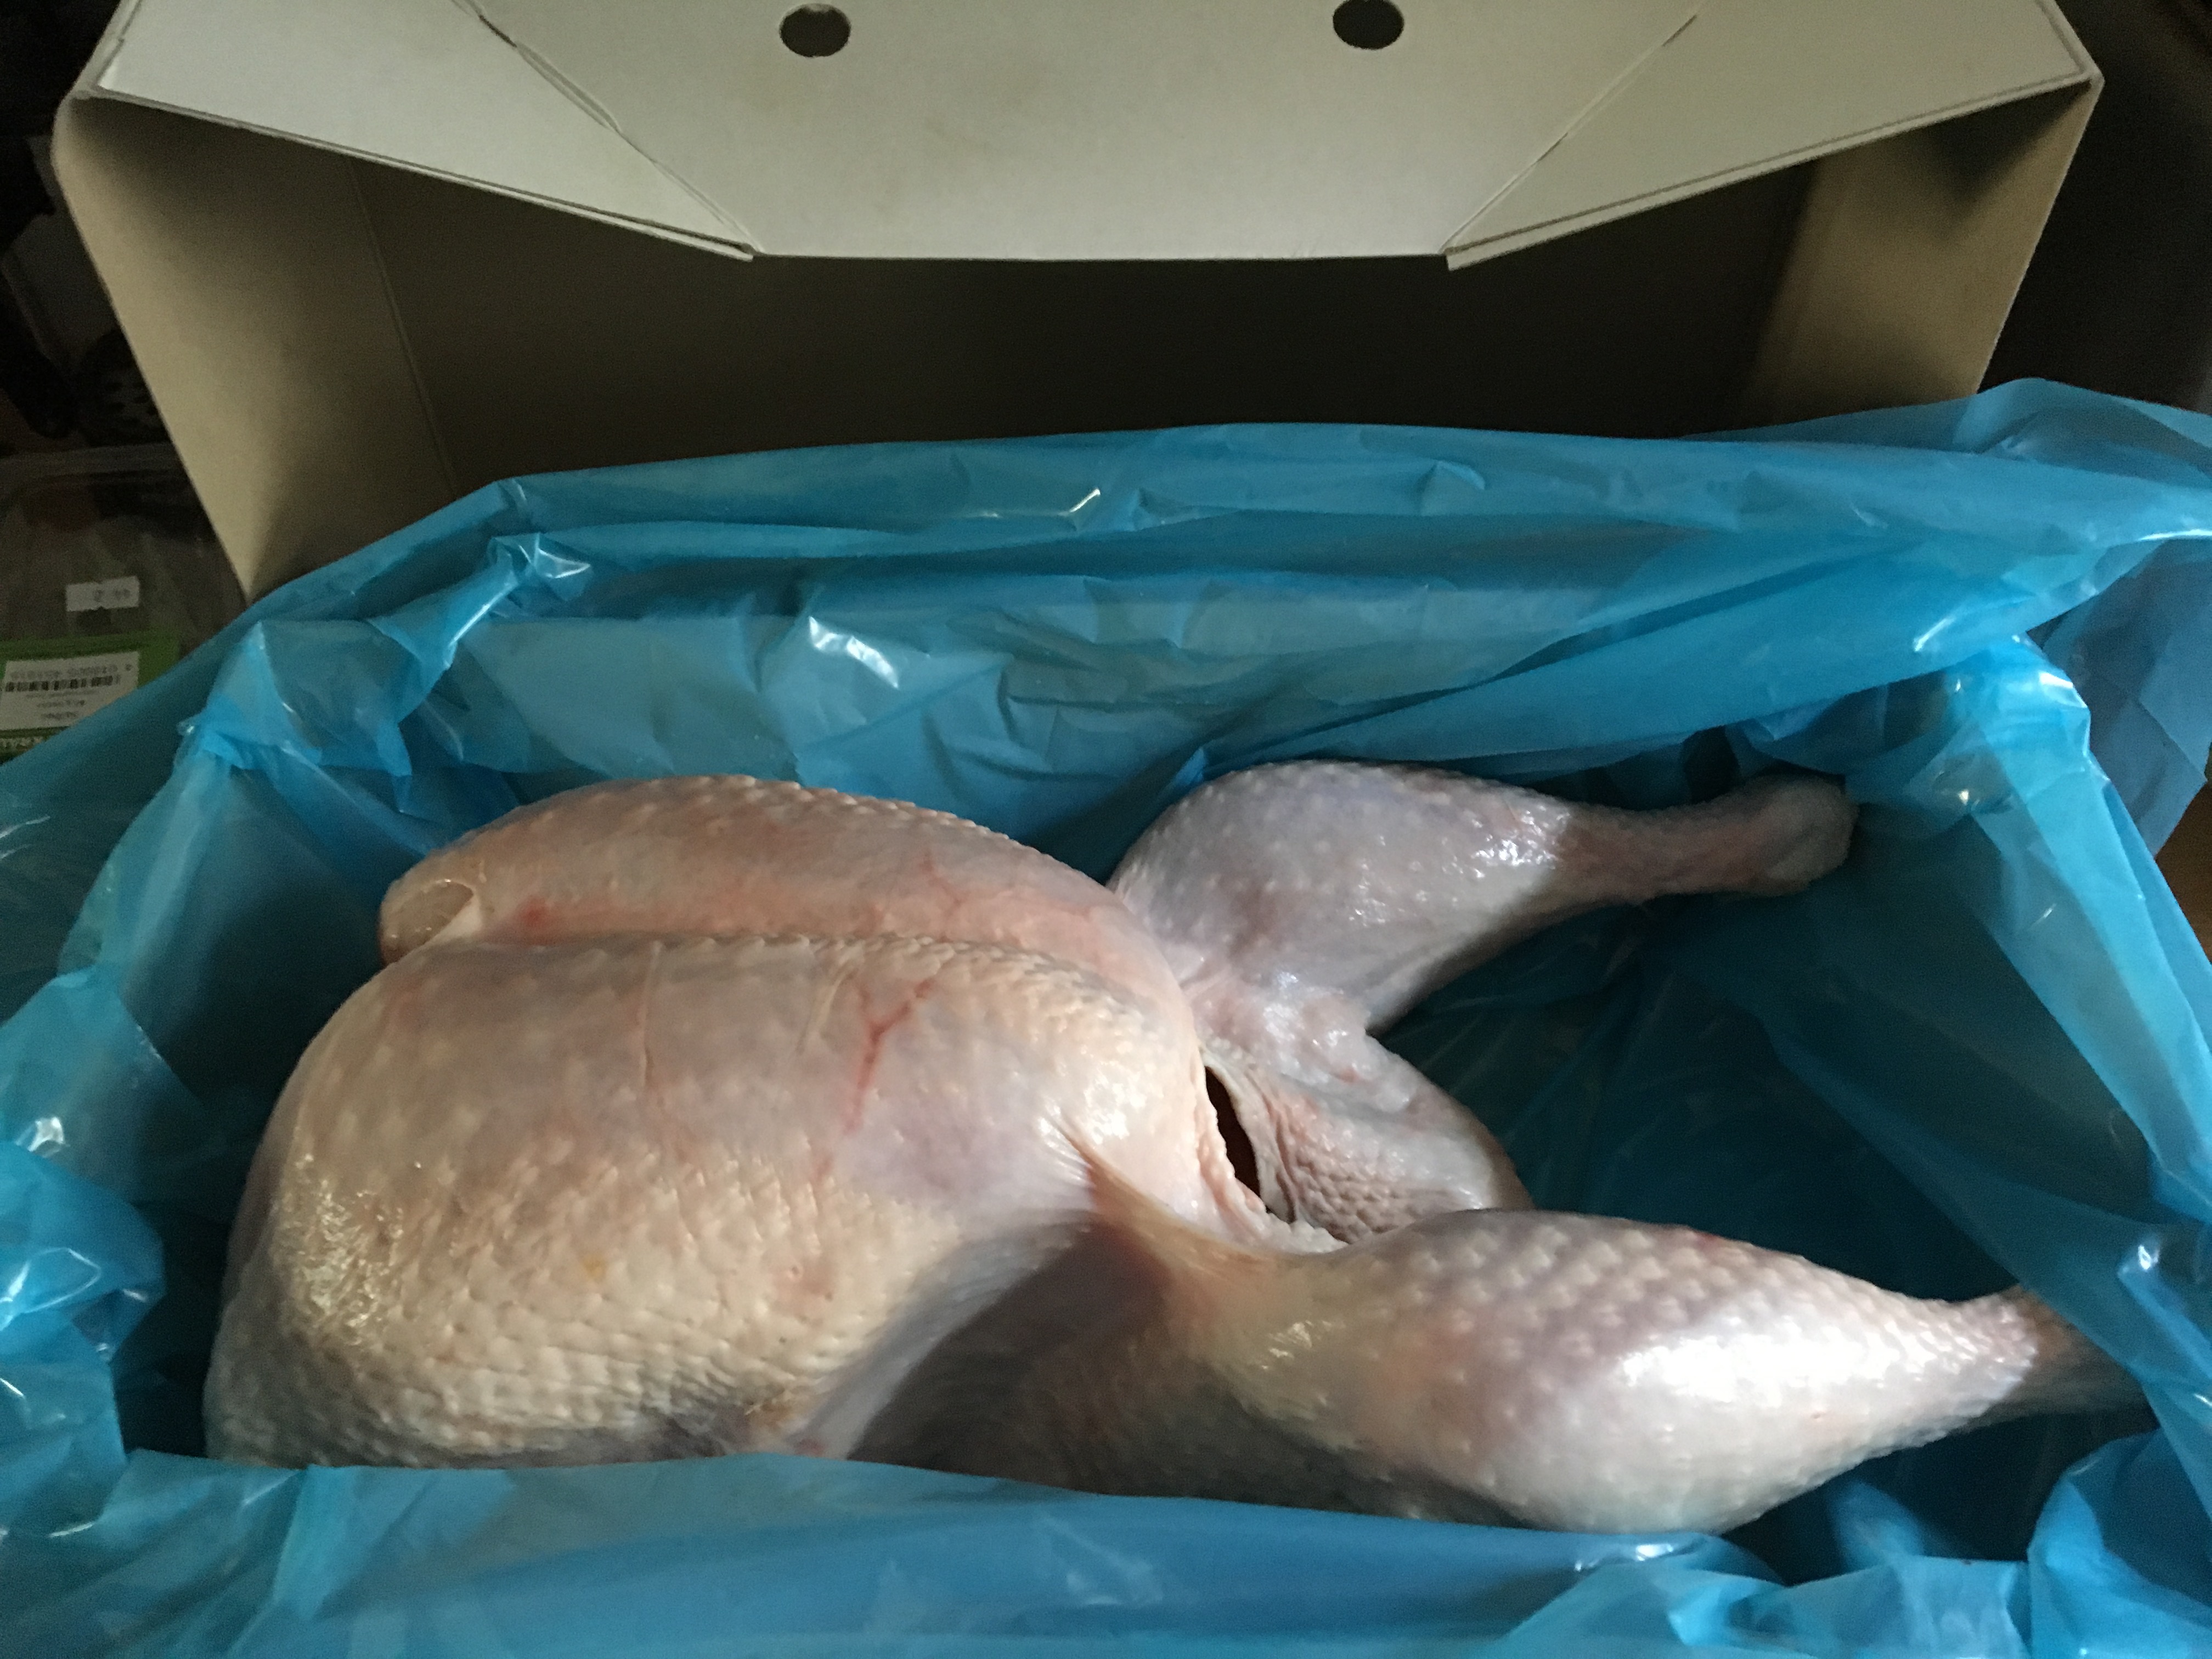
Speaking personally, I always order a fresh turkey the Friday before Thanksgiving. It’s free range, organic, and all of that. It’s usually slaughtered on Monday, processed on Tuesday, and in my kitchen by Wednesday afternoon, ready for my brine. The thing is, not everyone has the resources, time, or money to buy a fresh turkey. The vast majority of Americans are going to go for a frozen bird.
“So,” I ask Blais, “what’s crucial to getting a frozen turkey ready for the brine?”
Blais jumps right in. “Make sure to follow proper defrosting guidelines. You just need to make sure the bird is defrosted completely.” Blais put a lot of emphasis on that “need” so we will too.
Let’s say you’re going with a 15-pound bird. That means you need to be defrosting that sucker right now. If you’re defrosting in the fridge, you’ll need three solid days or 24 hours for every four or five pounds. If you defrost in a water bath, however, you’ll need up to eight hours or about 30 minutes per pound. That’s a lot closer to overnight. So, theoretically, you can drop that turkey in cold water, go to bed, and wake up tomorrow to start your brine.
PART II: The Container
This is the fun part. A brine is so personal. It can be as simple or as complex as you want it to be. The important thing to remember is that it’s yours.
“Wet or dry?” I ask Blais, his energy about the subject having infected me.
“I prefer a wet brine for turkey,” Blais says. “It’s better for deeper and quicker salt penetration.”
Next, I ask him what’s something crucial that’ll be a barrier to success if forgotten. Blais thinks for only a moment and shoots back, “Make sure you have a bucket big enough to submerge your bird.. Tthis isn’t a marinade, it’s a brine so it’s important the bird is able to take a proper bath.”
Let’s stick with a 15-pound turkey as our guide. You’ll need a four-gallon receptacle: Bucket, bin, stock pot, or even a cooler. If you’re using a cooler, it’s probably a good idea to line it with smaller volume plastic roasting bag (otherwise, you’ll need a crazy amount of brine). In a pinch, head to Home Depot and find a four-gallon bin or bucket (with a lid) that’s food safe. It’ll cost about five bucks. Plastic bins with numbers one, two, four, and five inside the little triangle are food safe.
Generally speaking, number two is HDPE, which is directly made for long-term food storage. Whatever you use, the point is that the turkey is completely submerged. You also don’t want a lot of empty space in your receptacle. That just means more brine. It should be snug.
PART III: The Brine
Okay, it’s time to talk actual brine. All salts are not created equal. They serve different purposes for different methods of prepping, cooking, and serving.
First, water, of course, is the base. Then Blais recommends Morton Kosher Salt. “It’s my go-to for brining — because its flat crystals make it easily dissolvable.” Without getting deeper on the science of salt, just know that kosher salt is a little heftier and flaked, giving it a bit more staying power when combined with water.
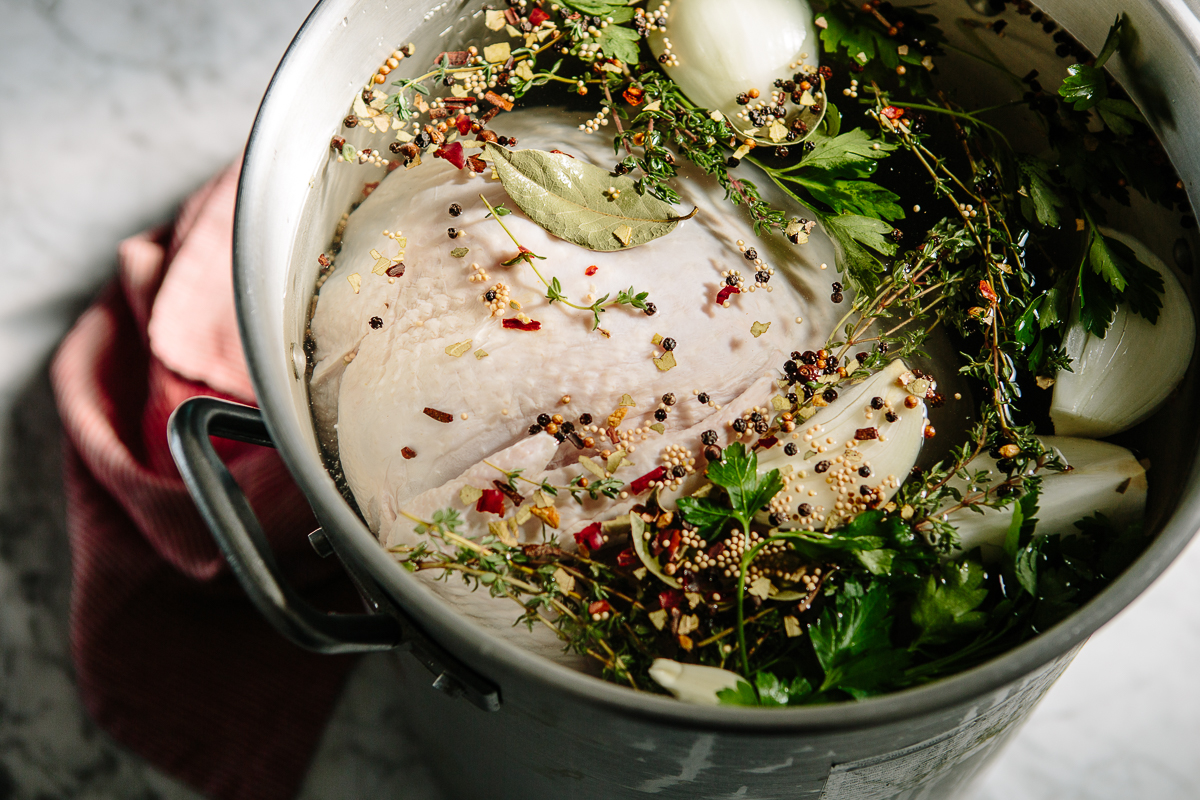
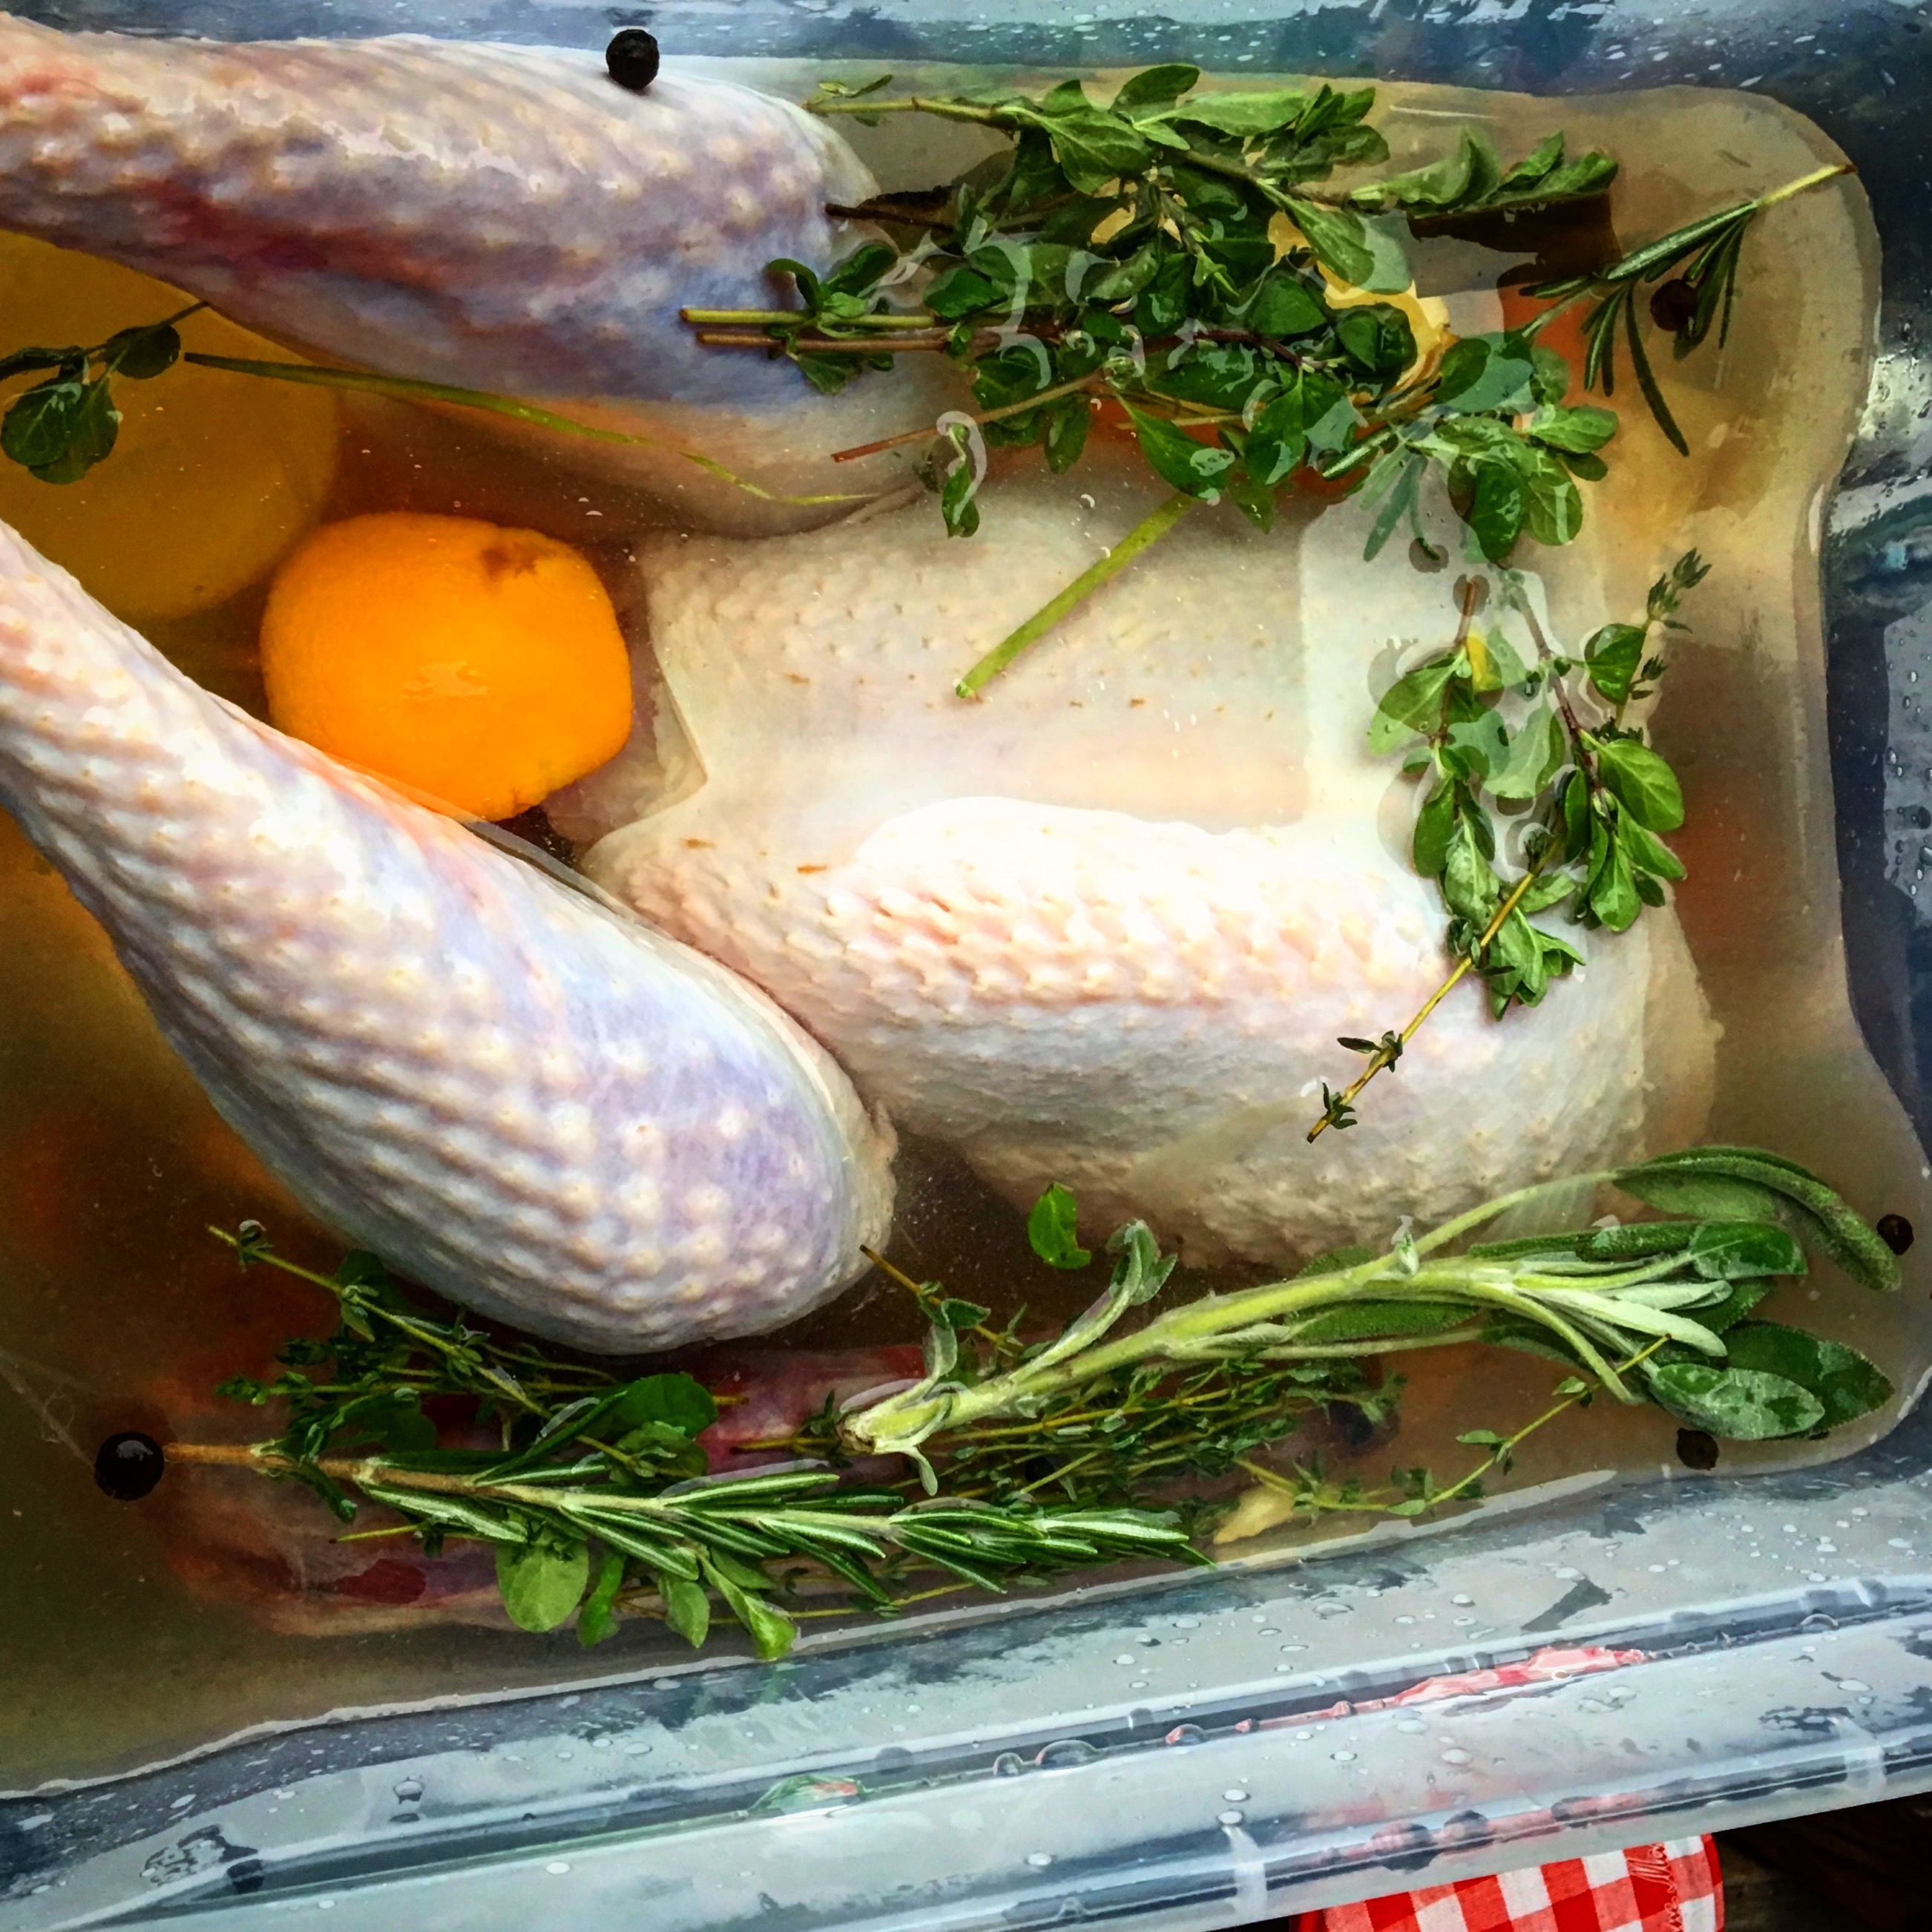
Let’s put together a brine. We start with two, maybe two-and-a-half gallons of water. You’ll want to aim for 1/2 cup salt per gallon of water in your base. In the end, that’s all you really have to do for a suitable brine. But Blais is keen to push us all a little further. “If you want to get extra fancy, you can add a variety of spices -– everything from peppercorns to fennel to anise.”
Personally, I also like to add a cup of raw sugar. This is 100 percent optional. But the sugar does smooth things out a bit. From there, it really depends on what you want. I like to go big. I’ll add teaspoons of juniper berries, peppercorns, and mustard seeds along with a couple of cinnamon sticks and star anise. Then I’ll throw in sprigs of fresh bay leaves, thyme, sage, and marjoram. Lastly, I slice up a yellow onion, carrot, fennel, orange, and a few cloves of garlic and throw that in too.
The last step is the matter of how long to soak it. I put 24 hours out there and Blais tends to agree. “A 24-hour-soak or even a little less will work,” he surmises. Overnight is a good litmus for any brine with 12 to 14 hours being the minimum so that the brine gets all the way down to the bone.
One last factor you need to account for is where to store a four-gallon bin of turkey and brine. Ideally, you want to store this on the bottom shelf of your refrigerator for the duration. It’s going to take up a lot of space. I’m lucky enough to live in a climate wherein I can just put it outside on the porch. If you can’t, make sure your brining receptacle will fit in your fridge before you get the turkey and brine in there.
PART IV: Post-Brine Steps

We’re almost ready to roast!
“Rinsing off after brining is a critical key!” Blais says. “Patting dry, letting the bird come to room temperature, and then making sure your oven temperature has come up correctly are also crucial steps.”
So, rinsing the turkey gets any debris off the skin and allows a clean and even roast. Patting the bird dry takes that excess water off the skin so that it can cook correctly and, eventually, crisp. You should almost always cook meat starting from room temp. All of this means, you’ll need to add at least two hours to your prep time. I, generally, bring my turkey brining bin into the house two or three hours before I’m ready to roast so that it can come up to room temp.
I also get the oven thoroughly preheated as Blais recommends. You don’t want your turkey going into a cold oven and slowly heating with it.
PART V: The Last Steps Before Roasting
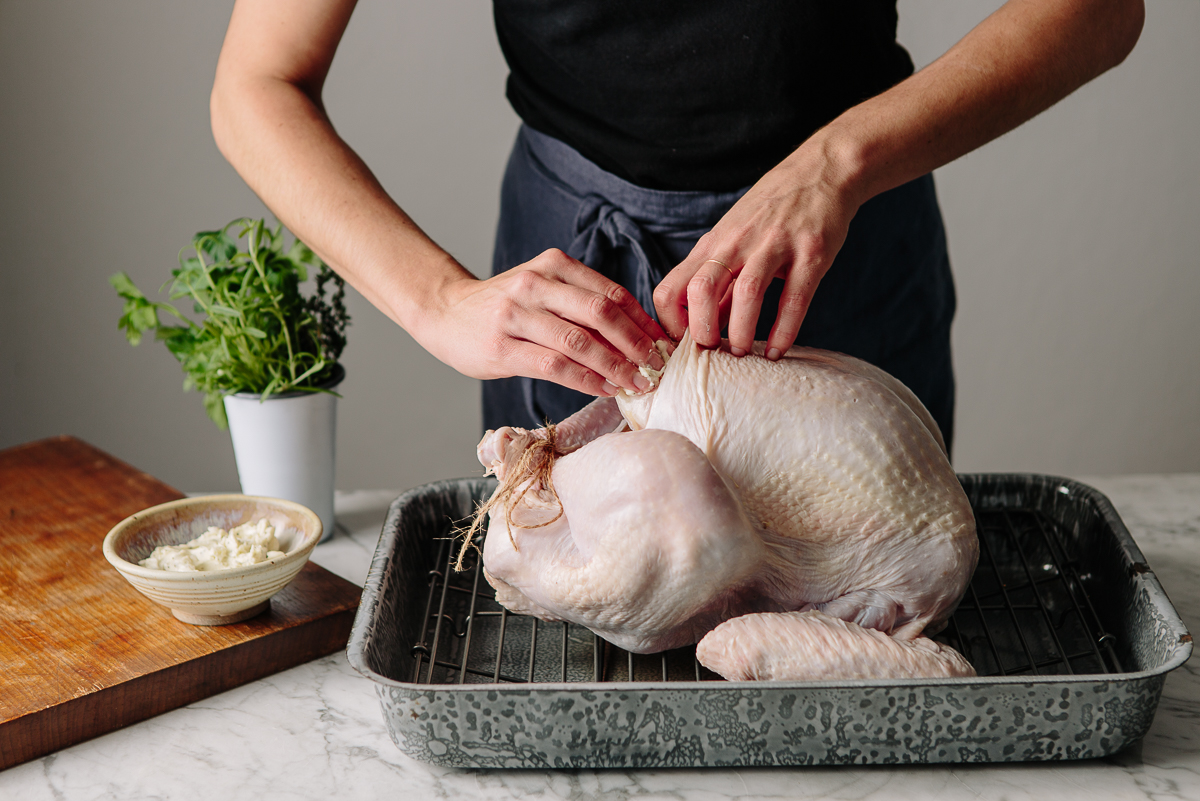
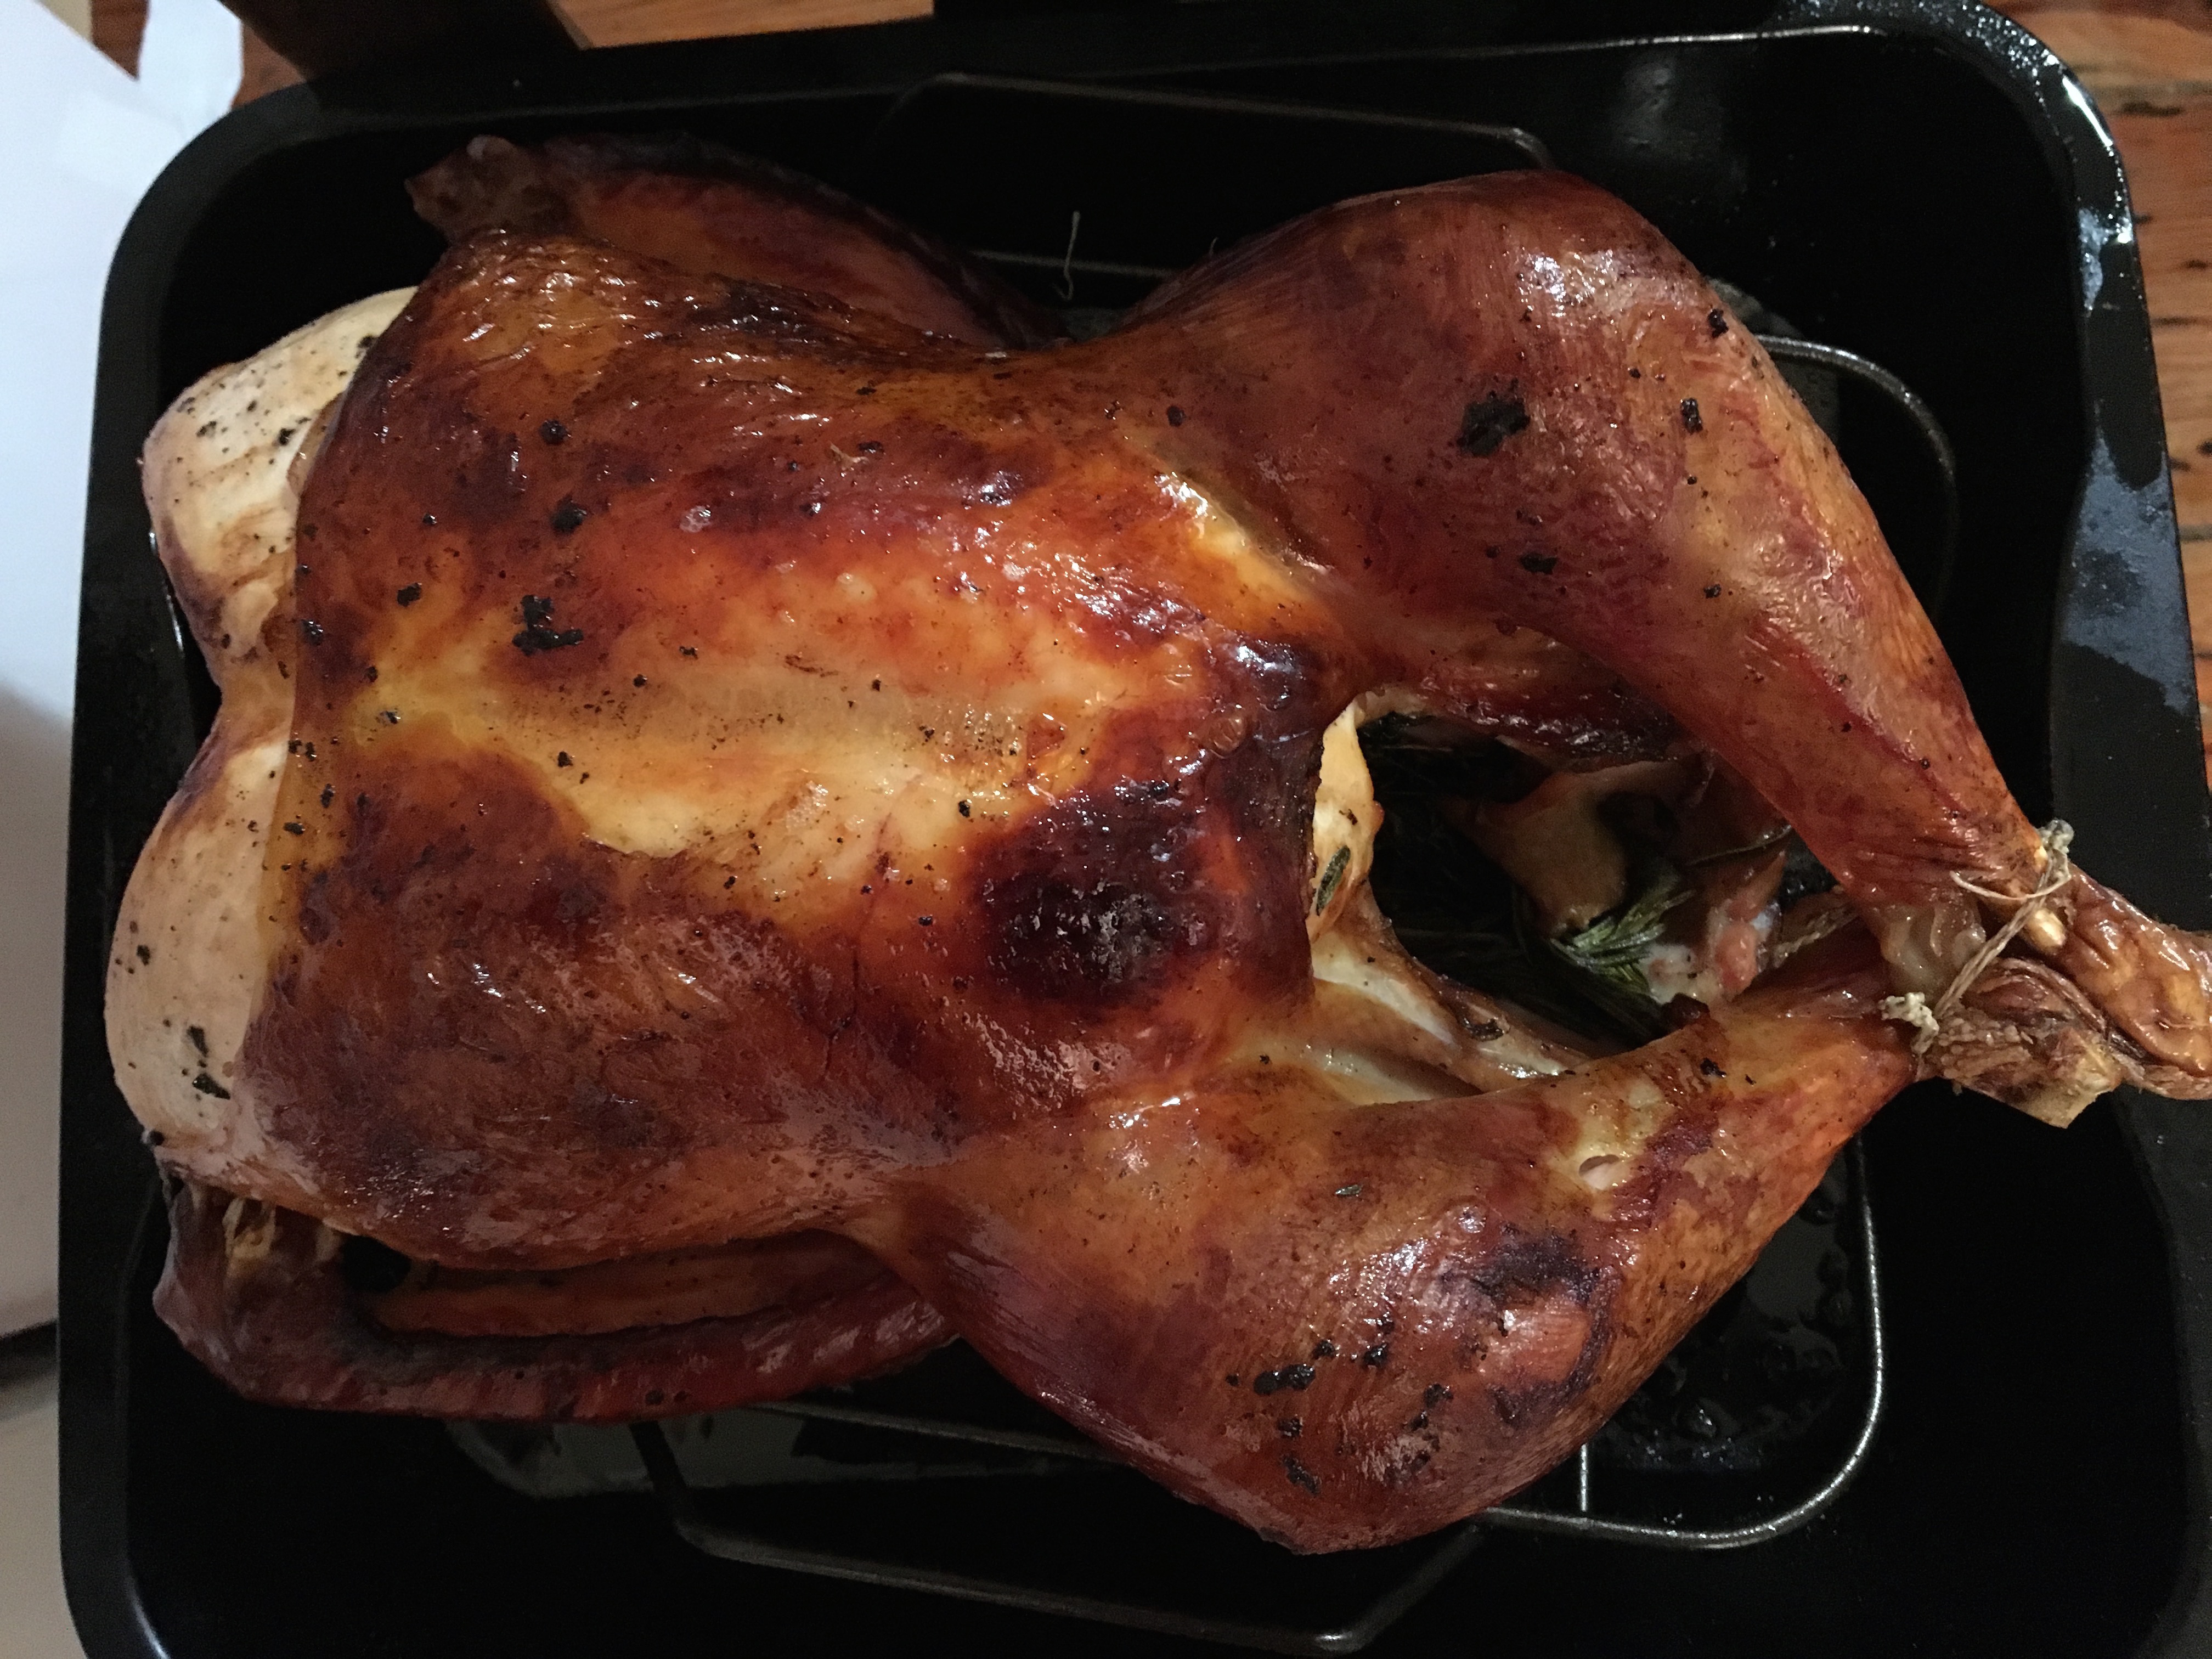
I ask Blais what he likes to do to the turkey before it goes in the oven. “I like stuffing the breasts with a flavored butter,” he says. “Then, I like roasting at a lower temperature — 300f to 350f — and finishing at a high one to crisp the skin a little.”
A good rule of thumb is to aim for 15 minutes per pound, basting with pan juices every 30 minutes or so. Before we jump off our call, I had to ask Blais his opinion on stuffing. In the bird or out? Blais has an answer locked and loaded, “In the casserole dish for me! Stuffing the carcass can alter the timing of the cook.” Blais pauses for a moment then adds, “I’ll toss some onions or aromatics into the cavity for flavor, however!”
I agree. You can never have too many aromatics.
Related: Check out Uproxx’s It’s Time You Learned How To Make… Recipes Here


