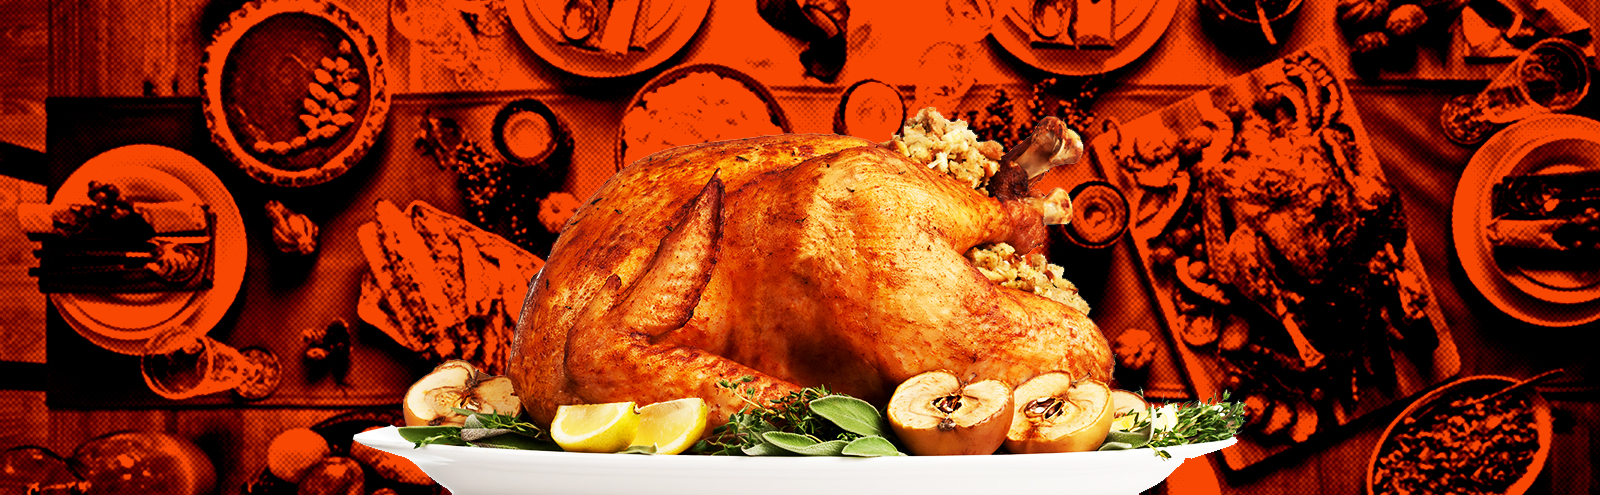
Roasting a turkey is a big deal. Any time you cook up 20 pounds of meat — turkey or otherwise — you’re going to need to have your skills dialed in. The problem is, dialing in those skills takes some trial and error, and it’s not worth wasting meat (or a once-per-year culinary event) to do so. Besides, when talking turkey it’s all about hitting an exact temperature for serving — trapping in moisture while maintaining a soft texture without stringiness — which puts you in the position of roasting the dark and white meat to different temperatures.
The solution? Split that bird up. No more picking shreds of meat from the dried-out carcass. Not at the dawn of a new decade. Instead, mix and match techniques and styles for optimum flavor. Because no one cares how your turkey looks on the table, they care about how it tastes.
BEFORE YOU START
Before we go much further, let’s talk about temperatures. It can get confusing because the USDA has a set of temperatures to aim for which err on the safest side, but, some will argue, lead you to ruining the meat. For instance, the USDA pings poultry at being safely cooked at 165F. That’s … intense. 165F means your white meat is going to be dry as bark and stringy AF. 165F on the dark meat will be a little more forgiving, but it’ll still get very stringy.
Since we’re talking solid pieces of meat (and not ground meat which is prone to internal bacterial contamination), we can adjust our temps to find the best spot for each section of the turkey. Food scientist, researcher, and chef J. Kenji Lopez-Alt has a handy guide for white turkey meat temps that range from 130F to 150F. The latter number will verge on stringy but will still have a moist feel. As for the dark meat, since you’re dealing with a lot of fat in the meat, temperatures closer to how you’d cook a brisket are apt. I generally aim for 150F, though 156F is fine if you want a little more chew to the meat.
The overall temperature you need to hit is 140F to be wholly confident that your meat is safe, even with poultry. If you’re using ground meat or stuffed meats, then that temp should be 160F, or well done. The lesson here? Don’t stuff your turkey with sausage or use ground meat in some other form and you won’t have to overcook it.
One last note on safety. Wear gloves when handling raw poultry to help prevent cross-contamination from the juices that’ll come off the meat. Also, make sure to wash all cutting boards, knives, etc. very well in very hot soapy water. I tend to boil a kettle of water and then use that to wash my boards and countertop. But, I fully admit that I’m used to that tactic after working in professional kitchens, and working with just-boiled water is very dangerous.
PART I — THE PERFECT DARK MEAT
Roasting dark turkey meat is a great way to wow your guests with the meat everyone ends up wanting anyway. A huge benefit of roasting a thigh and leg, instead of a whole bird, is that it takes about one-quarter the time. That means you can actually enjoy your Turkey Day without having to spend half of it basting a whole bird.
Okay, cooking a turkey — white or dark meat — takes a lot to pull off well. You need a fair amount of ingredients for brining and then roasting. Plus, you’ll need some tools to roast the meat correctly and exactly.
Ingredients and Supplies:

Shopping list:
- Large Air-Chilled, Free-Range Turkey Leg and Thigh (you can get this from any high-end butcher shop)
- Half-gallon Water
- Half-cup Alpine or Kosher Salt
- Quarter-cup Raw Brown Sugar
- Eighth-cup Apple Cider Vinegar
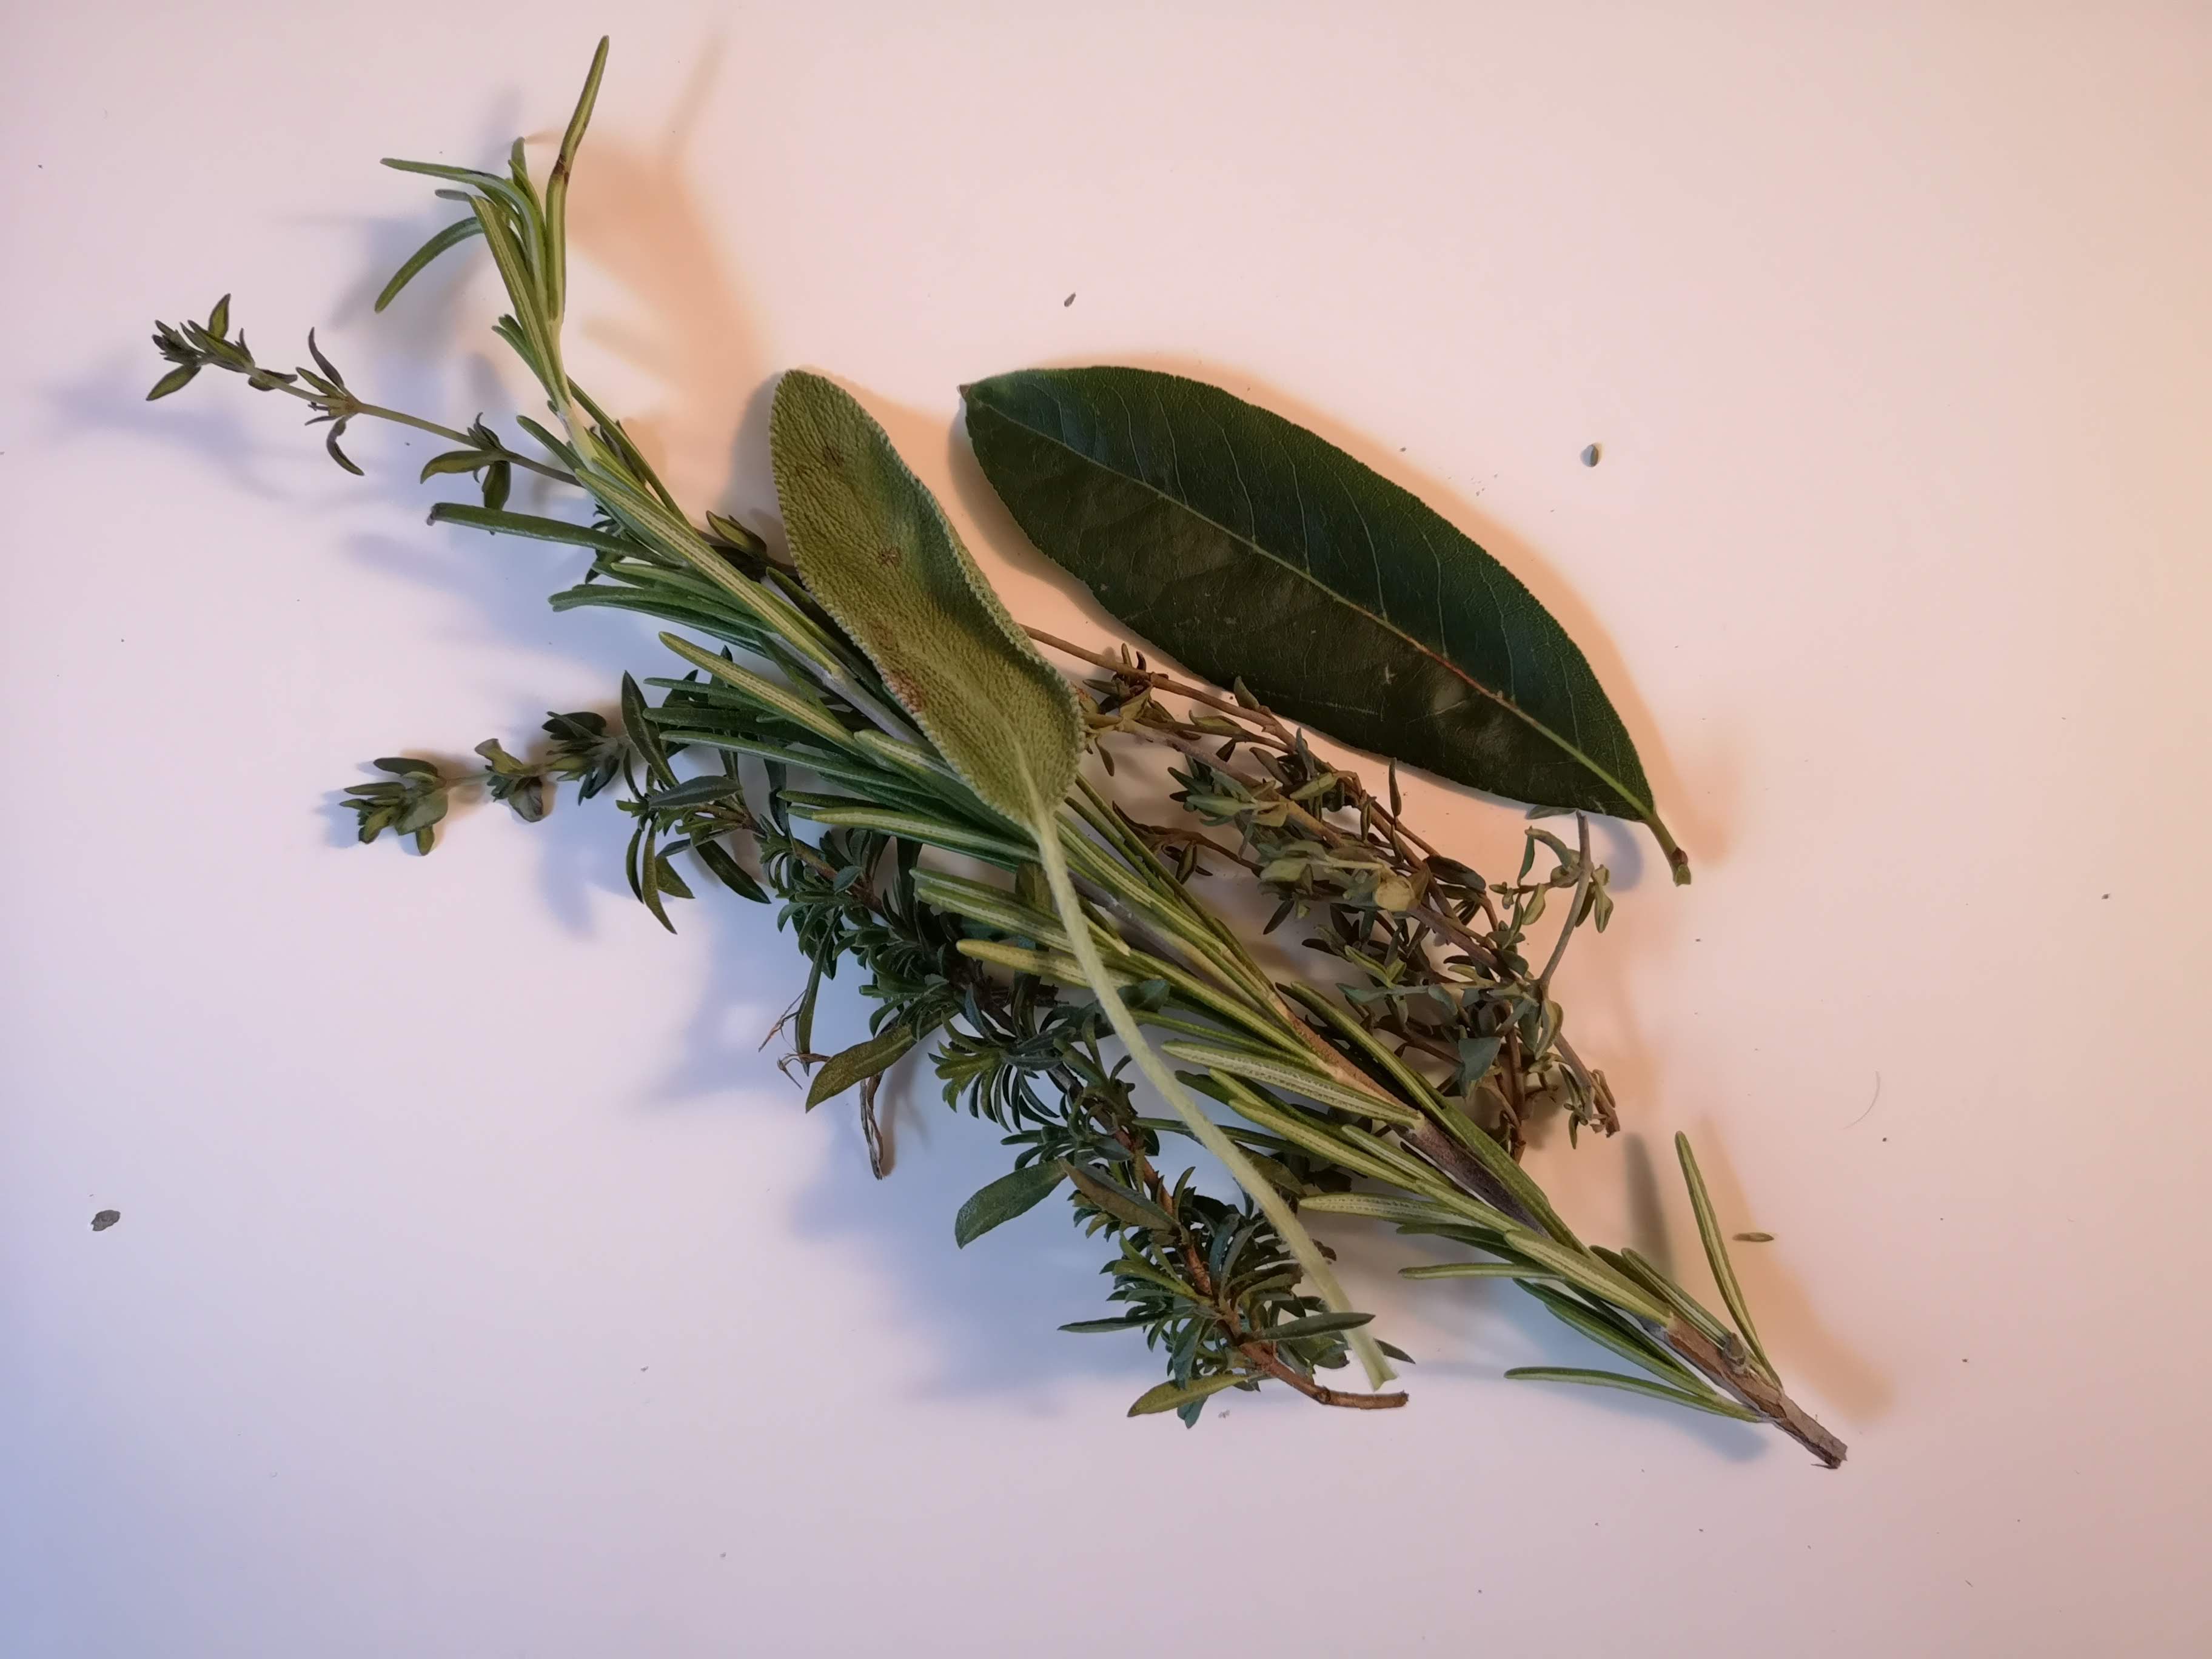
- Four sprigs Fresh Thyme
- Four sprigs Fresh Sage
- Two sprigs Fresh Rosemary
- Two Fresh Bay Leaves
- Bushel of Fresh Parsley
- White of one Leek
- One Carrot
- One-quarter Celery Root
- One stalk Celery
- Ten Black Peppercorns
- Four Juniper Berries
- Four Cloves
- One Stick of Butter
Kitchen supplies:
- Roasting Pan with Wire Rack
- Large Stock Pot
- Small Sauce Pan
- Two 2-gallon Ziplock Bags
- Two large bowls
- Paring Knife
- Meat Thermometer
- Food-safe String
- Food Brush
- Grease-proof Paper
- Foil
- Chef’s Knife
- Cutting Board
The Brine:
Whenever someone says, “making X is the easiest thing in the world,” it always feels like lip service and often is. That being said, making brine is the easiest thing in the world. It takes no skills, just patience.
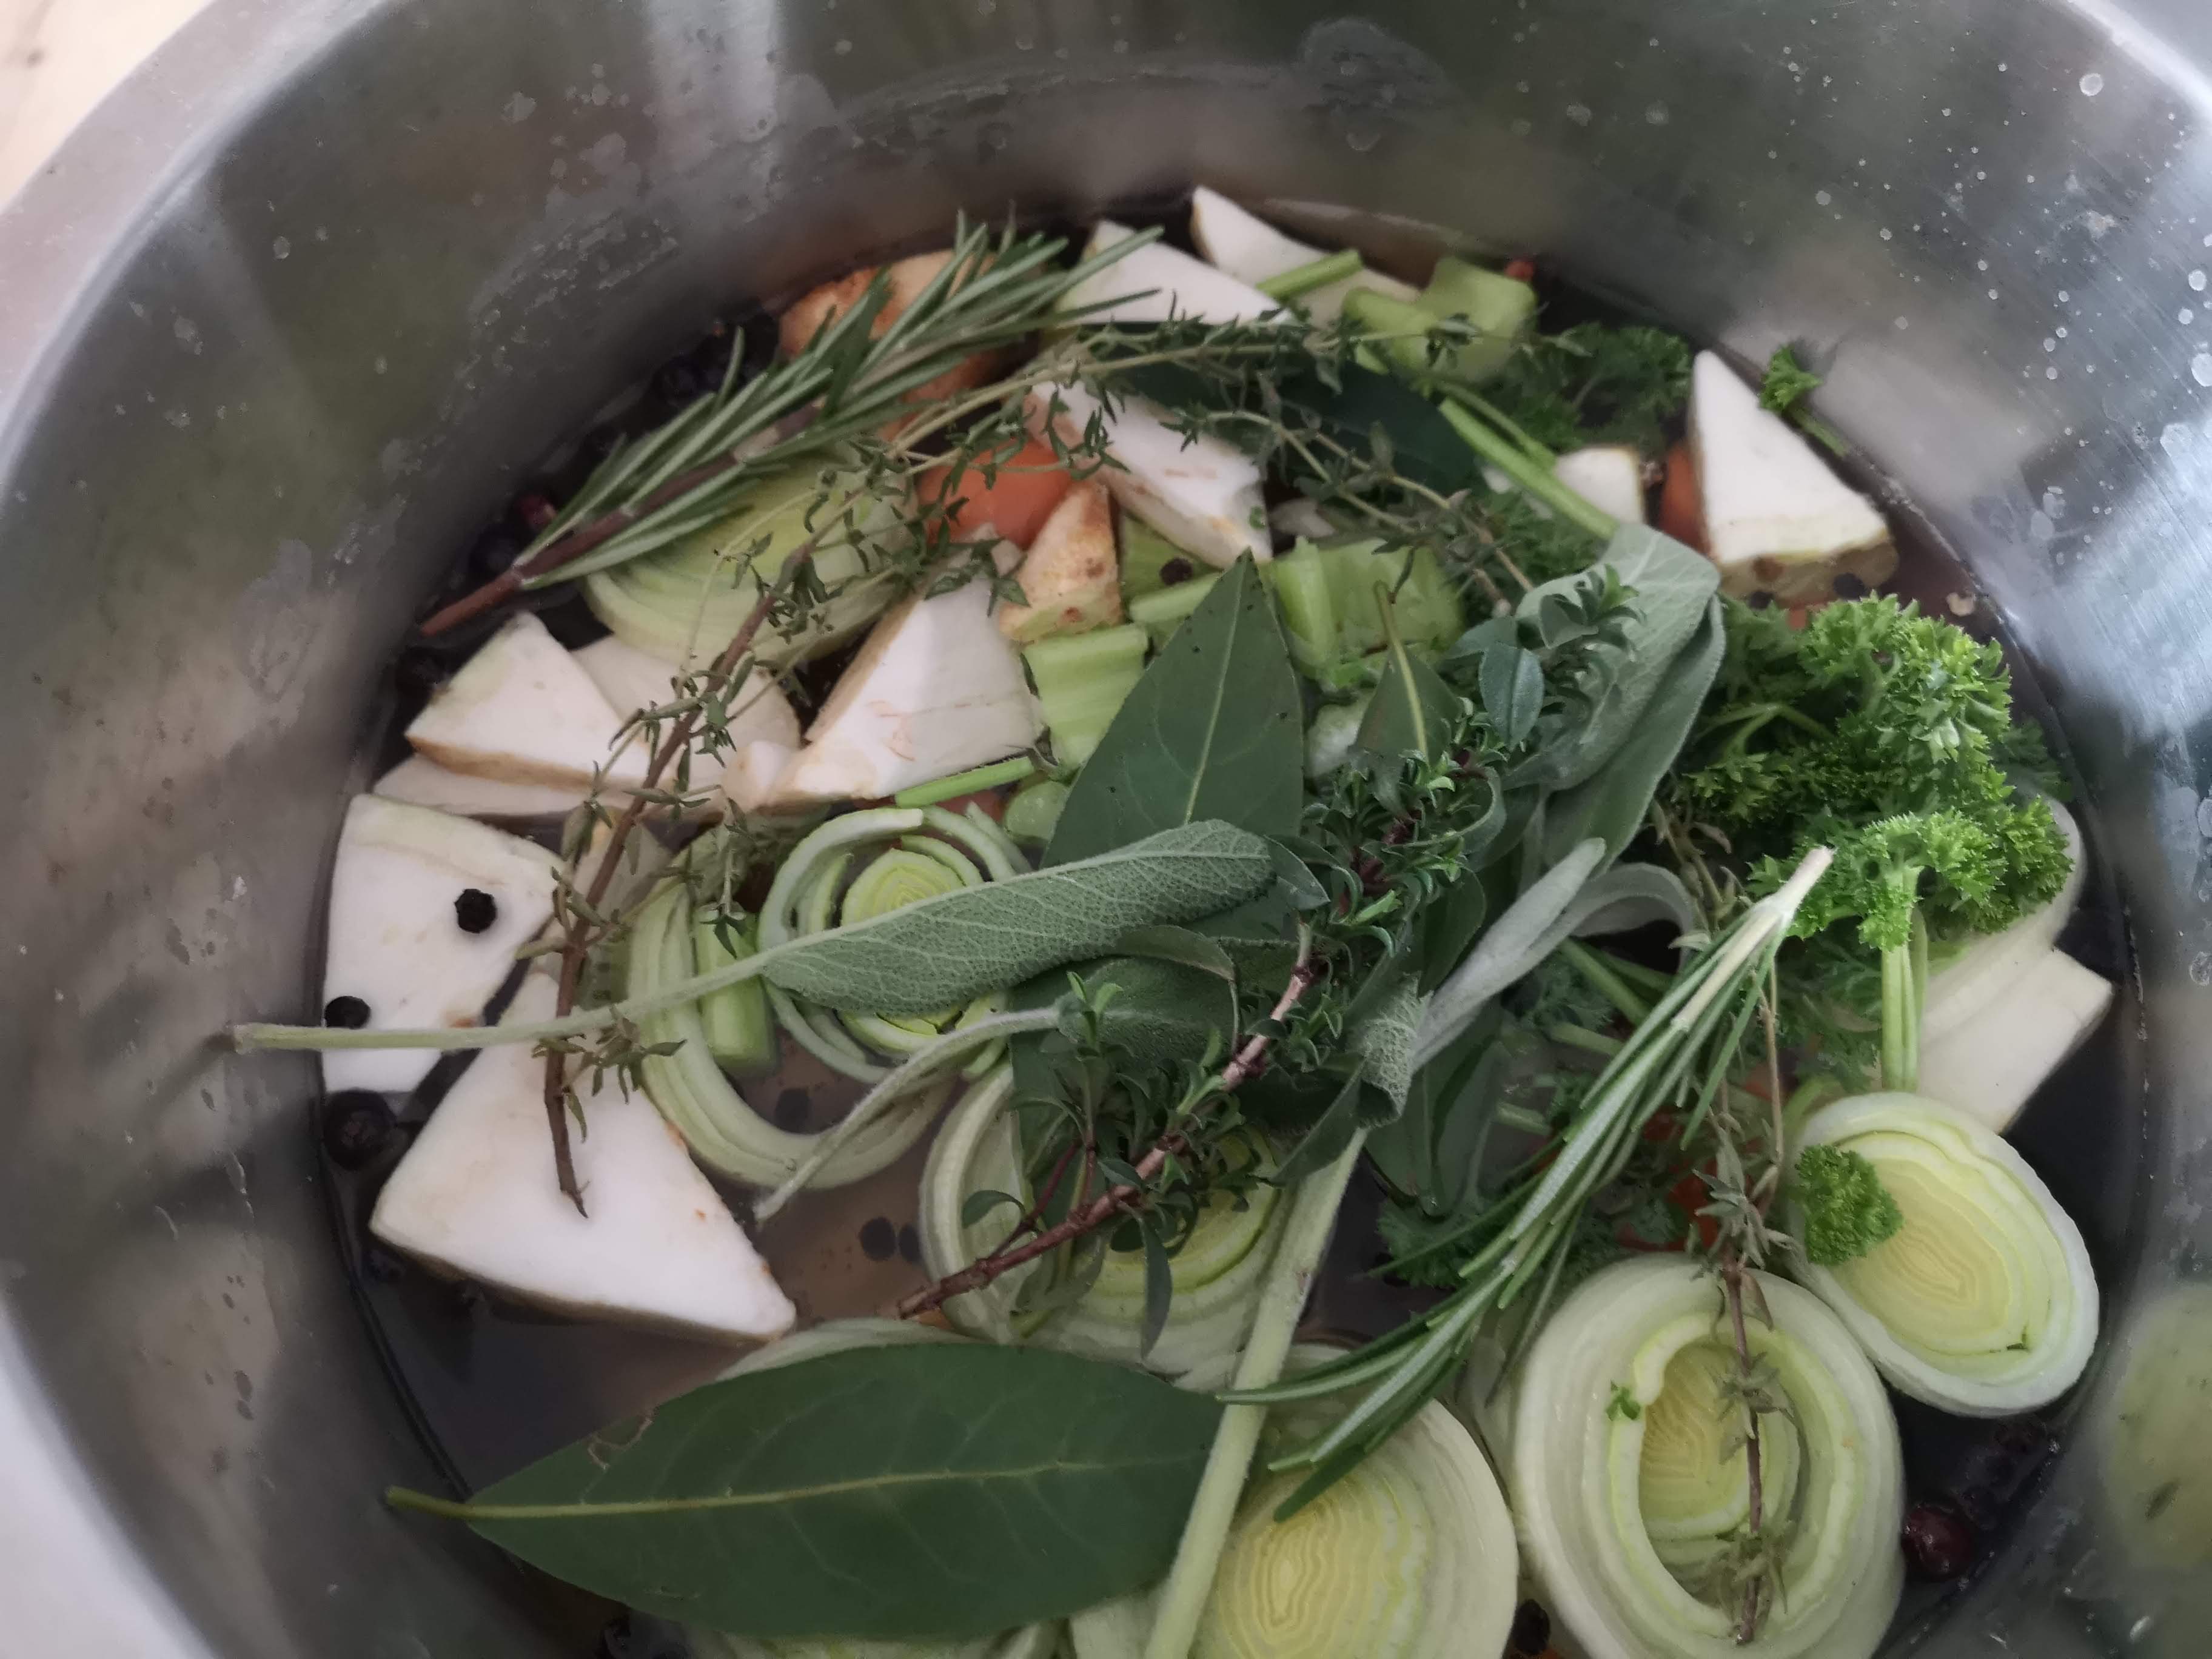
In a large stockpot combine the following: Half-gallon of water, half-cup of salt, quarter-cup of sugar, and an eighth-cup of apple cider vinegar. Put the heat on medium and stir until solids are completely dissolved. You do not need to bring to a boil. Next, turn the heat to low and add one chopped carrot and celery stalk, one-quarter of celery root (roughly chopped), chopped leek, chopped parsley, two sprigs of rosemary, thyme, and sage, two bay leaves, peppercorns, juniper, and cloves.
Give the whole thing a stir and turn off the heat. Let the brine settle until it has returned to room temperature.
In the meantime, prep your turkey. I have to separate the leg from the thigh for easier roasting in my small oven. I use a paring knife and gently slice between the thigh and leg until I find the joint. I then draw the knife all around that point until I can see the actual joint. I then bend the leg back until it cracks. I use the tip of the paring knife to cut any ligaments or cartilage and the two pieces come free of each other.
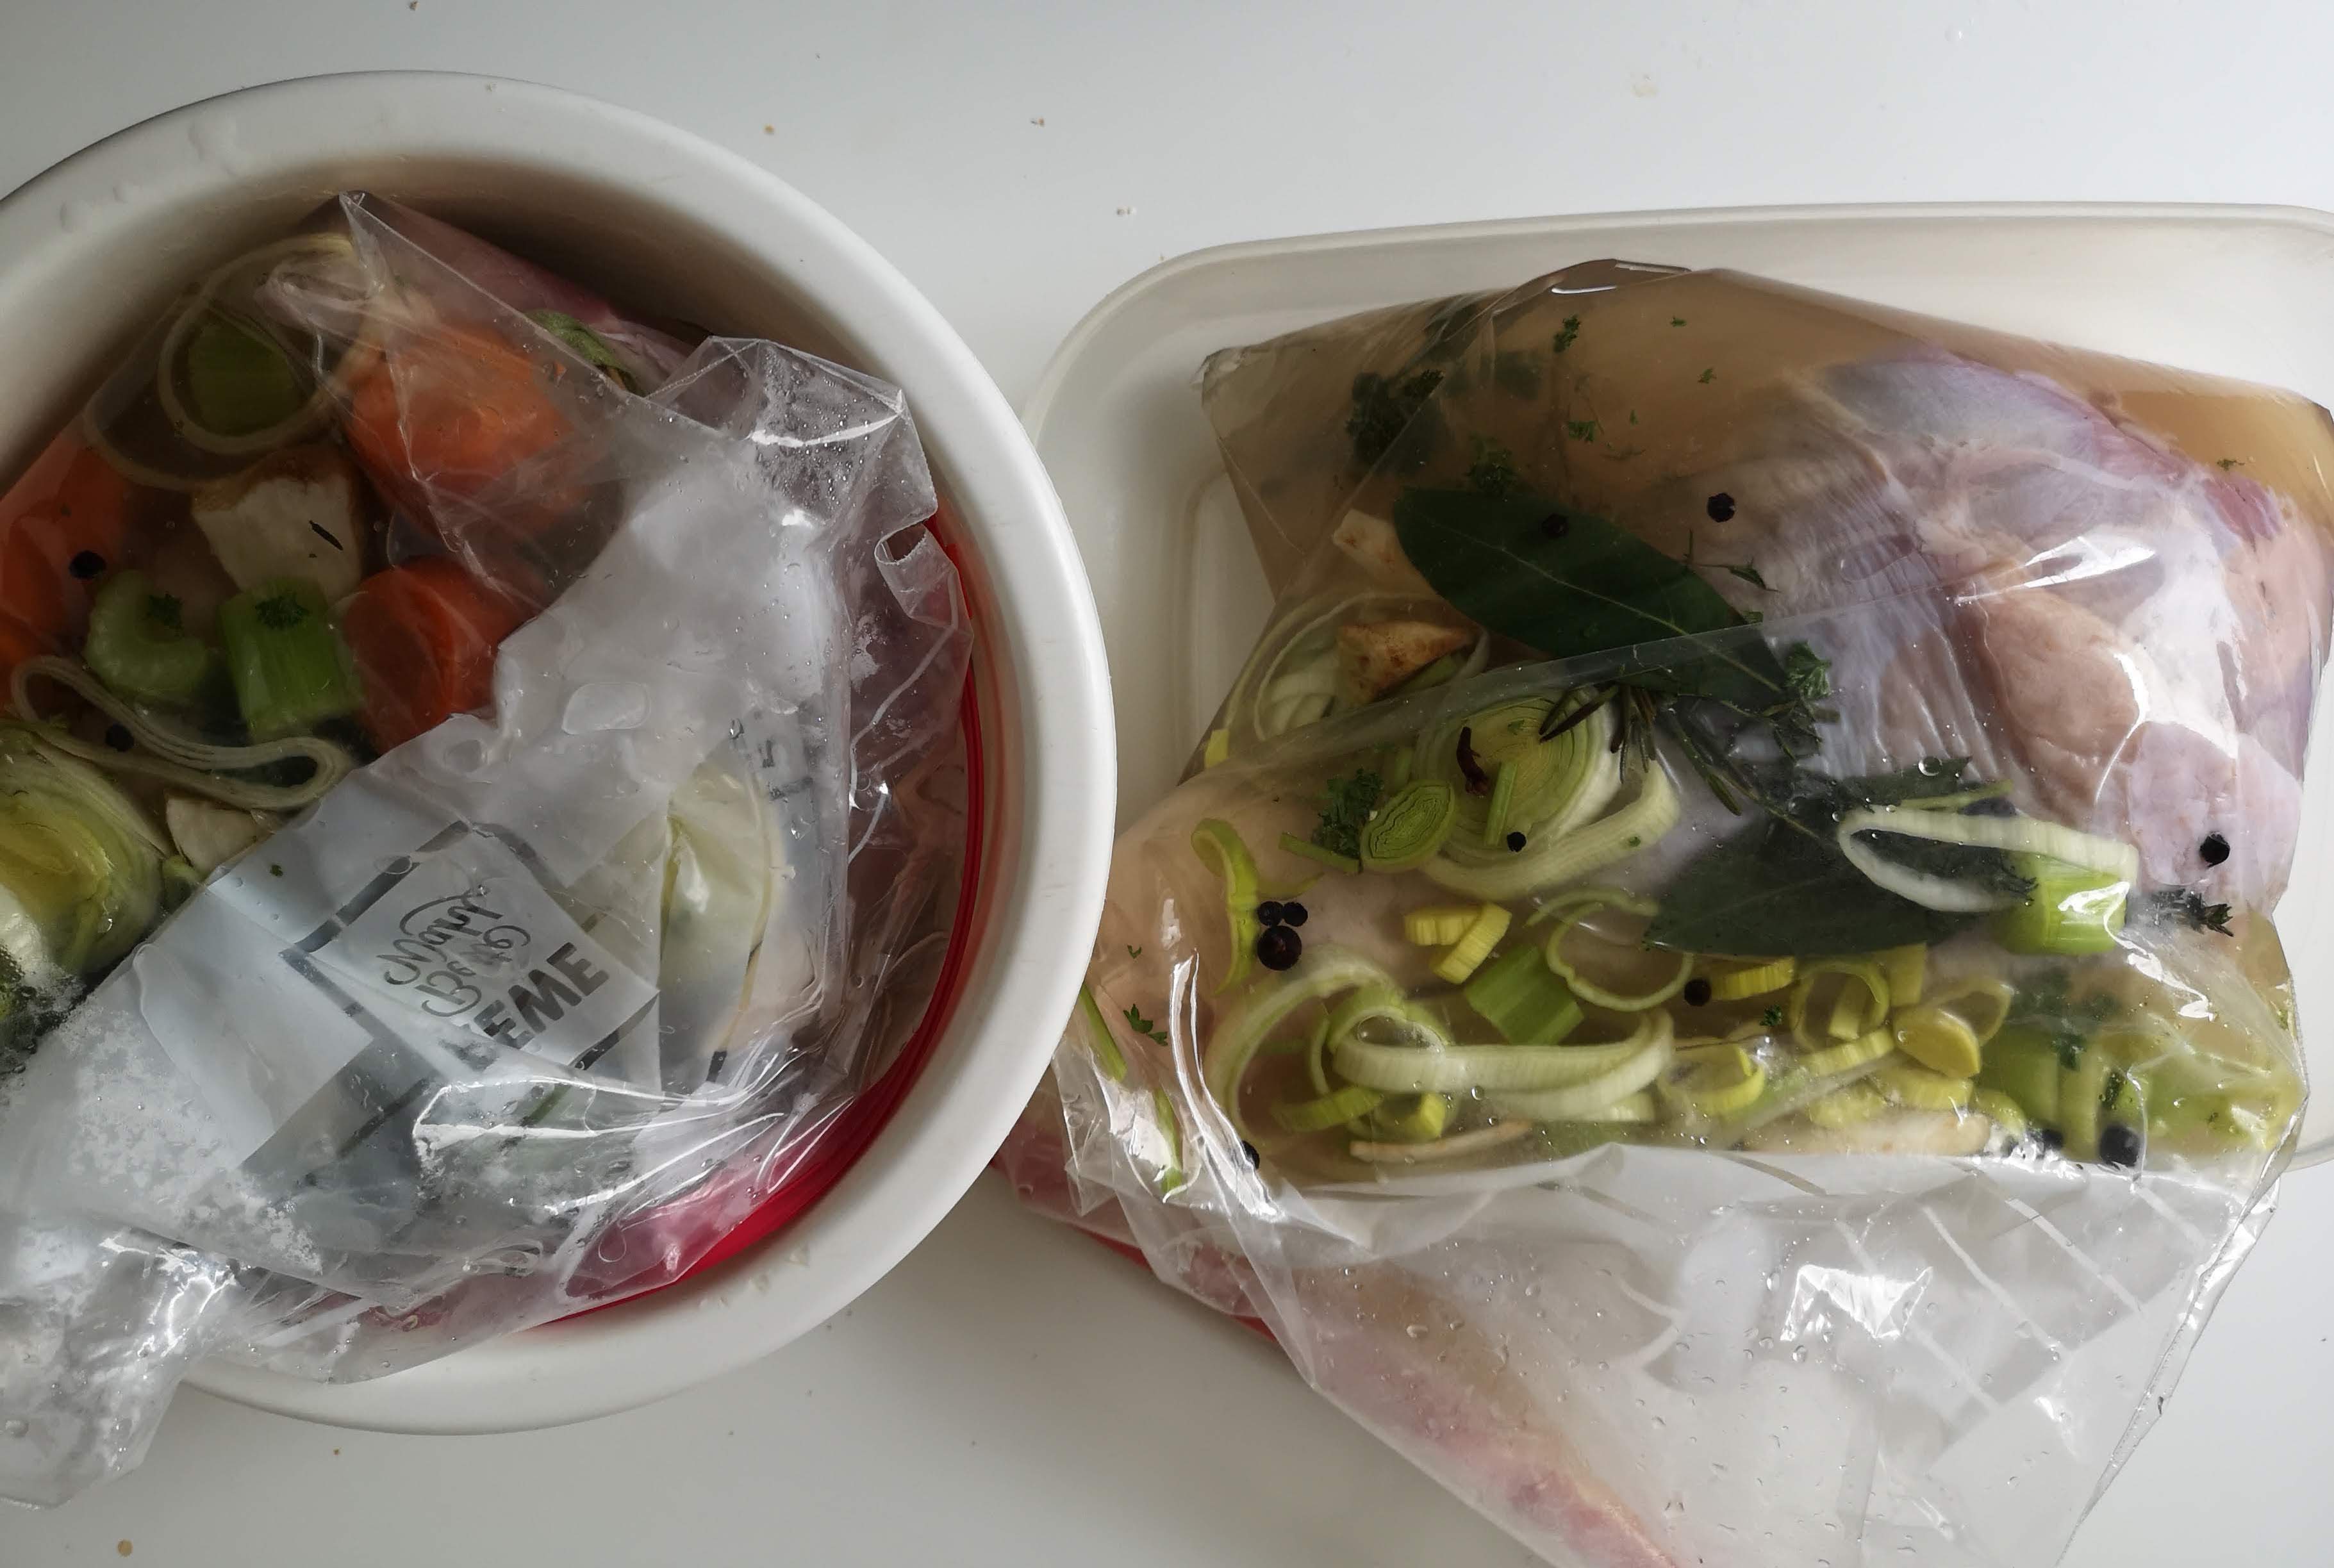
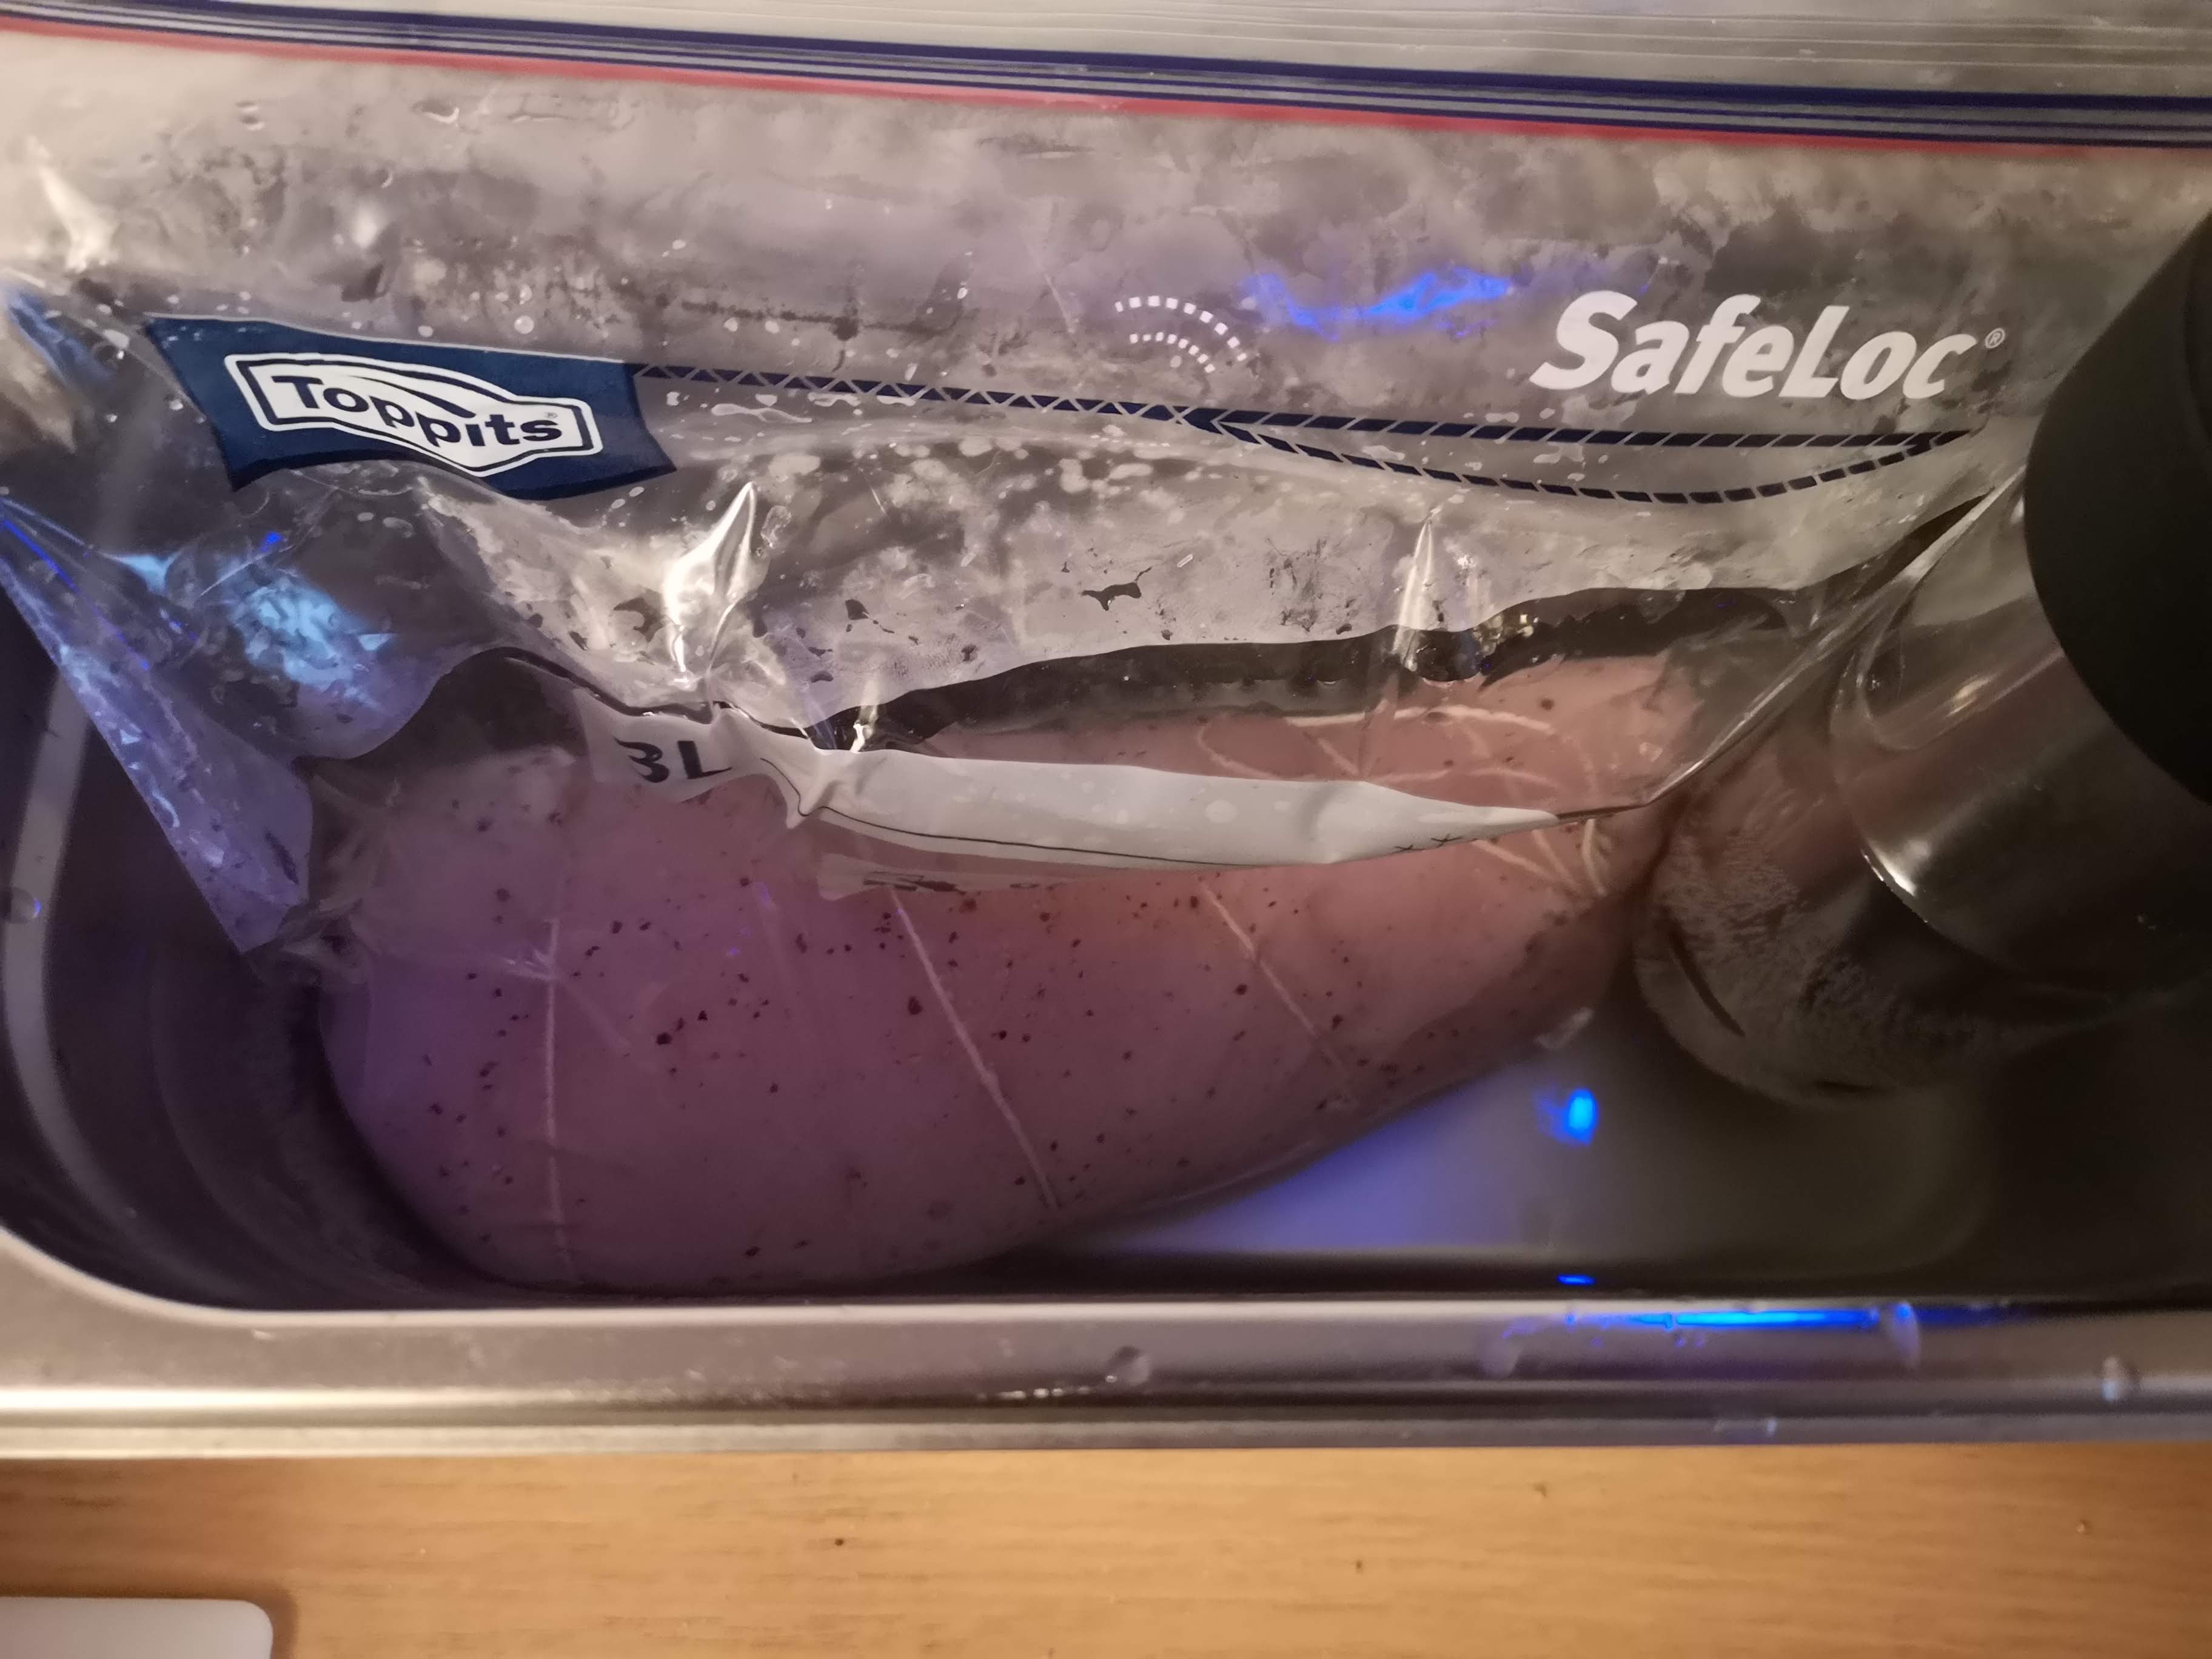
Use paper towels to pat the turkey dry and place them in a two-gallon Ziplock, sitting inside of a bowl. This is crucial for pouring the liquid into the bag with ease but also provides a vessel for brining overnight in your fridge. Always place brining bags in bowls to prevent leakage contaminating your fridge.
I pour half of the cooled brine into each bag and seal with as much air removed from the bag as possible. I then place the bowls in the fridge overnight — 24 hours is ideal.
The Roast:
The great thing about brining anything is that once it’s done, you’re ready to go. You don’t need to season anymore.
First, take the bowls of brining meat out about an hour before you want to roast. You want to let the meat warm closer to room temperature.
Preheat your oven. You’re going to want to start at 425F and it should be that hot when the turkey goes in.
Get some gloves on and your cutting board ready with some paper towels torn and handy. Fish our the thigh and turkey leg and place it on the paper towels on the board and pat the pieces completely dry. Discard the paper towels.
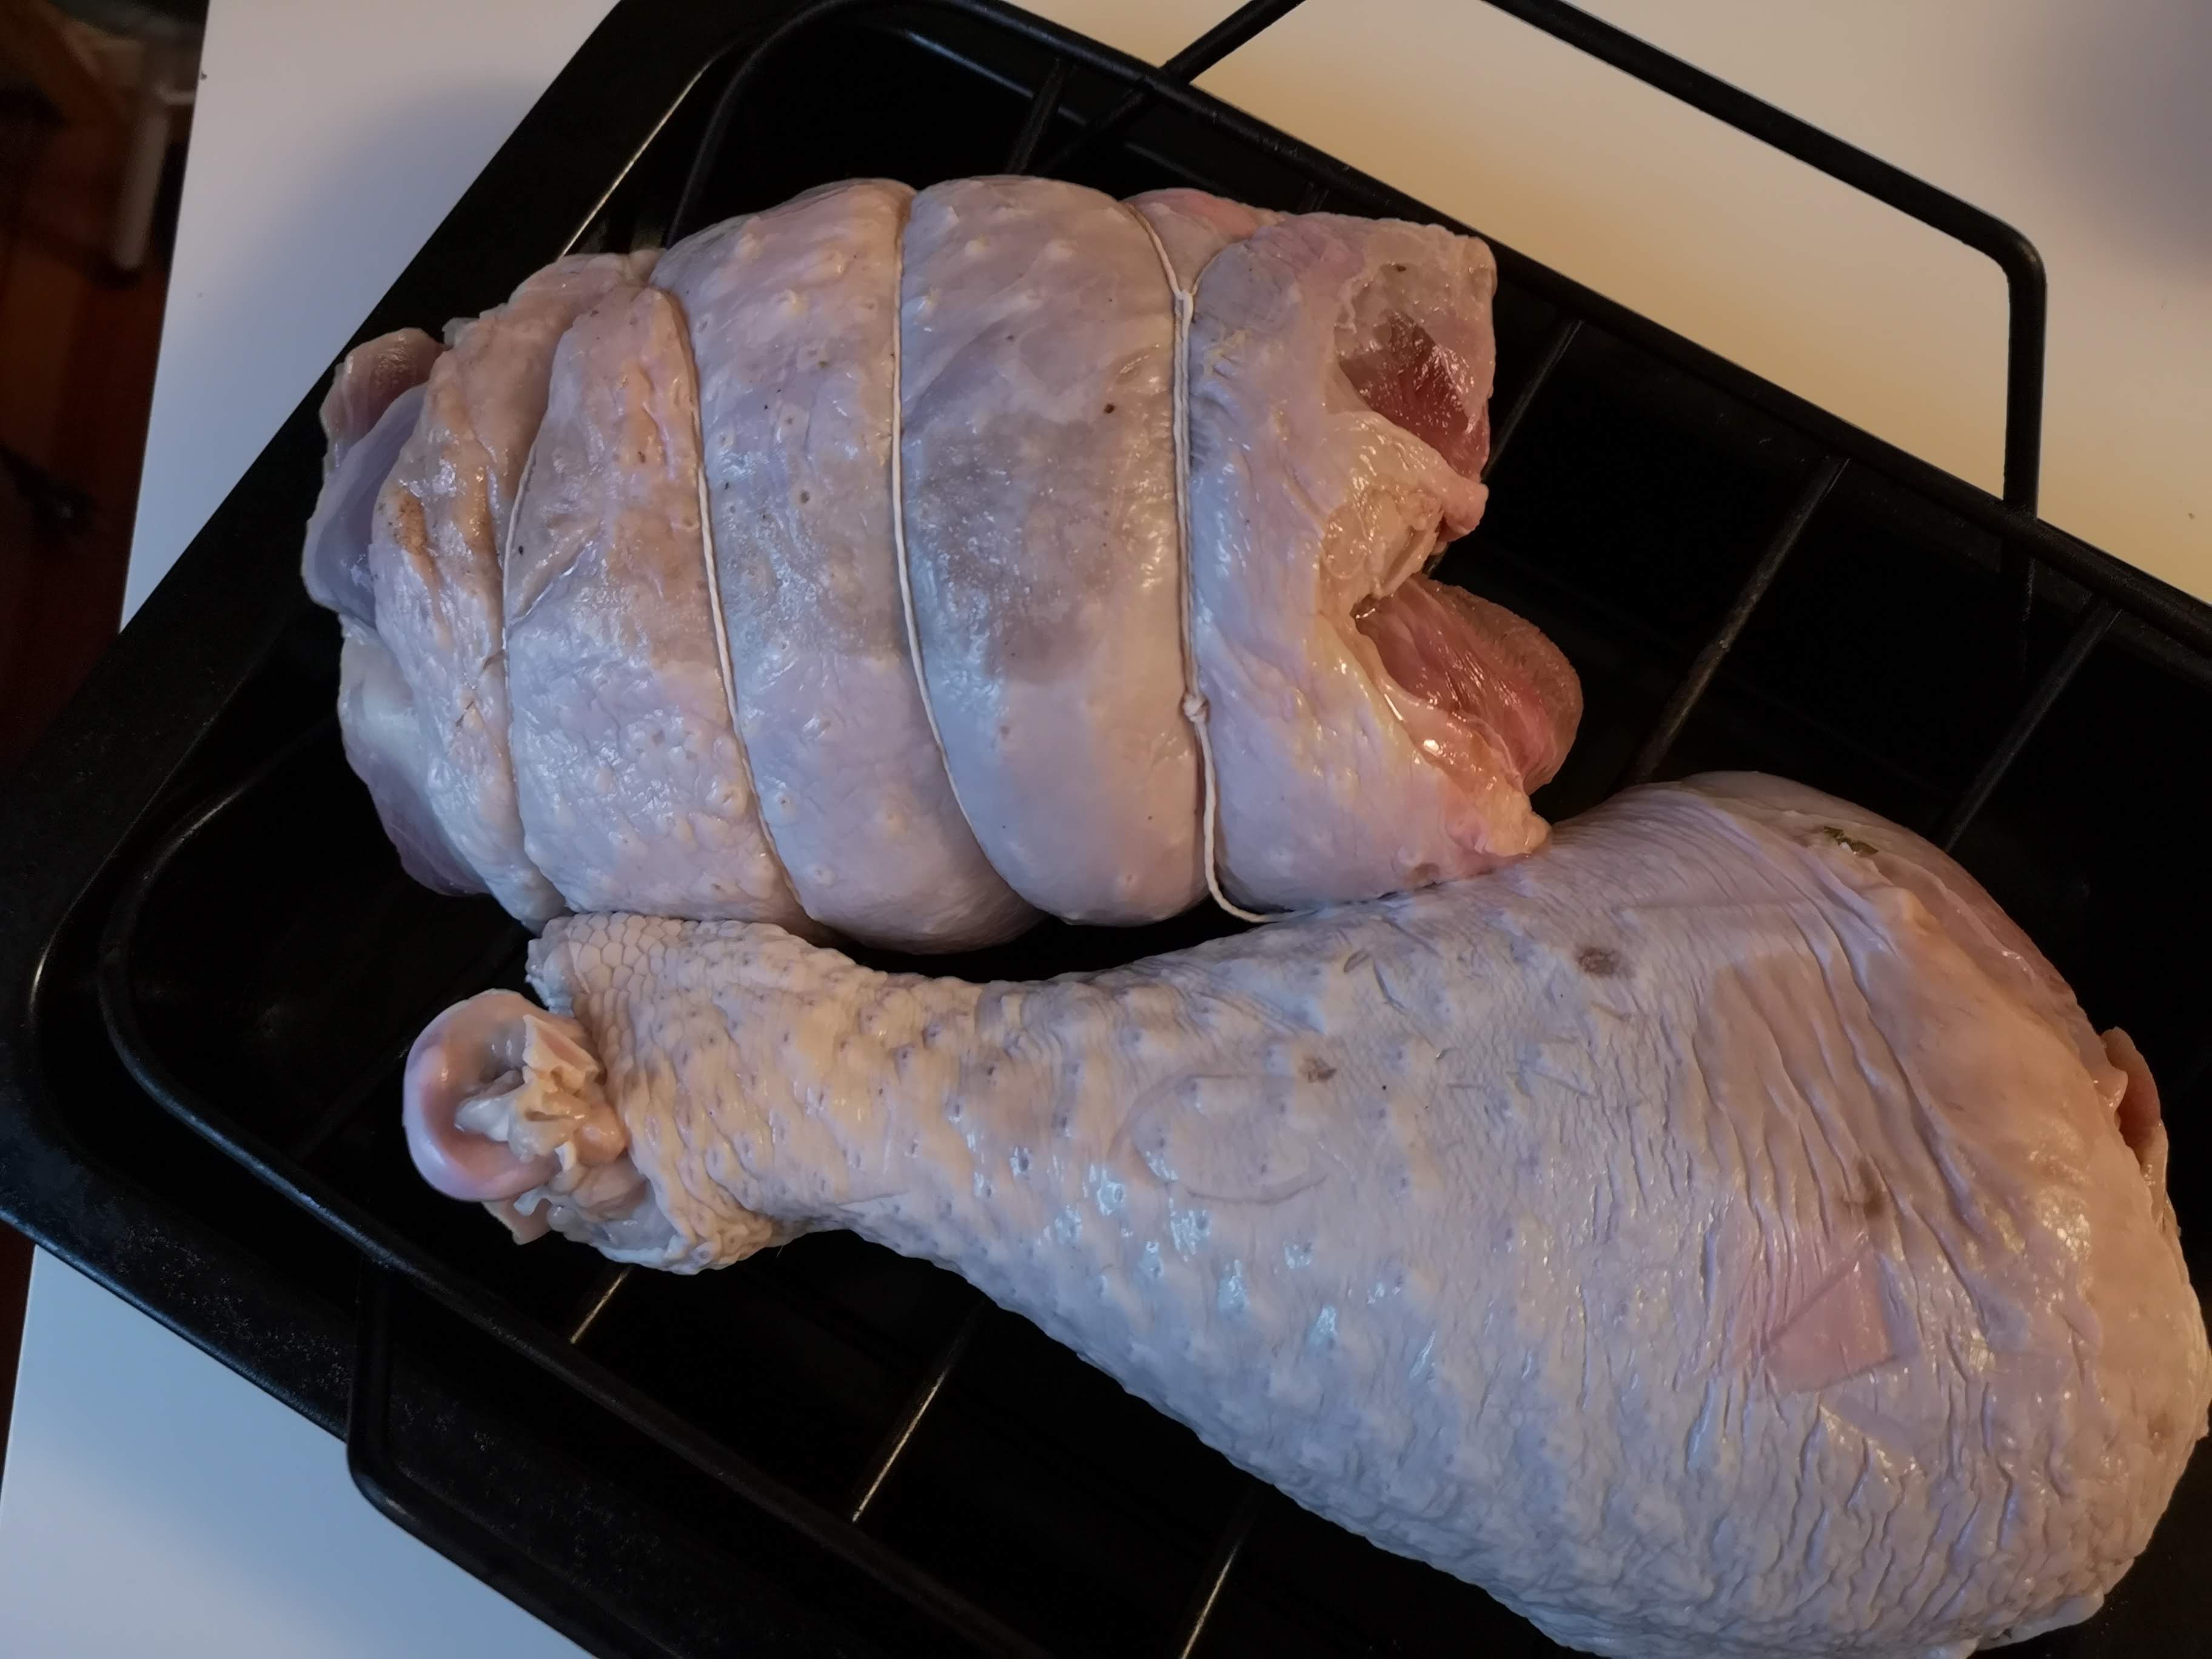
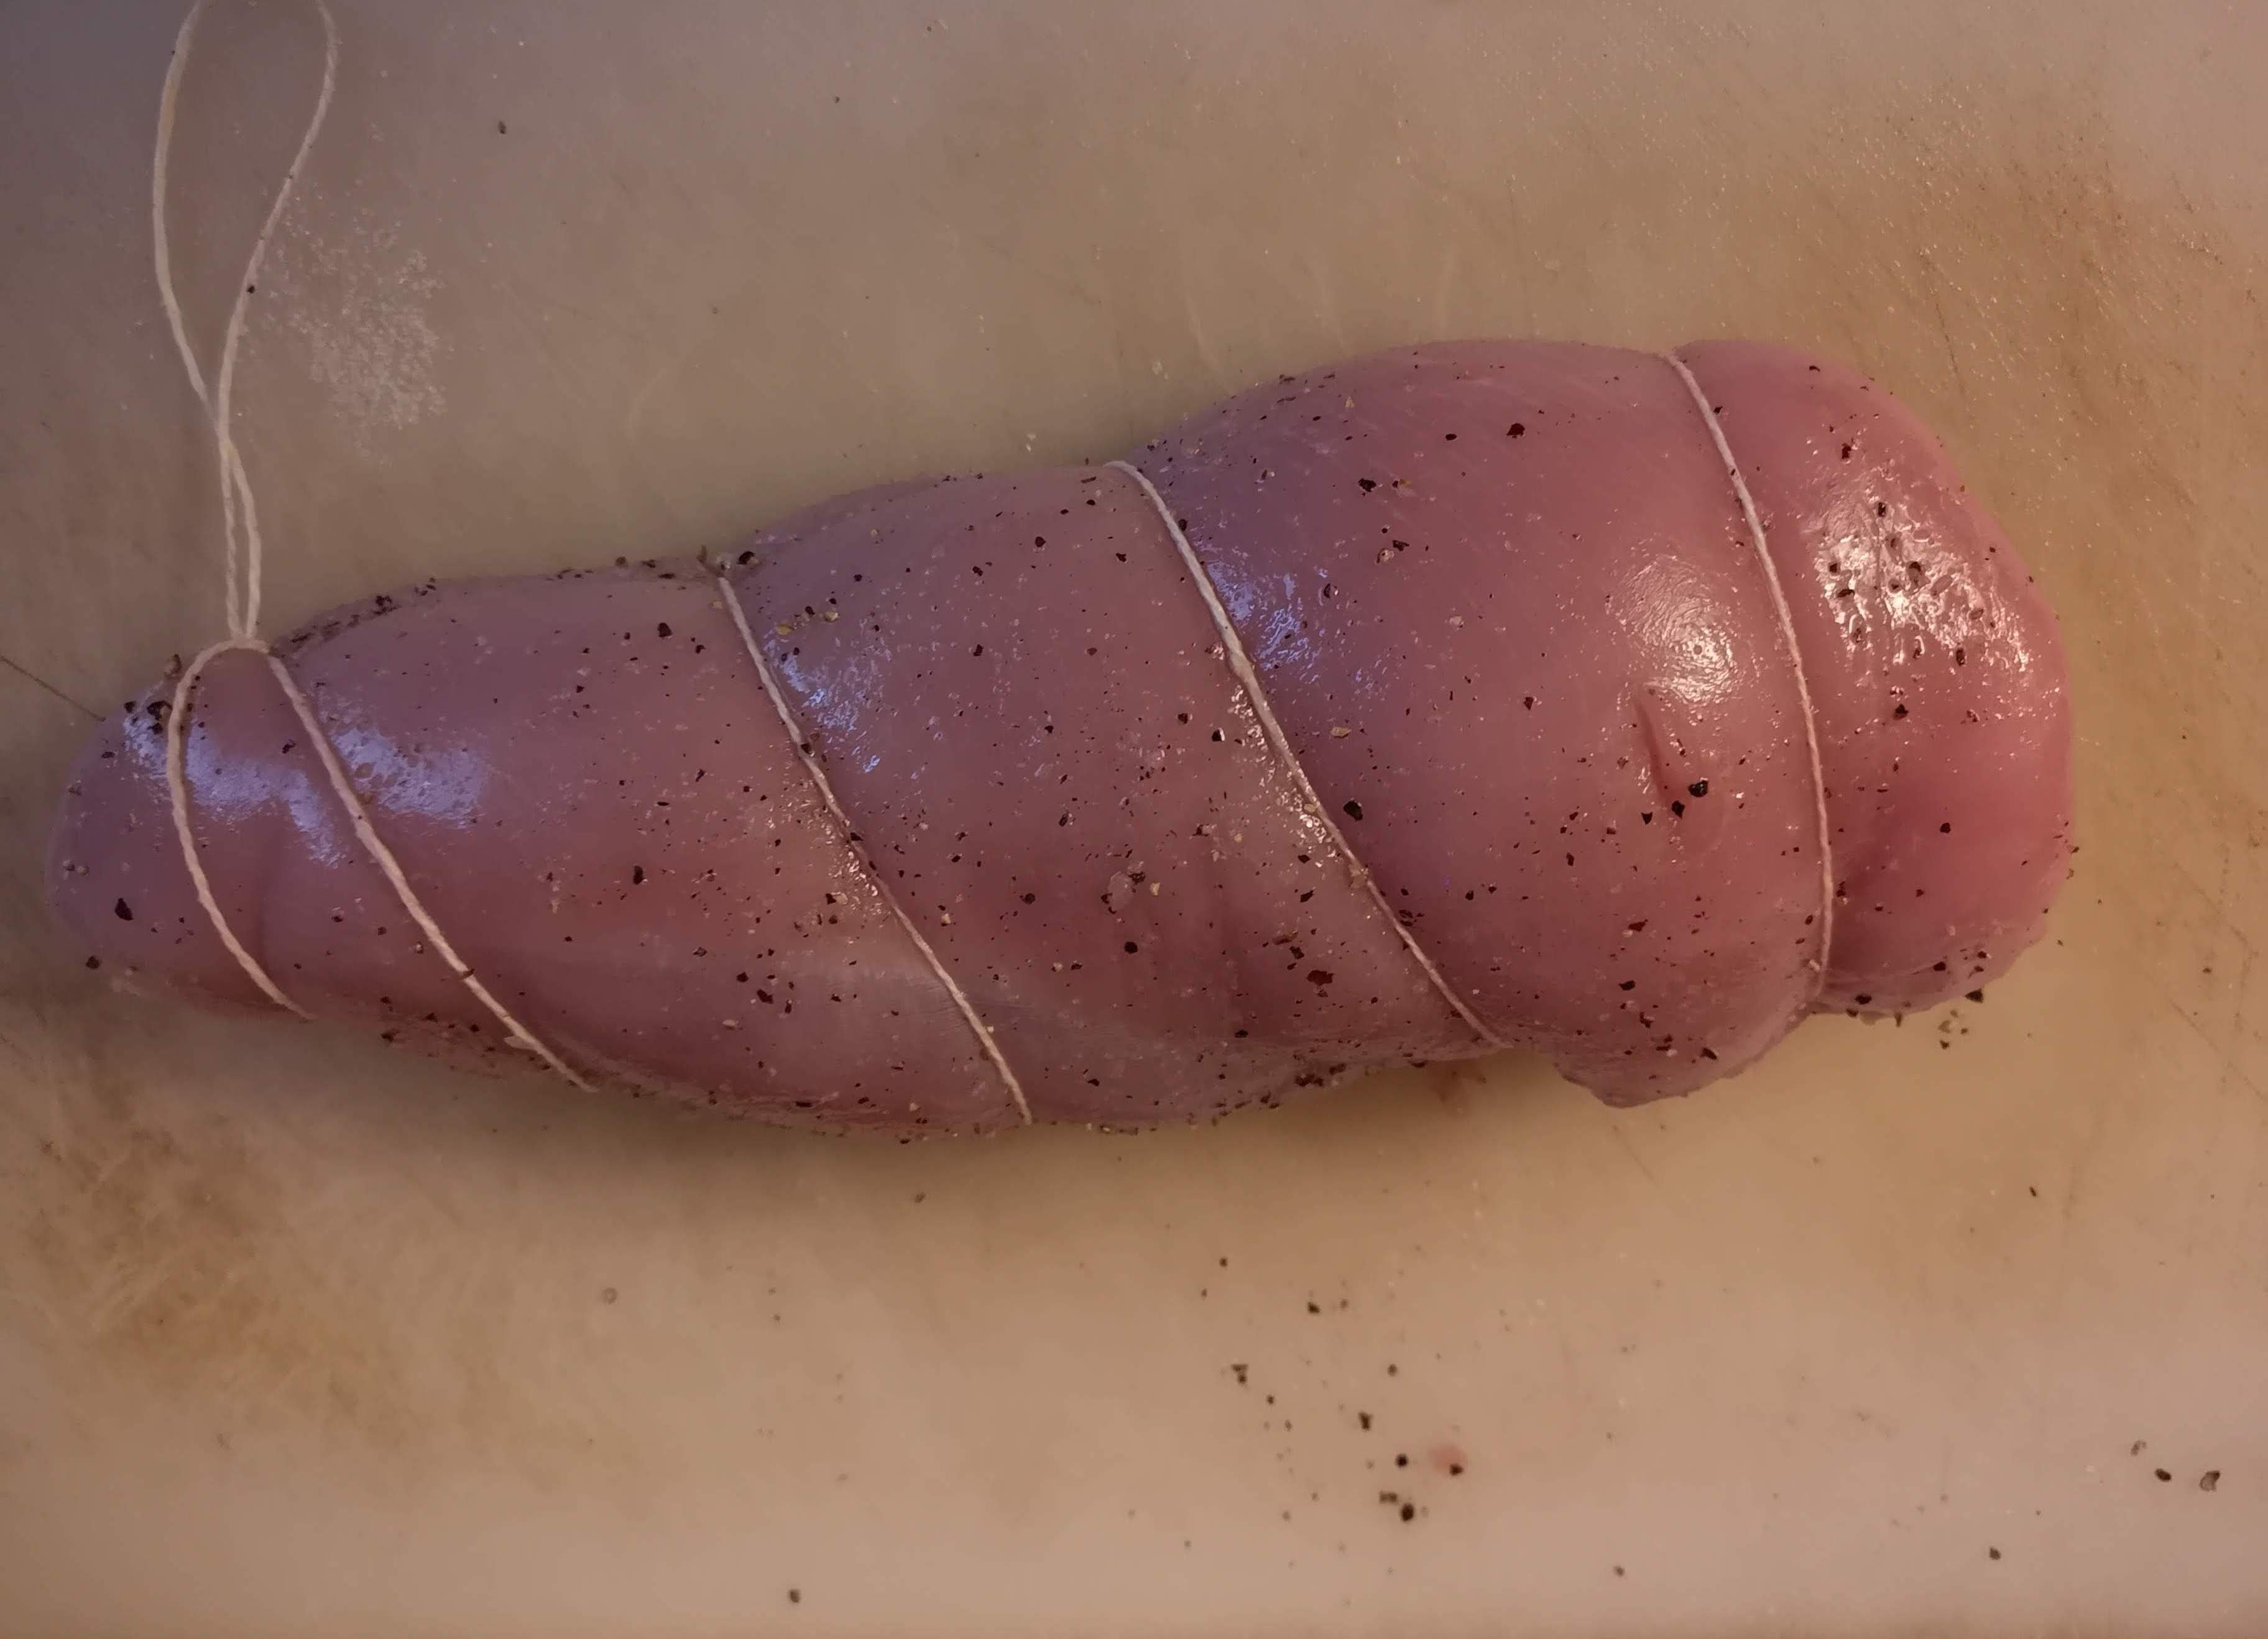
Next, we’re going to truss the thigh. A big mistake people make when roasting any meat is not trussing. This tactic allows for a more even cook as it creates an even mass.
I tie a small loop at one end of the string and create a hoop by drawing the string through the loop. I roll the thigh into a long cylinder around the center bone. I then make hoops with the string every inch or so. It doesn’t have to be exact, just tight.
I place the meat into a roasting pan on a wire rack. You never want to roast anything directly on the bottom of a roasting pan.
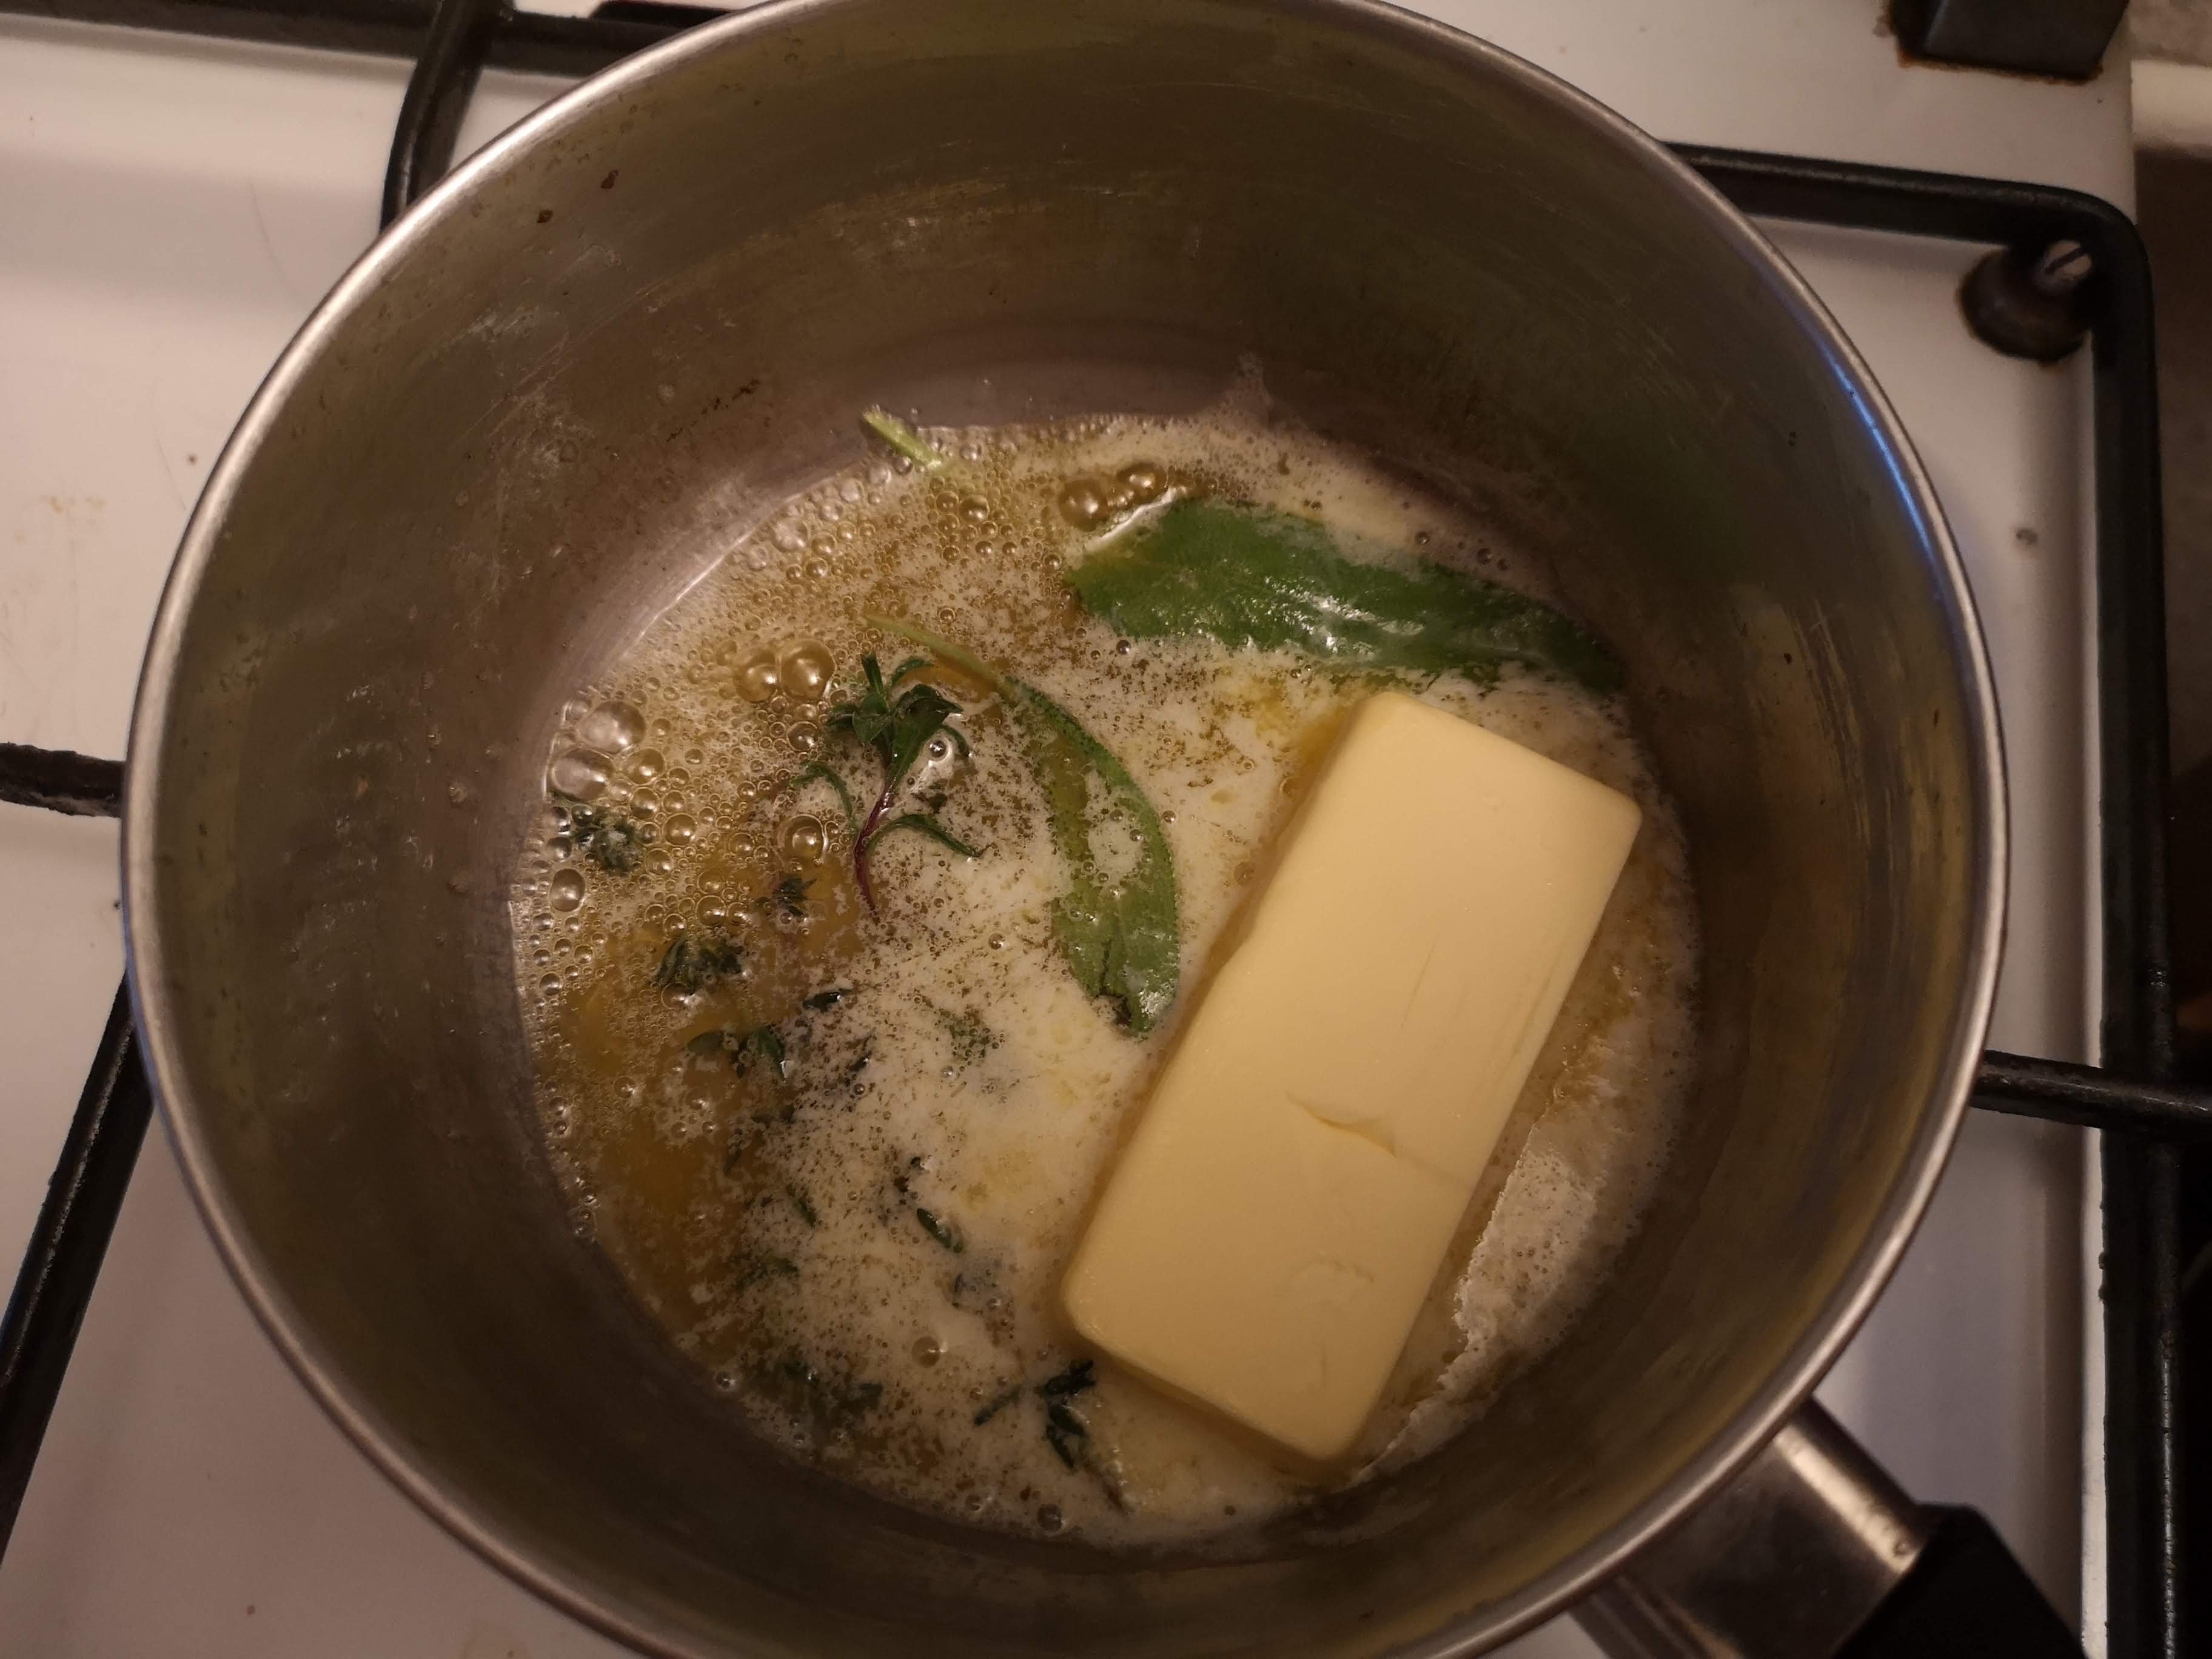
Before the turkey goes in the oven, get a small saucepan on the stovetop on low heat. Add a stick of butter with the remaining sage and thyme. As soon as it’s melted, use your food brush to completely cover the skin of both the leg and thigh. Place in oven and set a timer for 20 minutes.
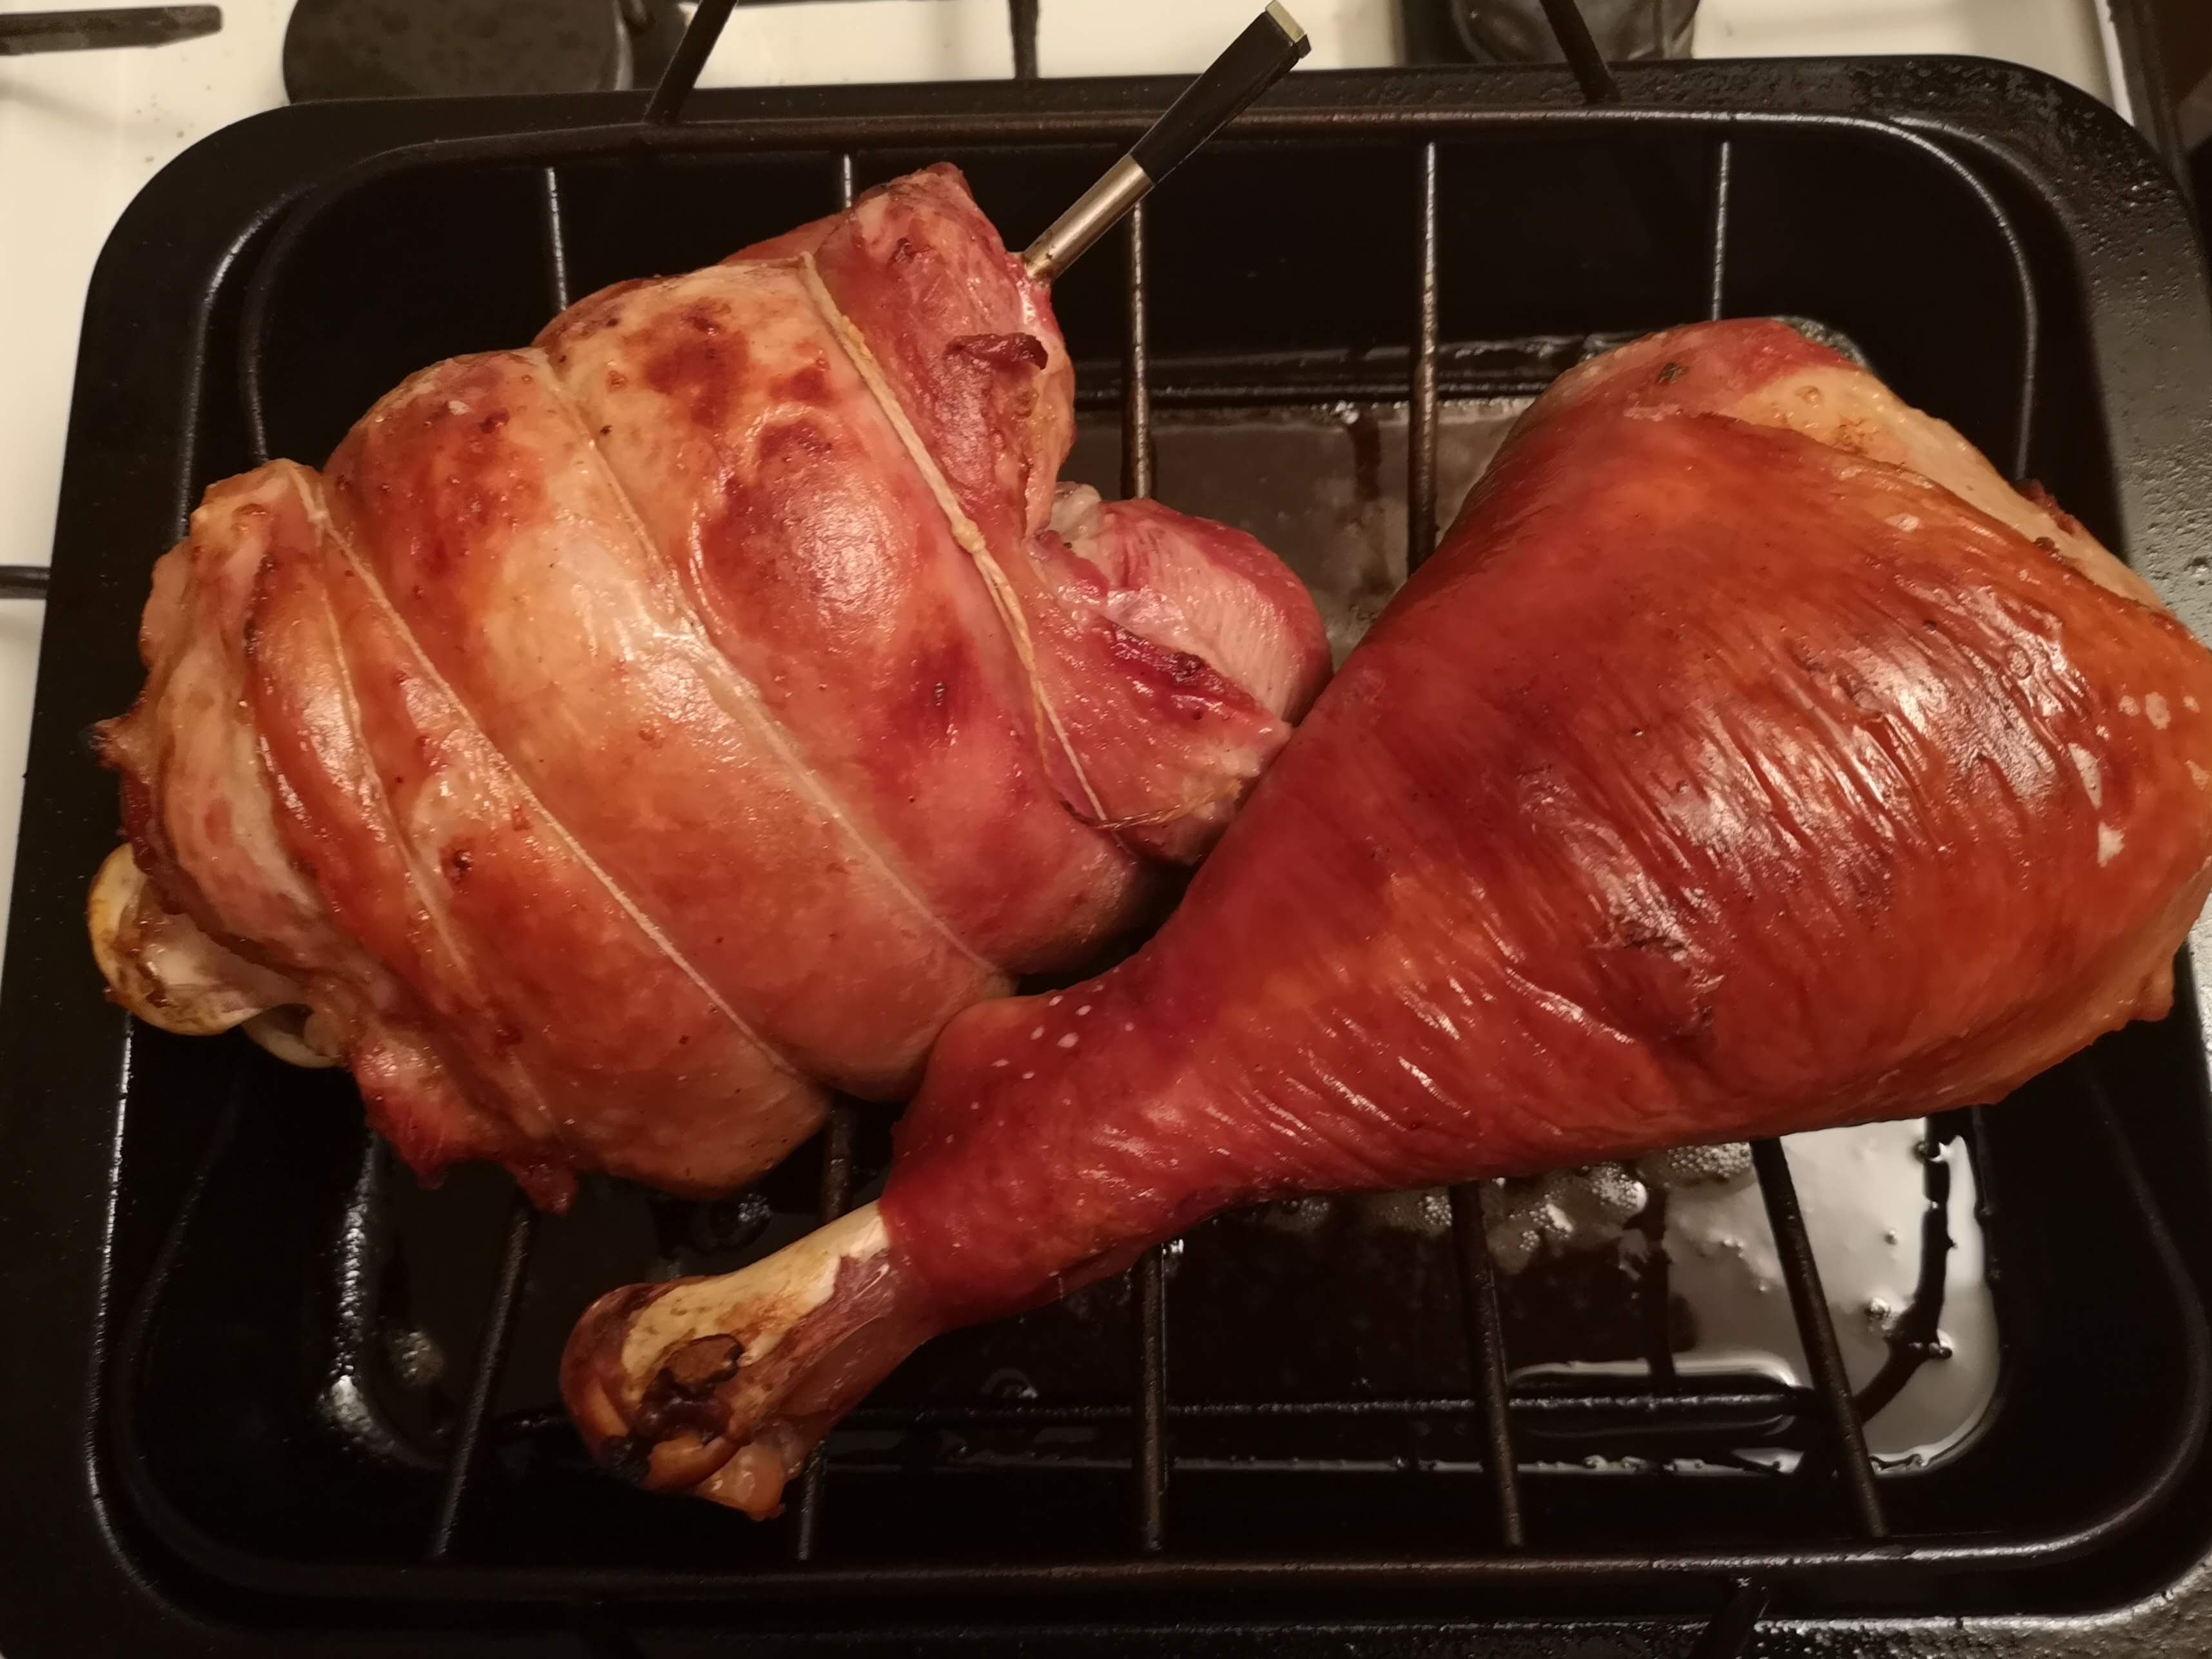
I use a MEATER meat thermometer because I dig the accuracy. The wireless prod sends a signal to my phone via an app. I can watch the oven temp and internal temp during the whole cook. It also tells me exactly where I am timewise. Which, admittedly, almost feels like cheating. But, hey, I’ll take a cheat for this level of accuracy.
After 20 minutes have passed, I baste the thigh and leg again with a healthy dose of melted butter and lower the temp of the oven to 350F. I set another timer for 20 minutes so I can baste with butter one last time. The leg and thigh should hit 140F about 20 minutes after the third basting.
Rest:
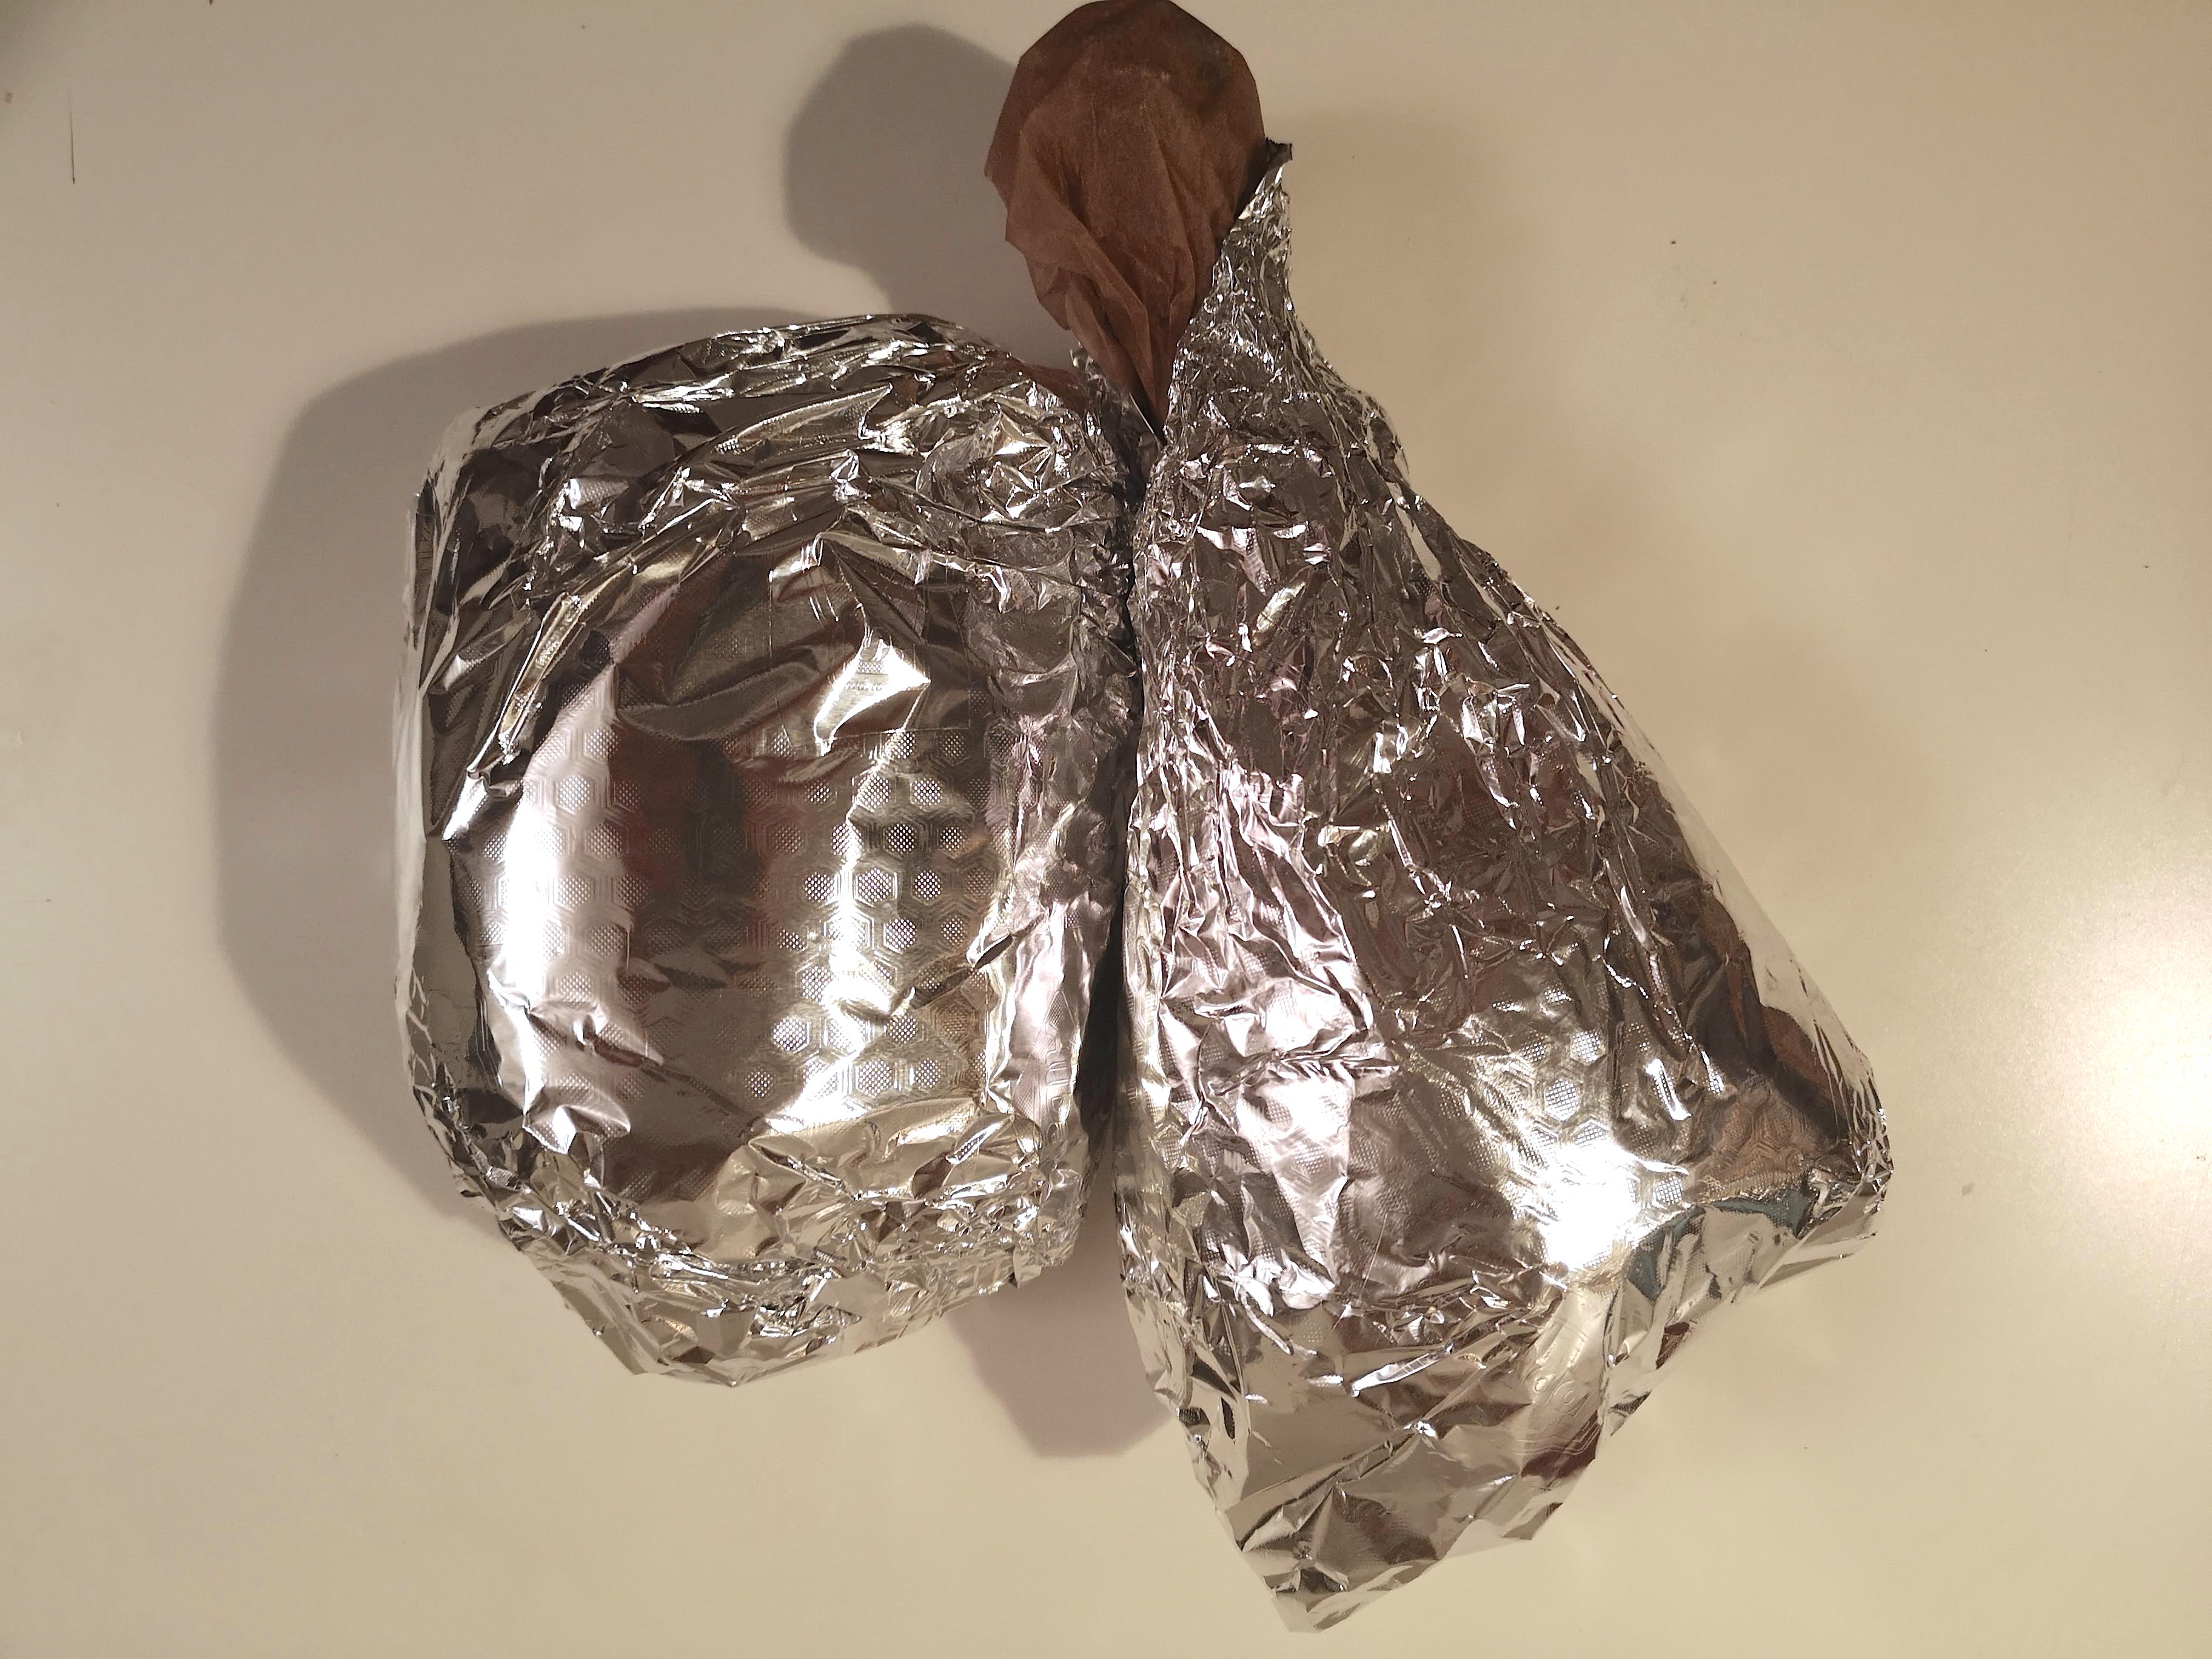
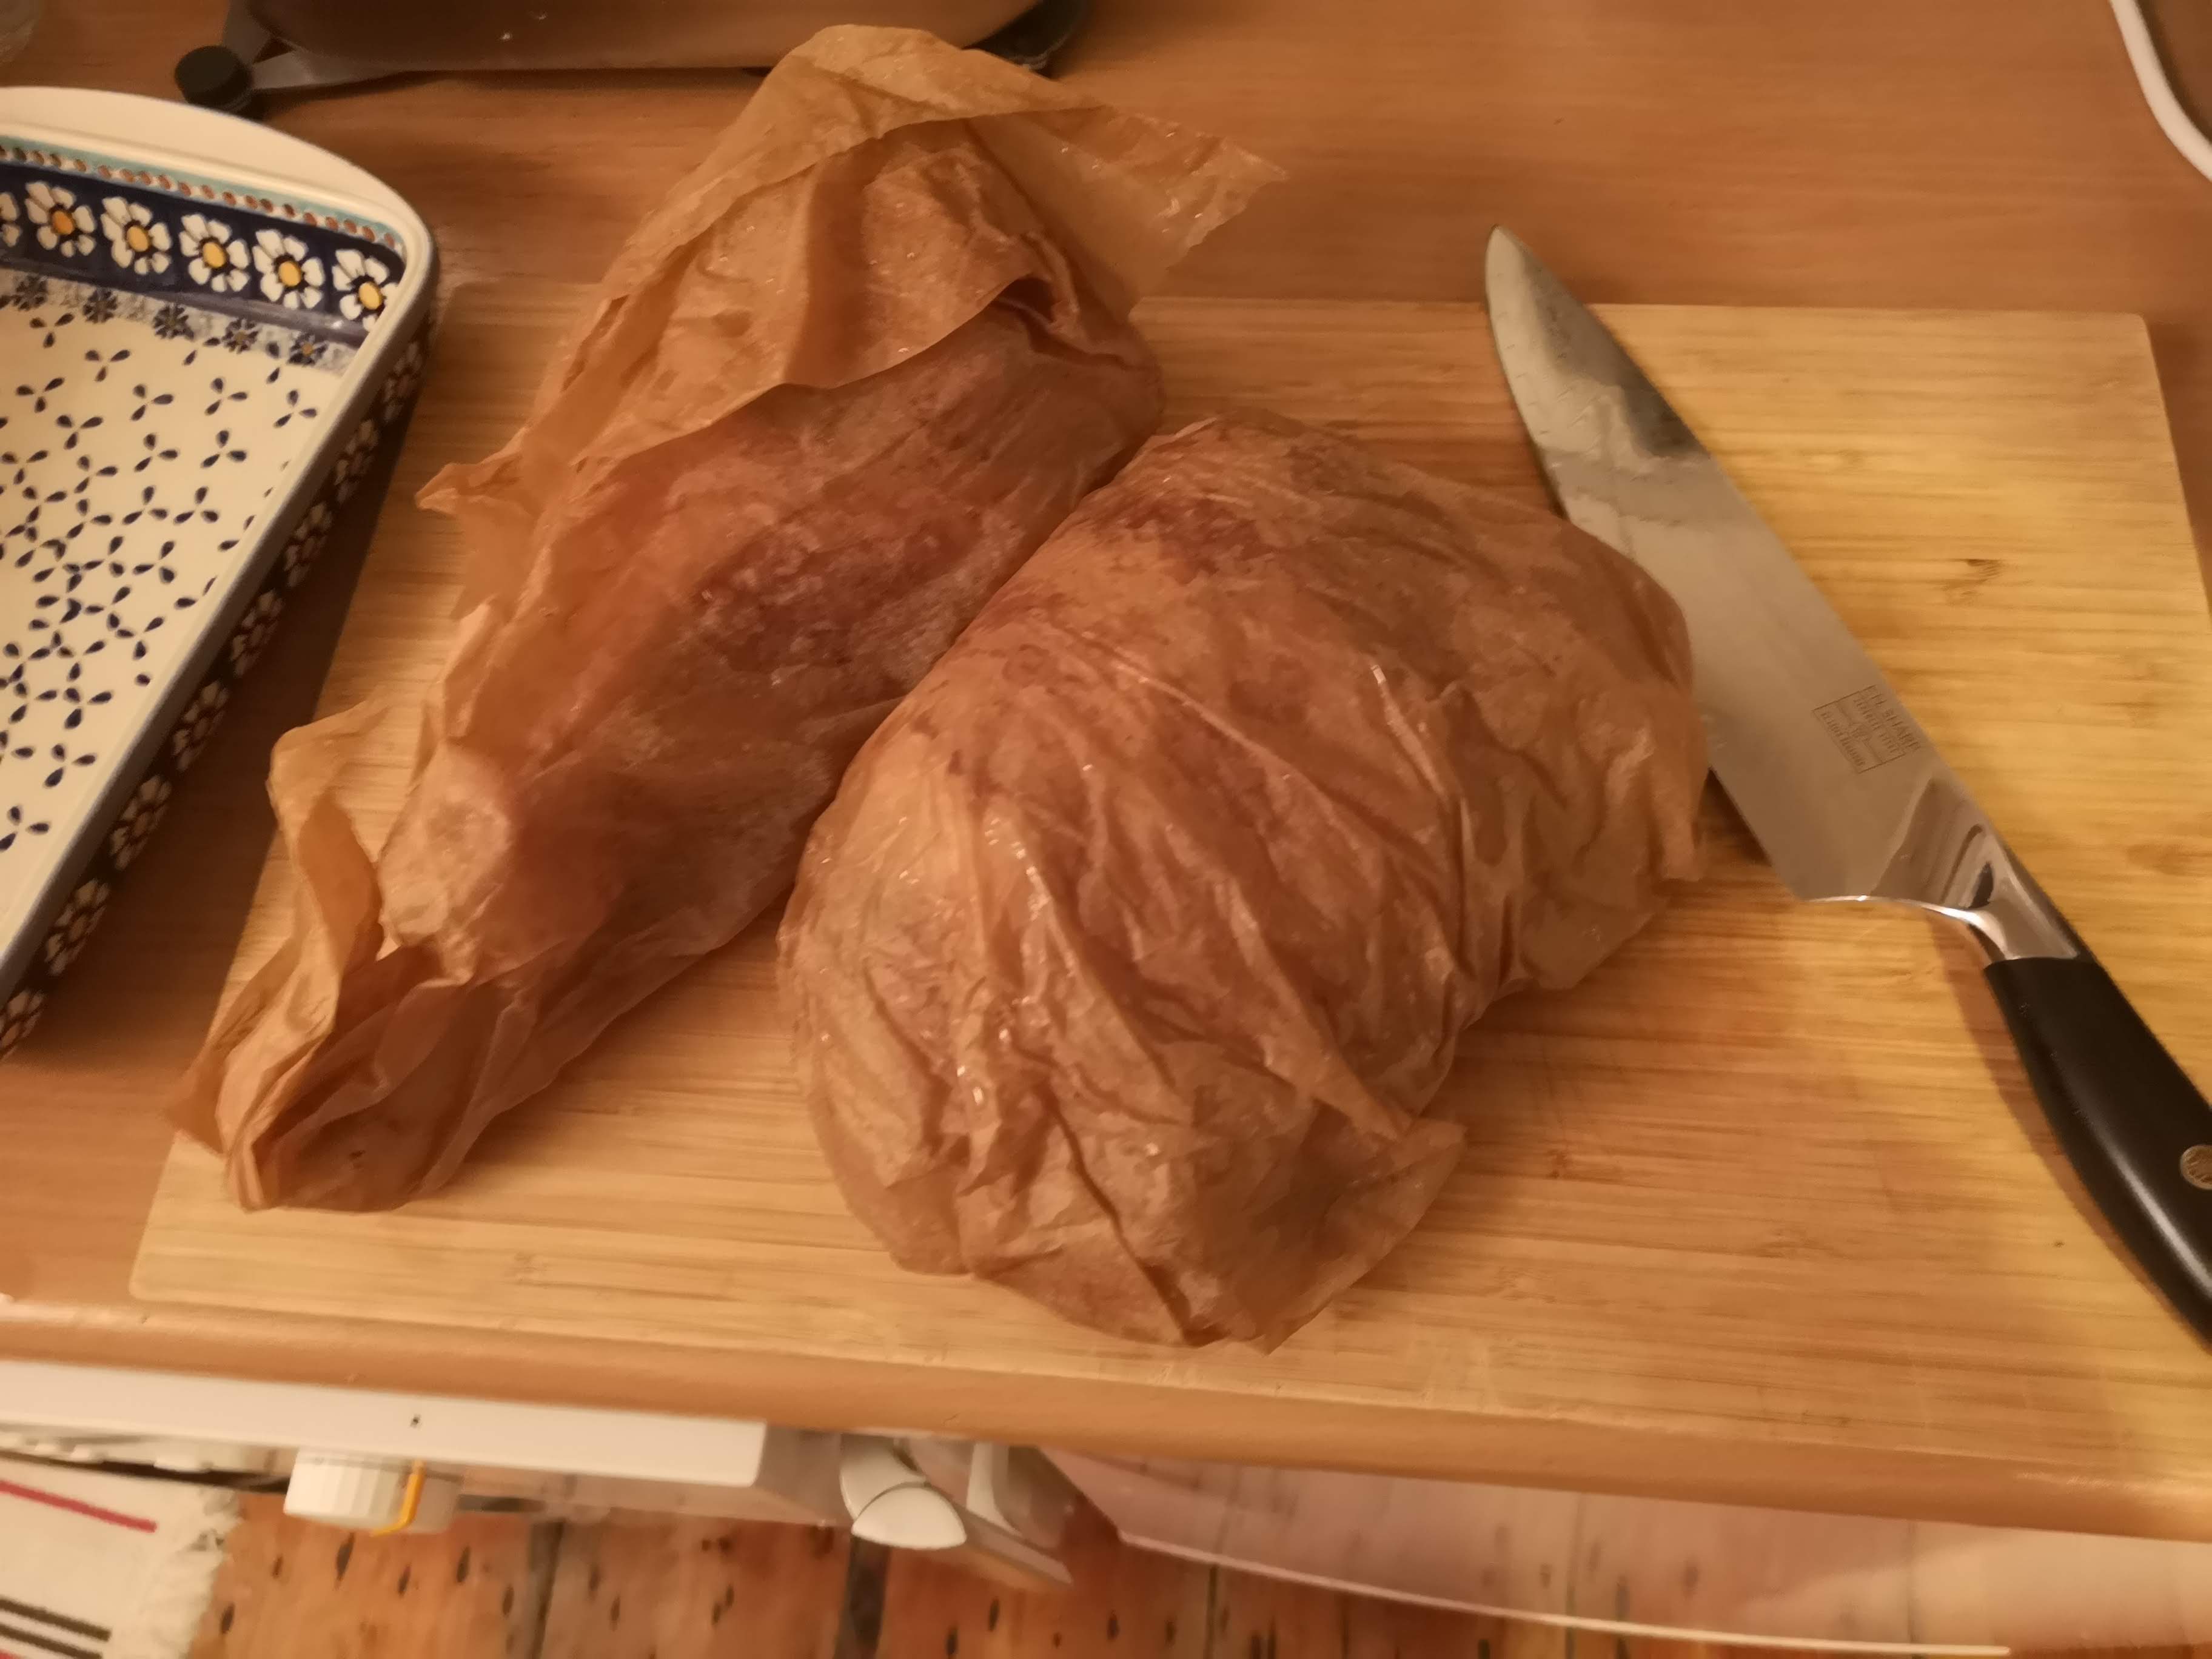
Once your meat has hit 140F, remove from the oven. This is a crucial moment. Get foil and greaseproof paper ready on a countertop. First, wrap the leg and thigh in the paper and then wrap it again in the foil. Make sure it is as tightly wrapped and sealed as possible.
This will lock in the juices and steam and actually raise the temperature another ten degrees over the next hour, meaning your meat will hit 150F. I let my leg and thigh rest a whole hour. That’s pretty much equal to the amount of time it spent in the oven in the first place.
Serve:
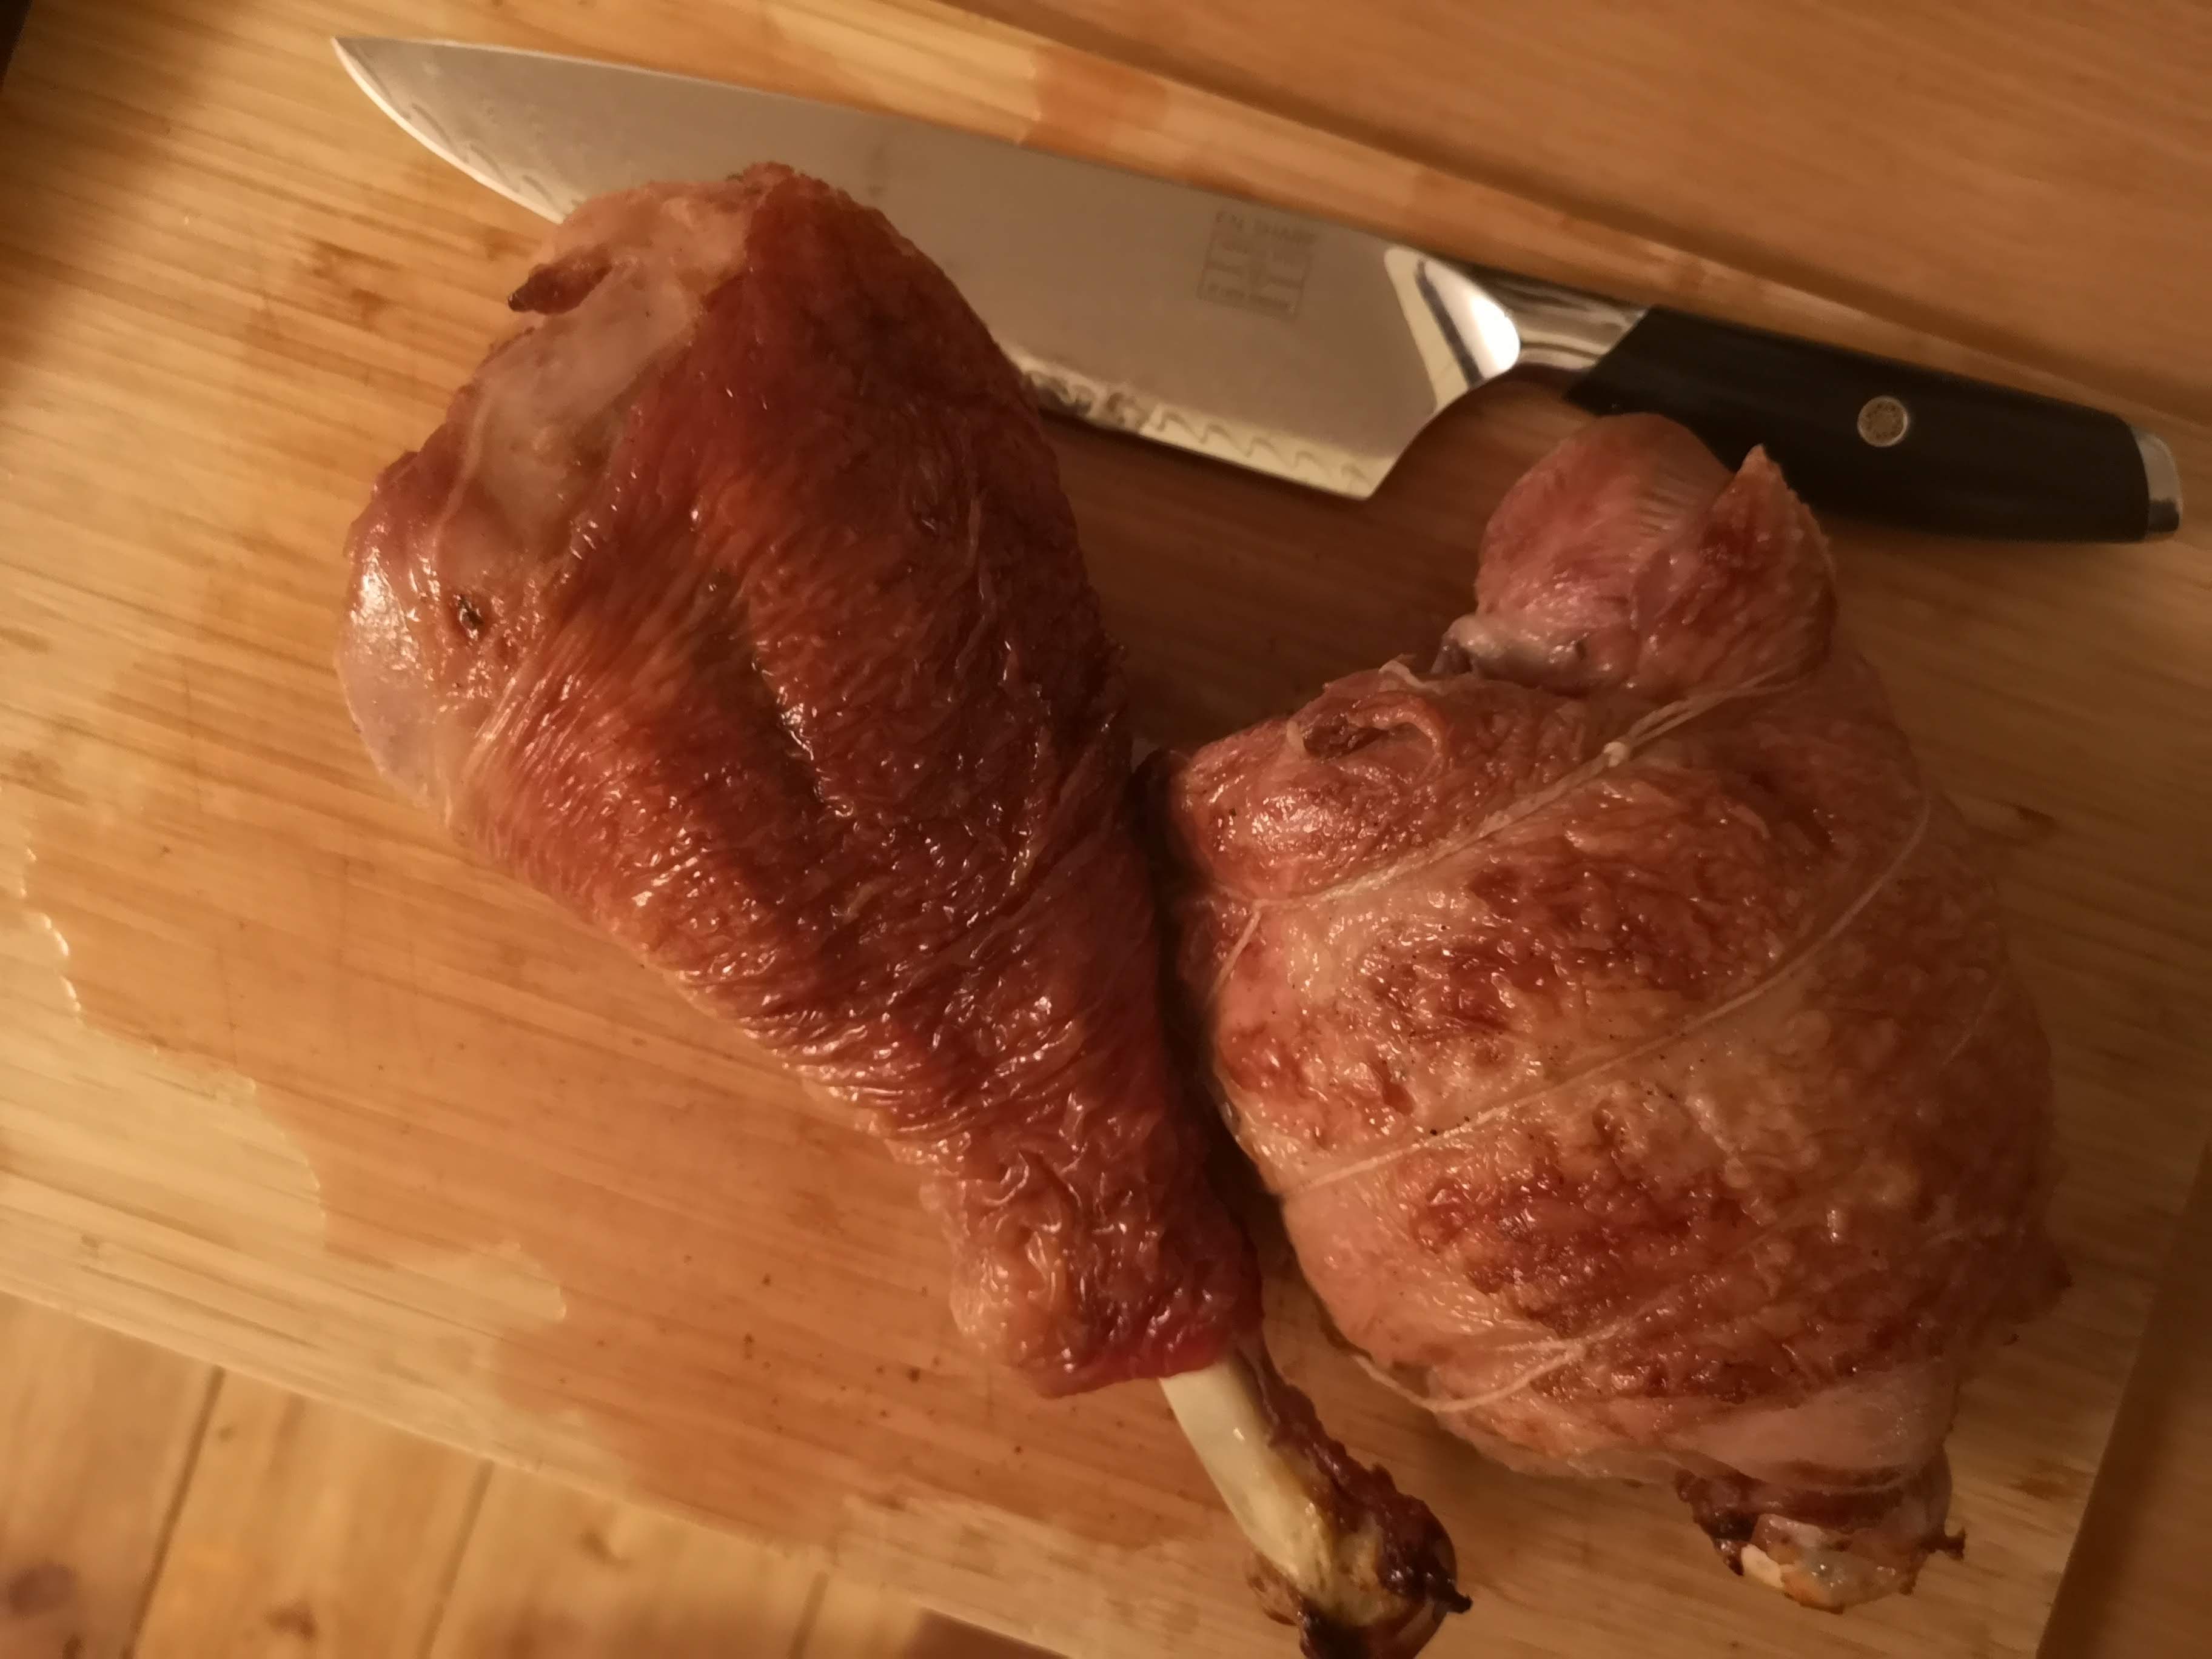
Once an hour has passed, it’s time to open up those packages of delicious turkey meat.
Work with caution, the meat will still be very, very hot. Unwrap each piece and place it on a cutting board. Have some paper towels handy as the juice will be cascading from these morsels.
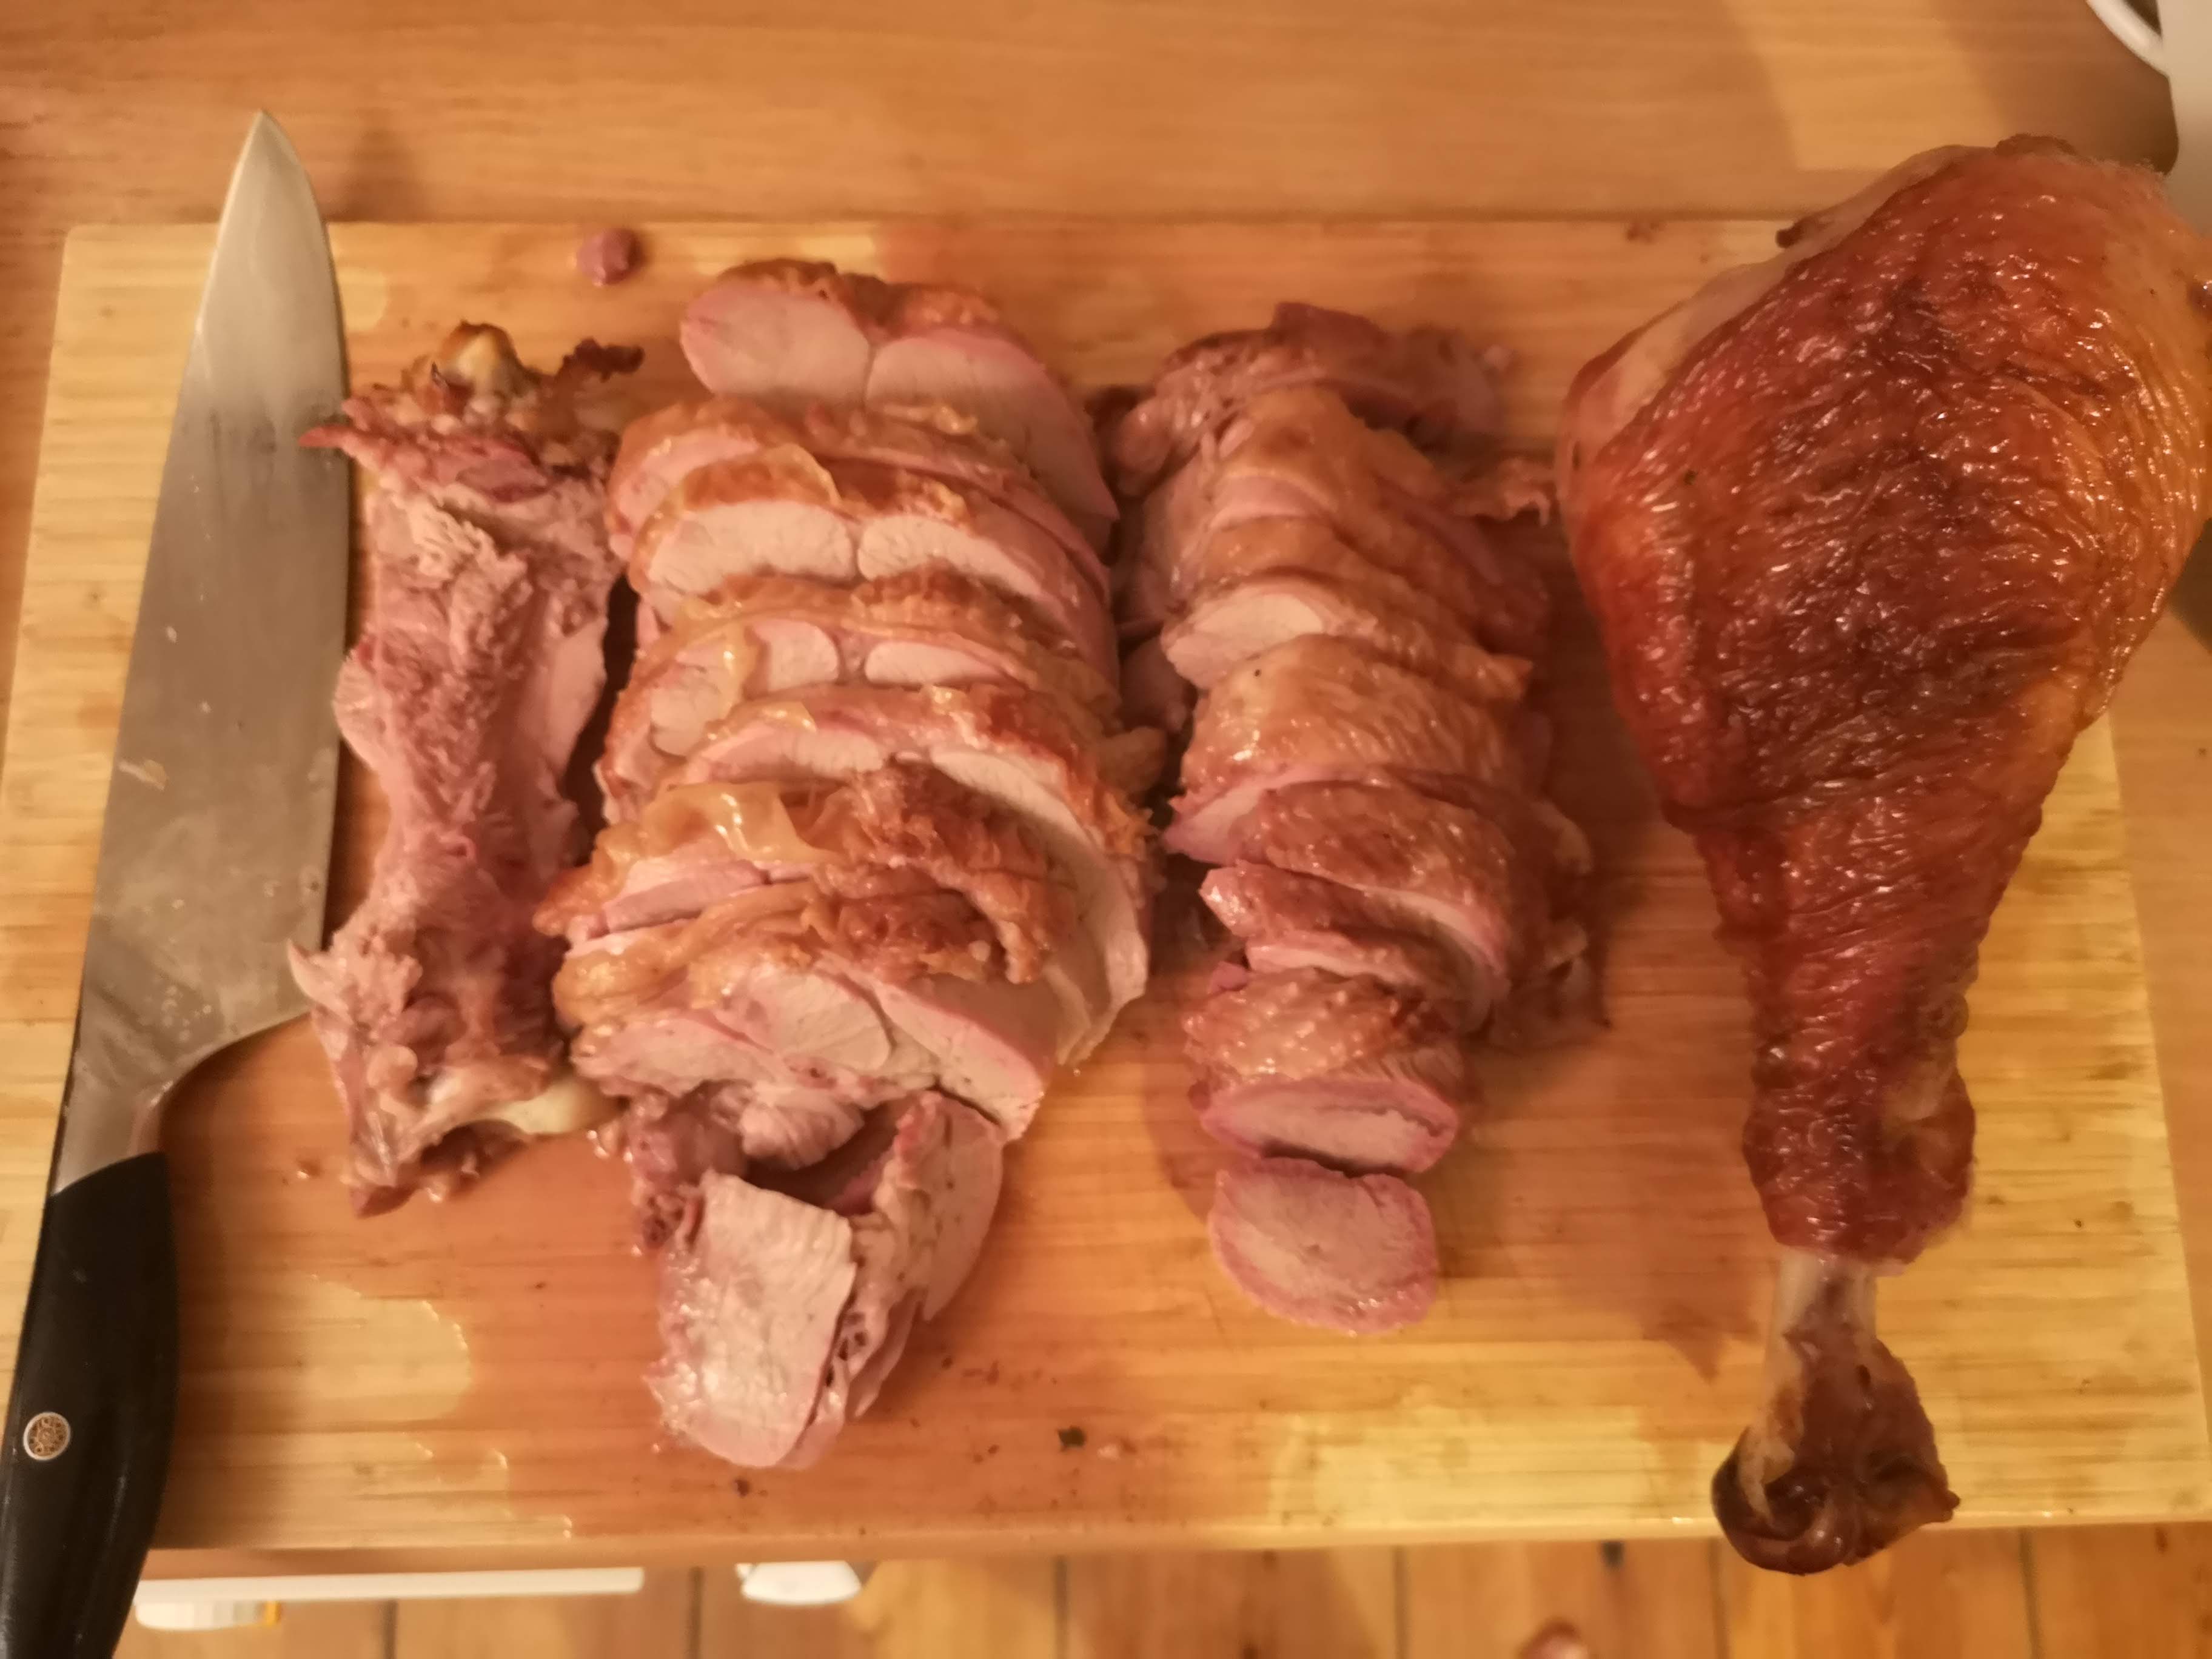
Use the tip of a chef’s knife to cut off the truss strings. To serve the thigh, turn it on its skin side and use the tip of the chef’s knife to find the edges of the bone. Run the tip of the knife along the bone and slowly roll the thigh to get under it until you can cut it out completely.
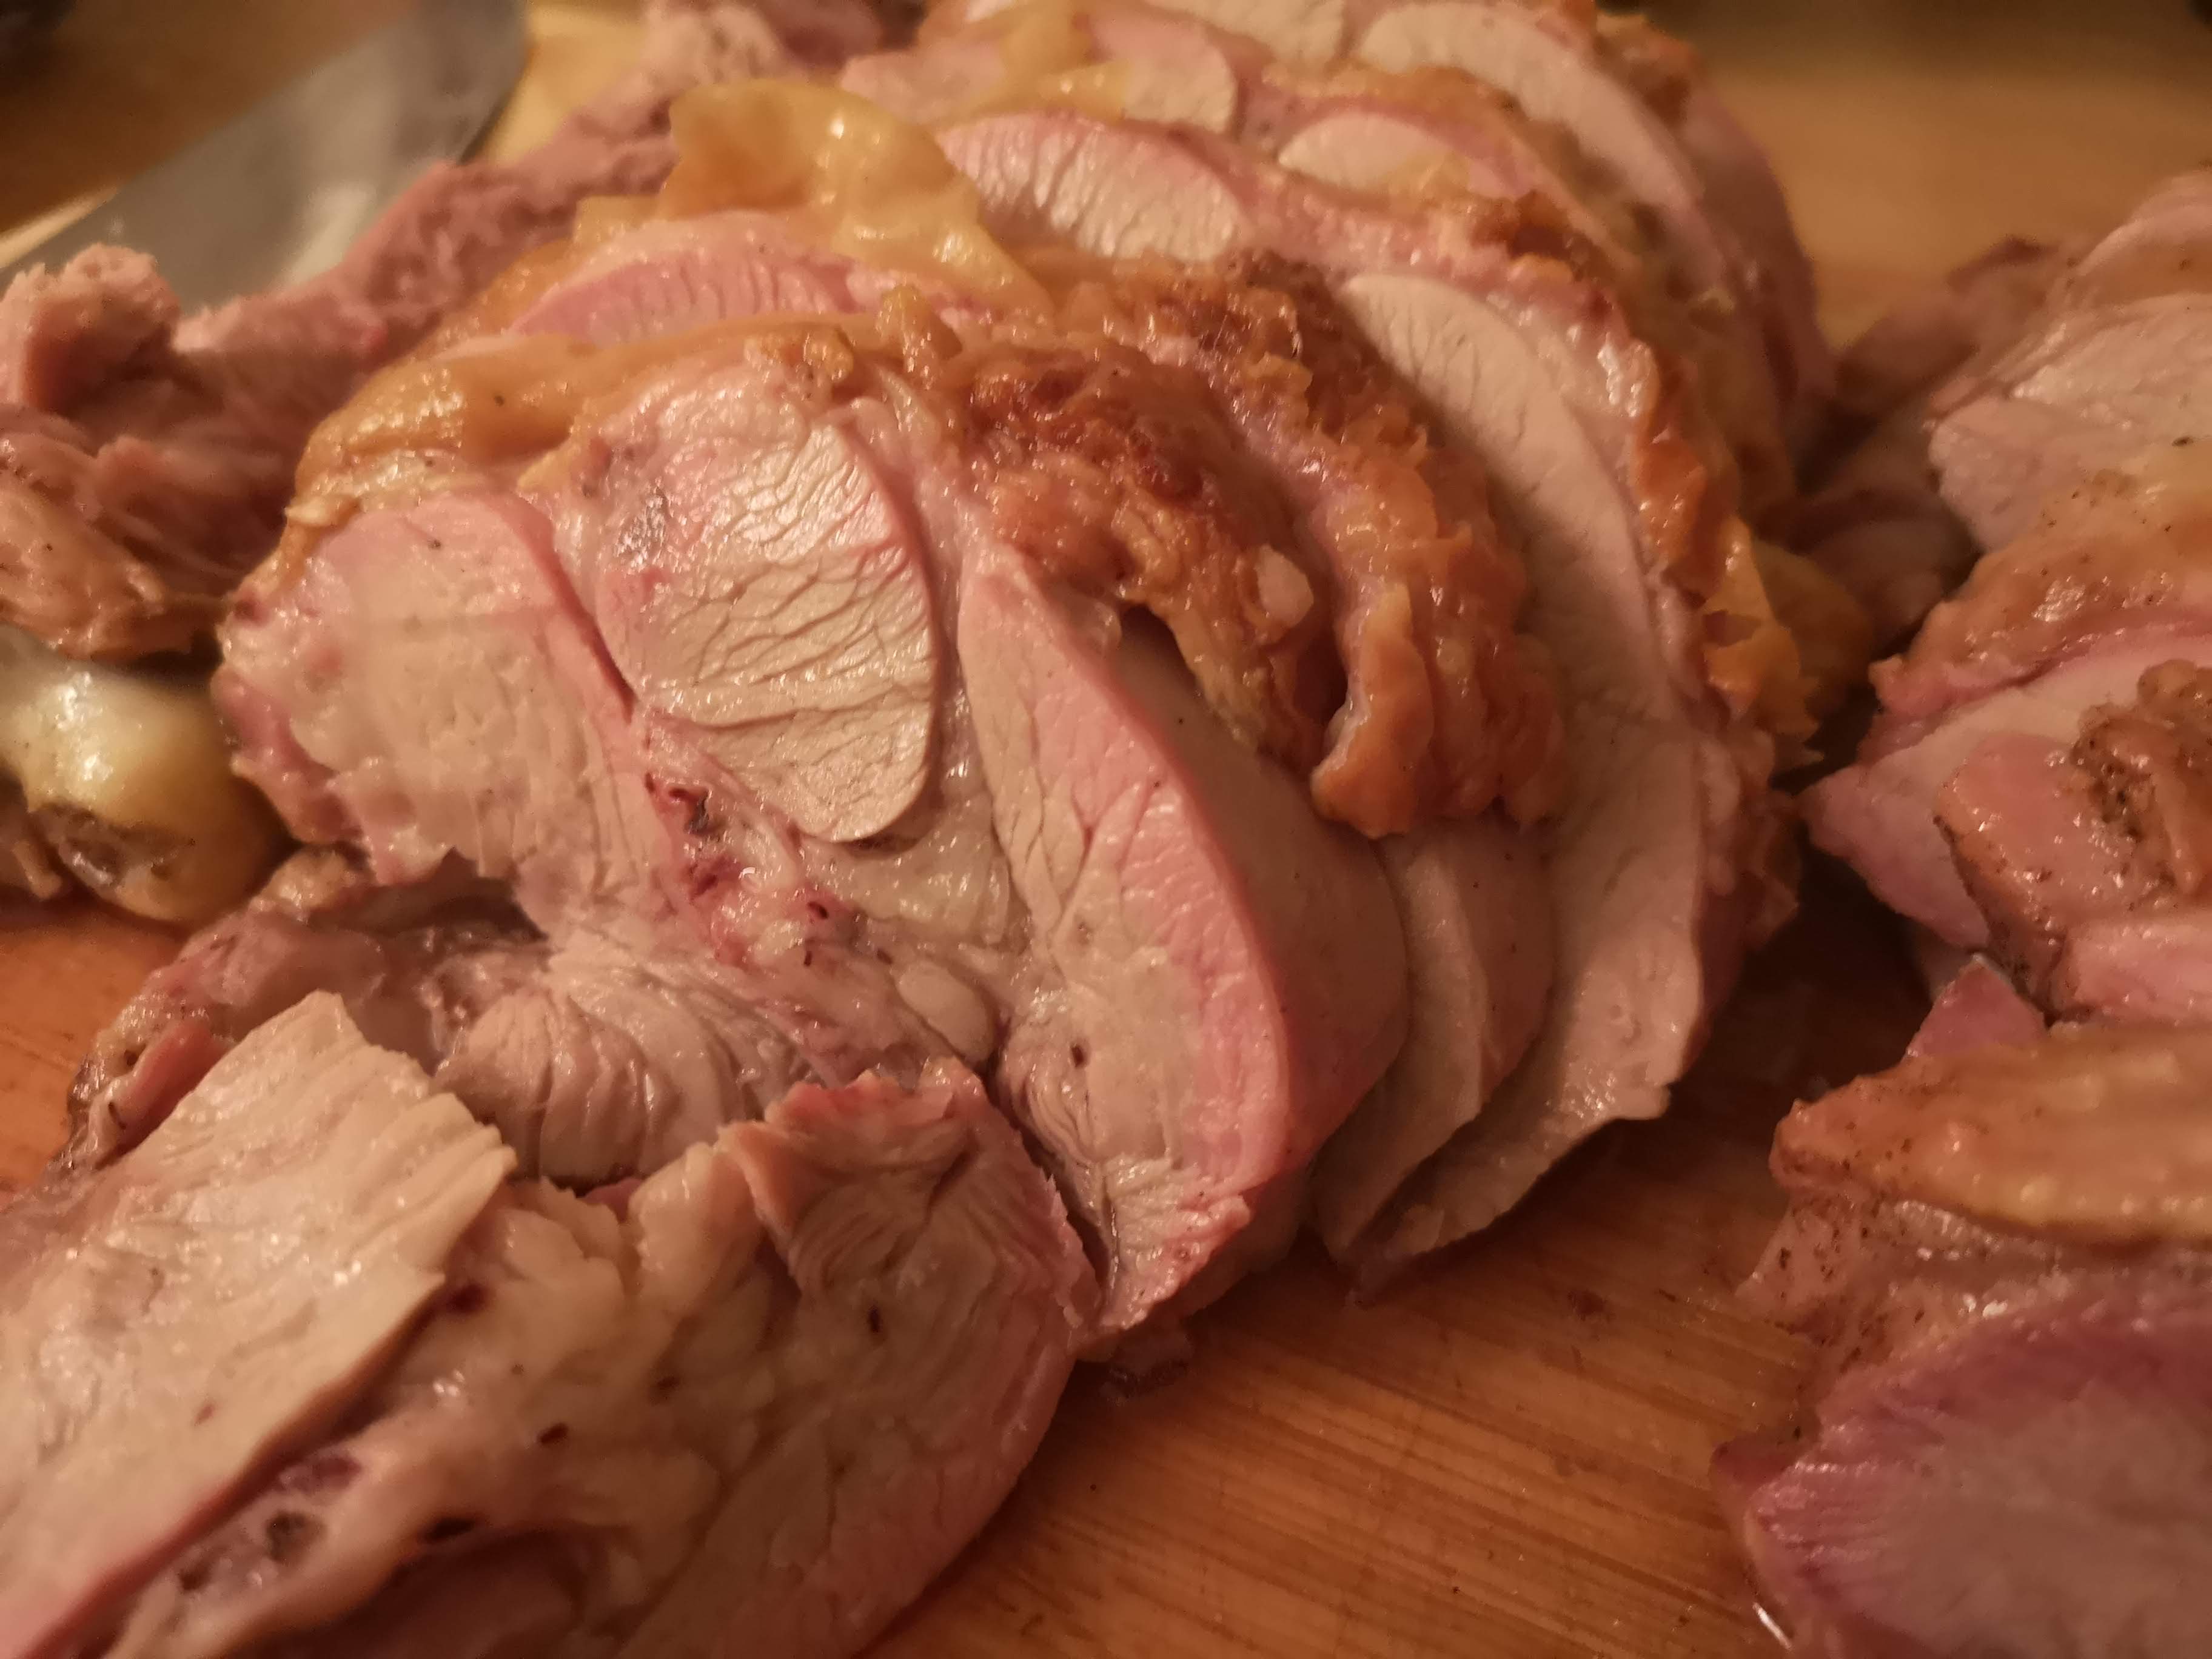
Then, place the thigh skin-side-up and slice in about one-half inch steaks against the grain — or from the bottom of the thigh to the top. I tend to leave the leg whole and let one lucky guest take it.
In the end, this is perfectly roasted, amazingly seasoned, and dripping with juices. It’s so moist that it doesn’t need a drop of gravy. That’s a win.
PART II: THE PERFECT WHITE MEAT
Roasting white meat in an oven (even if you can hit an exact temperature) will still create a chewier and stringier texture than needed. The way I like to go with white turkey meat is straight into a sous vide bath. There’s just no other way to assure super moist and flavorful white turkey meat.
Ingredients and Supplies:
Shopping list:
- Two-pound Air-chilled, Free-range Turkey Breast
- MSG
- Alpine or Kosher Salt
- Tellicherry Pepper
- One Bay Leaf
- One sprig Thyme
- One sprig Sage
- One sprig Rosemary
- One sprig Savory
Kitchen supplies:
- Large Stockpot or Chaffing Tray
- Sous Vide
- One-gallon Ziplock Bag
- Food-safe String
- Cutting Board
- Chef’s Knife
The Cook:
The thing about using sous vide is that you can literally set-it-and-forget-it. So, fill your pot or chaffing tray or vessel with water and set your sous vide device to 140F.
I prefer this texture and that’s why I’m using this technique. The turkey breast is cooked through but still more like pork tenderloin in consistency. If you want a more traditional roasted texture with a little stringiness to it, go with 150f or even 155F with the sous vide bath. If you’d like it closer to chicken sashimi you’d get in Toyko, go with 130F. Either way, 140F is safe and brings, in my opinion, the perfect level of soft texture and moisture retention.
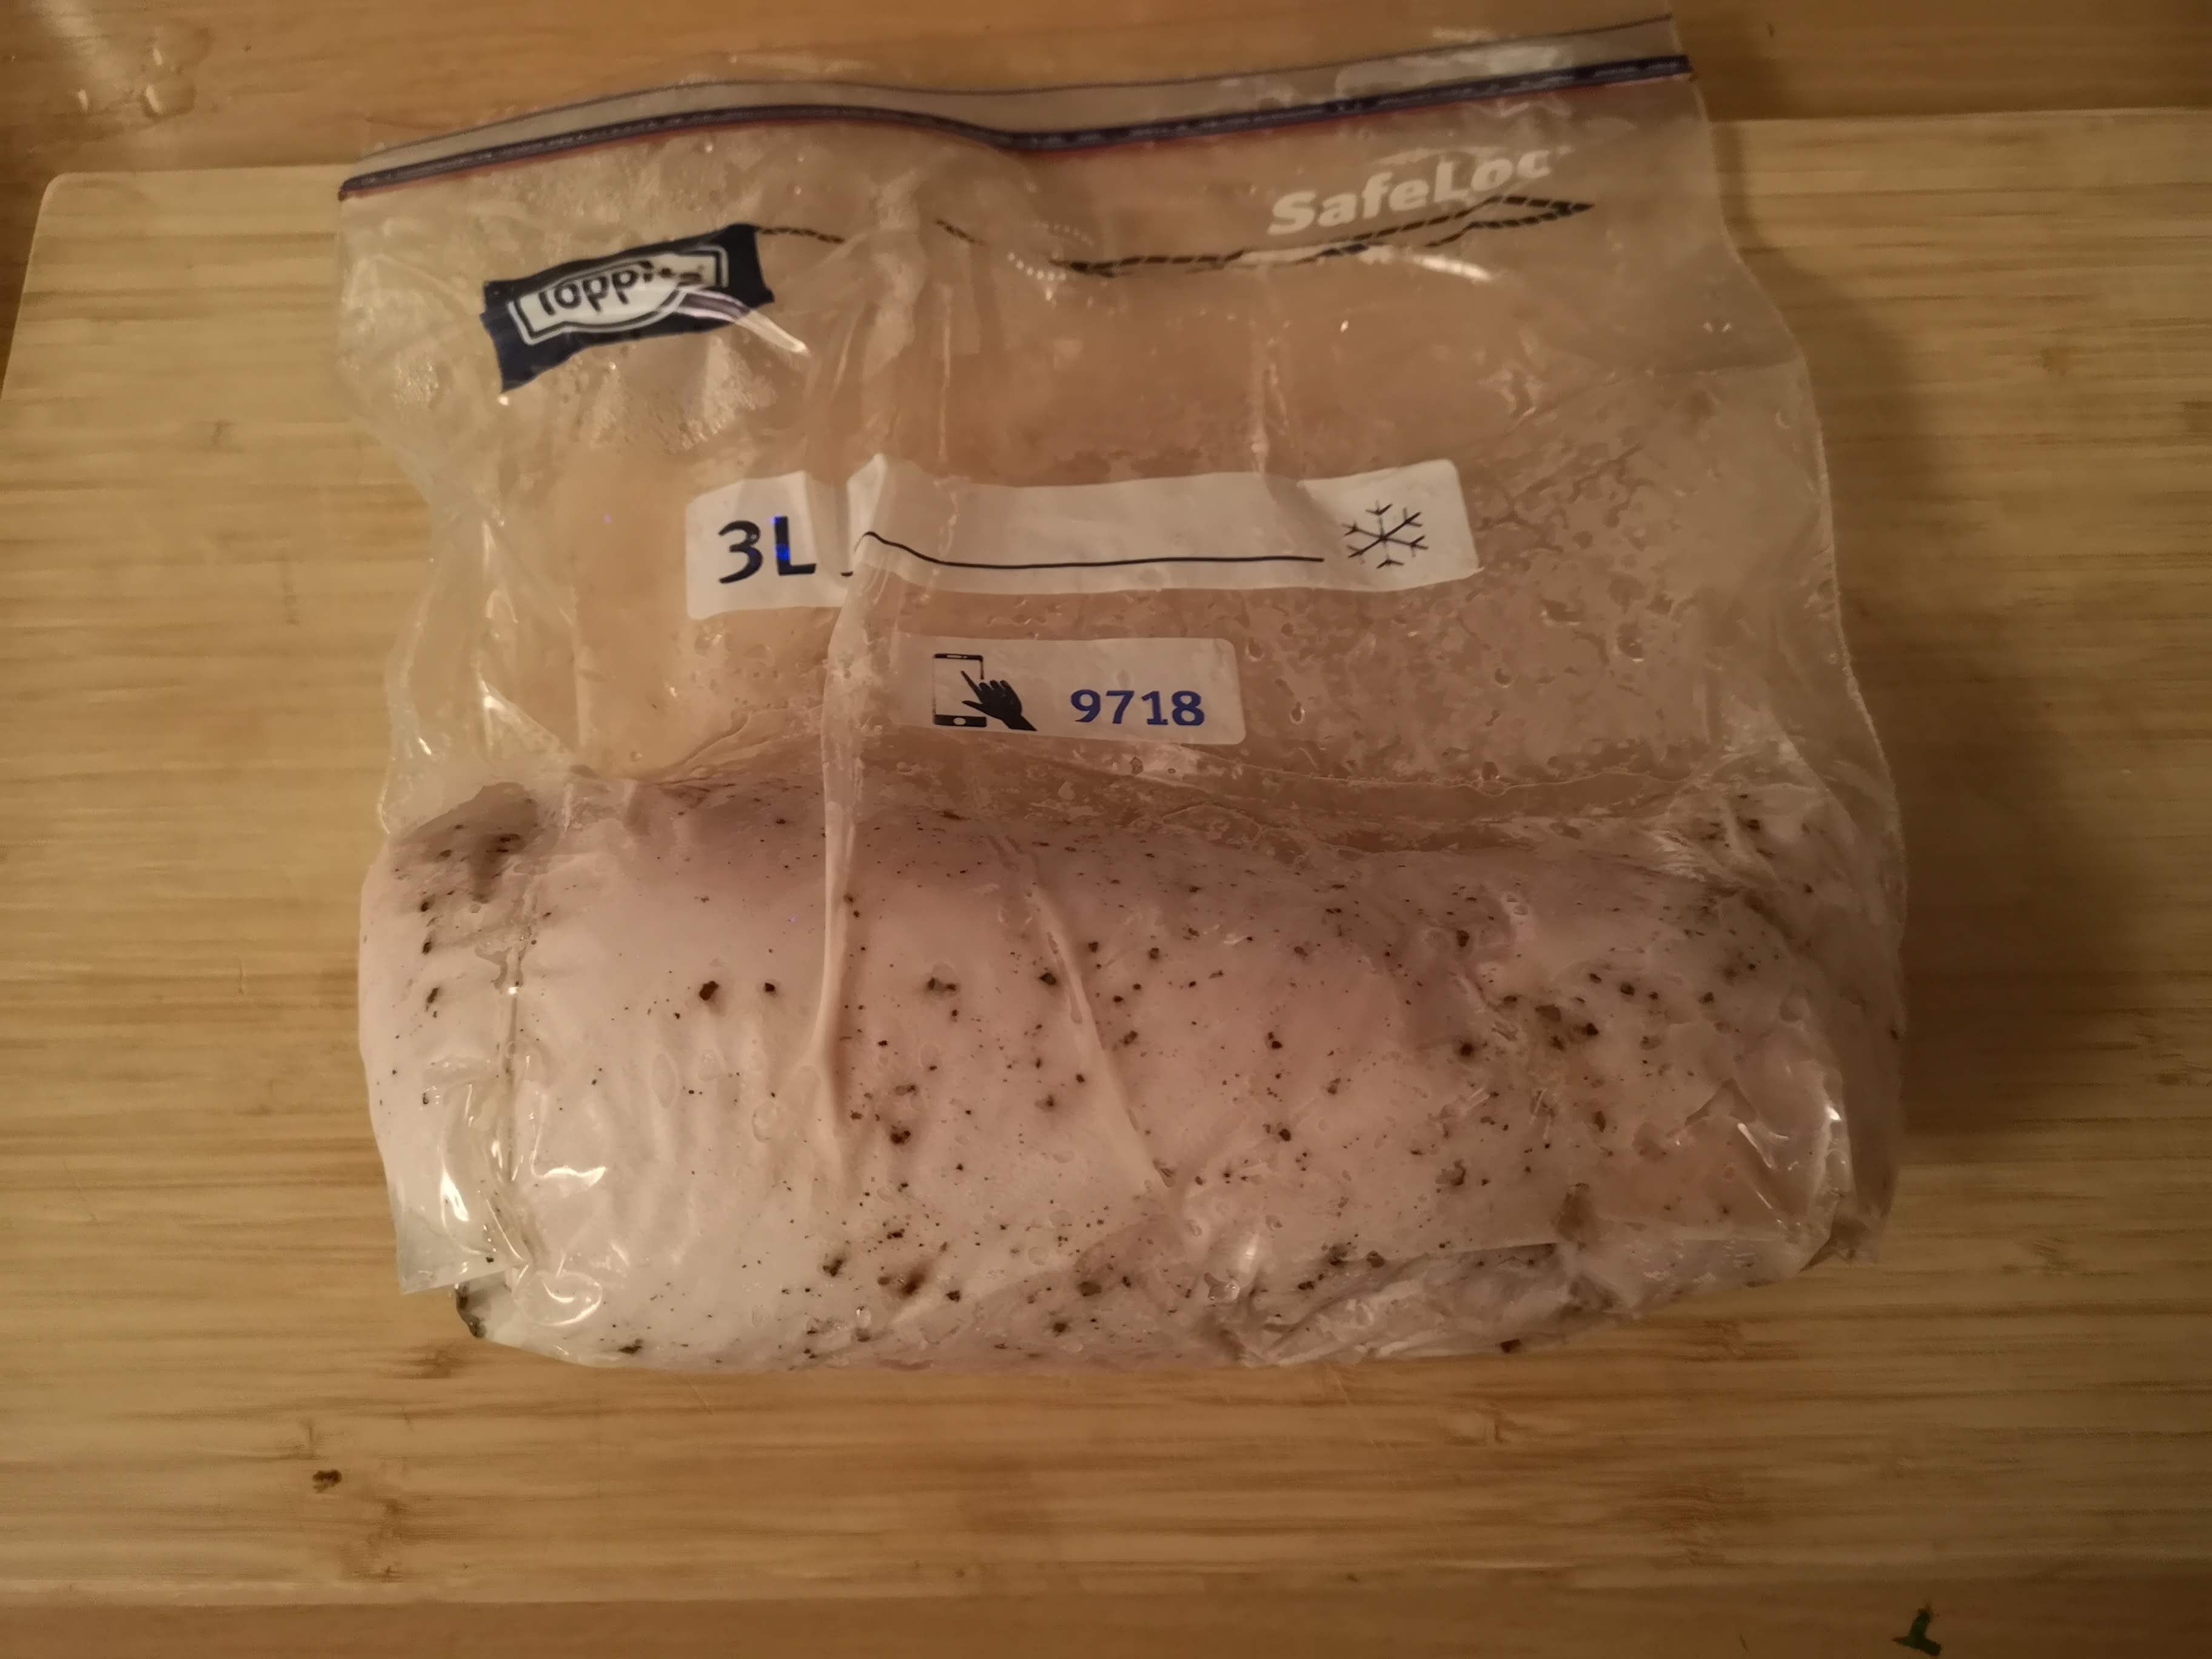
The play with a turkey breast is to dry brine the meat for about four hours. I pat the breast dry with paper towels and proceed to generously season the whole piece with a thin layer of MSG, salt, and cracked black pepper. I use a food-safe string to truss the meat. You don’t have to go overboard with the tightness here. You just want to provide some heft and stability to the meat.
I then put the turkey breast into a one-gallon Ziplock bag with the fresh herbs and put it on a plate to let it rest in the fridge for about four hours.
About an hour before I want to cook, I’ll take the turkey breast out of the fridge so it can come up to room temp.
I place the bag into the already warmed sous vide bath with the Ziplock open. This will allow you to remove all the air from the bag as you move it down into the water. Once all of the air is out of the bag, seal it up and let it cook for four hours. This will assure the whole piece is cooked through and at a stable 140F.
Once the timer goes off, you’re ready to serve. There’s no resting needed here.
Serve:
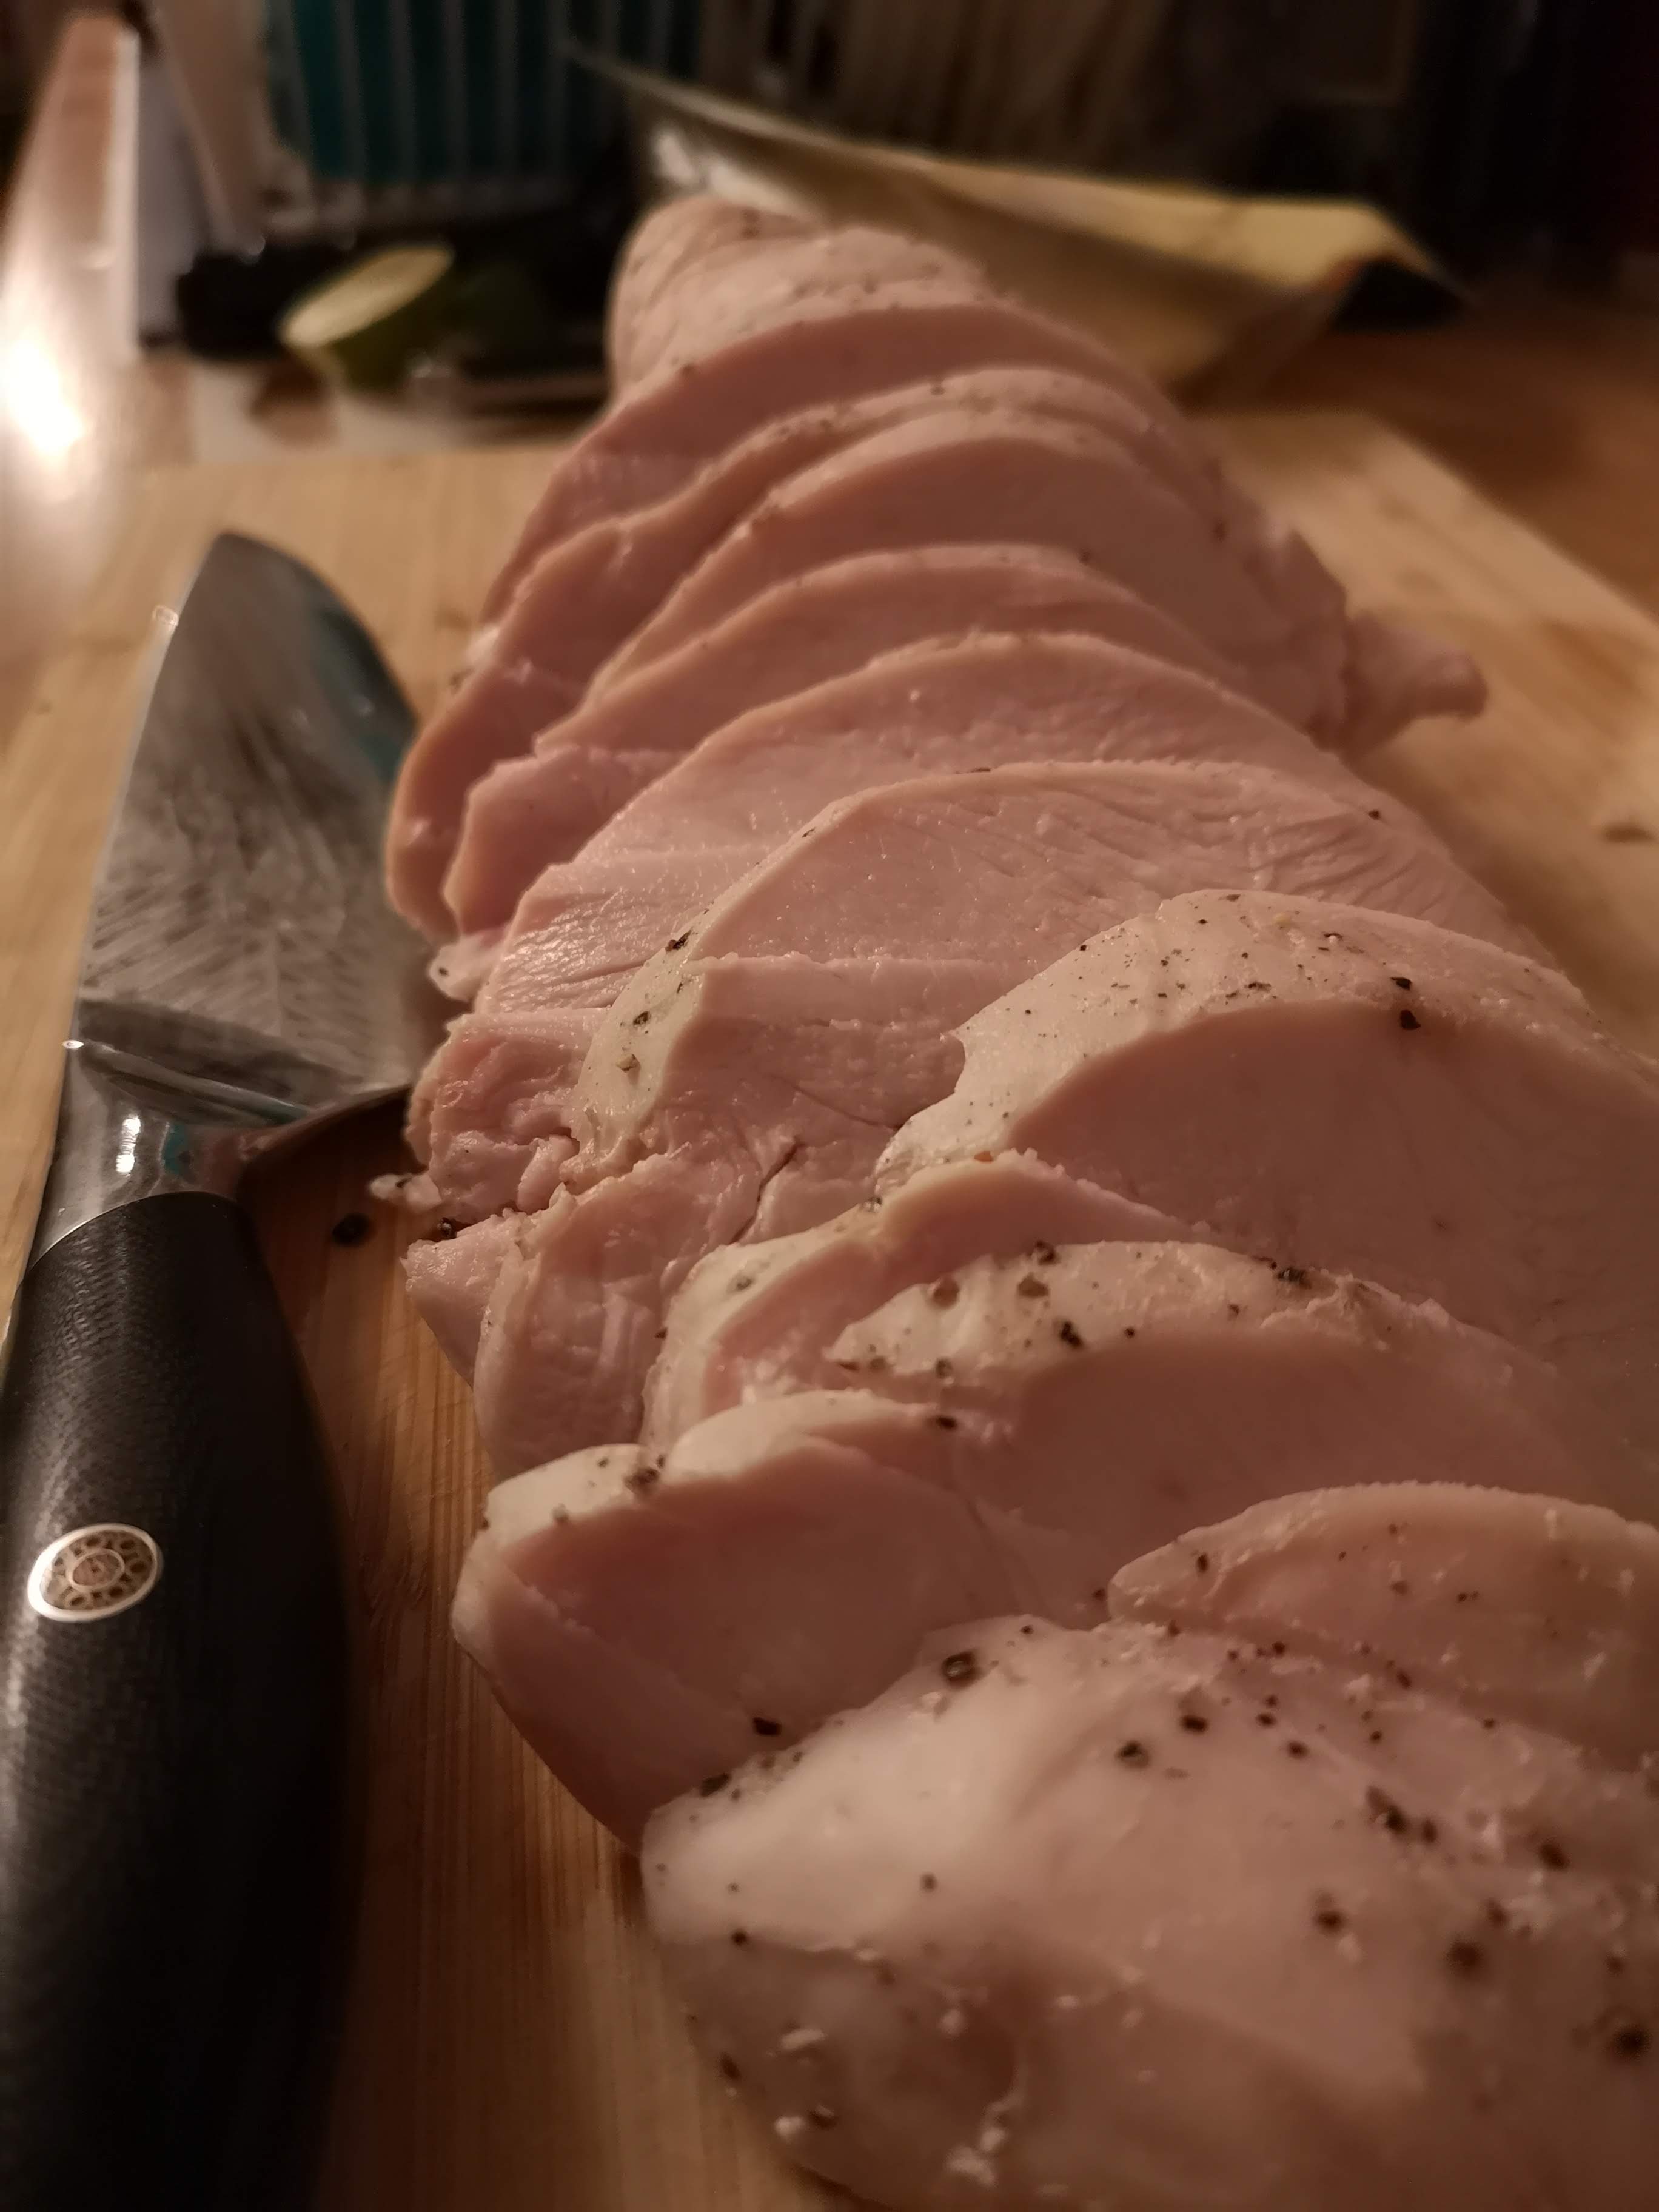
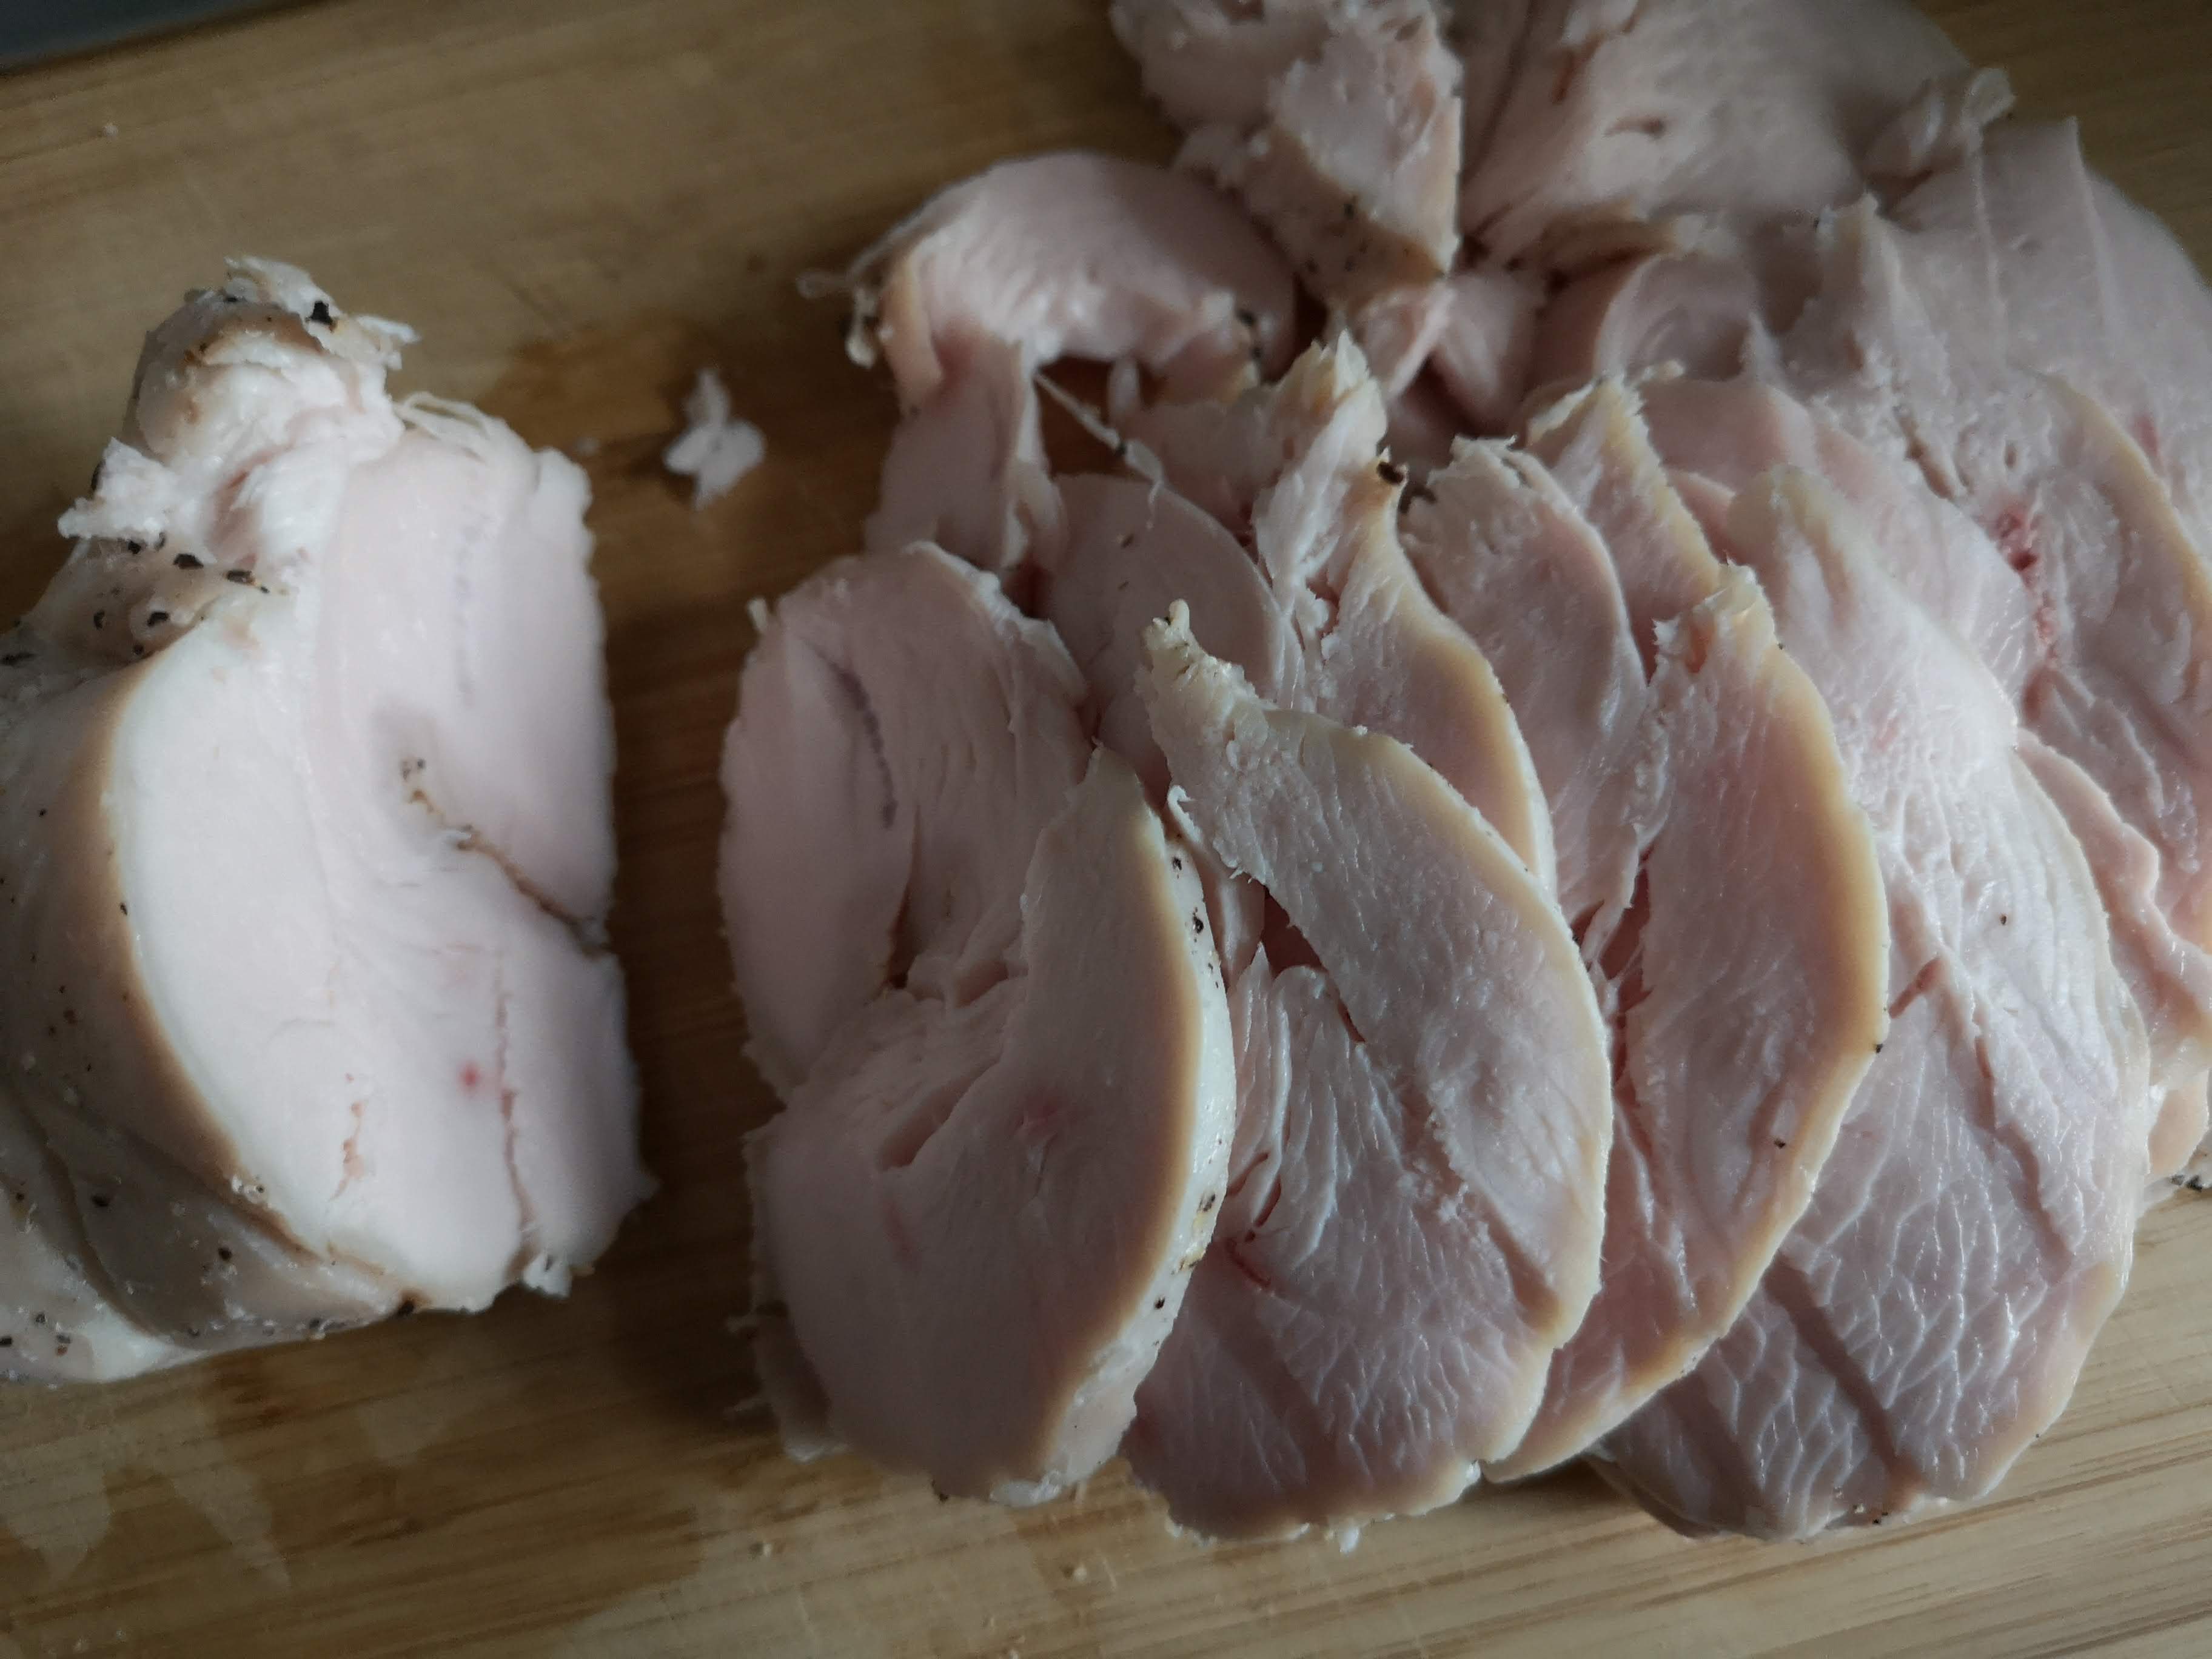
Use the tip of a chef’s knife to cut off the string. I then cut about one-half inch steaks against the grain, starting at the thin end and working towards the thicker end.
The key here is the moisture factor. This is succulent white turkey meat that’s well-seasoned to add umami depth with a herbal flourish that has infused through the whole breast. Again, this is a juicy enough piece of meat that no gravy is necessary to add flavor or moisture. Another win. But, to jazz up the plate a little, I’d recommend a killer cranberry sauce. Which leads us to…
PART III: BONUS RECIPE — CRANBERRY SAUCE
Cranberry sauce feels like it should be intimidating to make. Spice, sugars, and fruit all combine to make a jammy side dish that works wonders with turkey meat. And, with a little patience, you can execute a very easy and tasty cranberry sauce on your stovetop in less than an hour.
Ingredients and Supplies:
Shopping list:
- 12-ounces fresh Cranberries
- Two-cups Water (or real Apple Juice)
- Half-cup Maple Syrup or Raw Sugar
- Pinch of Salt
- One Cinnamon Stick
- Eight Allspice Berries
- Six whole Cloves
- Four Juniper Berries
- Two Star Anise
Kitchen supplies:
- Stockpot
- Single-use Tea Bag
- Jam Jar with Lid
- Spoon
Cook:
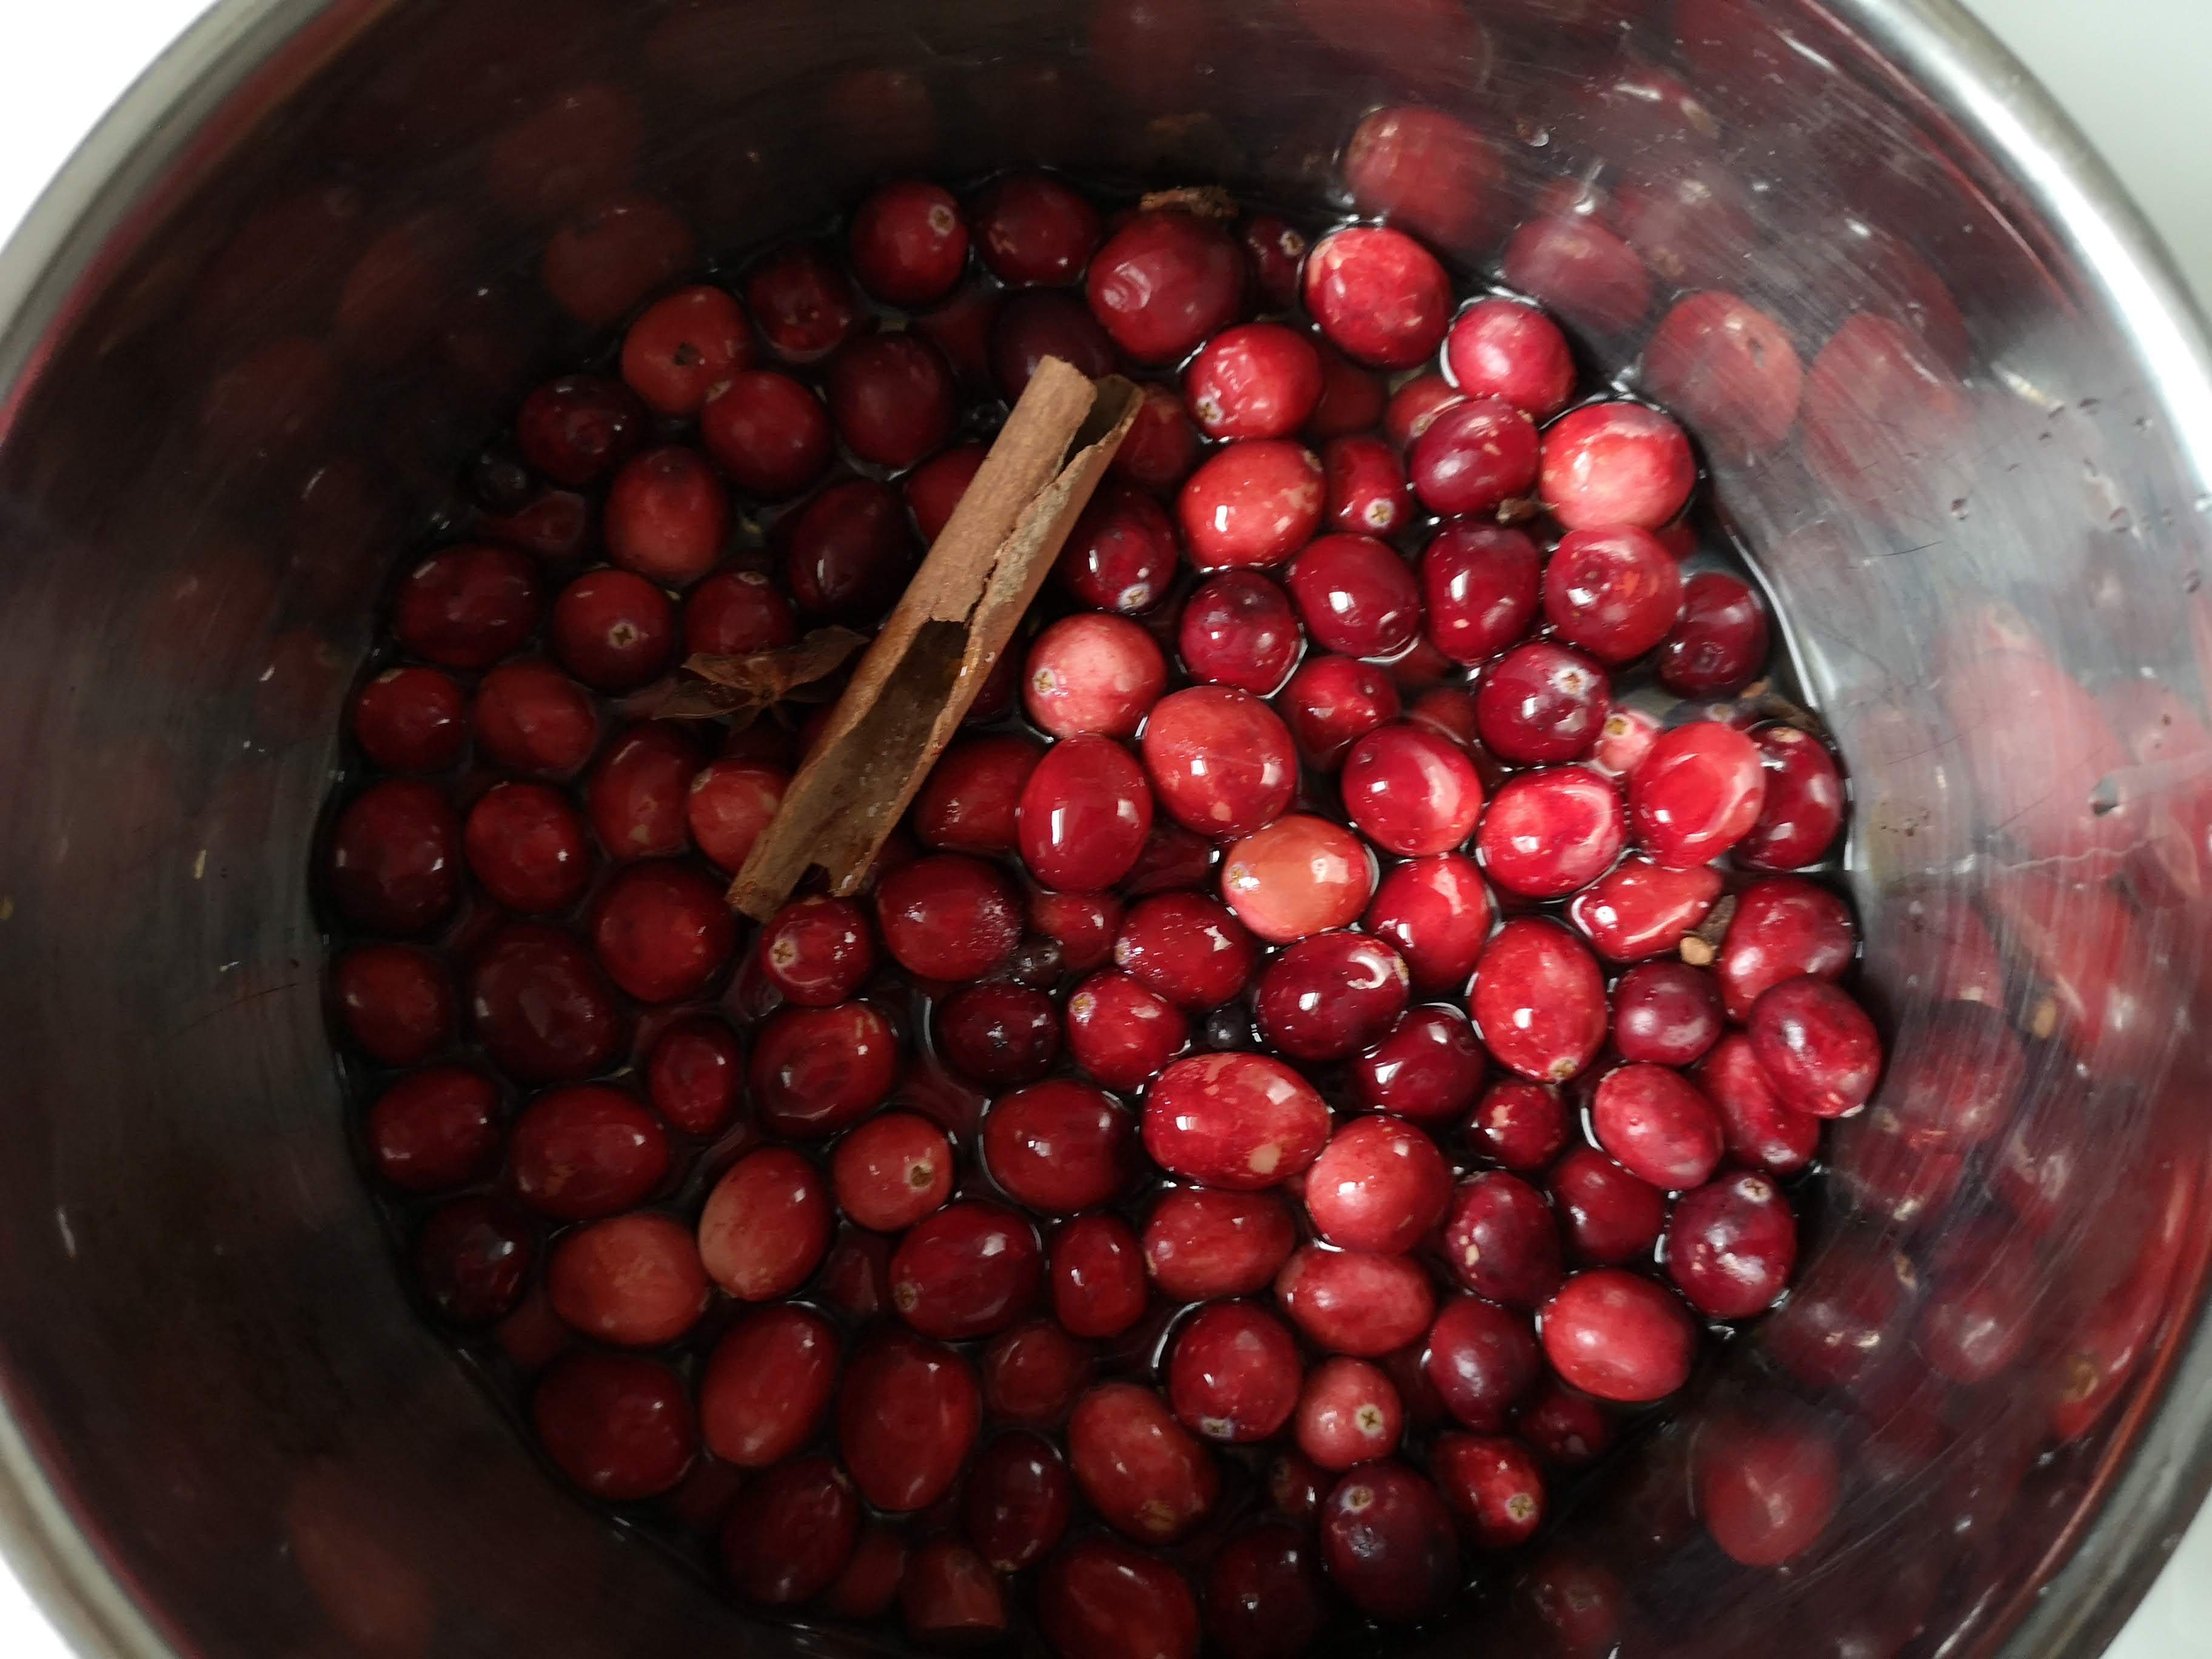
This really is an easy recipe. Combine all your dry botanicals into the tea bag. Add the water, cranberries, sugar or maple syrup, cinnamon stick, and tea bag to a medium stockpot. Bring to a bare simmer and let the berries, spices, and sugars do their thing.
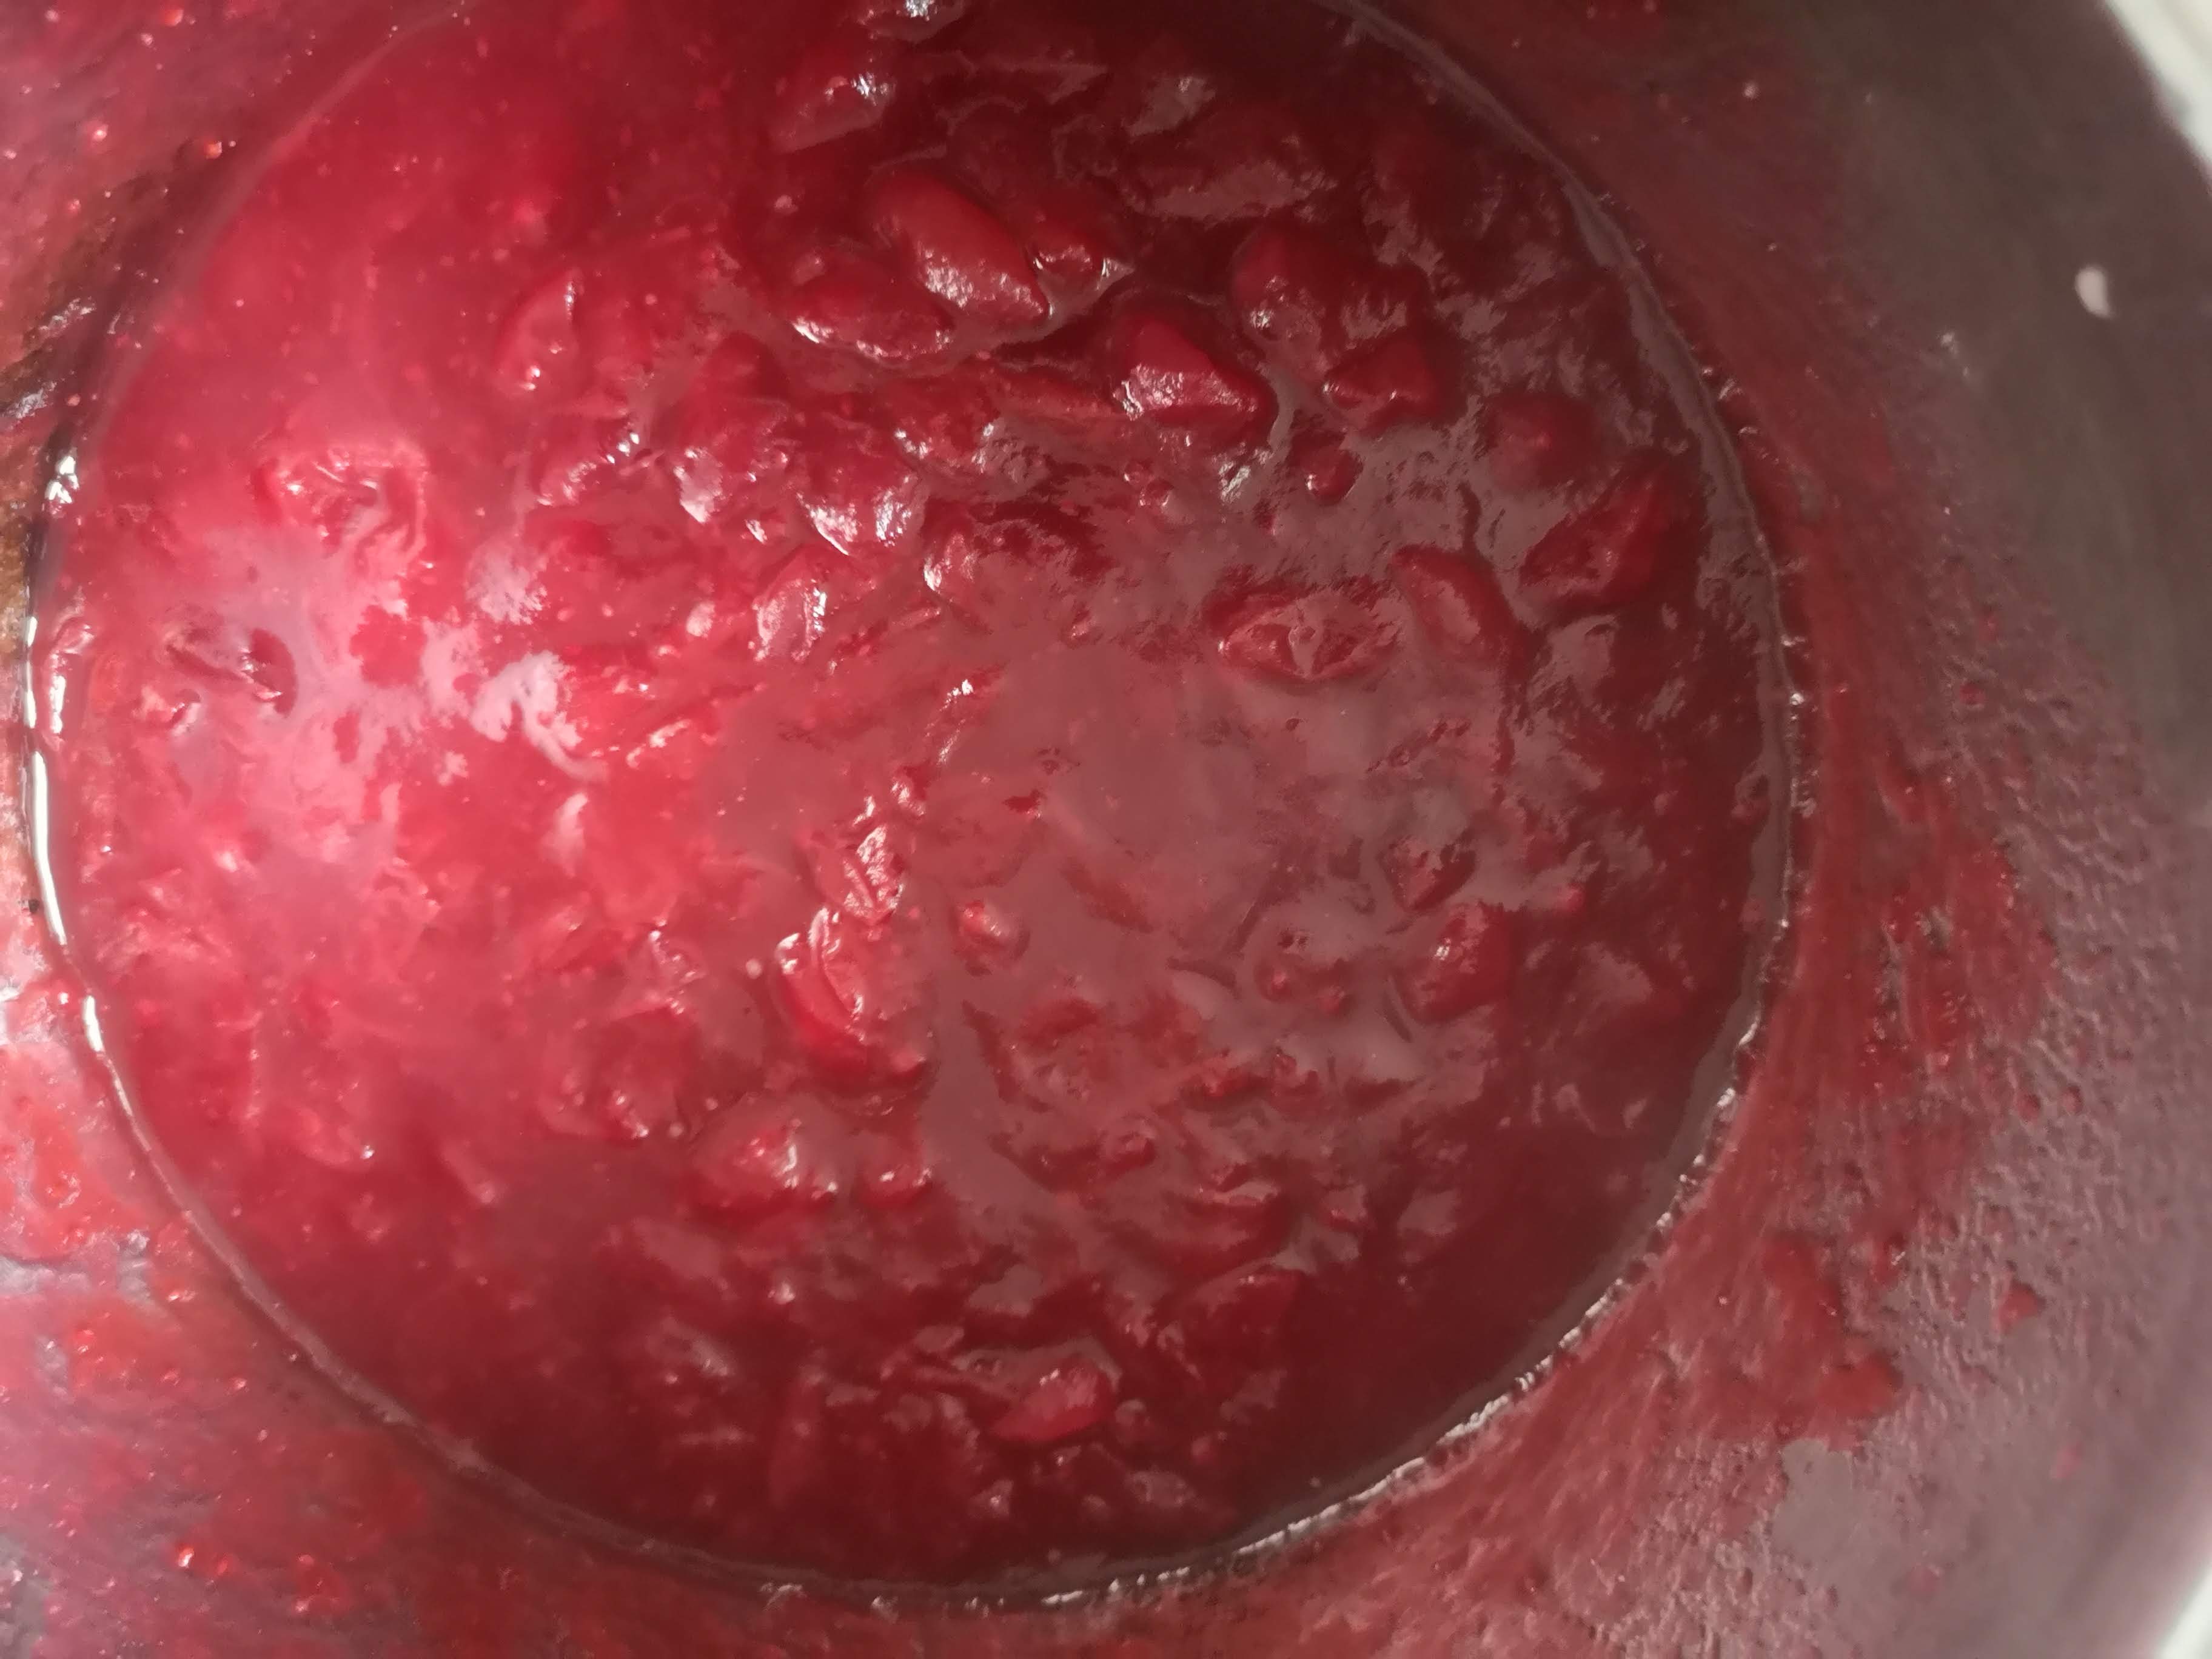
Make sure to stir every five or so minutes as the cranberry sauce simmers on low. After a half-an-hour, a jammy sauce should be forming. Remove the tea bag of spices and cinnamon stick — don’t leave them in as they’ll start to turn bitter. Taste the sauce. It should be slightly tart, verging on sour, with a sweet edge that’s cut by the spices. Add a dash more sugar or syrup if the sauce is too tart. Cook for another 15 to 20 minutes or until there’s a congealed sauce and all the berries have melted into the sauce but a few chunks remain.
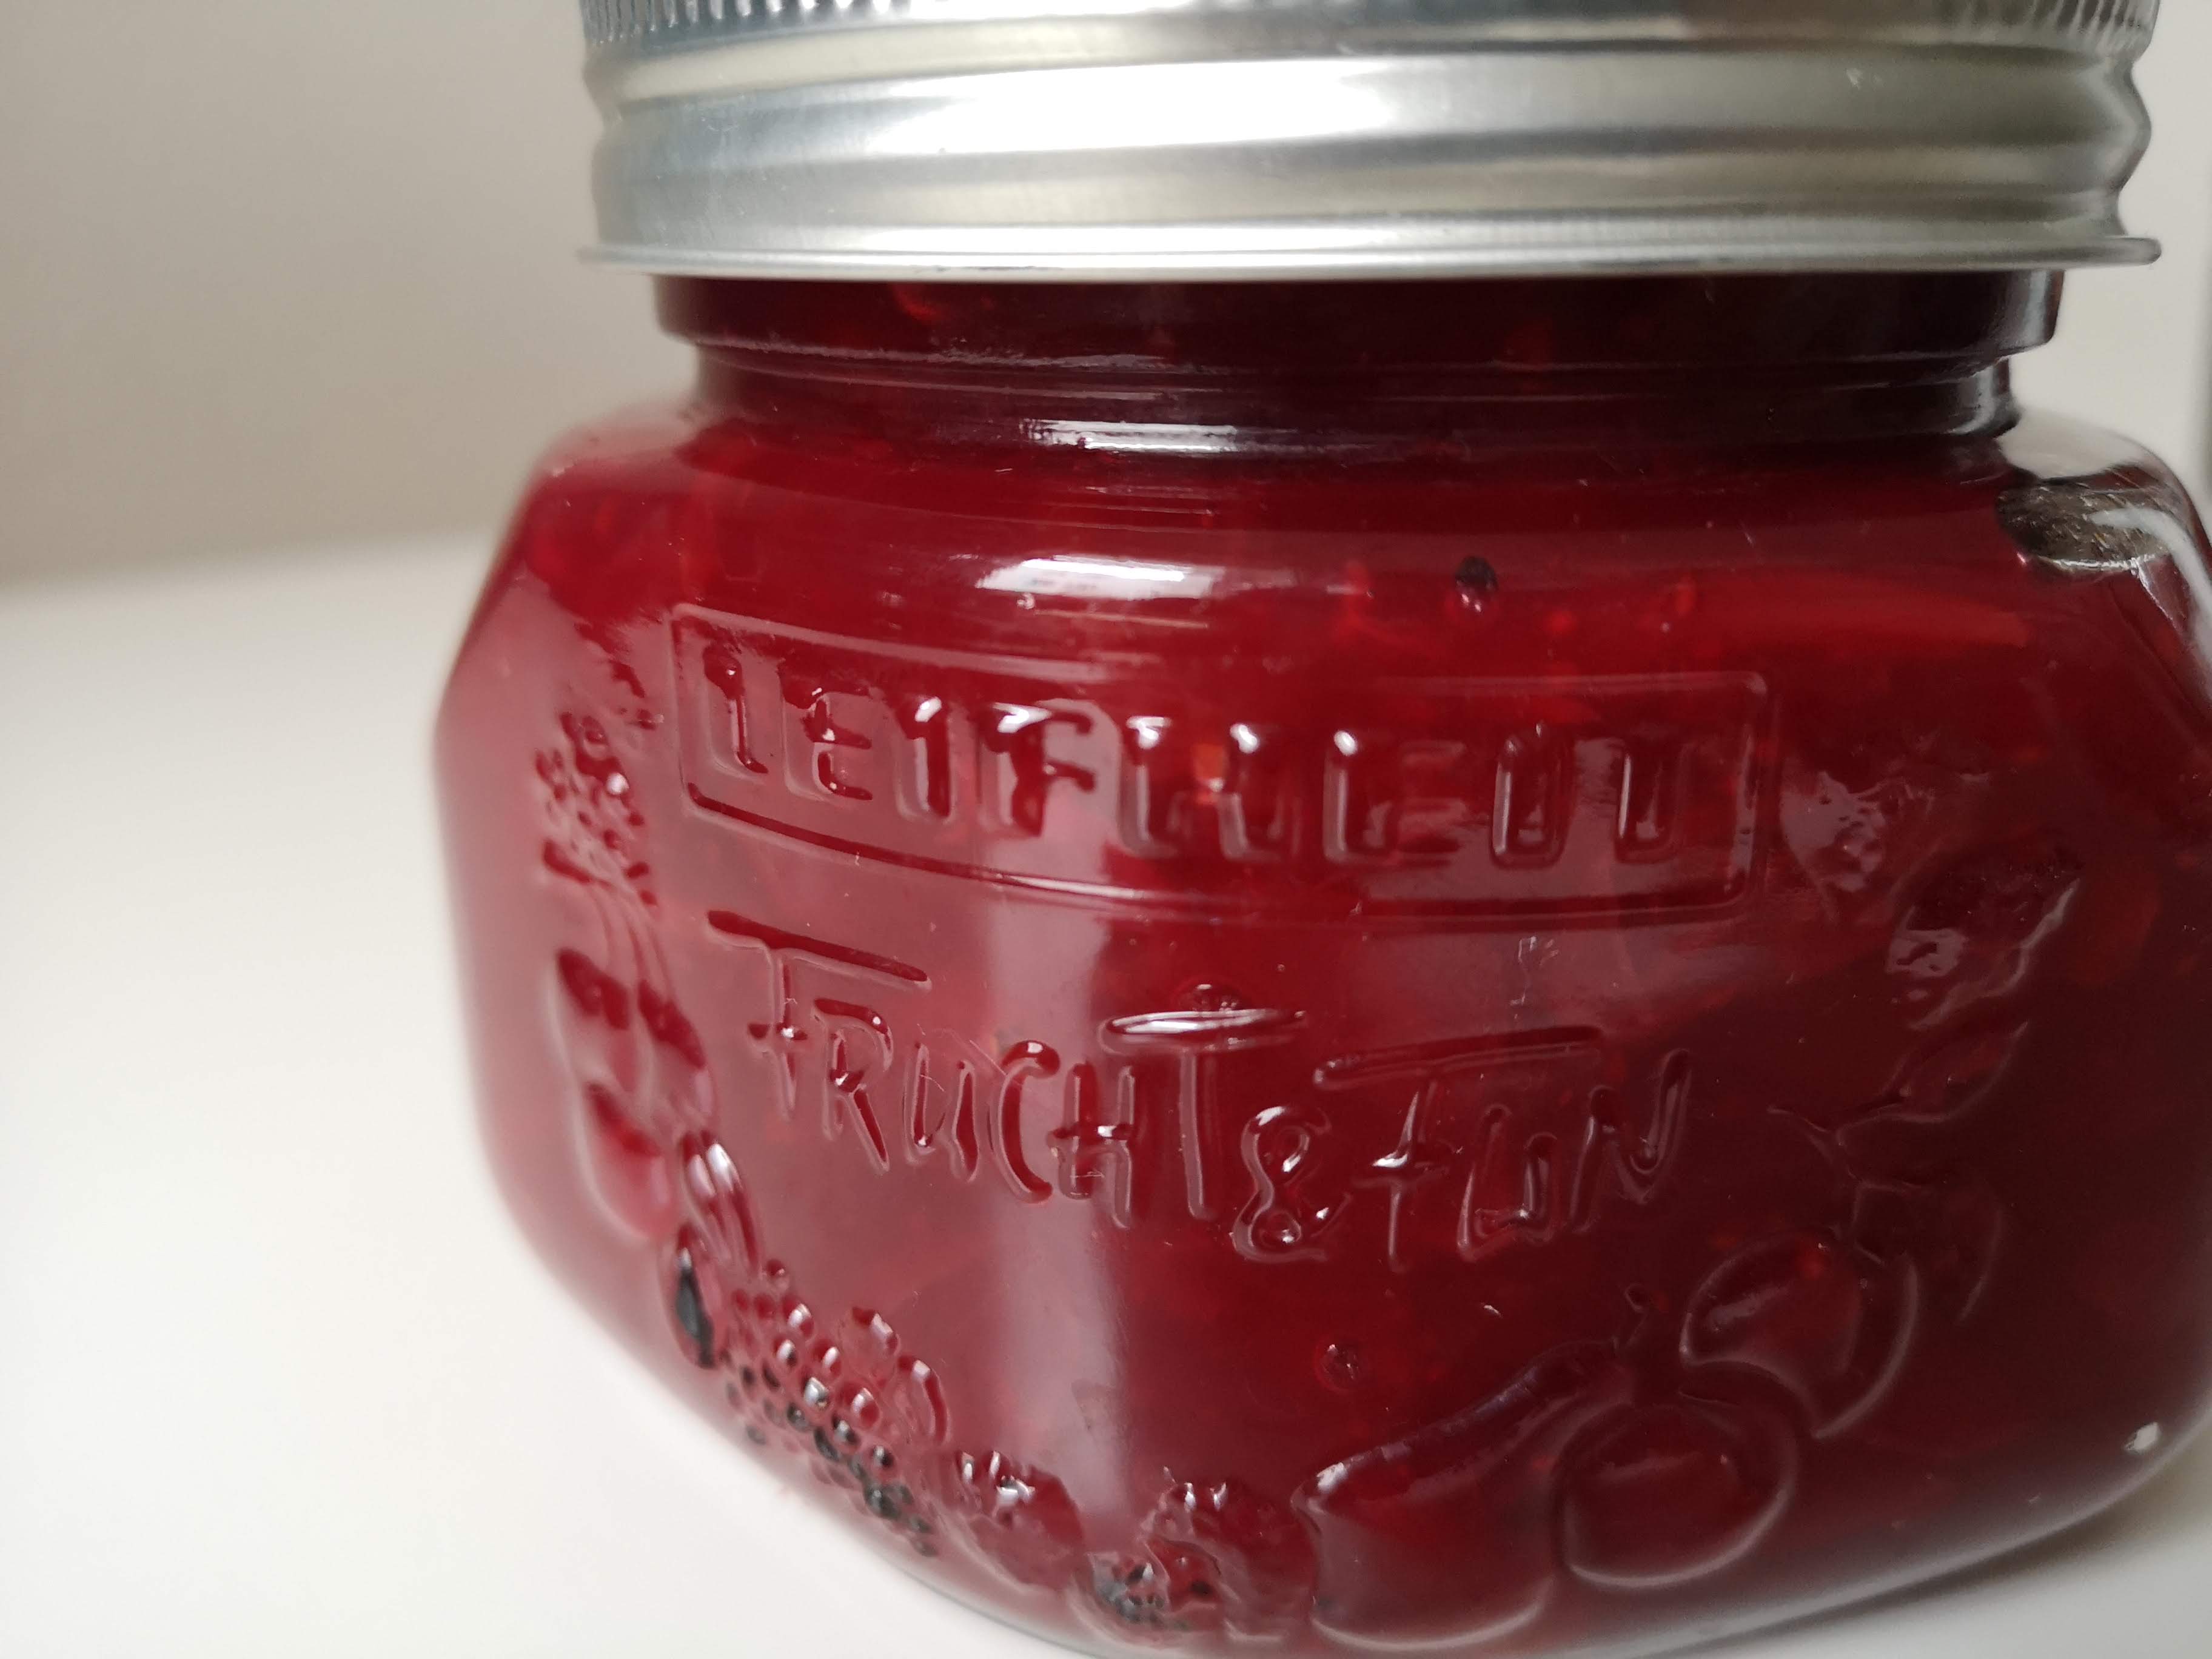
Remove from the heat and let cool for ten to 15 minutes. Pour the cranberry sauce into a jar and seal with a lid. You don’t need to go into the canning process as long as you use the sauce within two weeks of making it. That’s it!


