
There’s a subtle beauty to the chimichanga. The crunch of the fried tortilla, the flaky outer layer. Inside, a mash of beans, protein, and spice mix to create a classic “burrito” filling. It’s the ideal one-hander food — as nostalgia-inducing as it is delicious. And one of the best ones around is Disneyland’s Chimichanga from their Edelweiss Snacks kiosk.
Beyond its deliciousness, the classic Disneyland Chimichanga is one of the best values you can get at the park. The extra-large chimi costs about $7 and fills you up without the need for a side dish. At a company known for innovation, this is one of the few things that hasn’t changed over the years — the always perfectly fried tortilla around a mash of beans and beef with a “spicy” chili sauce in packets for dousing each bite as you eat. It’s ostensibly Mexican but also feels like classic Americana.
Since Disneyland has been closed for months (and will likely remain so a fair bit longer) and we have an abiding love of recreating classic Disneyland recipes like the giant turkey leg and corndog, I thought it was high-time to recreate the chimichanga. One, I love chimichangas but rarely eat them since I live in Berlin. Two, while I can make a mean burrito, I’ve never actually made a chimichanga. And what is quarantine for if not trying to make new foods while worrying over the state of the world?
All told, this dish was actually easier than I expected. In fact, I 100% made it harder than it has to be. I did a very low and slow barbacoa beef and homemade refried beans. You could, theoretically, use your favorite can of beans with ground beef in taco seasoning if you wanted. But I just got a new oven and wanted to fill my house with the smells of fatty beef, chili, and spices slow-cooking.
I regret nothing.
PART I: The Low And Slow Beef

Since I don’t have a backyard to dig a pit in to fill with hot rocks, I’m using a very chef-y kitchen approach to barbacoa. I’m taking a nice five-pound top round roast with a decent fat cap and slow-roasting that in veg, chili, braising liquid, and corn husks (I couldn’t find agave leaves).
Ingredients:
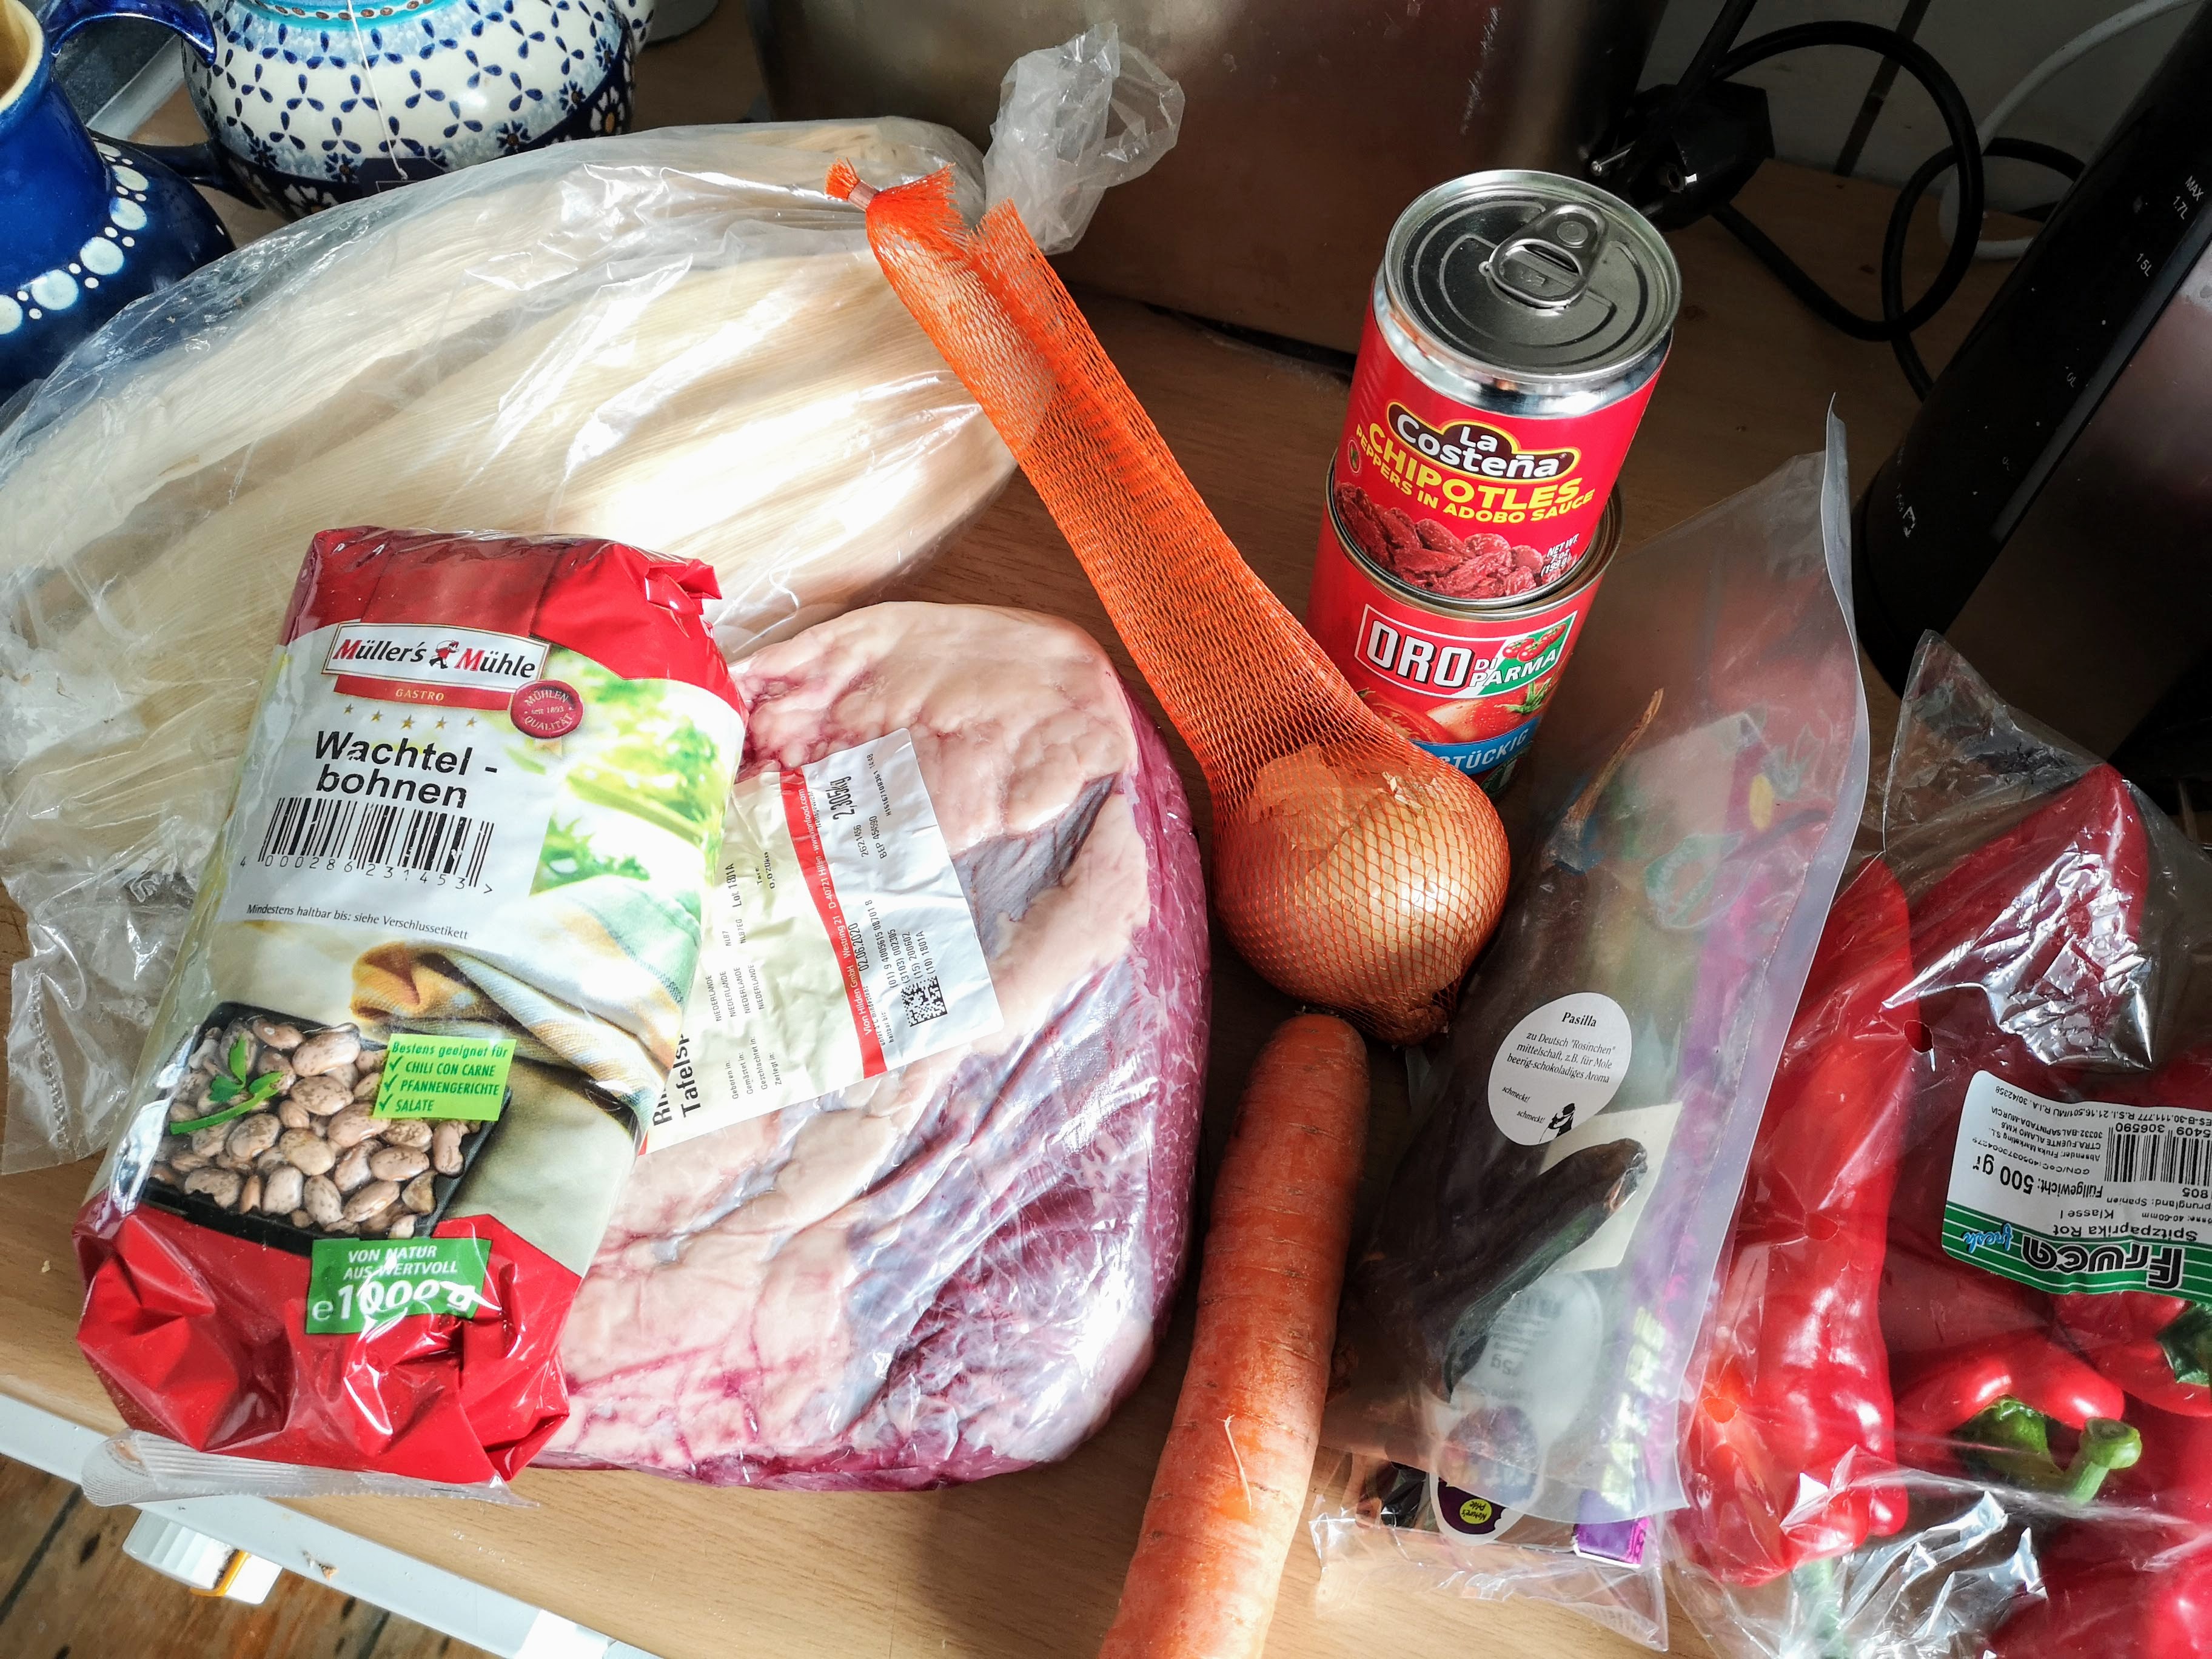
- Five lb. Top Round
- Six cups Beef Stock
- 12 Corn Husks
- One Carrot
- One Yellow Onion
- Four Cloves of Garlic
- Two Sweet Pointed Peppers
- Two Cayenne Peppers
- One Dried Pasilla Pepper
- Half-can of Chipotle Peppers in Adobo Sauce
- One Cinnamon Stick
- Five Juniper Berries
- Five Allspice Berries
- Two Fresh Bay Leaves
- One tbsp. Dried Oregano
- One tbsp. Ground Cumin
- One tbsp. Smoked Paprika
- One Lime
- Olive Oil
- Sea Salt
- Black Pepper
Prep:
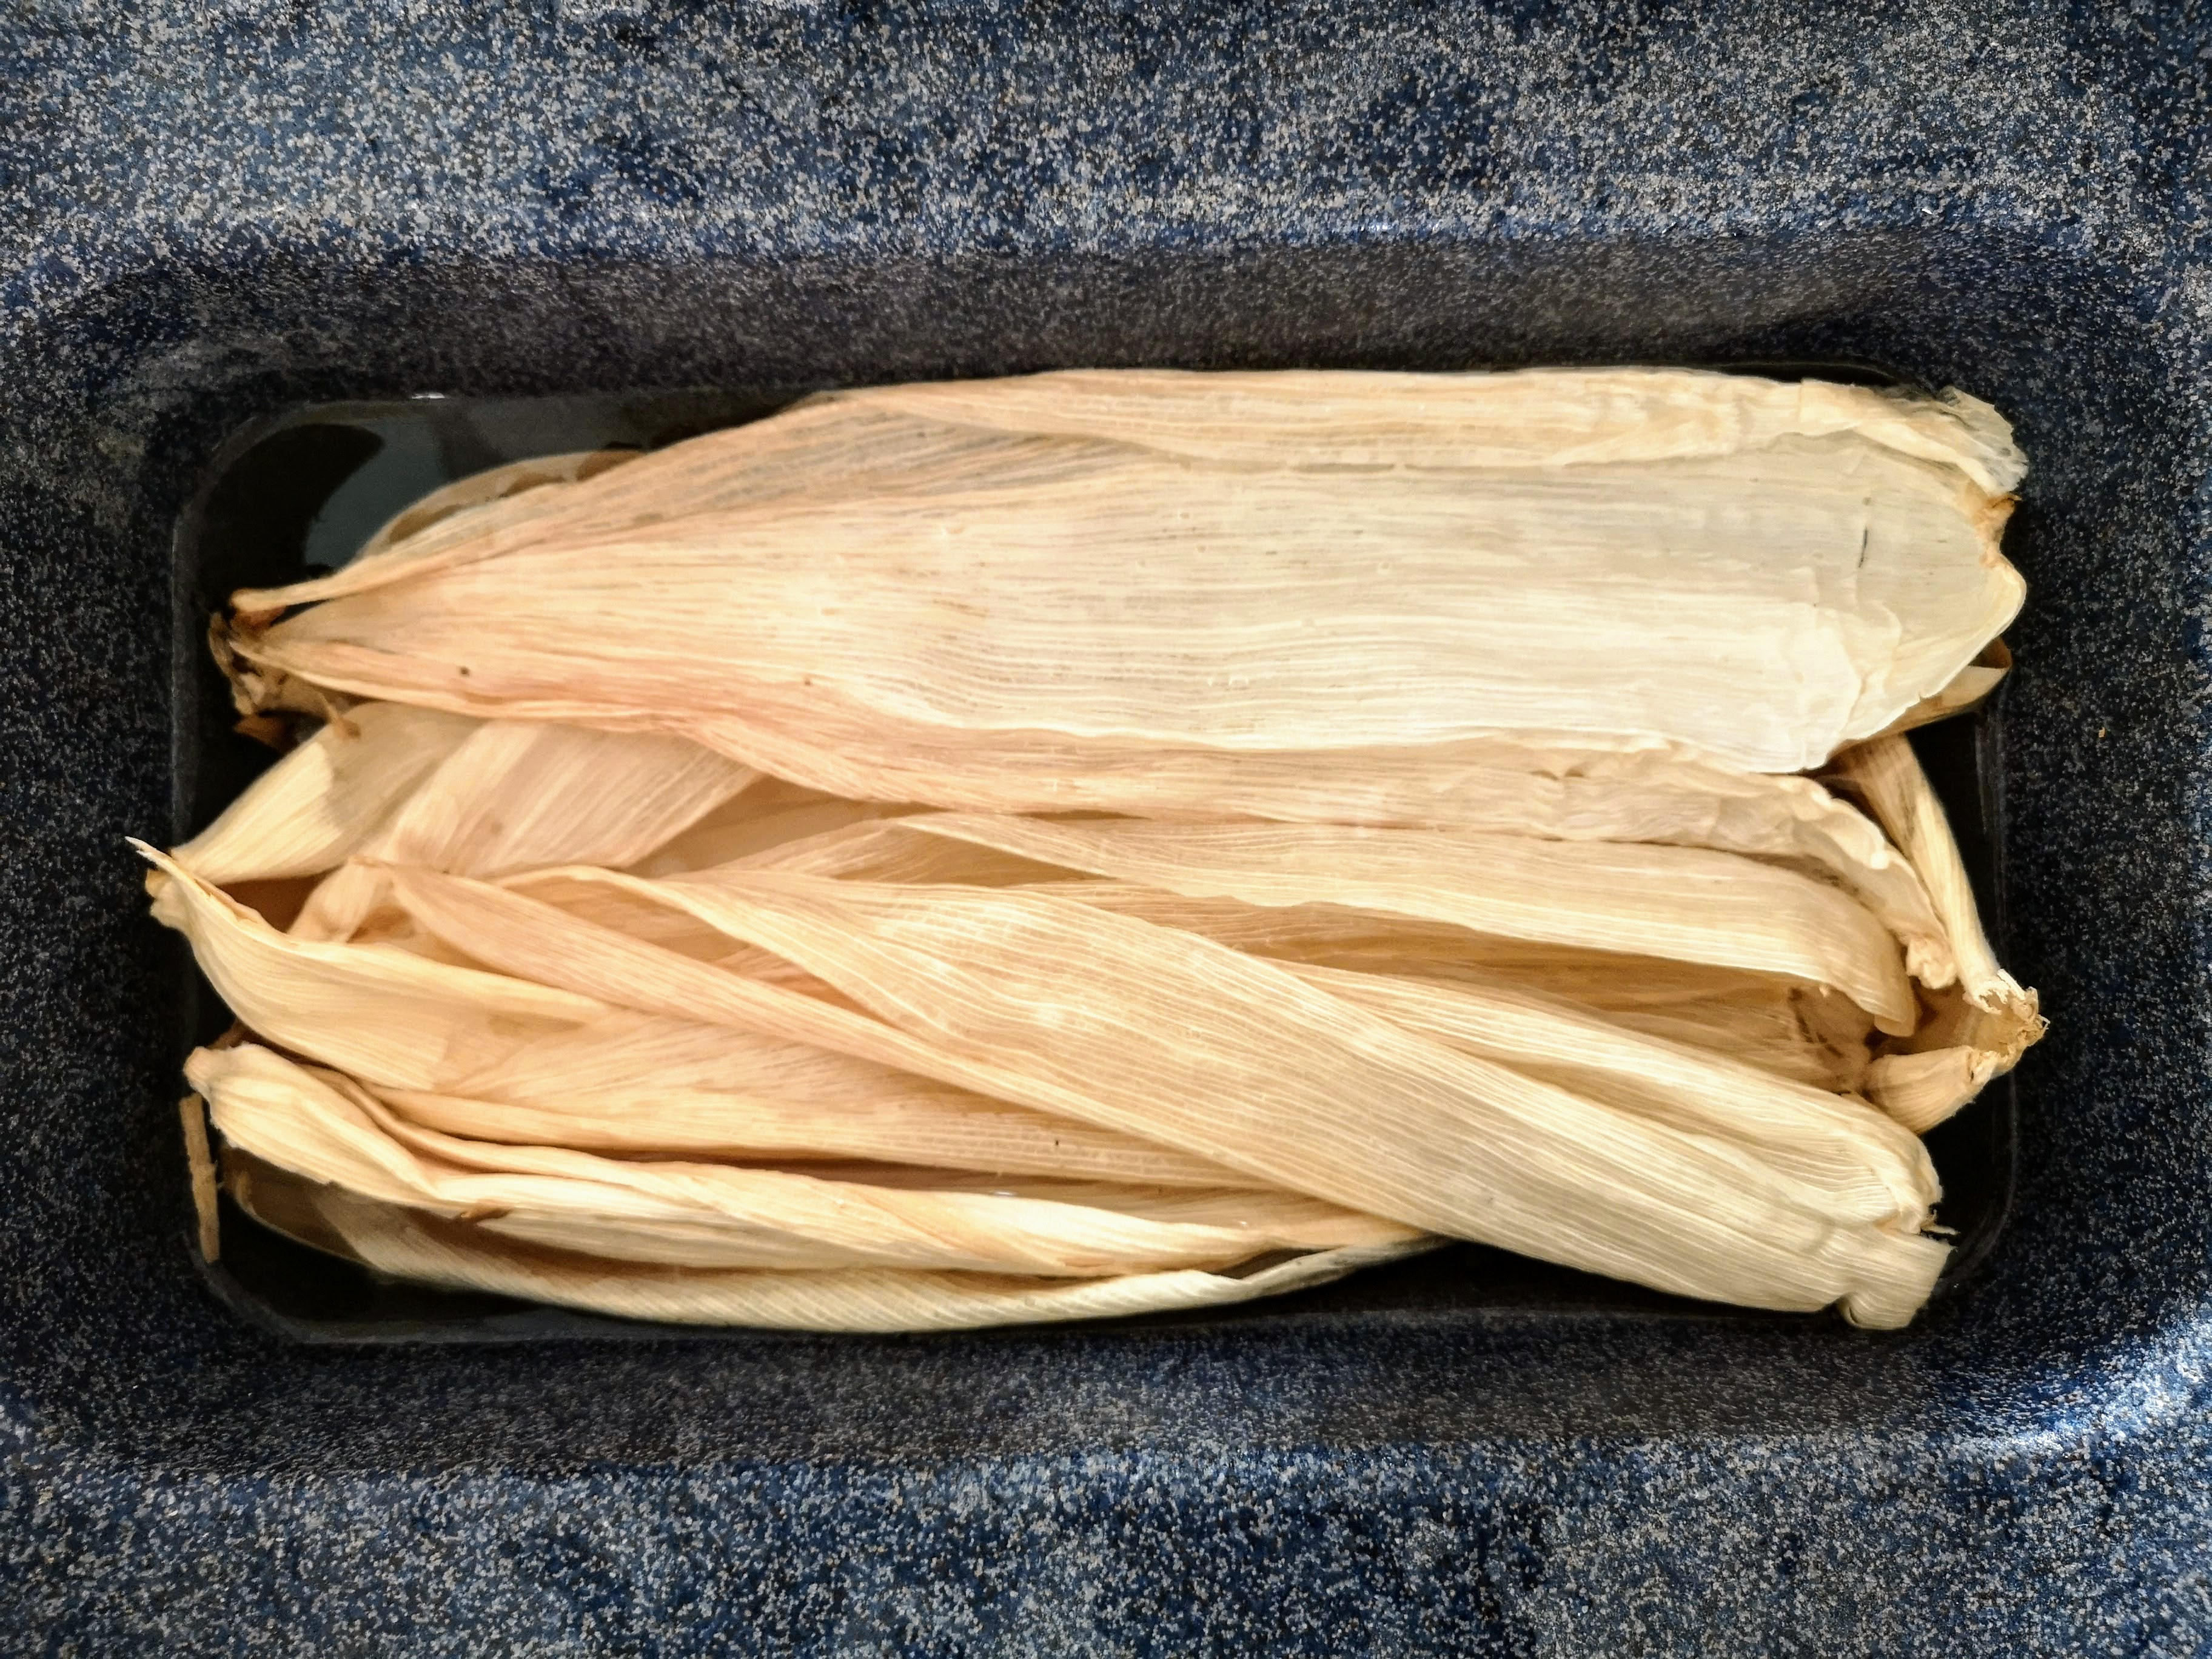
First, I get the corn husk soaking in warm tap water. They need about five to ten minutes to loosen up.
Next, I trim the top round roast. I remove the silverskin and about half of the fat cap, leaving about one-quarter inch of fat on the lean. I generously salt and pepper the whole chunk and set aside. Quick note, take the meat out about 30 to 45 minutes before you start working with it. You want it to be close to room temp when you start cooking.
Next, I do a very rough chop on all my chilis and vegetables. I cut the onions into eighths, the carrots into large cubes, and the peppers into fairly large and small chunks.
I also get my beef stock warming with the Pasilla chili in the stock to rehydrate it a bit and add an extra layer of depth to the stock.
Cook:
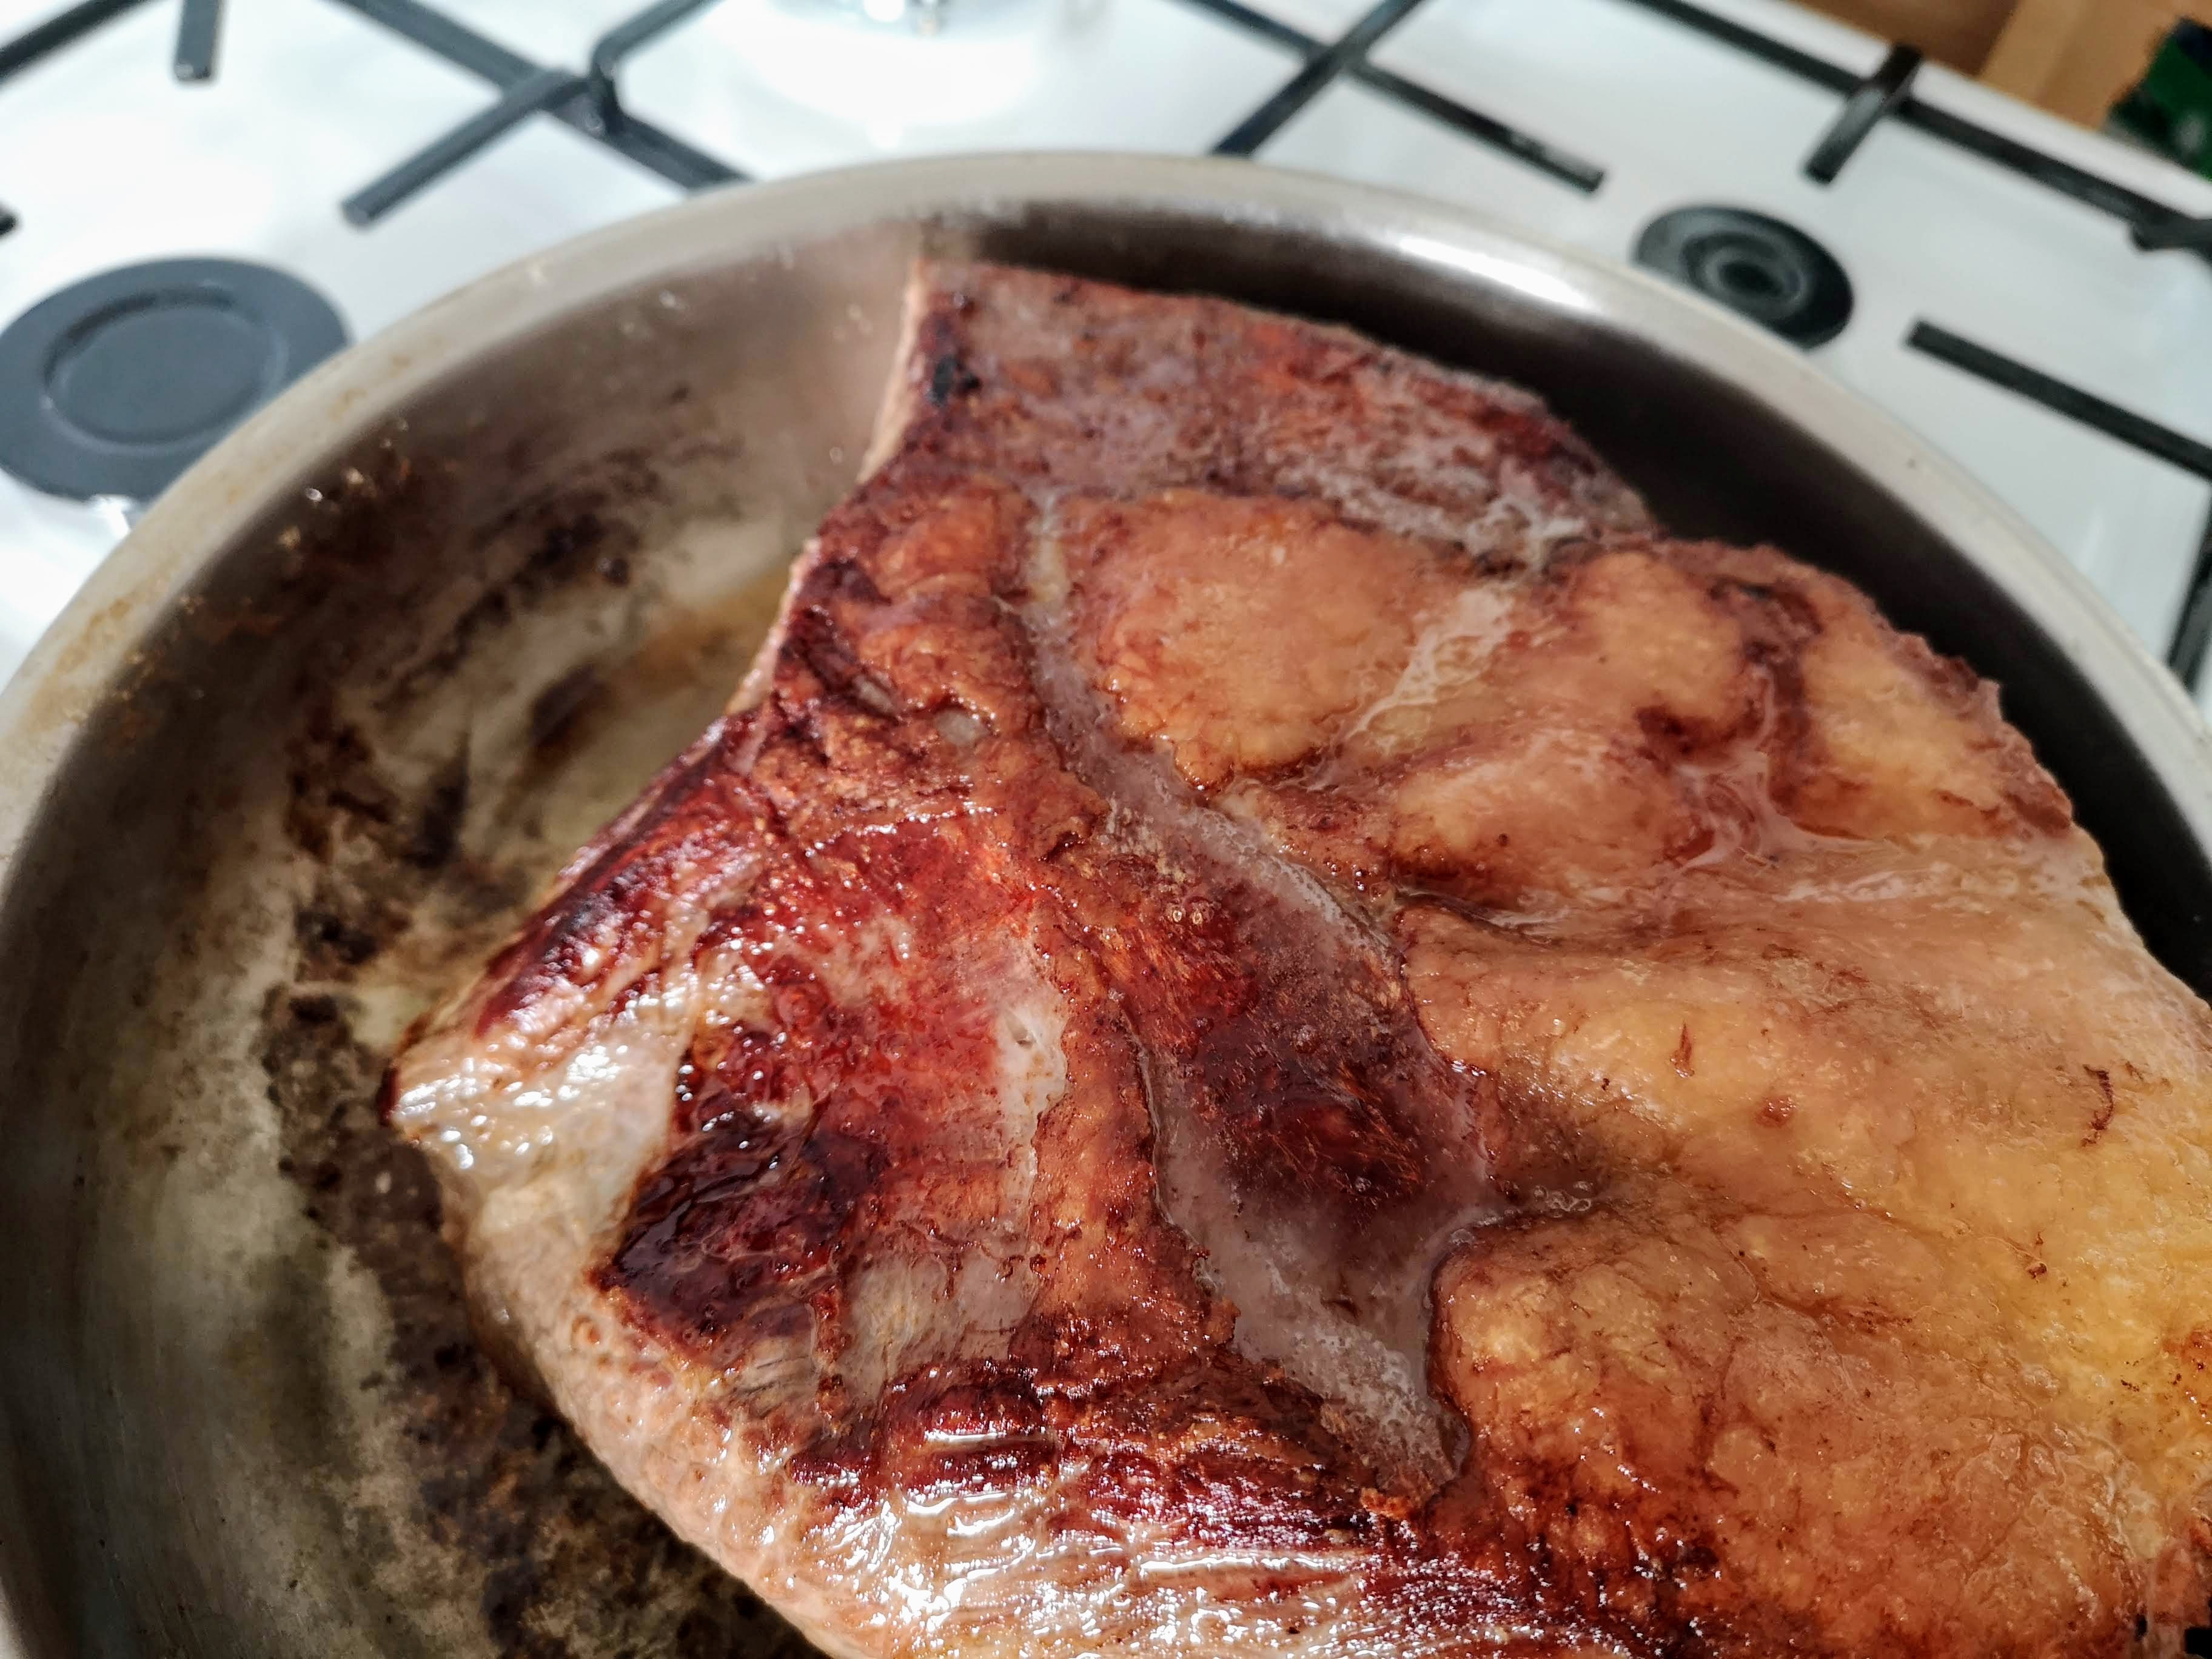
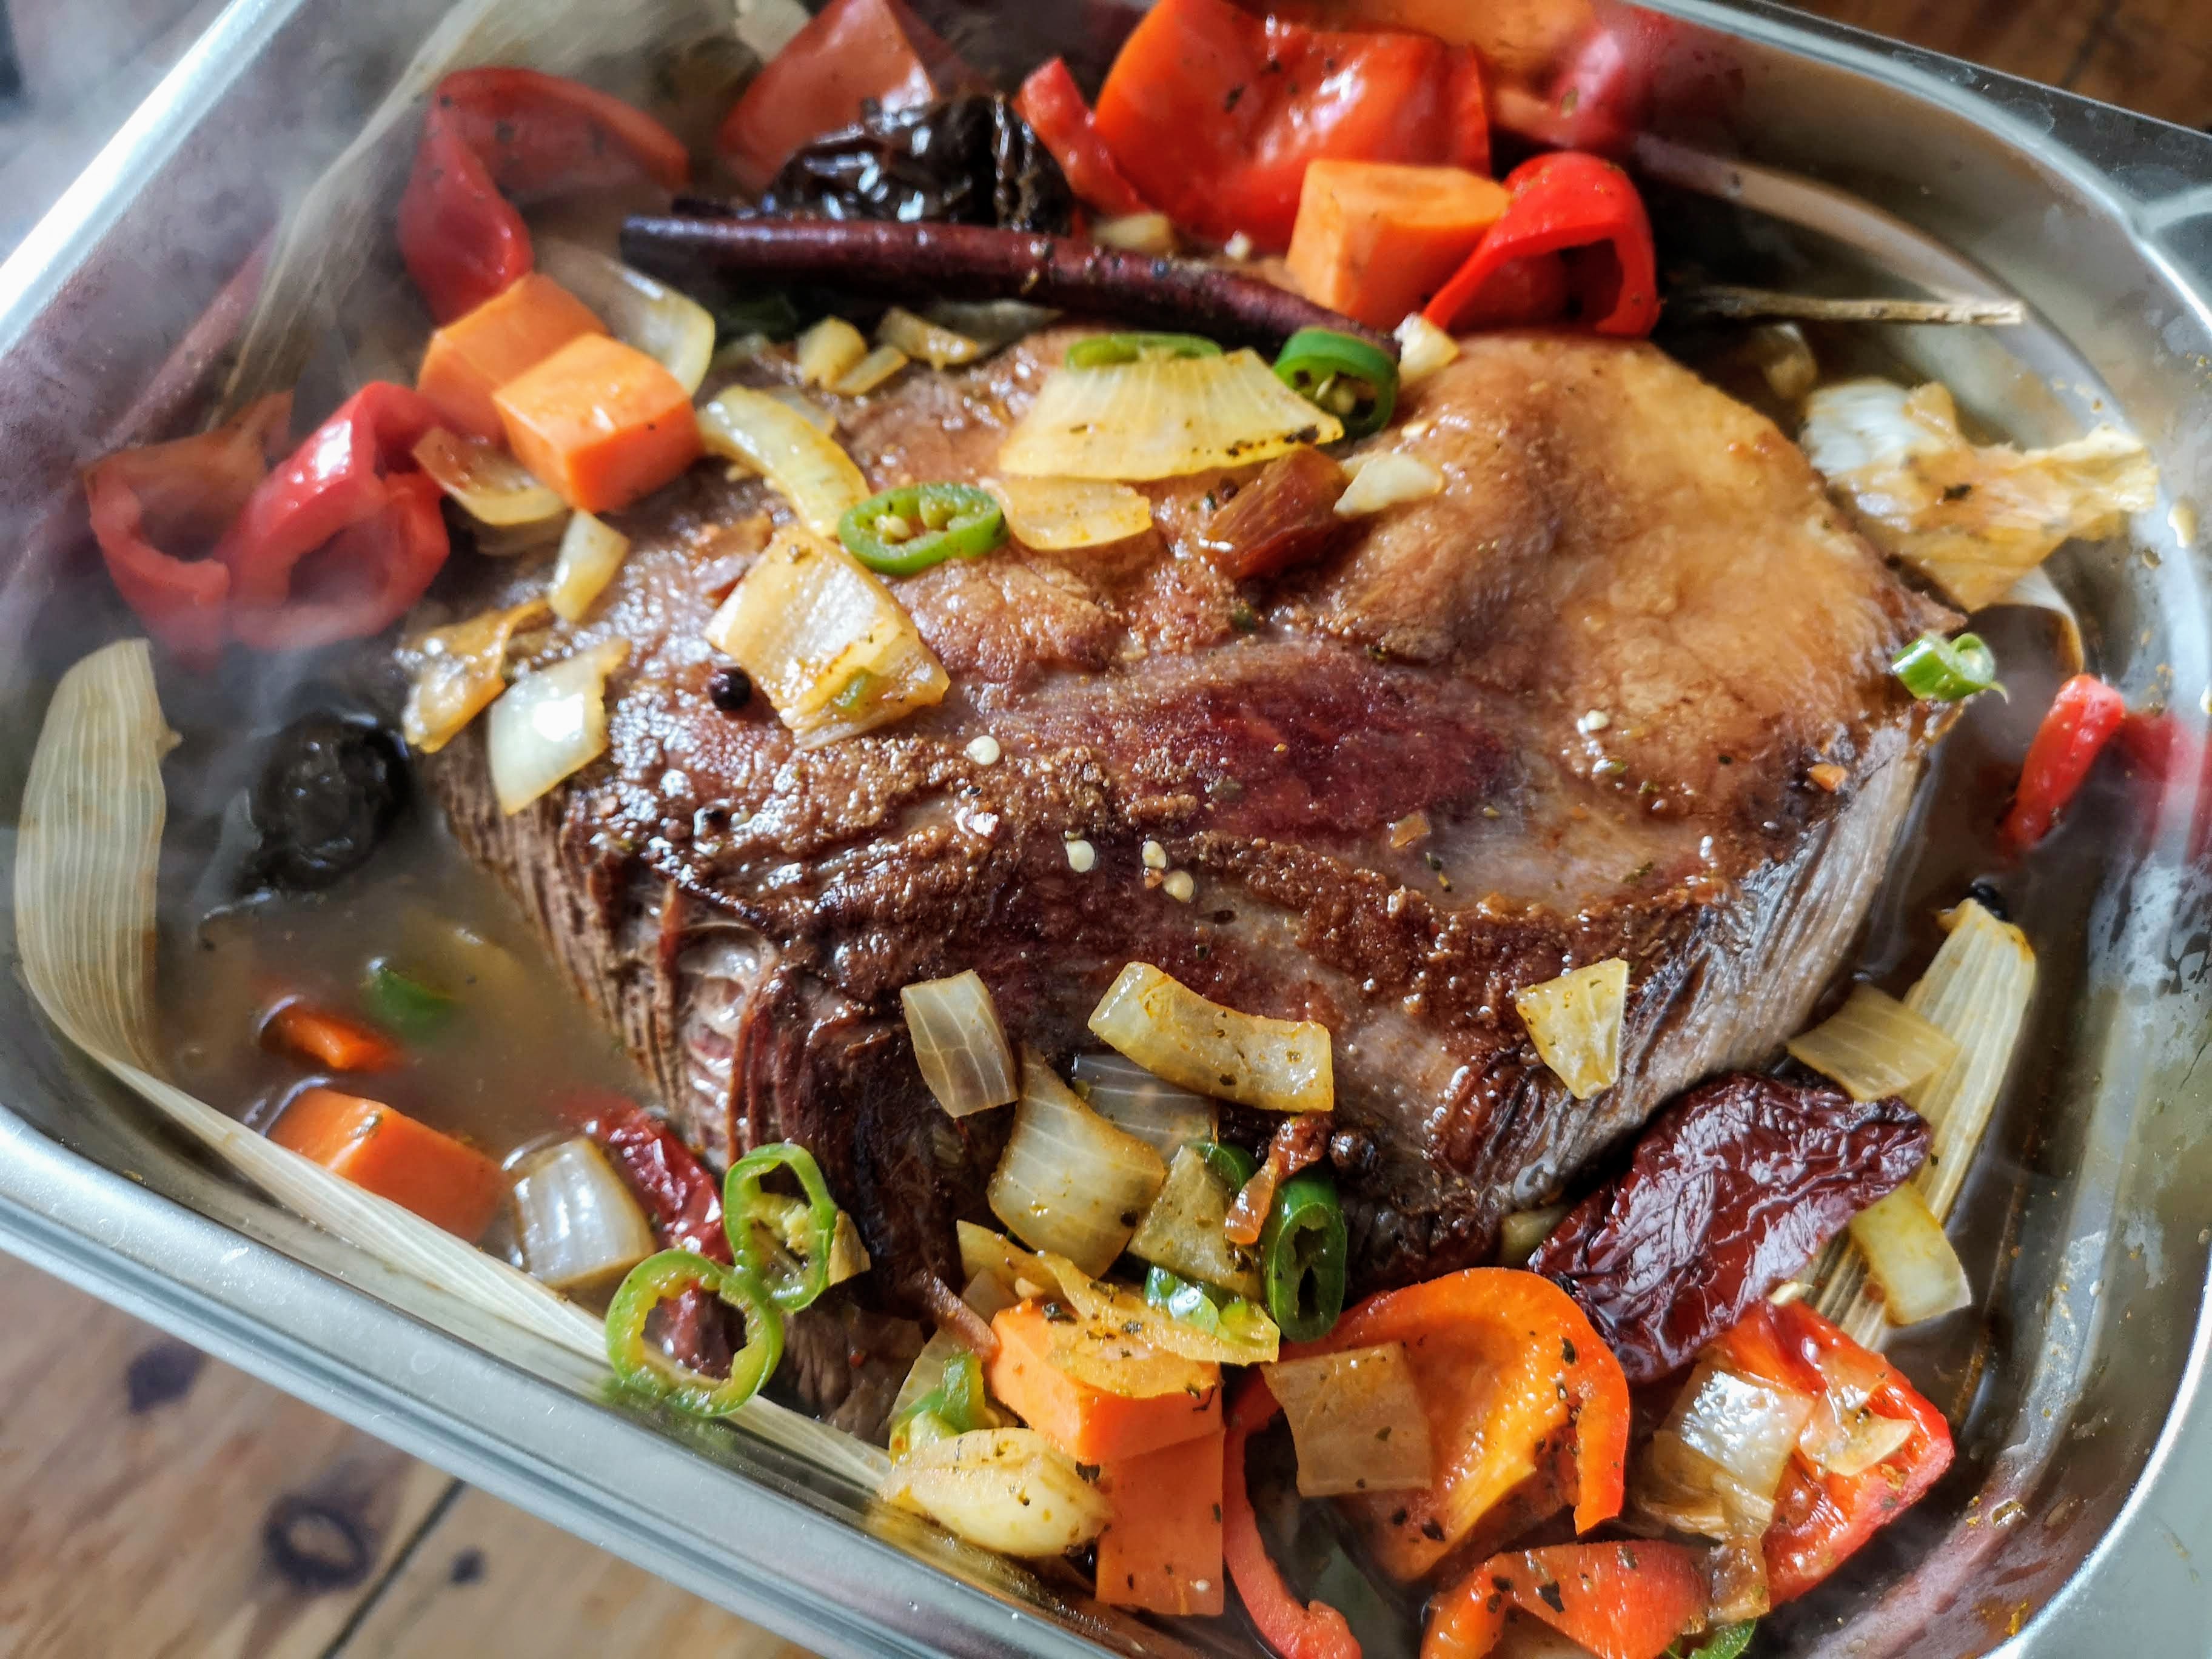
I put a large saucepan on the stove on medium heat. I add the top round, fat side down, into the cold pan and let them heat up together. This will help render out the fat a bit better and create a better Maillard reaction.
Basically, you don’t need to touch the roast as it sears. Just let it do its thing until you smell a sweetness to accompany the sizzle. Give the pan a shake, if the meat wiggles and moves, the Maillard reaction has happened and freed the meat from the bottom of the pan. I use a large set of tongs to flip the meat and sear off the other side.
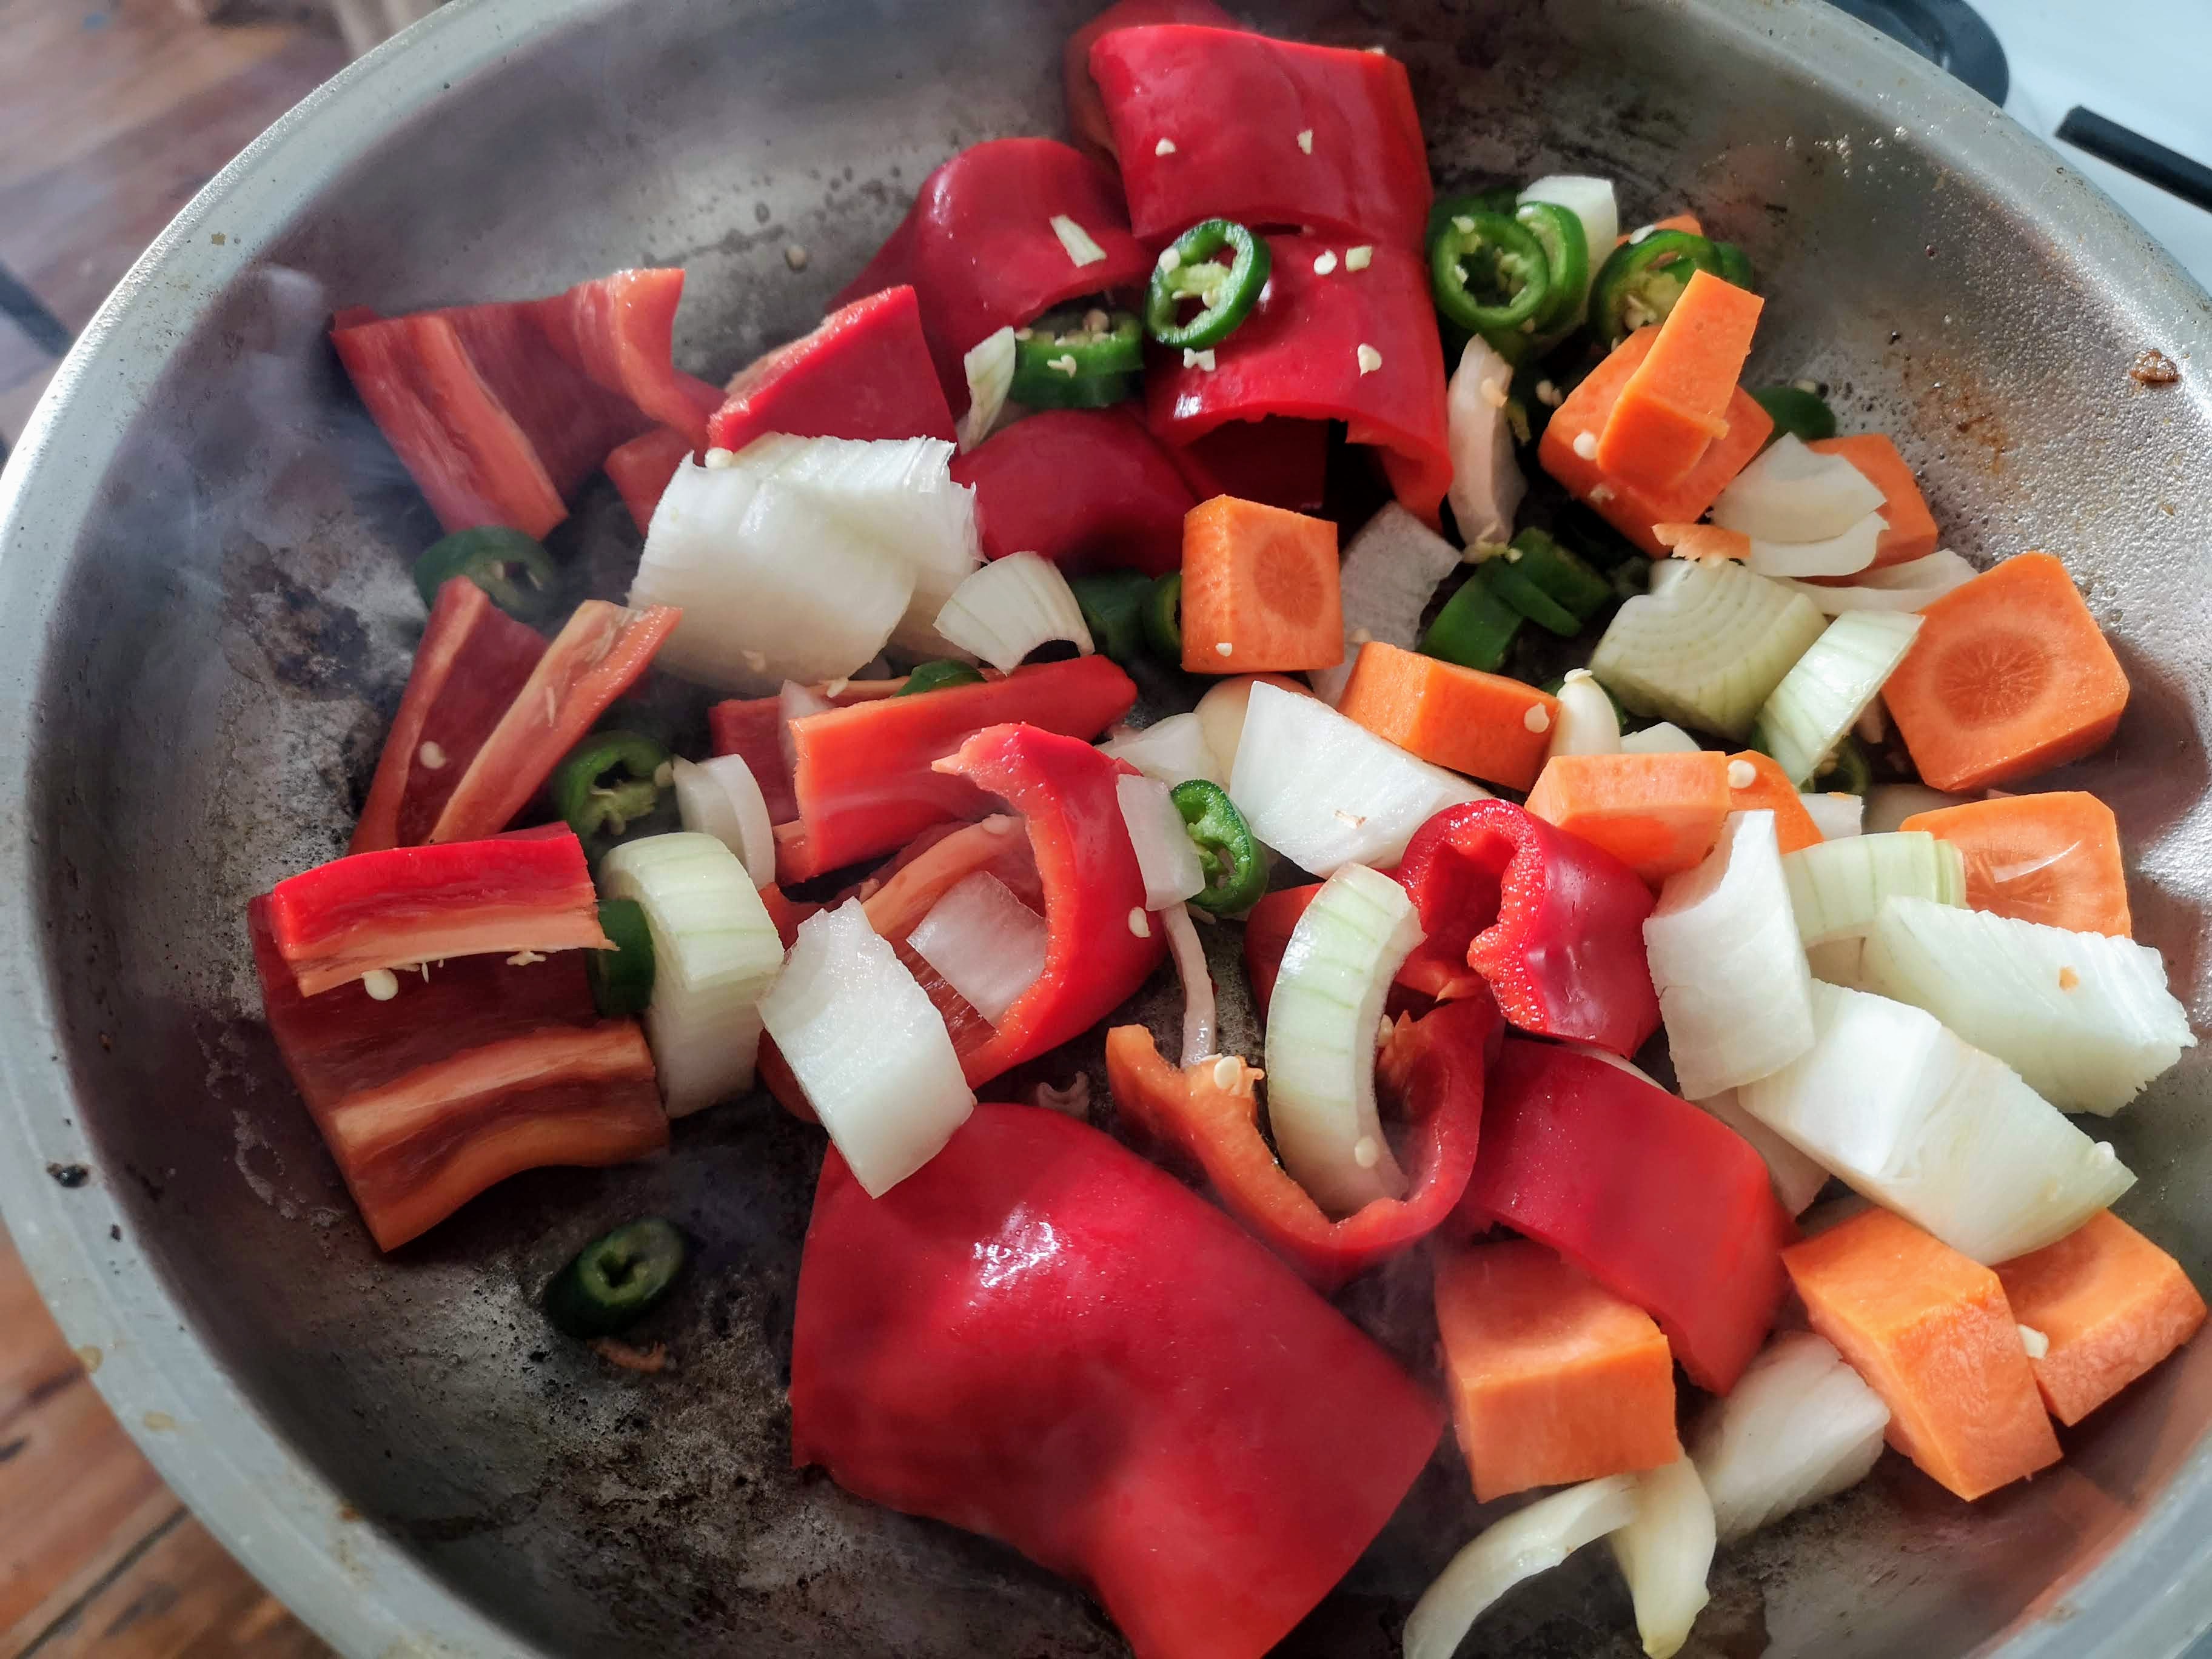
After the roast is fully seared, I set it aside on a plate and start to get some color on my peppers and veg and also, crucially, bring up all that delightful fond from the bottom of the pan. I use a wooden spoon to scrape up that fond as waters come out of the vegetables in the pan.
Next, I add in my spices and slightly toast them in the hot pan to activate them a bit. It should be very aromatic already.
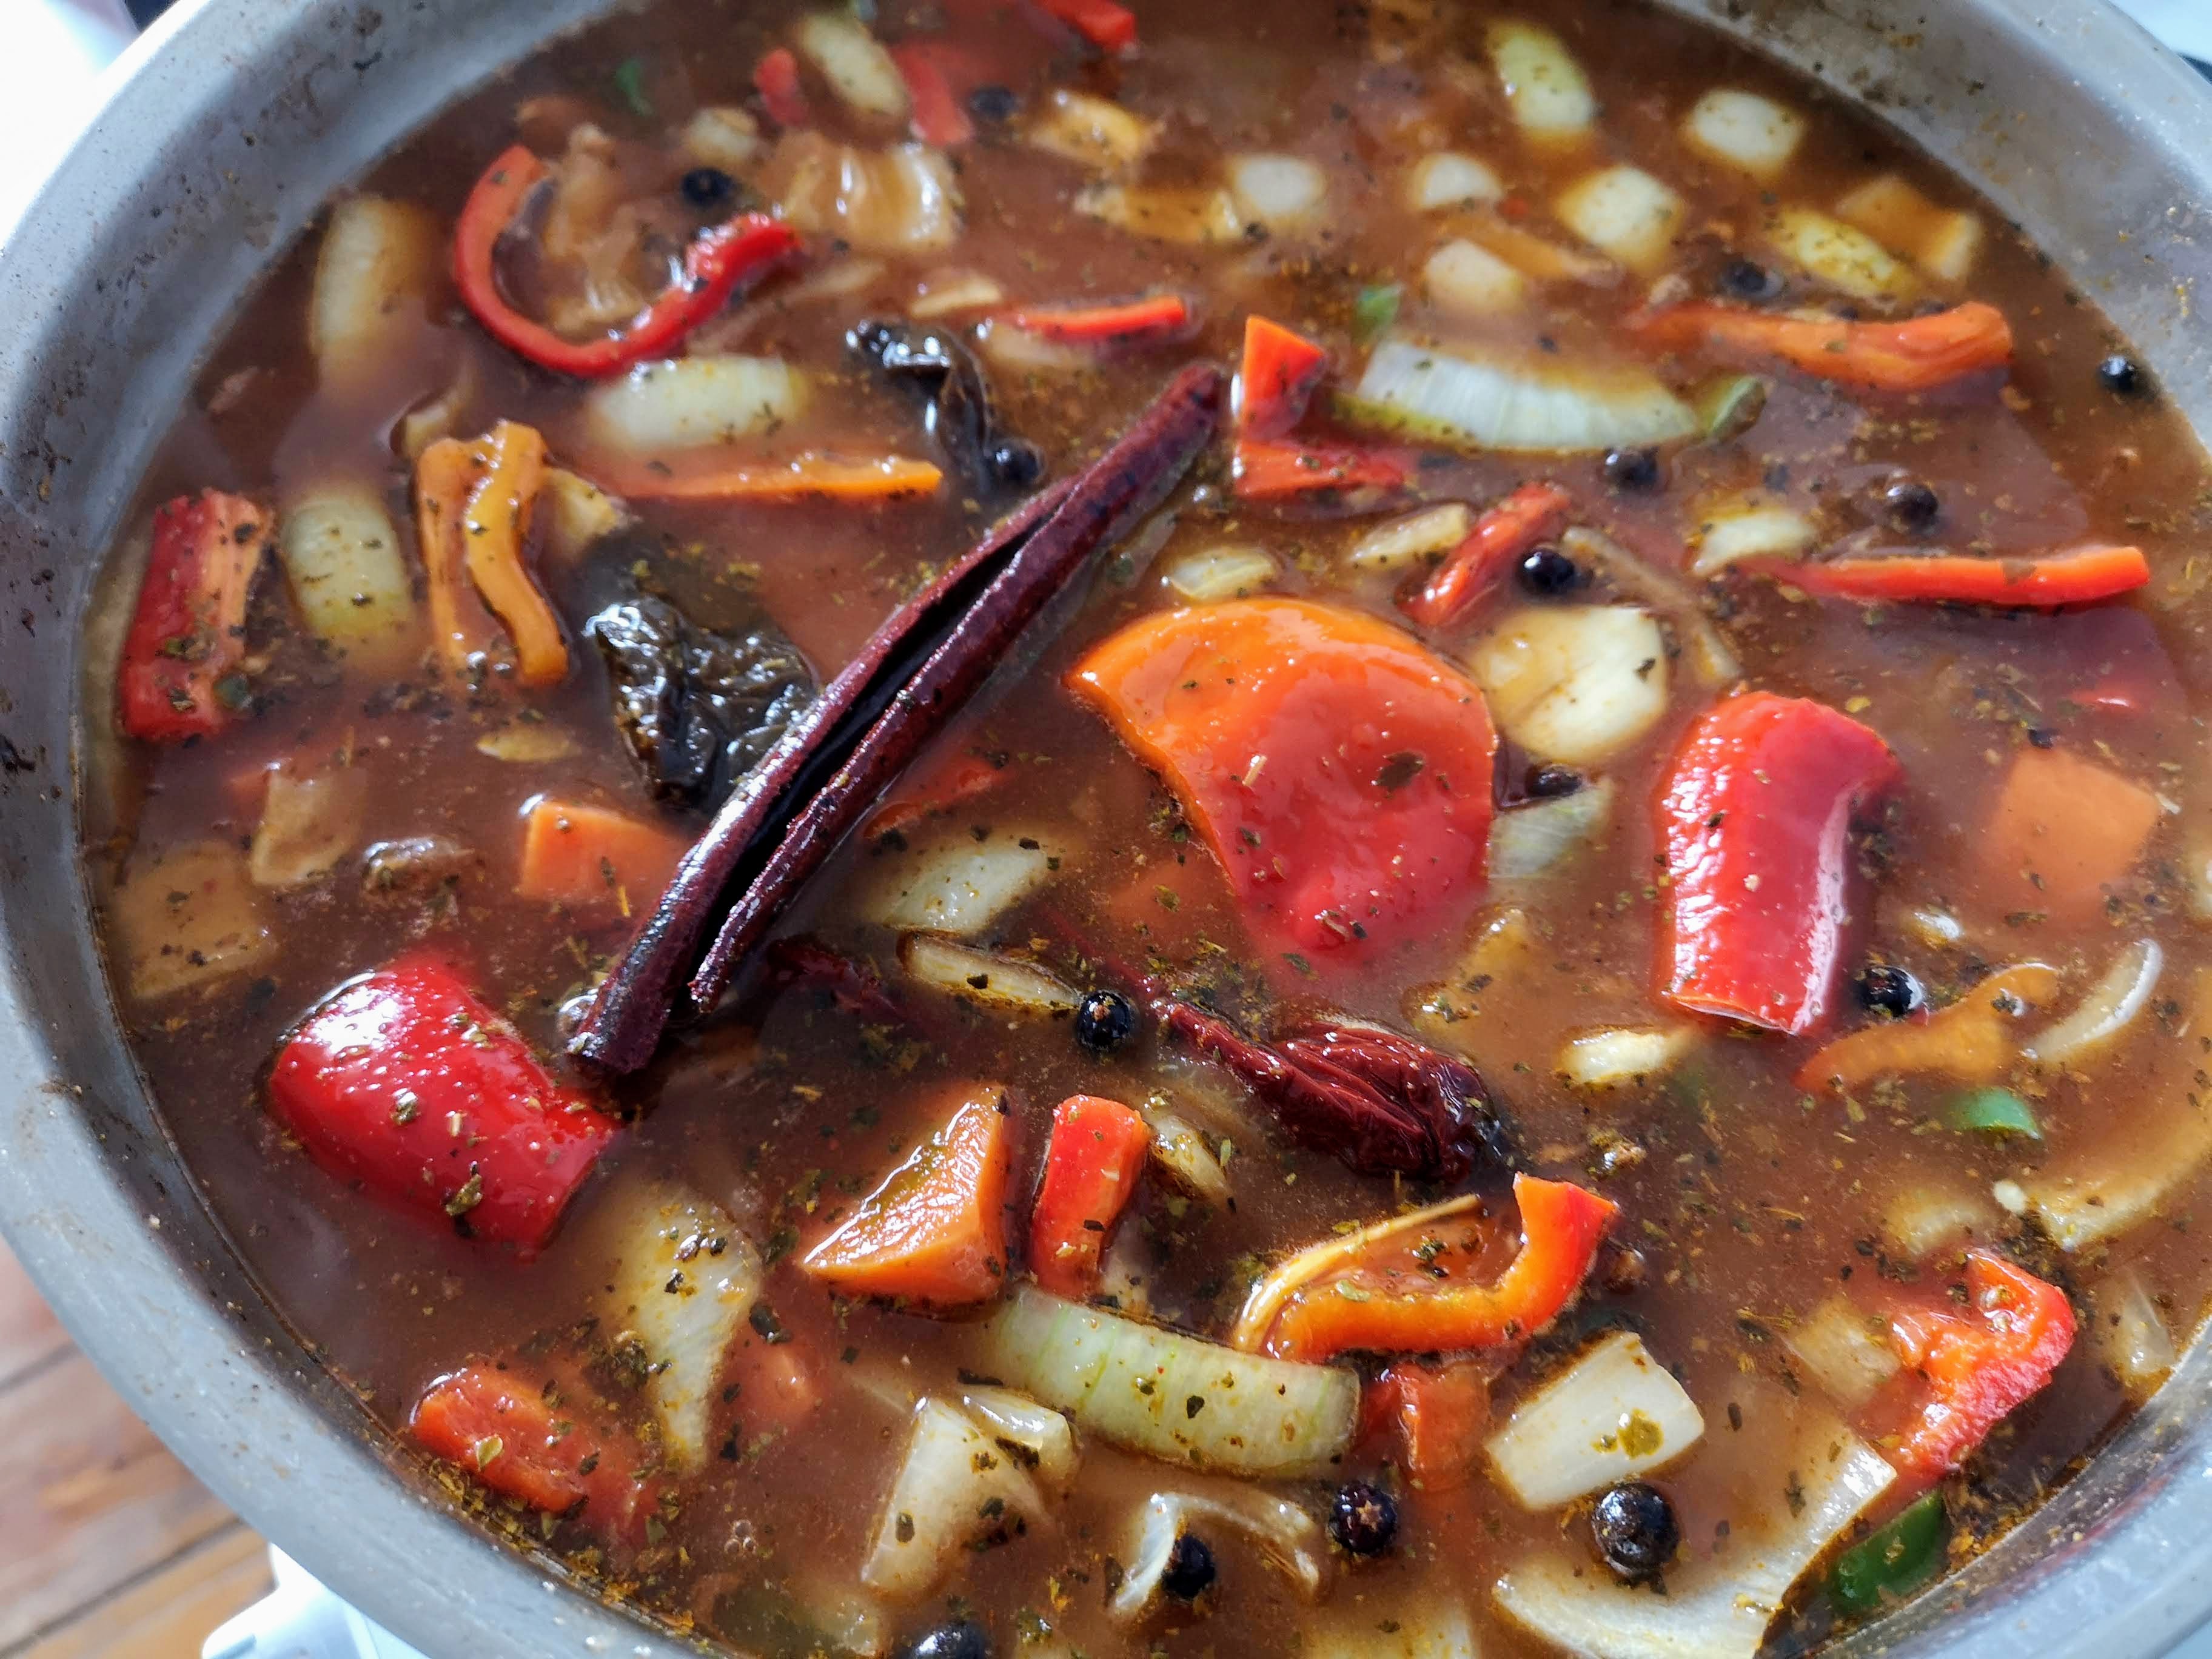
I then add in all the beef stock and pasilla. I increase the heat a bit and bring to a bare simmer. In the meantime time, I ready my roasting pan.
I’m using an eight-quart stainless steel chafing pan (sometimes called a “steam pan”). That’s what you’d generally use in a pro kitchen as they’re perfect for low-and-slow roasts like this. Plus, they’re closer to $20 compared to the hundreds you’d spend on a Le Creuset pan of the same size.
Anyway, I line the bottom of the pan with a layer of corn husks so that they start coming up the sides of the pan. I then place the top round roast on top and then pour everything from the searing pan over the top.
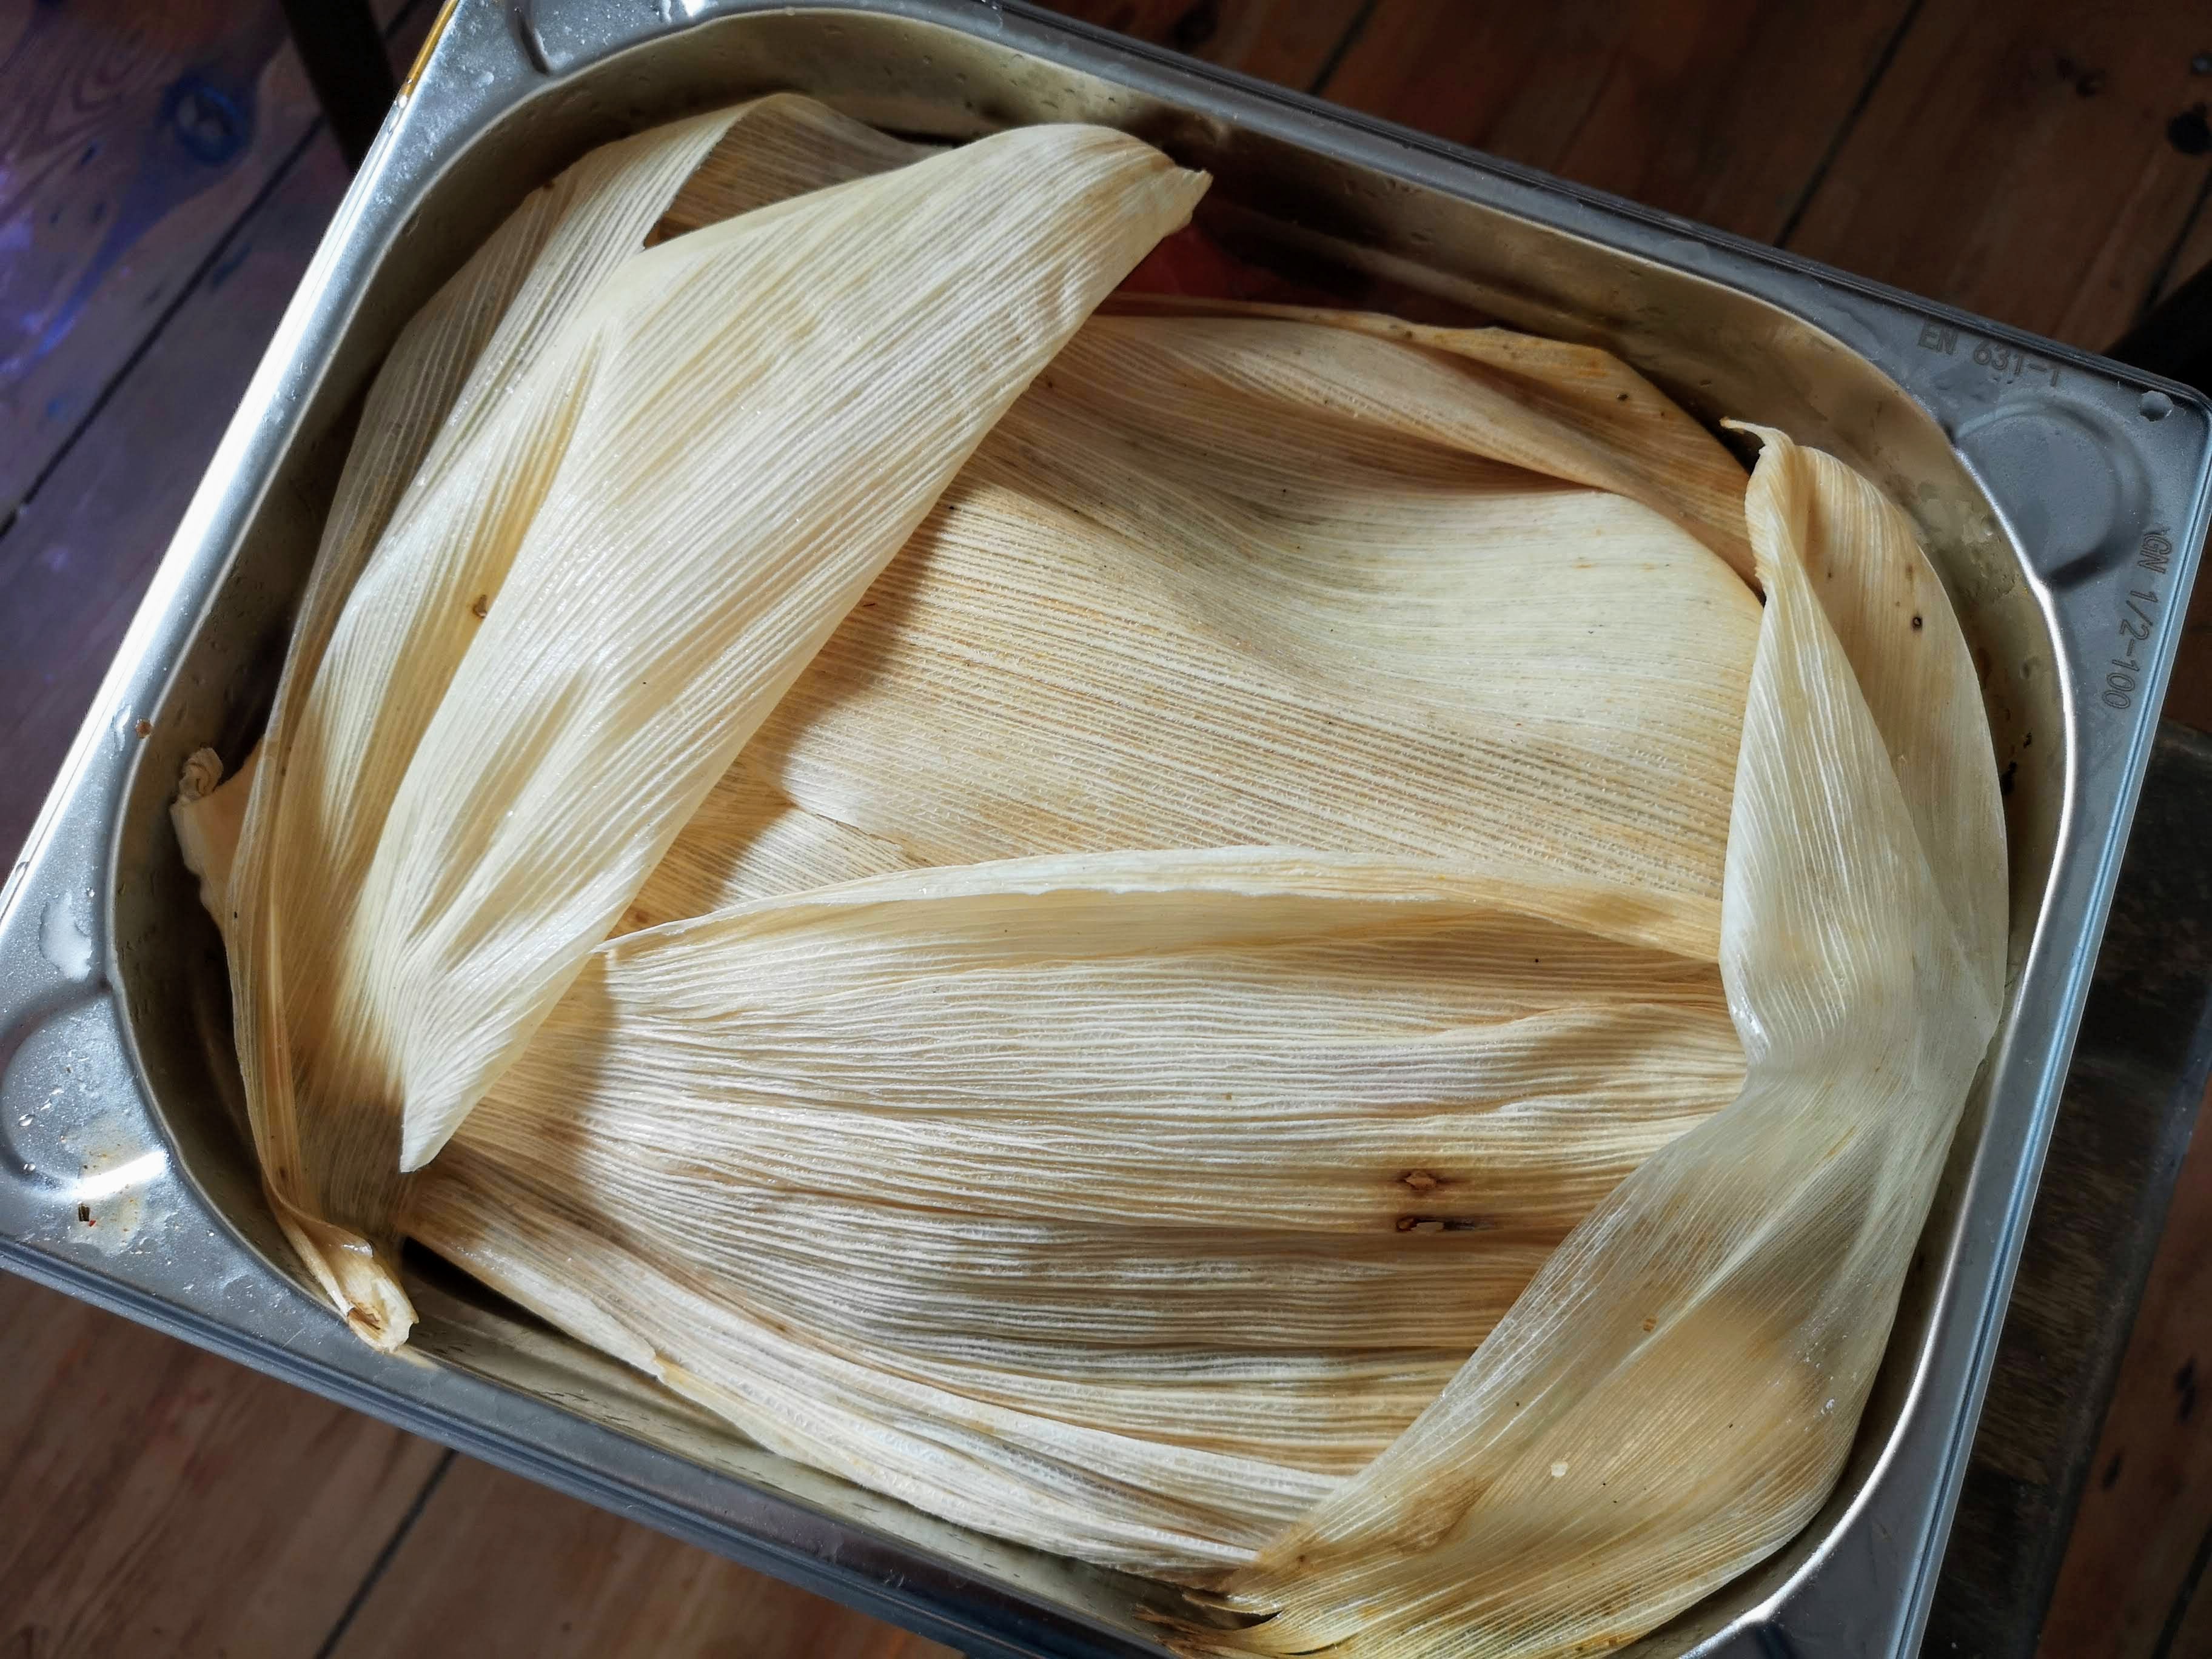
Next, I use the rest of the corn husks to “seal” the roast in the chili-filled stock. I cover that tightly in tin foil.
I place the pan into a pre-heated oven on gas mark 2. That should be around 275 to 300F.
I don’t touch it for six hours until…
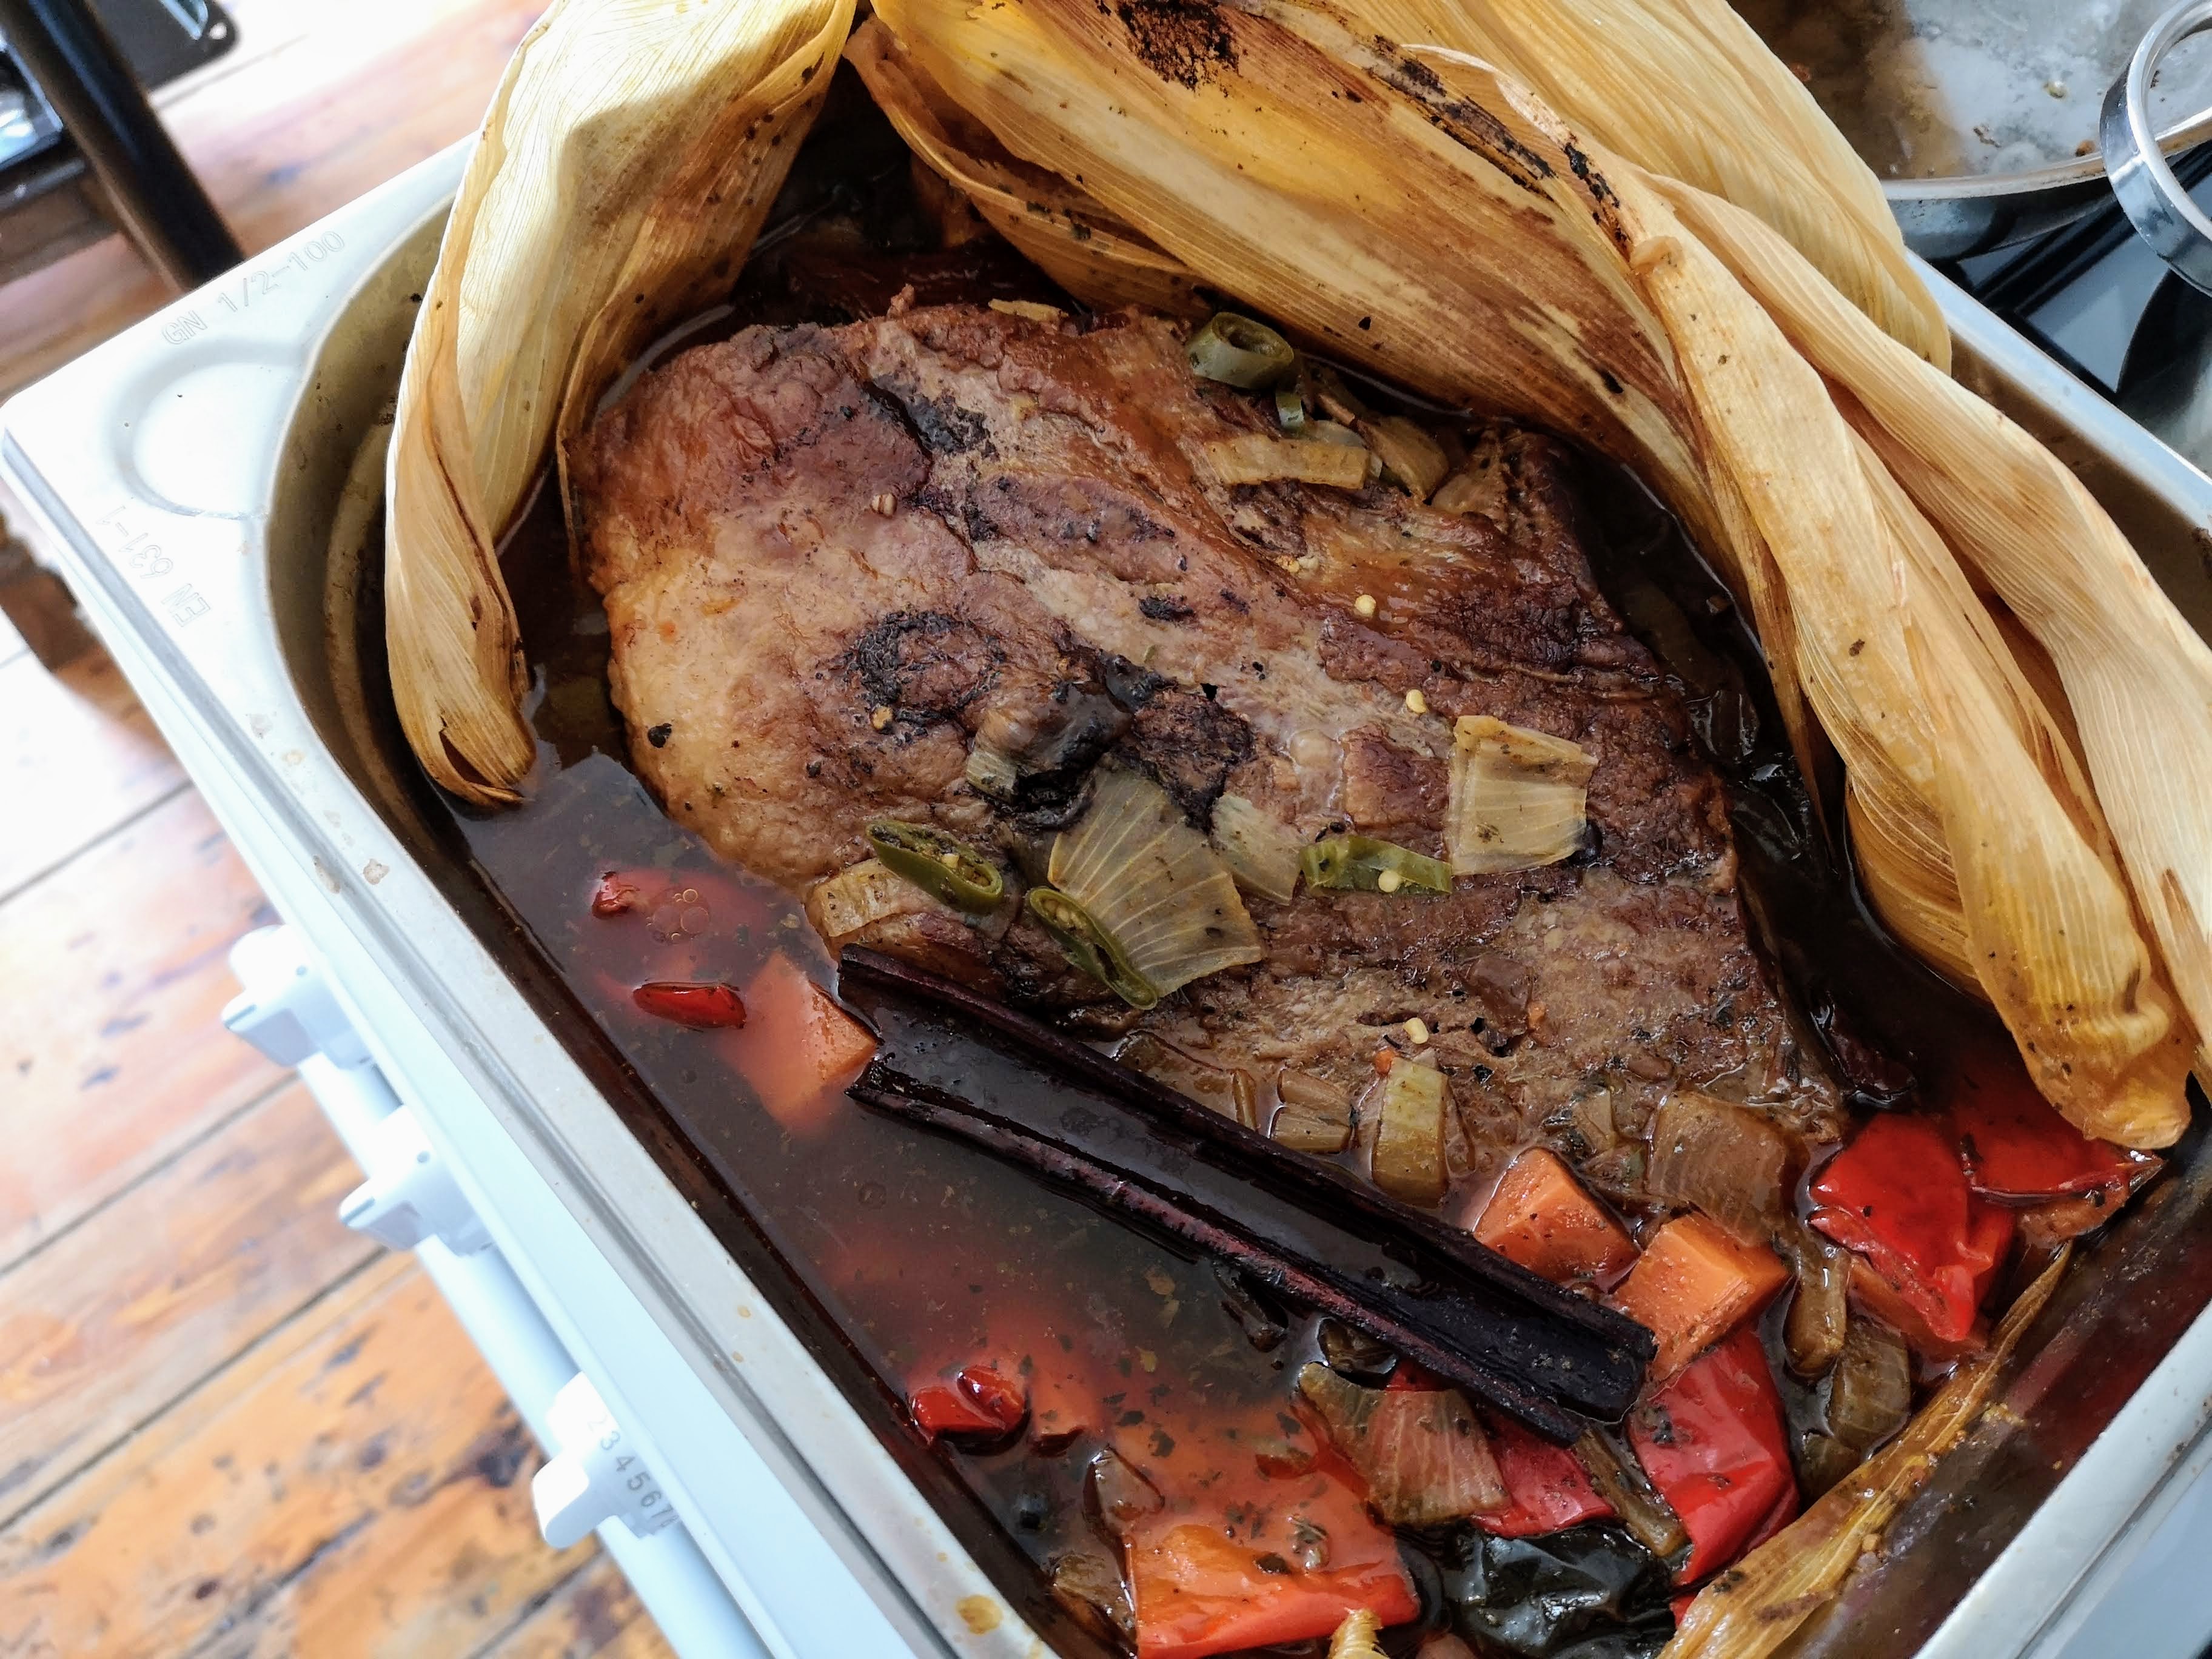
… it looks like the photo above.
The meat should be so tender that you barely need any effort to stick a fork in it.
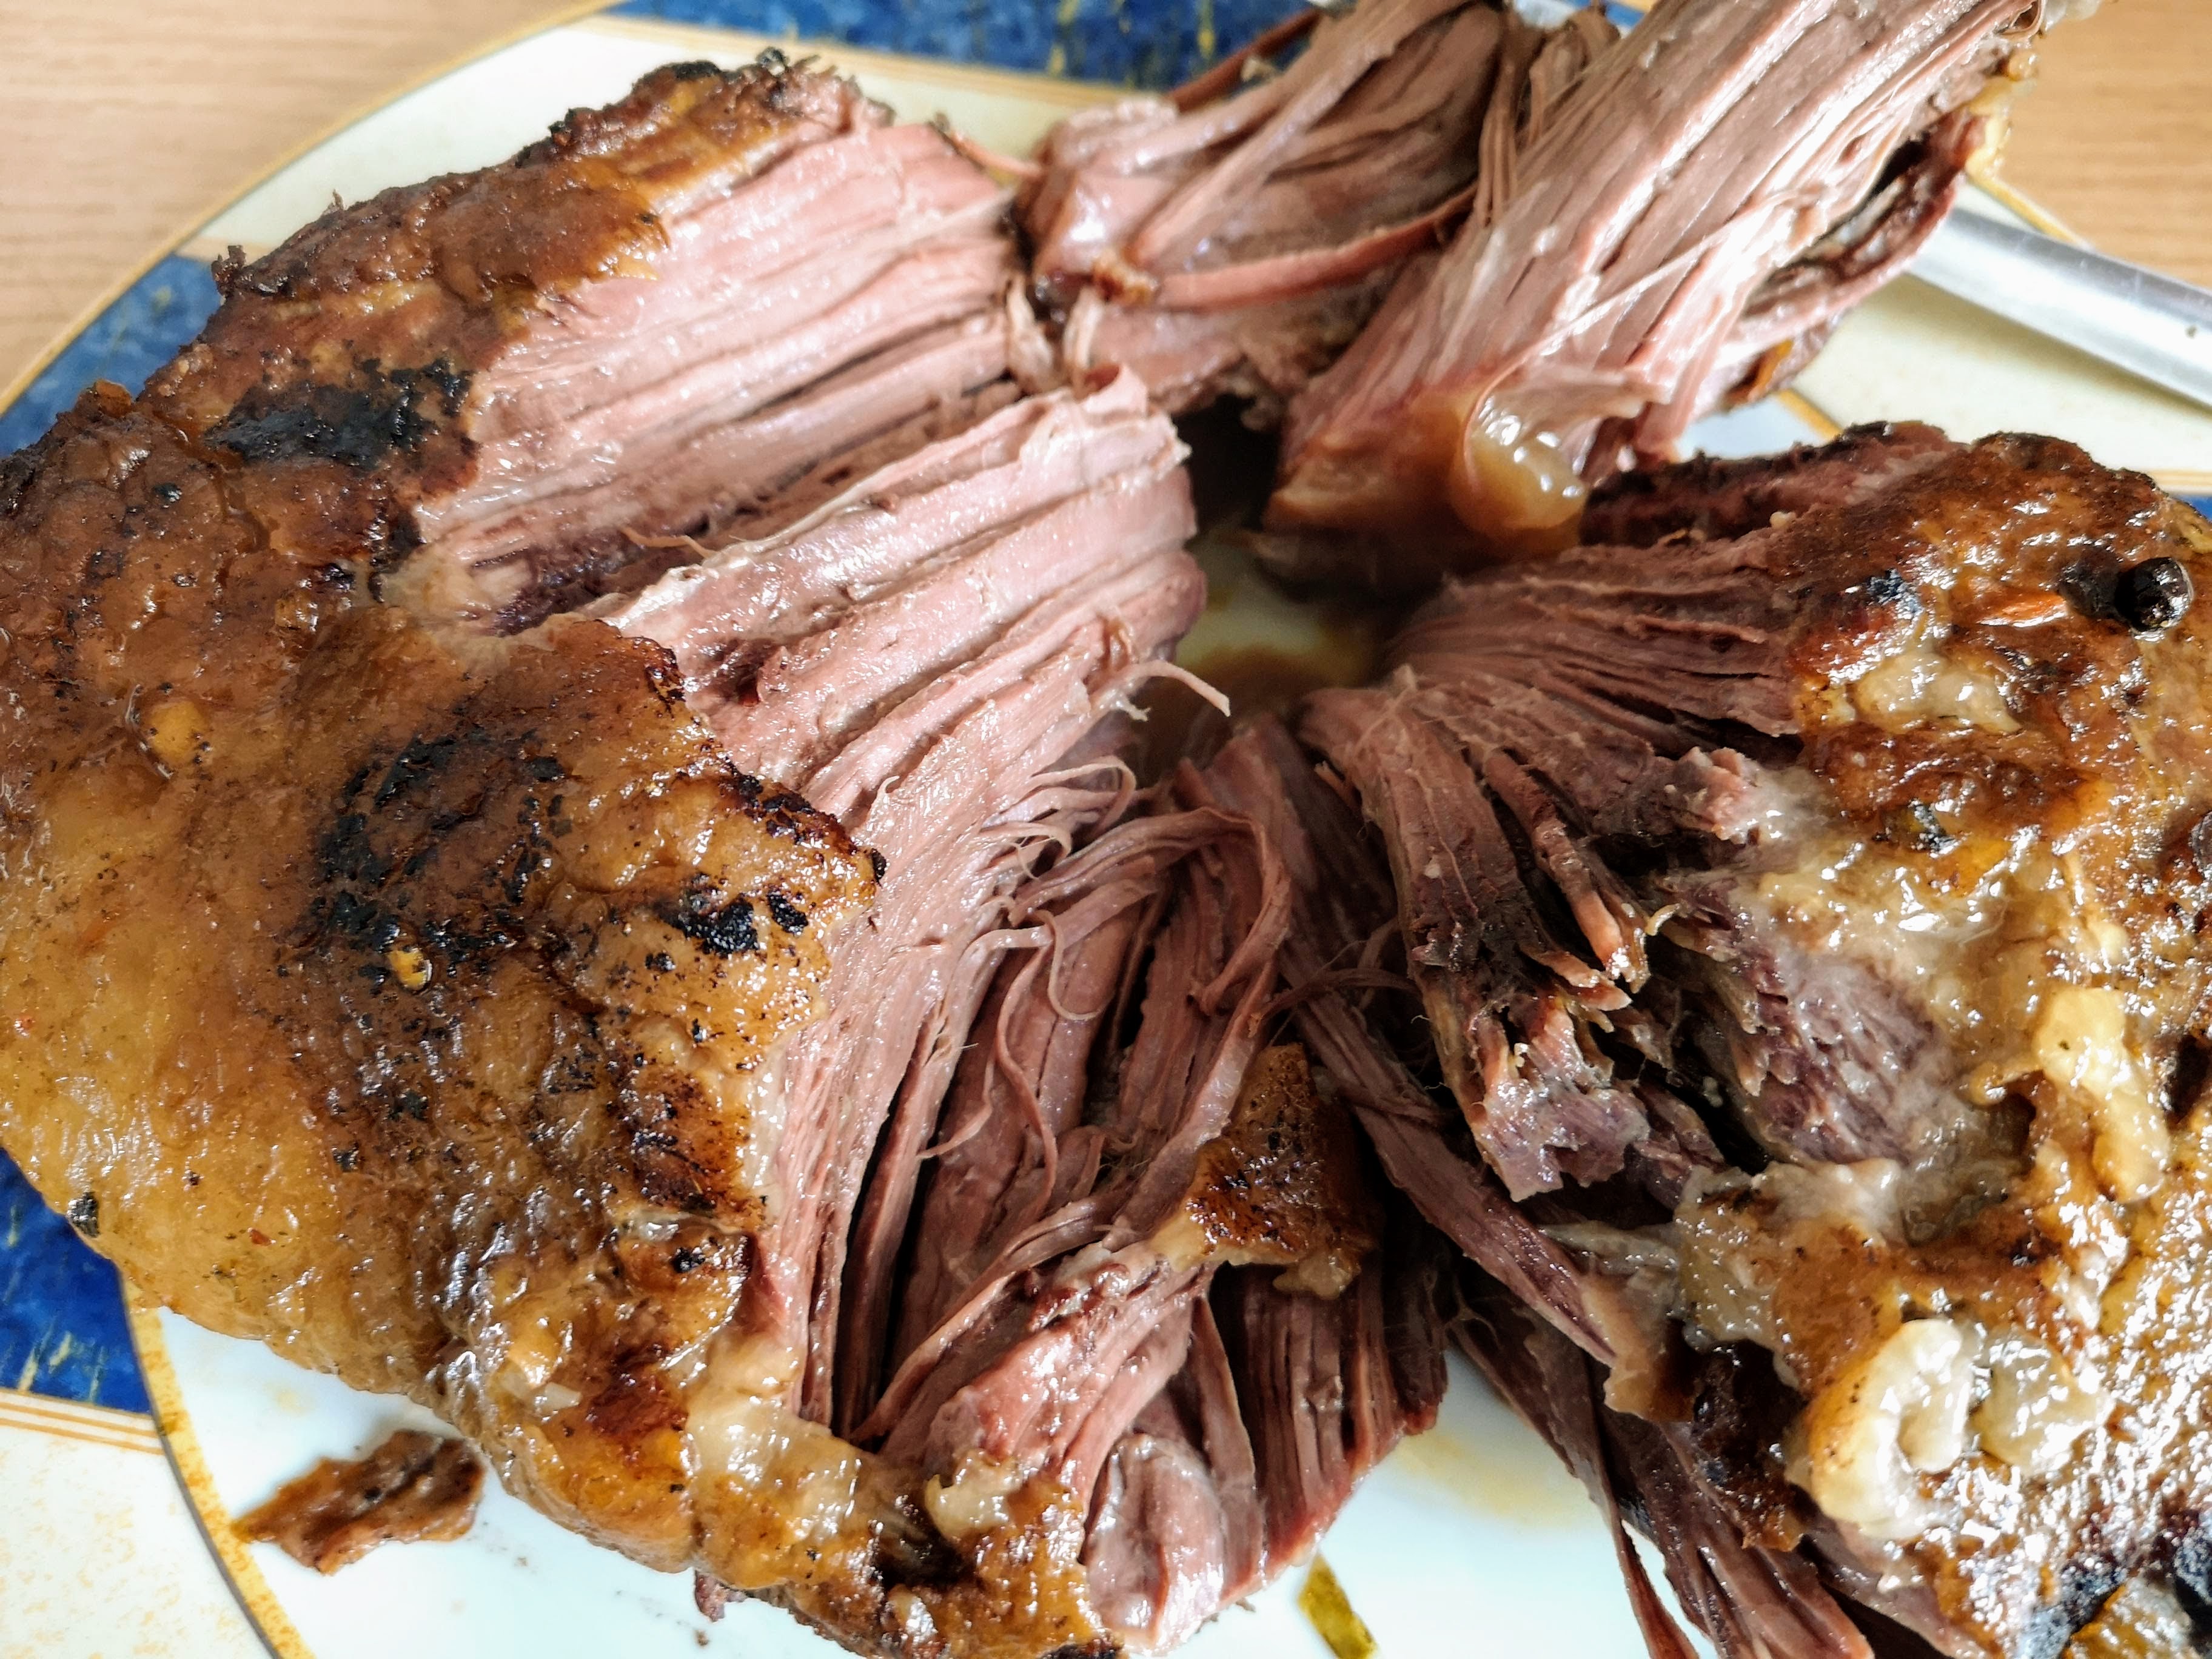
I fish the roast out and set it aside. It’ll fall apart easily, so be careful. I let it rest for about an hour before I started breaking it up.
I then remove the corn husks and remove about three cups of the braising liquid, making sure to bring along all the chipotle and pasilla chili peppers and more of the veg. I then hit that with a hand-mixer until it’s silky smooth.

I put that onto a low flame on the stove and cover. This is going to be my Chipotle chili dipping sauce for inside and outside of the chimichanga.
I taste and add a little salt and the juice of half a lime.
I let that cook down, stirring occasionally until it’s simmered down by half — about 30 minutes.
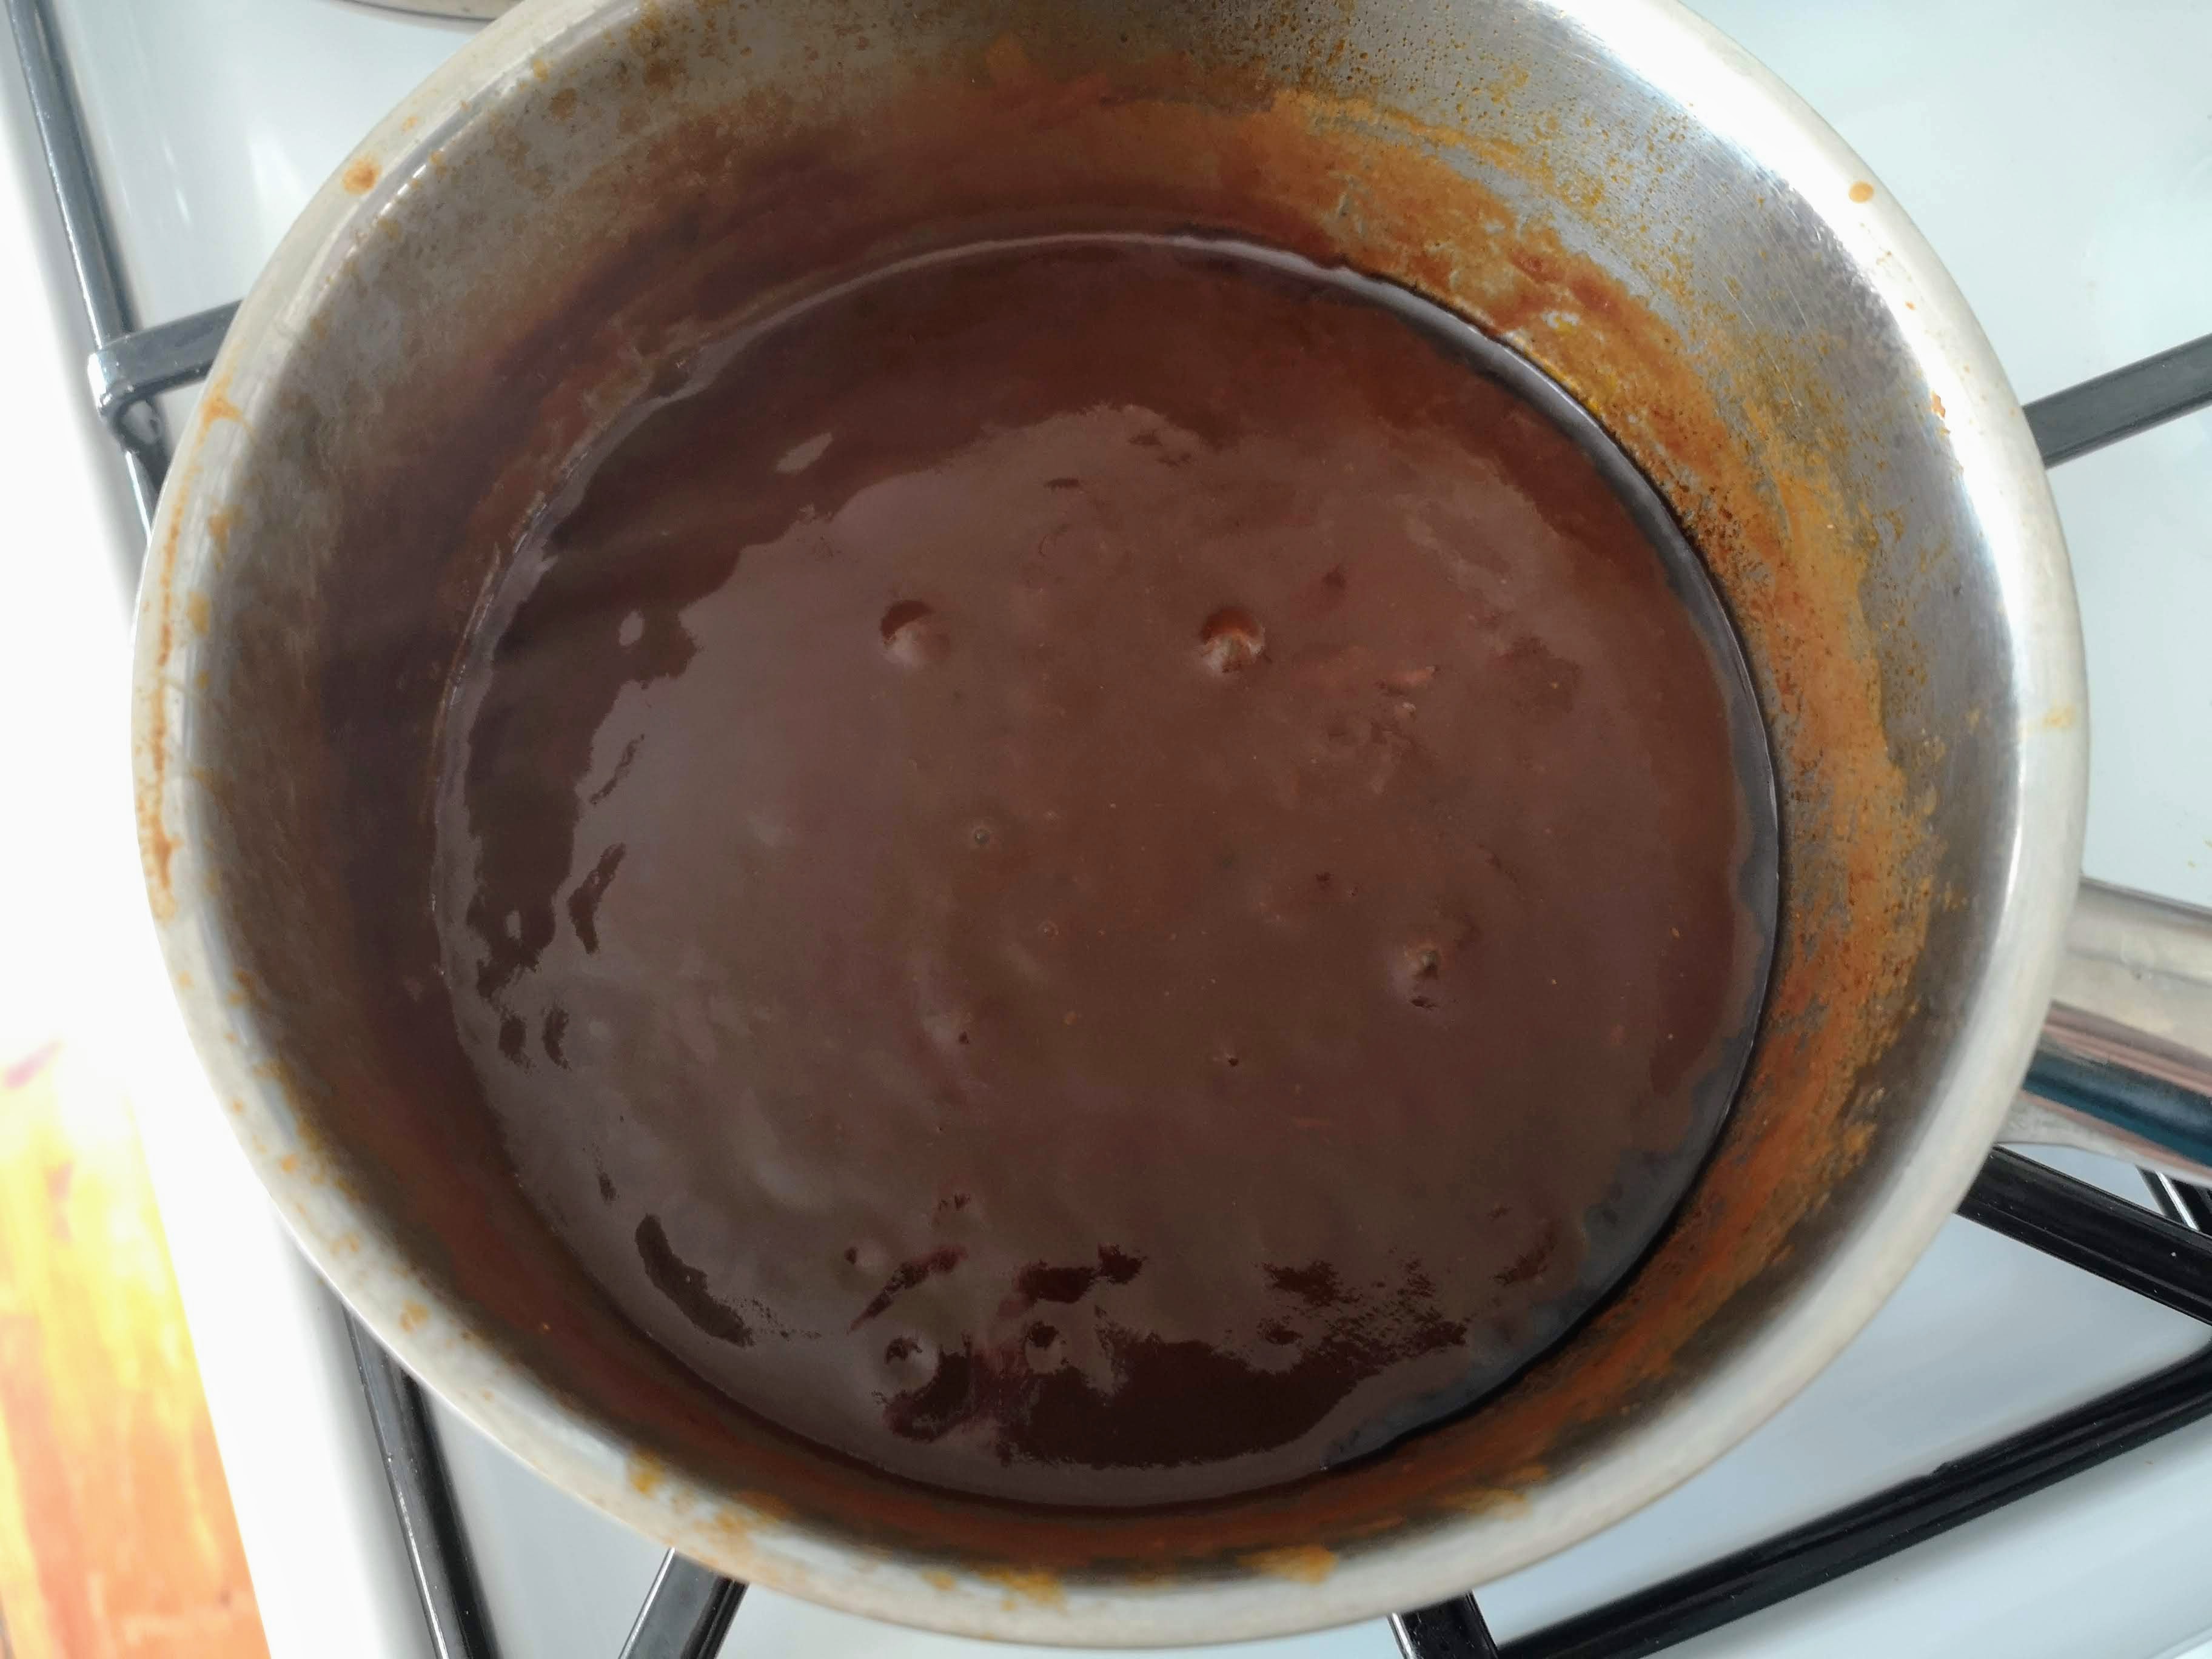
The sauce should coat a spoon when you stir it. I set this aside and let it cool.
PART II: Refried Beans Done Right
Refried beans are the second crucial part of this filling dyad. Making a good pot of beans is very straight-forward, ingredient light, and low-impact as far as kitchen time goes. Let’s dive right in.
Ingredients:
- Two cups Dried Pinto Beans
- Four cups Chicken Stock
- One small Yellow Onion
- Two Cloves of Garlic
- Two tbsp. Pork Lard
- One tsp. Dried Oregano
- One tsp. Ground Cumin
- One tsp. Smoked Paprika
- Half tsp. Cayenne Pepper
- Half tsp. Ground Allspice
- Half tsp. Ground White Pepper
- Two Fresh Bay Leaves
- Sea Salt
Cook:
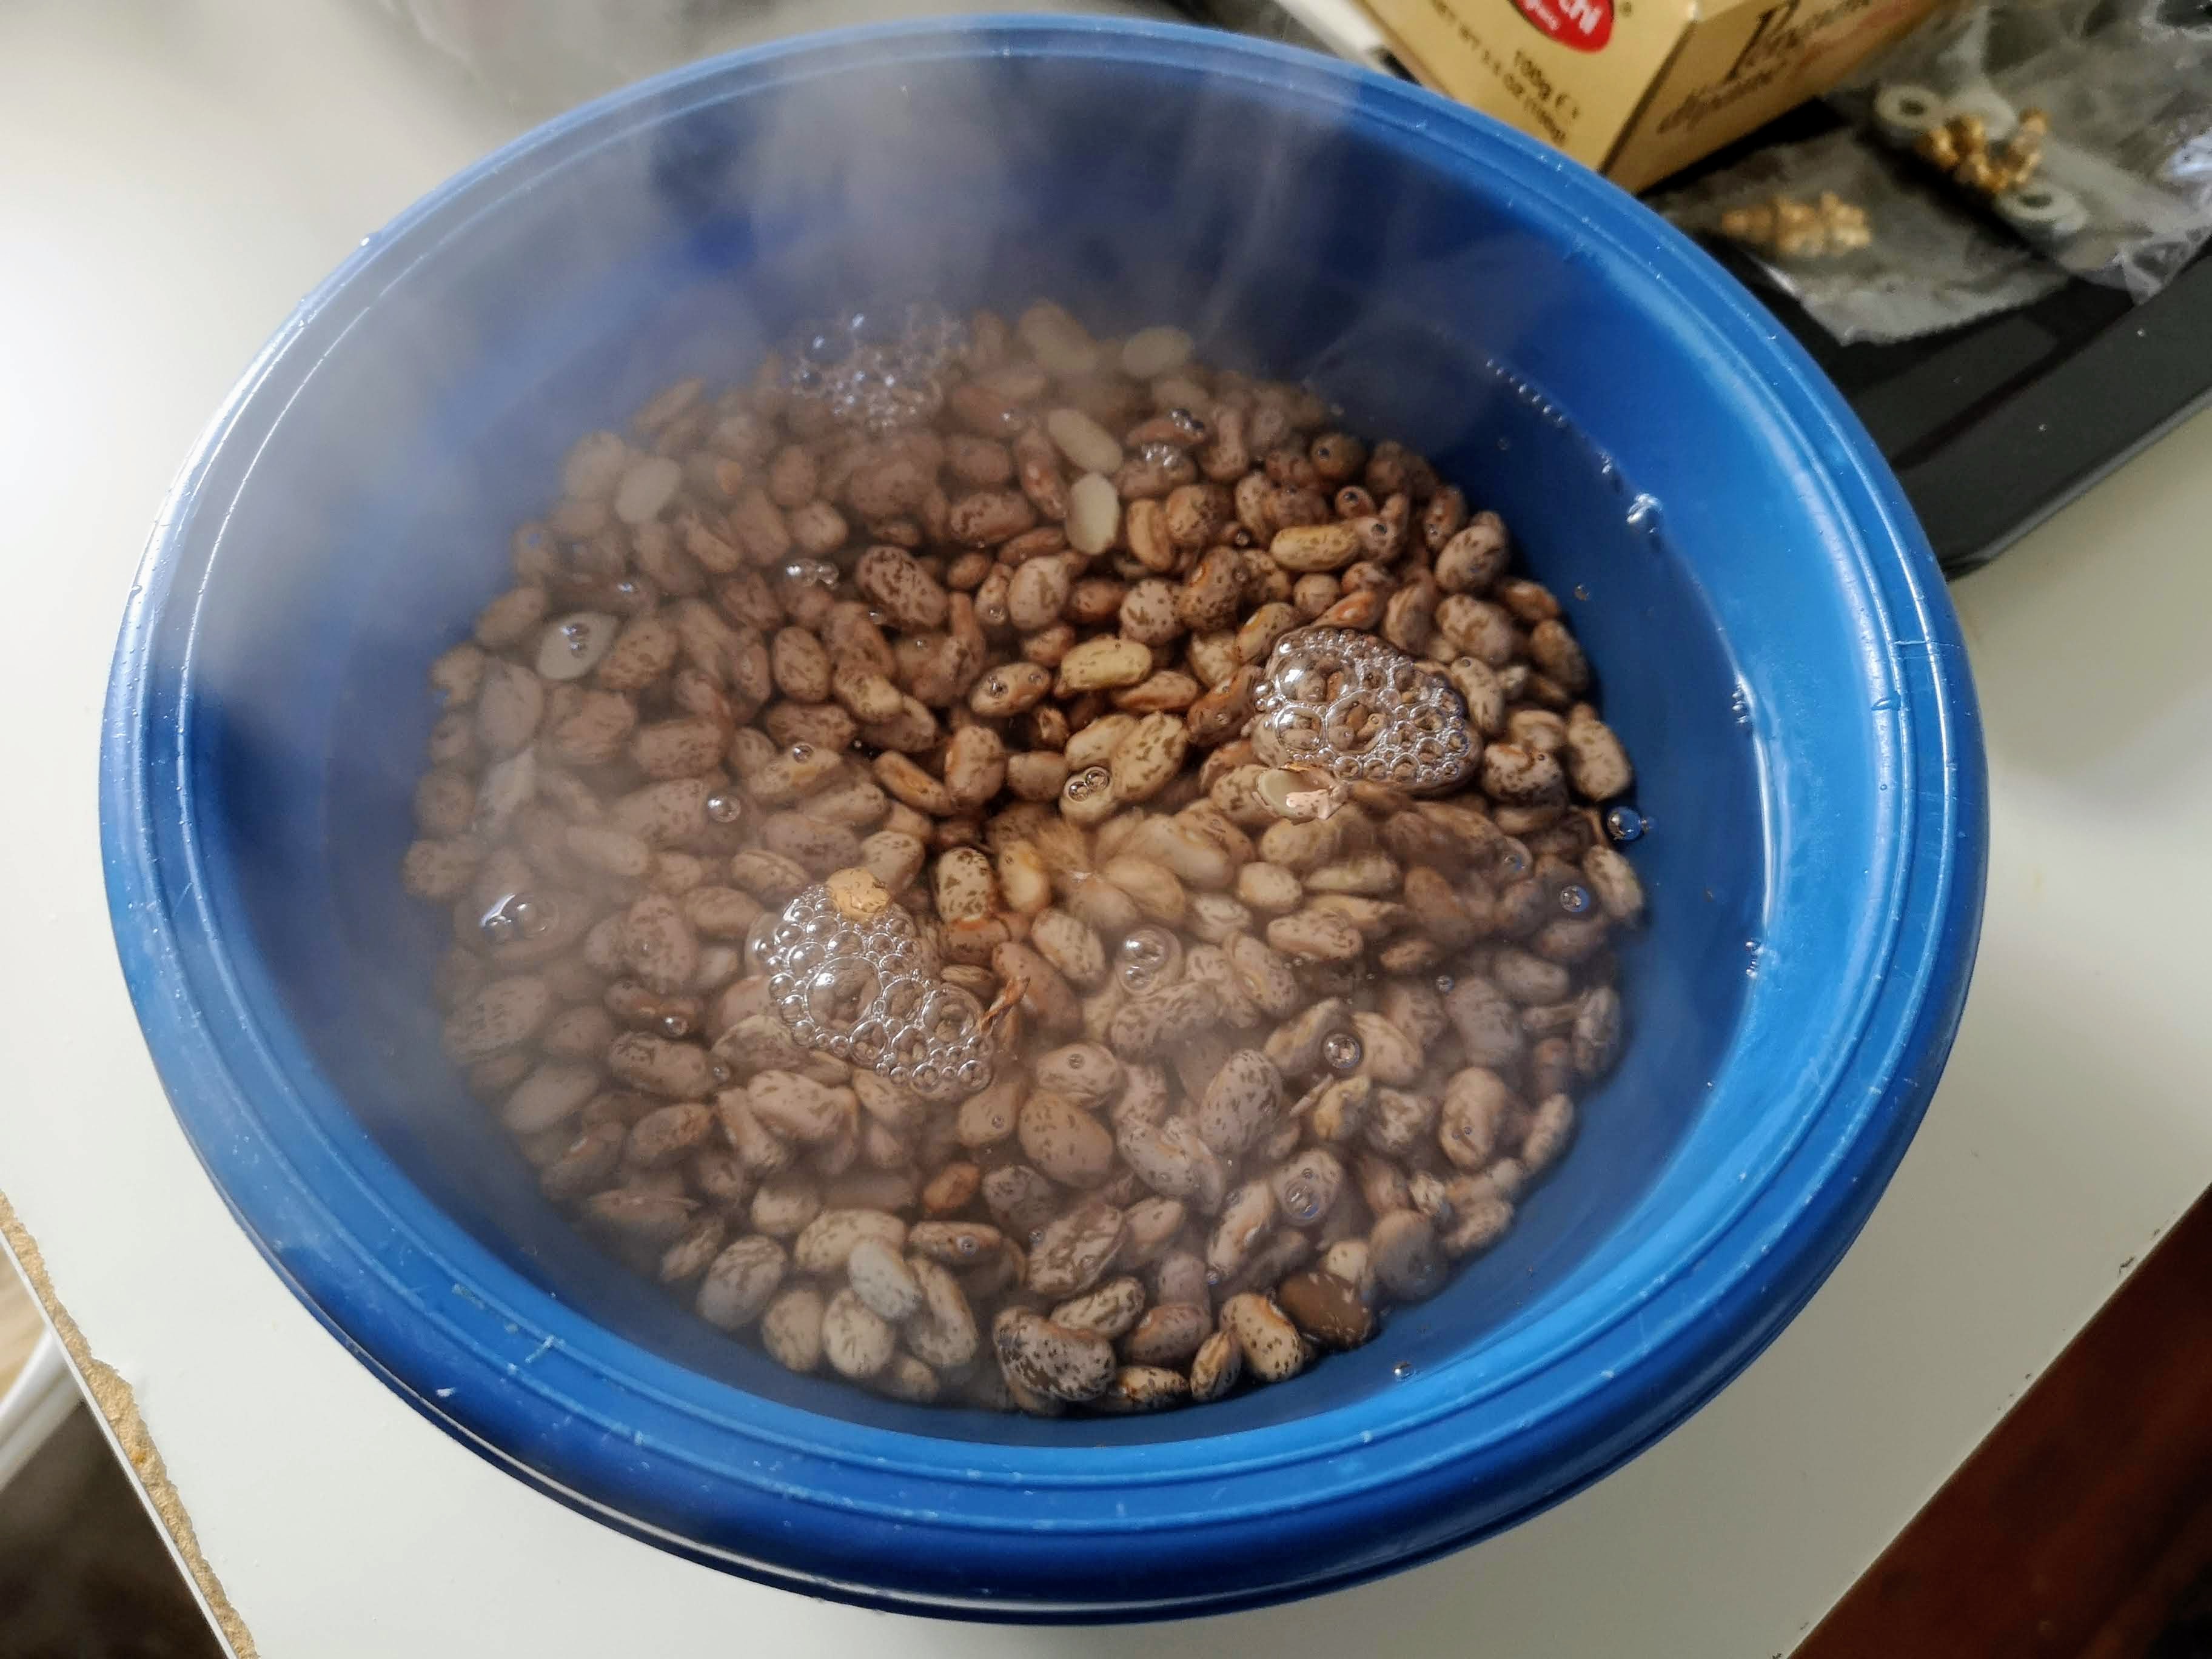
About two hours before you start cooking your beans, you’ll need to soak them. I’m using an accelerated method whereby I place two cups of dry beans in a small bowl and cover in boiling water until there’s about an inch of water over the beans. I place a plate over the bowl and let it sit for two hours, untouched.
When I’m ready to cook, I dice the onion and peel the garlic. In the meantime, put a medium-sized pot on medium heat and melt the pork lard.
Once that’s melted, I add in the onions with a pinch of salt and slowly sweat until fully translucent. I use a garlic crusher to add the garlic. I stir until fragrant — about 30 seconds. I add in the spices and allow to toast/bloom until fragrant too.
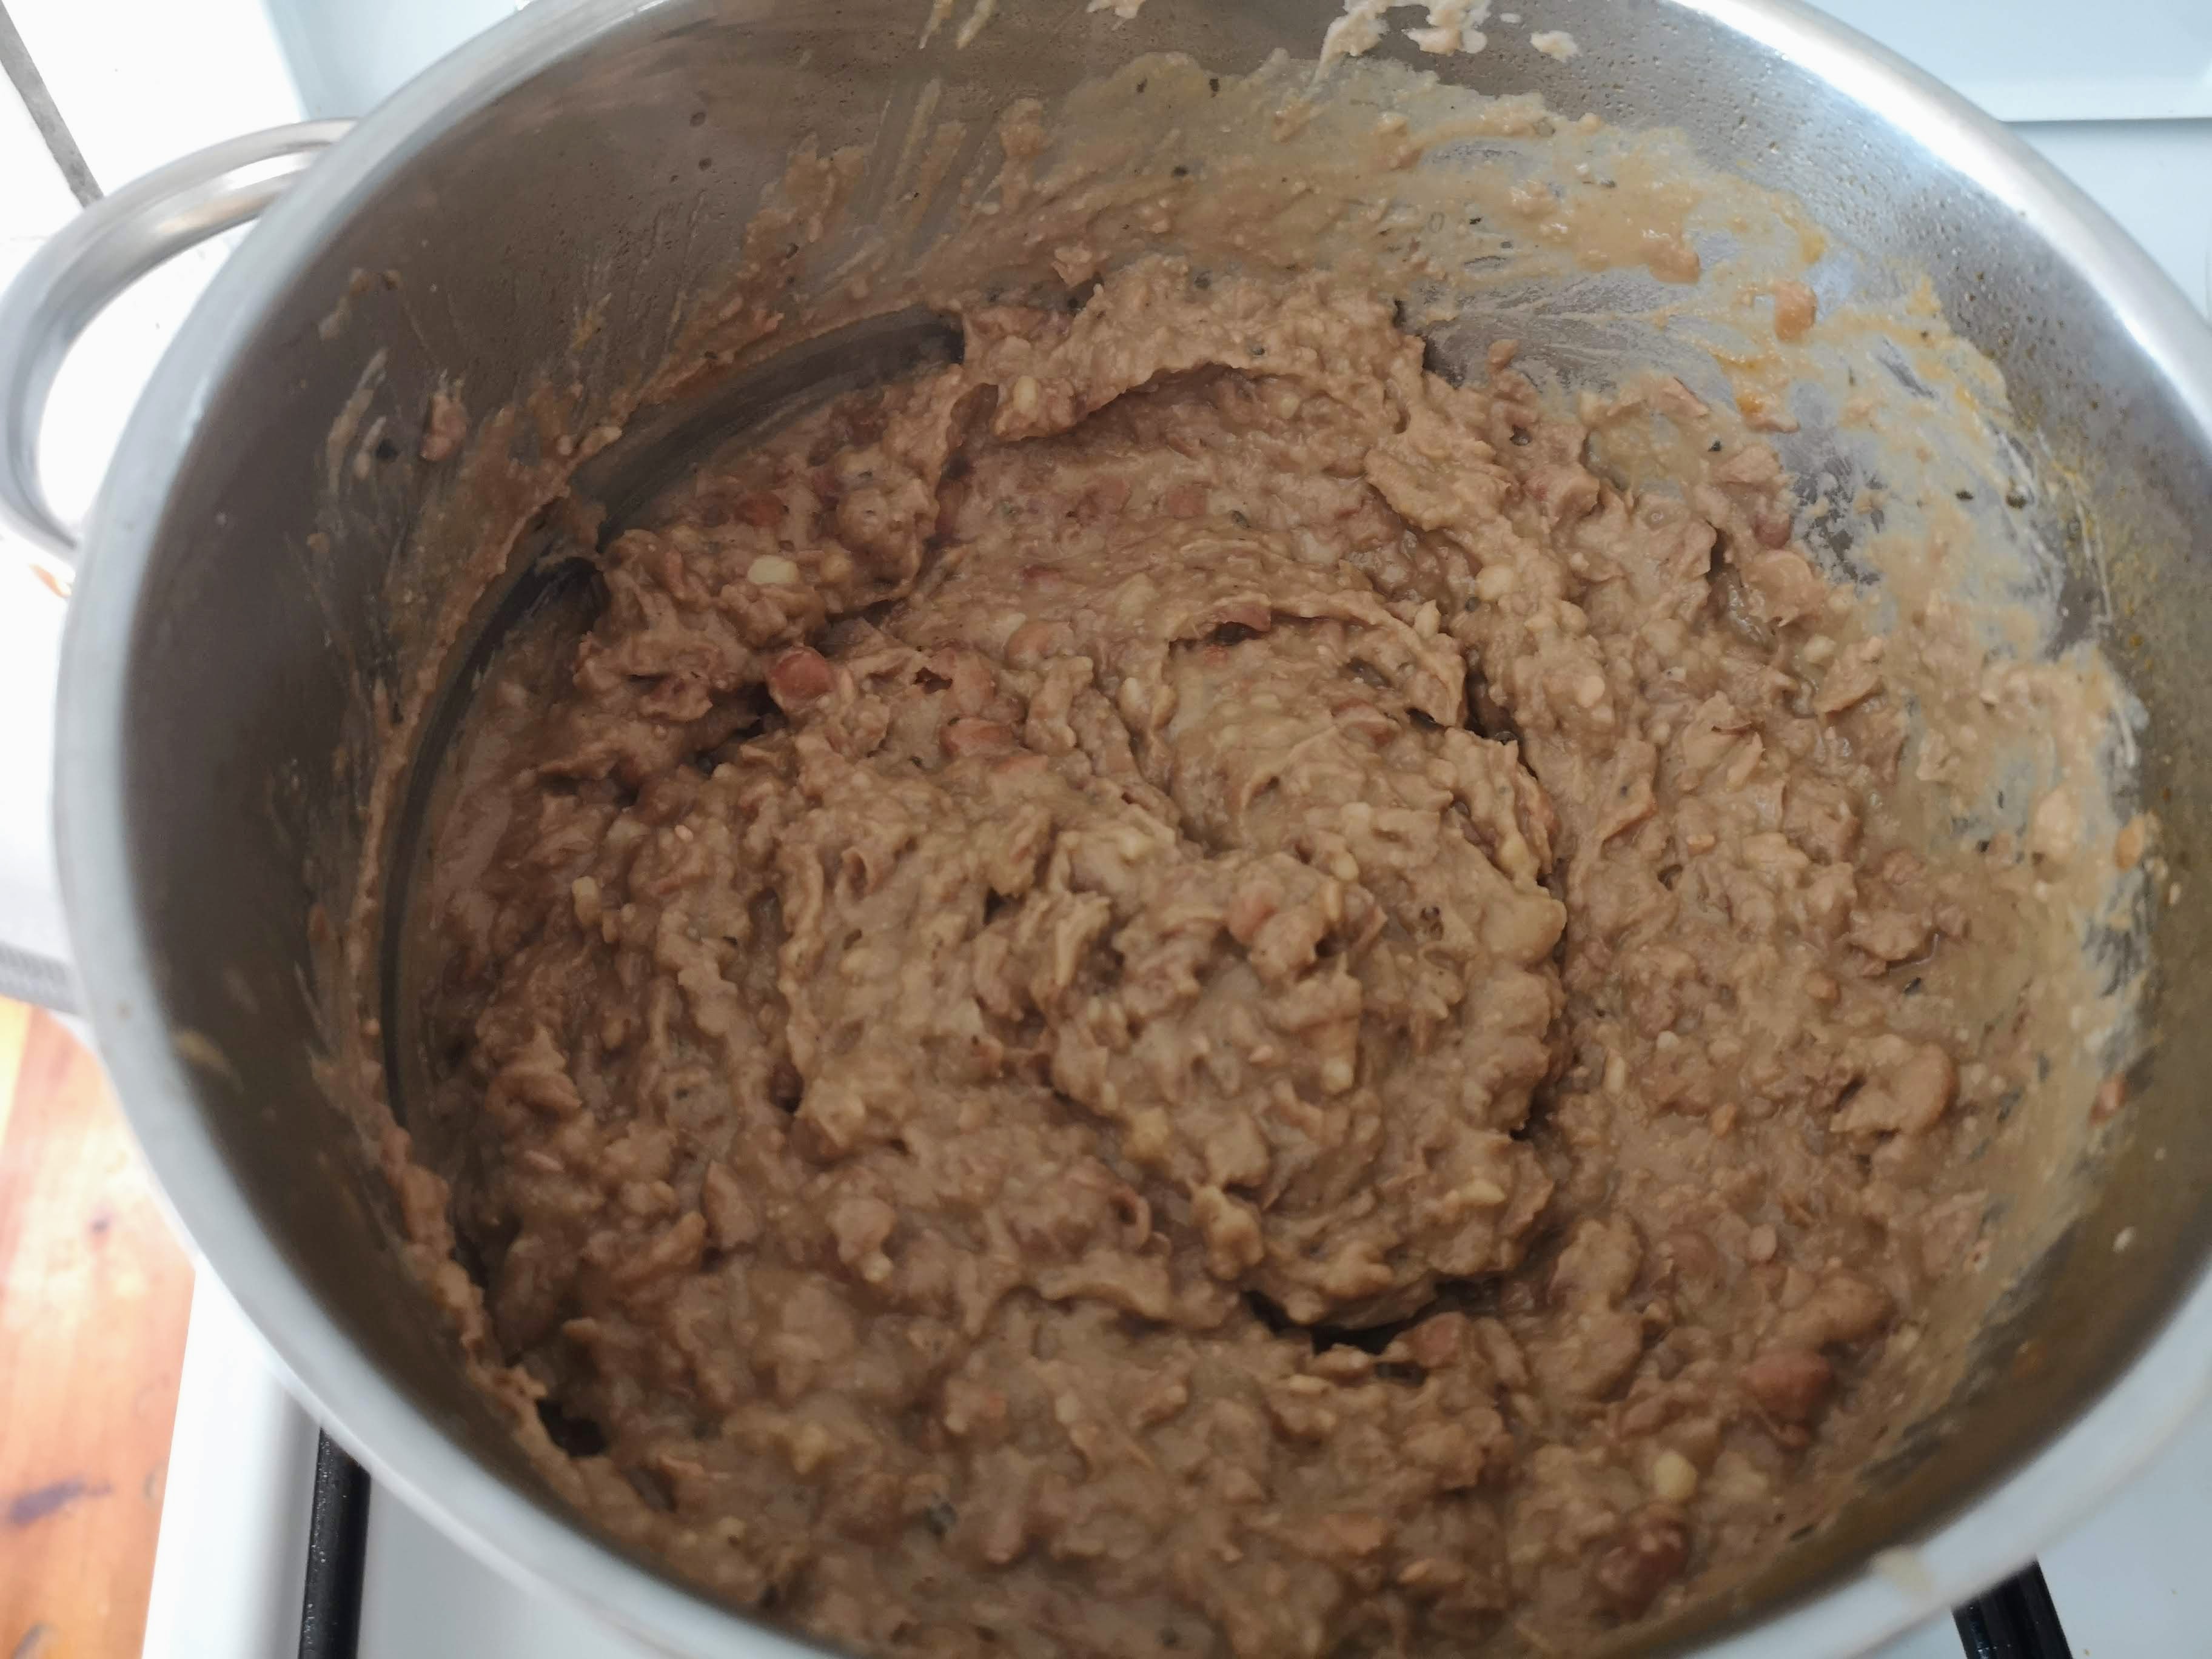
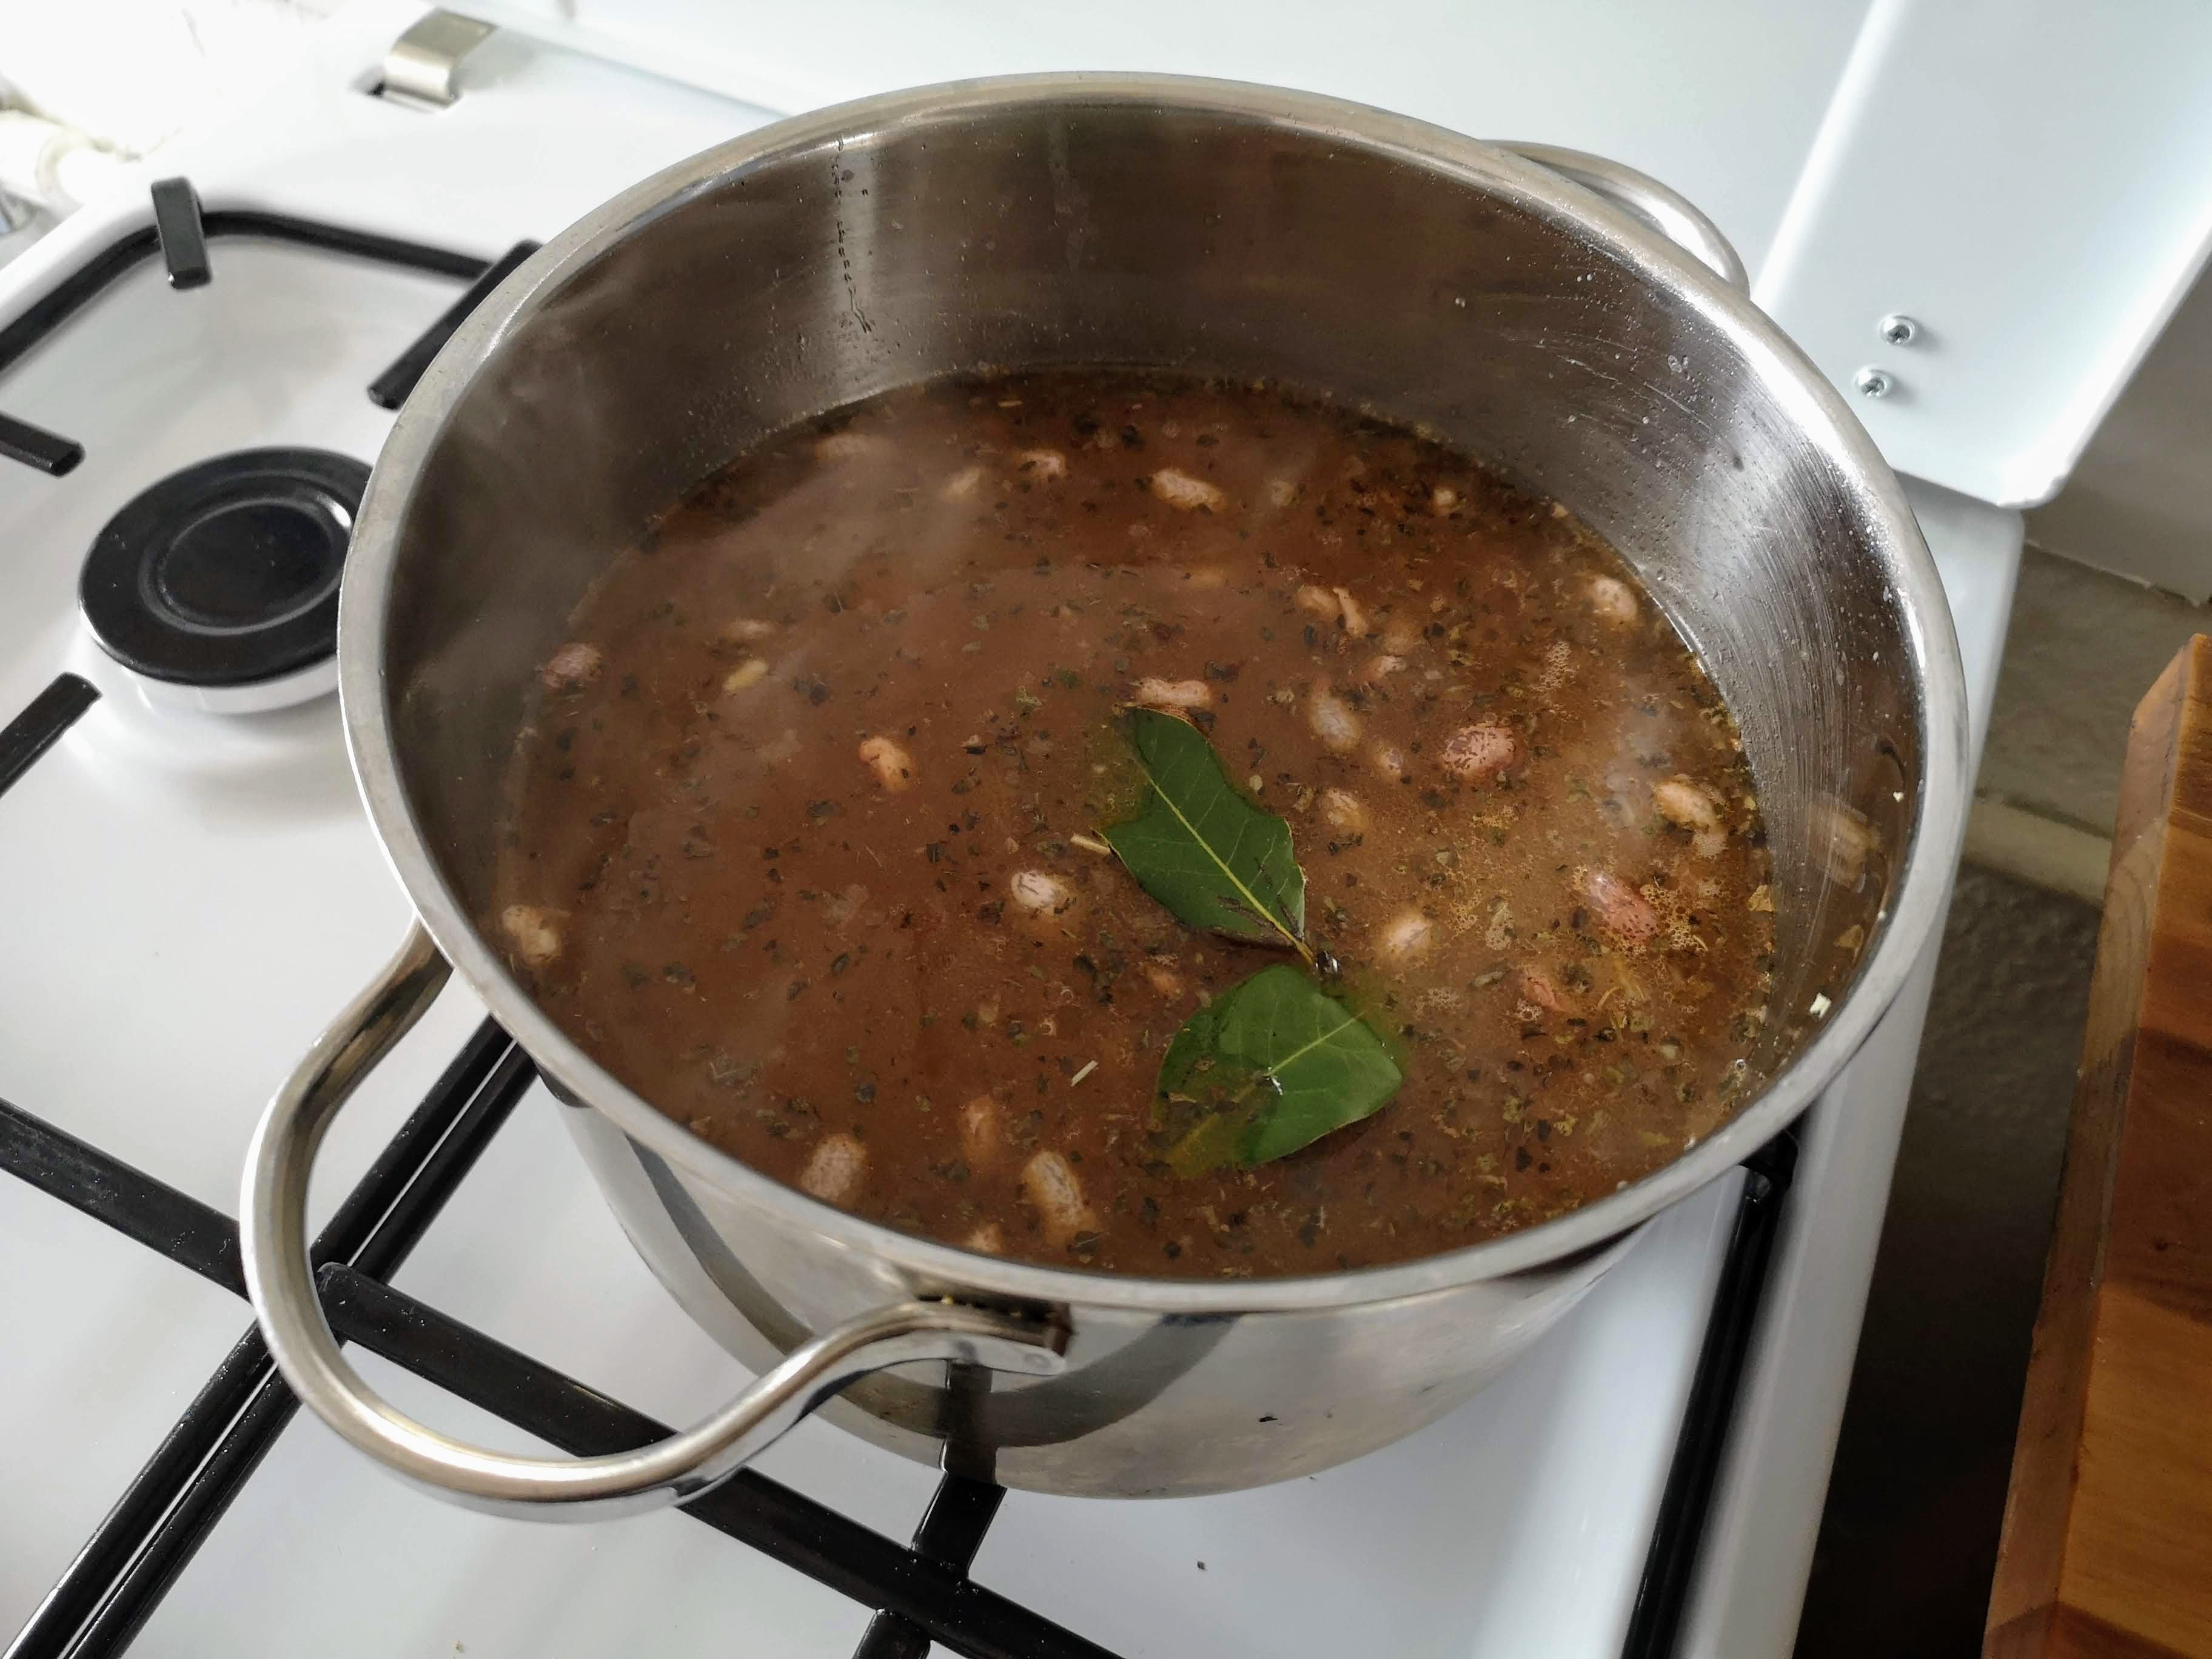
I add the chicken stock and bay. I then set the temp on the stove to the lowest setting and cover the pot. I stir occasionally as the beans simmer away for about 2 more hours. Or until they look like the beans below.
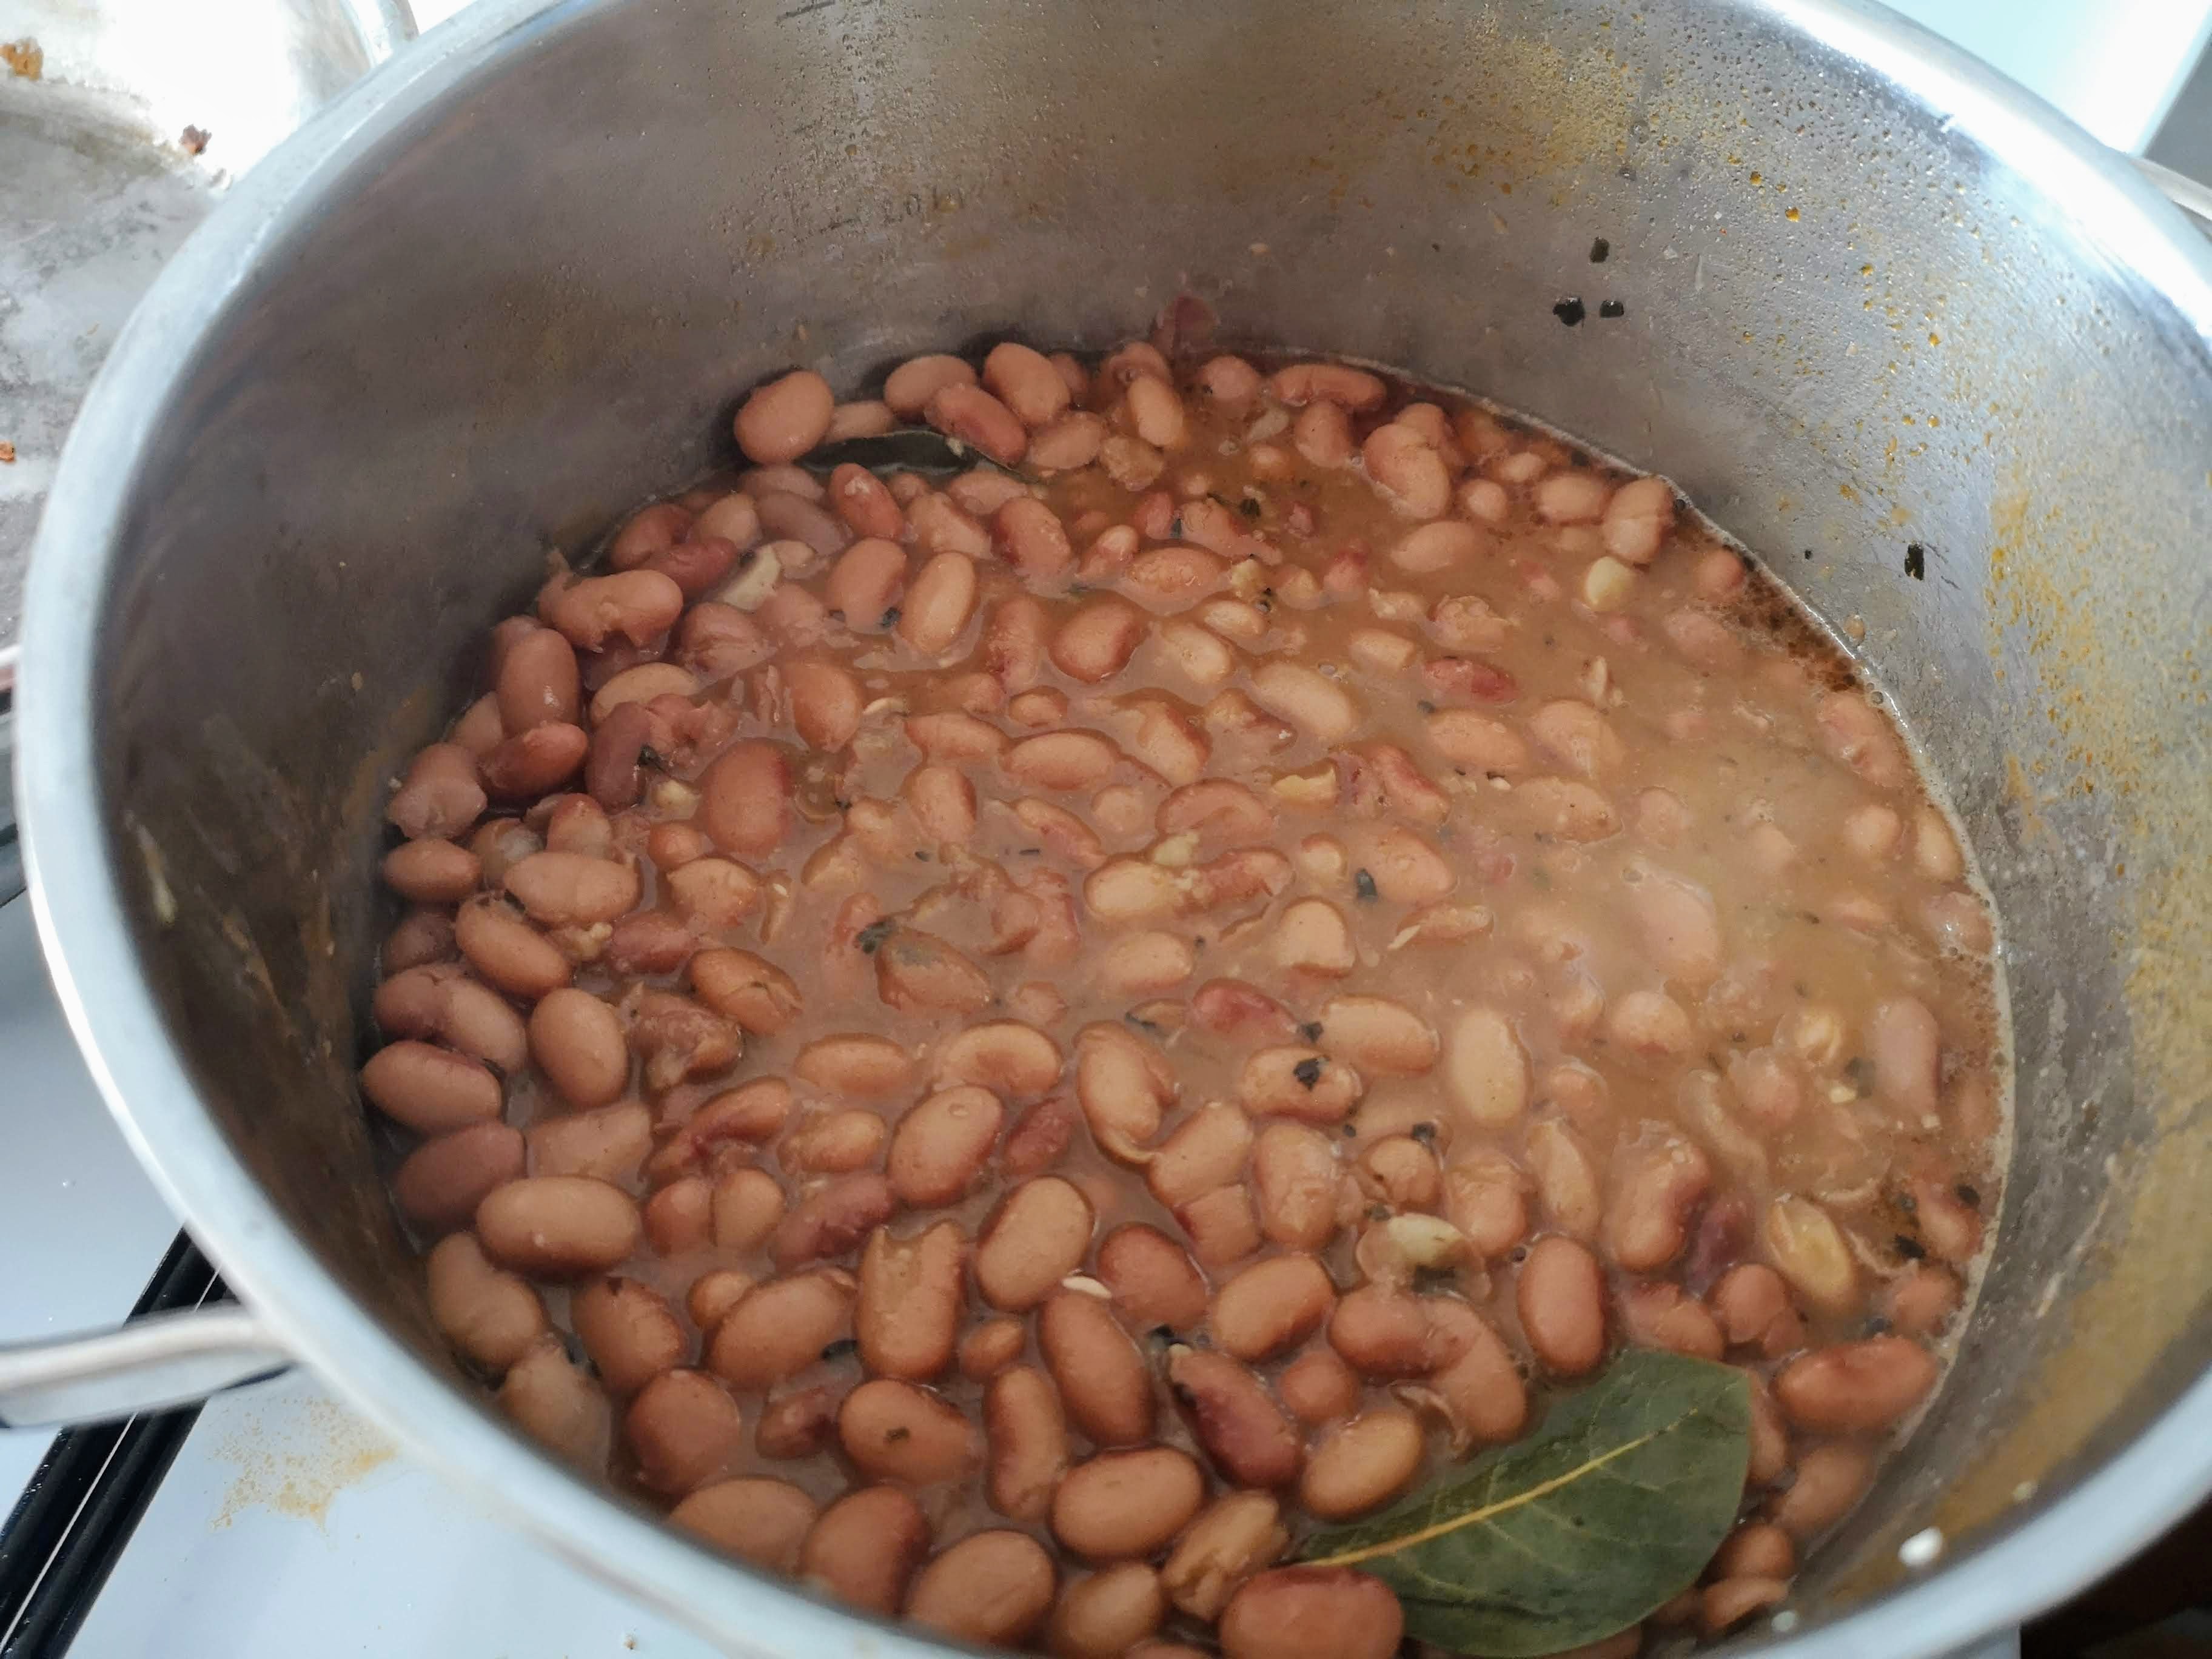
They should be soft enough to eat but still have a bit of a bite — what the Italians would call al dente. The liquid should have cooked down to just under the surface of the beans.
The last step is to mash ’em. I remove the bay leaves and use a regular potato masher to get them to the consistency I like, which is still a little rough.
PART III: The Whole Chimichanga
We’re ready to put this beast together! My flourish is that I’m not pulverizing the beef and beans to create a mush for the filling. I’m keeping them separate components so that you get the feel of each with a bit more chew. Plus, this beef is just too damn nice to mince.
Assembly:
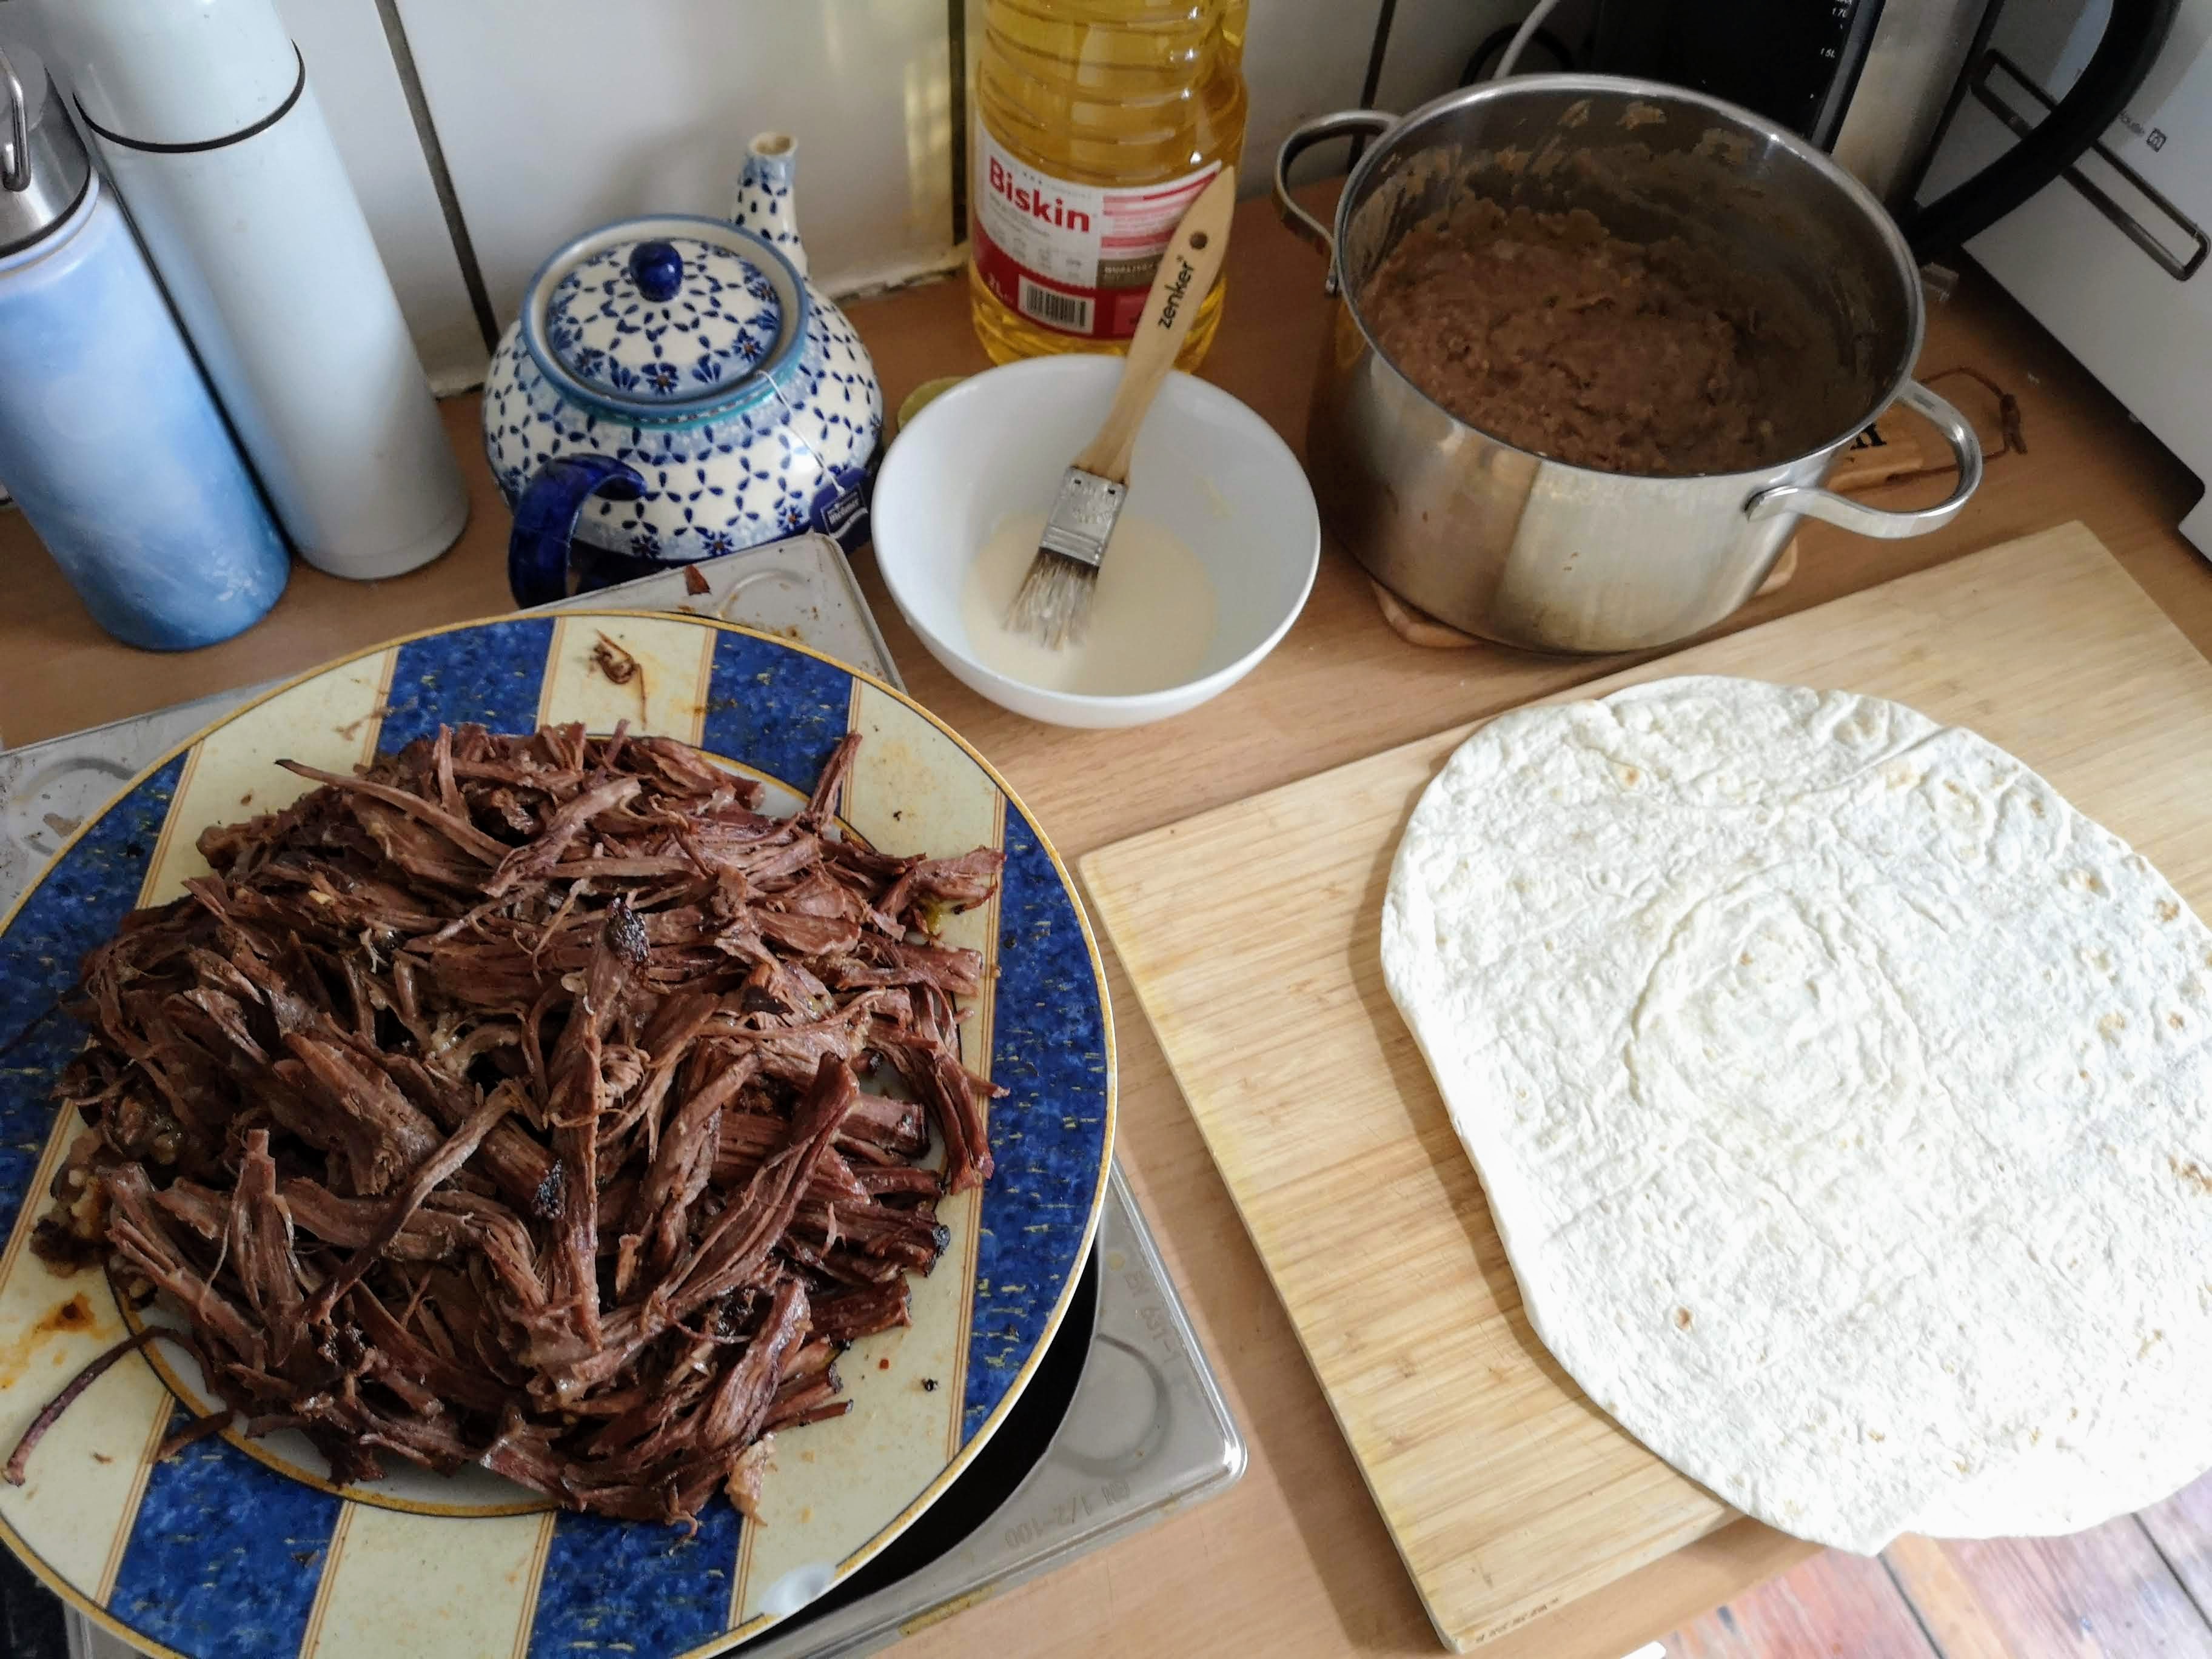
I shred all the beef by hand and pour some of the leftover braising liquid over the whole plate. This beef is outstanding as is. It’s super moist, fatty, well-spiced, and hard to stop eating.
I also make a paste (thanks to Binging with Babish for the tip) to seal my chimichangas with before frying. It’s a simple one-part all-purpose flour to three parts tap water, mixed until smooth. A tablespoon of flour will be enough.
I’m using 12-inch flour tortillas that I didn’t make (sorry, I just didn’t have the time).
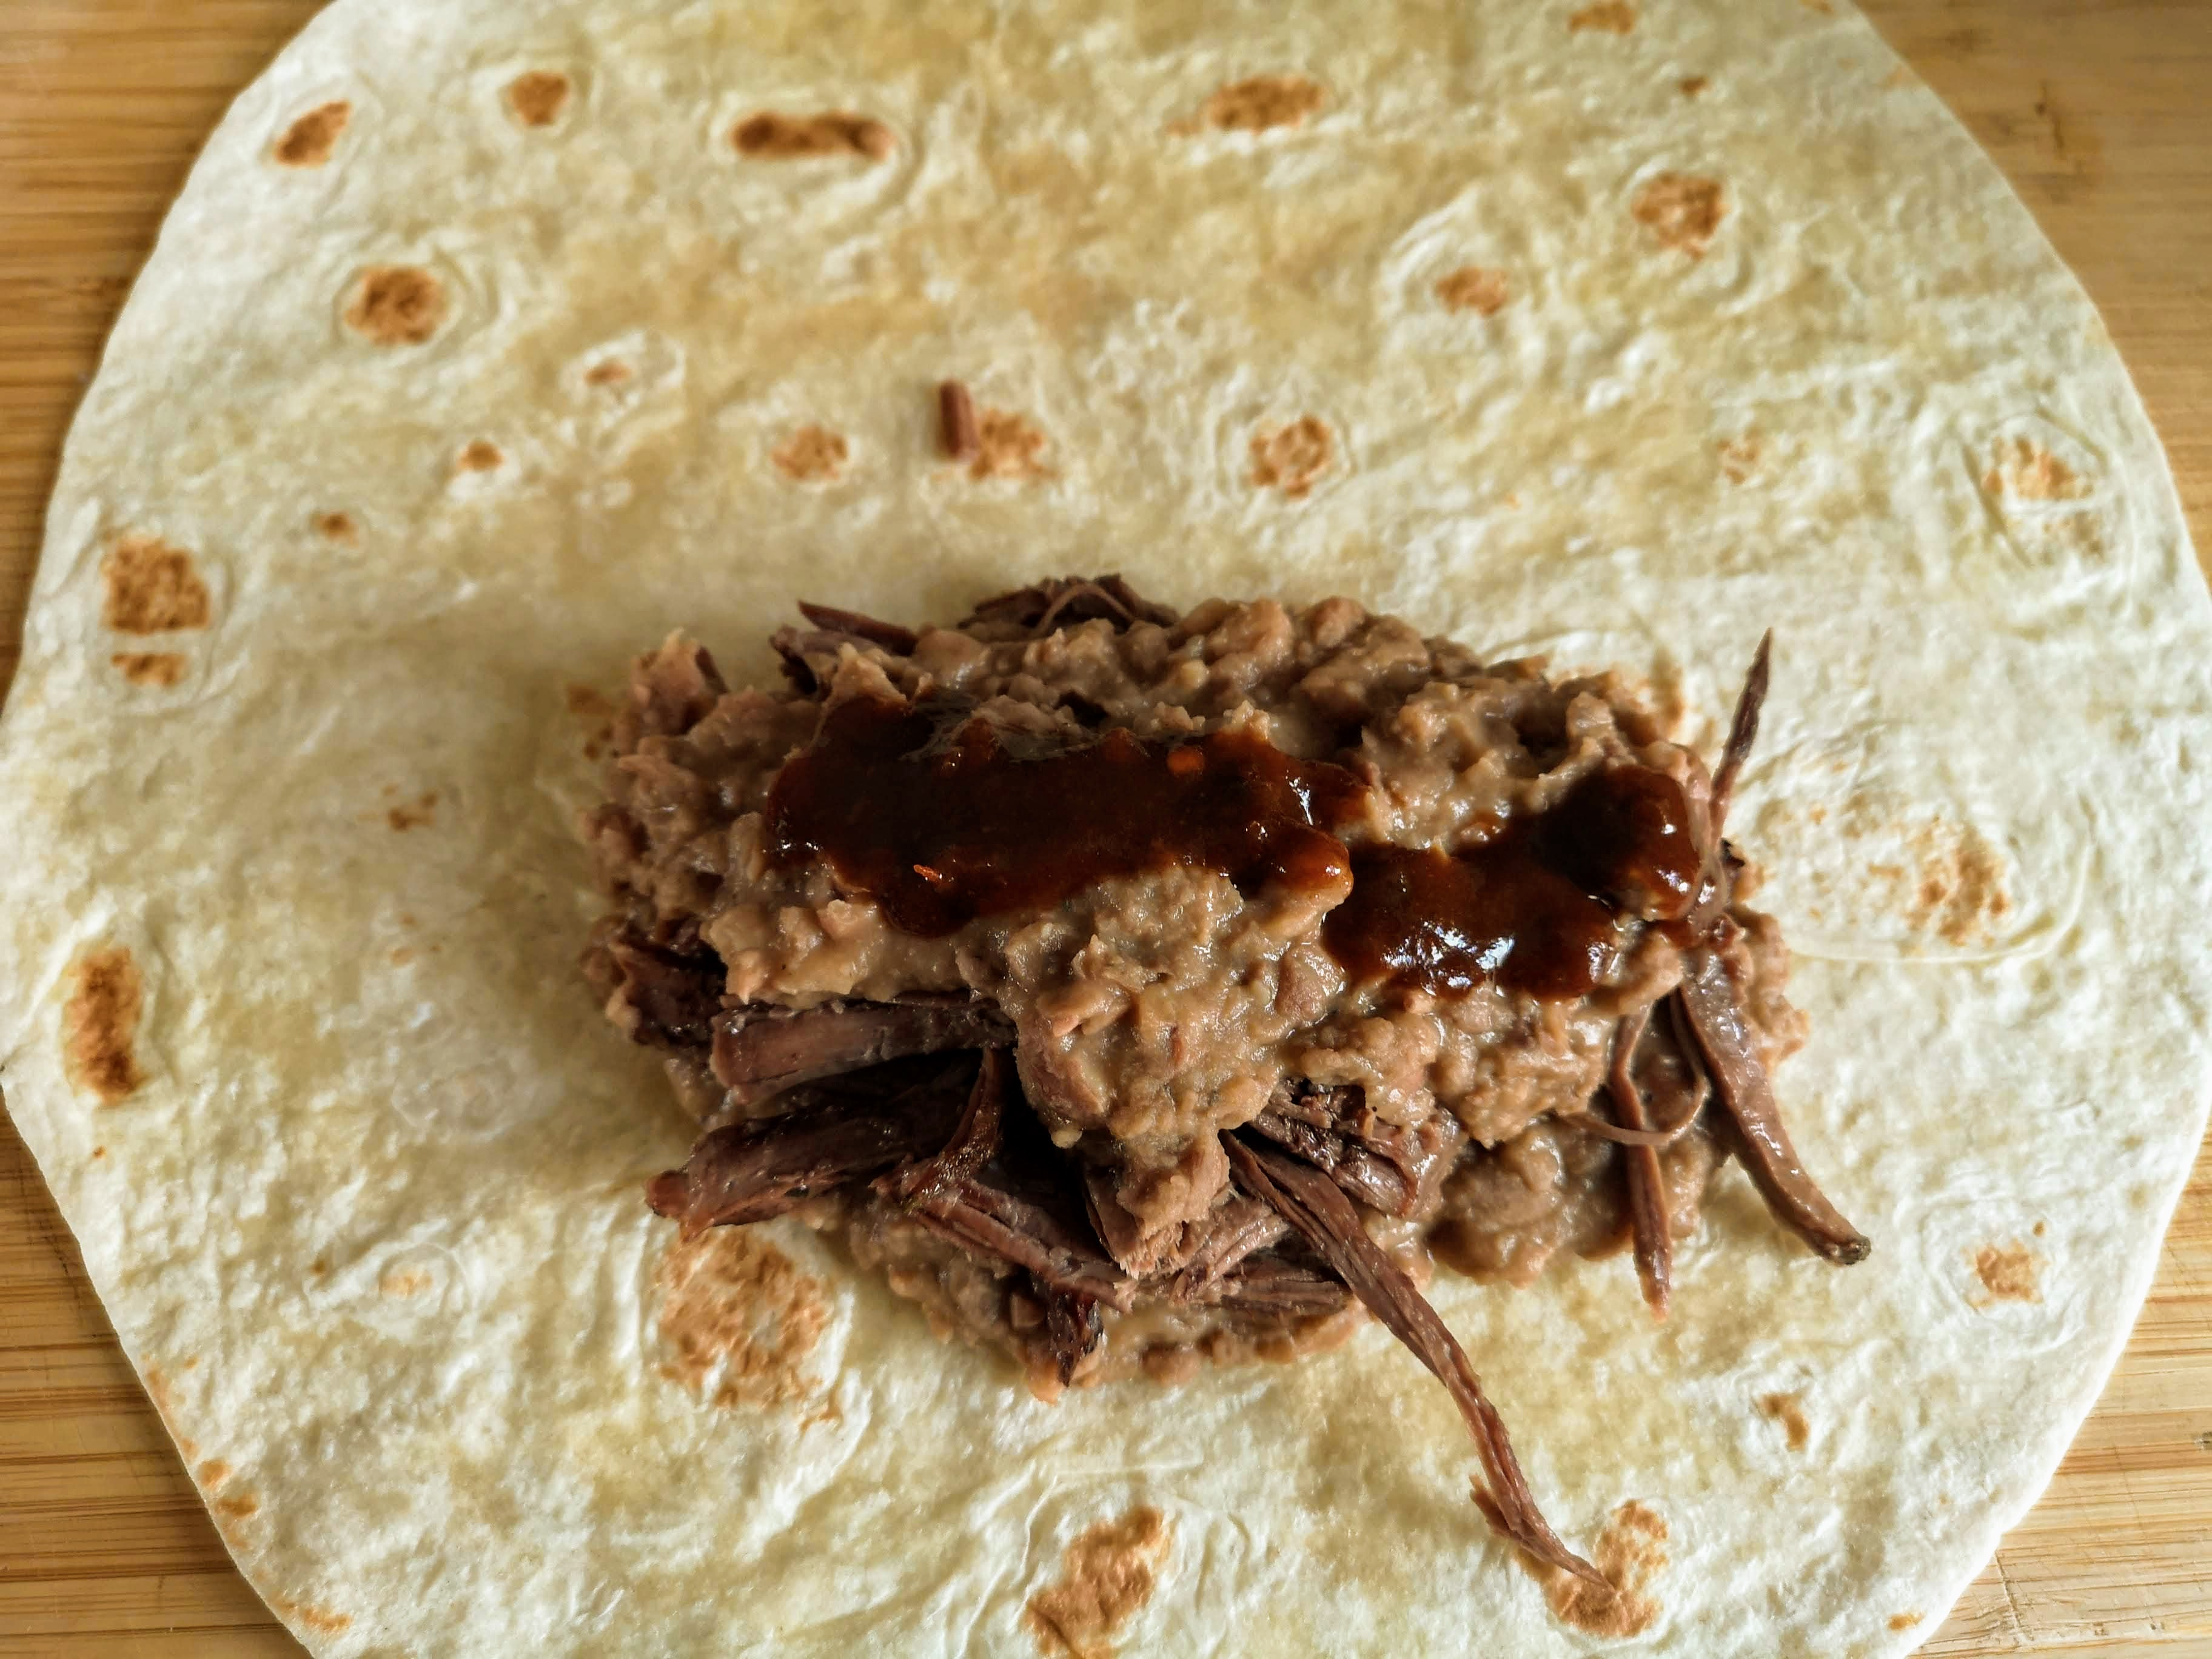
The construction goes like this:
- Tortilla
- Line of Chipotle Sauce
- Spoon of Beans
- Pile of Barbacoa
- Smaller Spoon of Beans
- Smaller Line of Chipotle Sauce
Although I didn’t do it here (so that I could adhere to the Disneyland version), you can also add some shredded cheese as well.
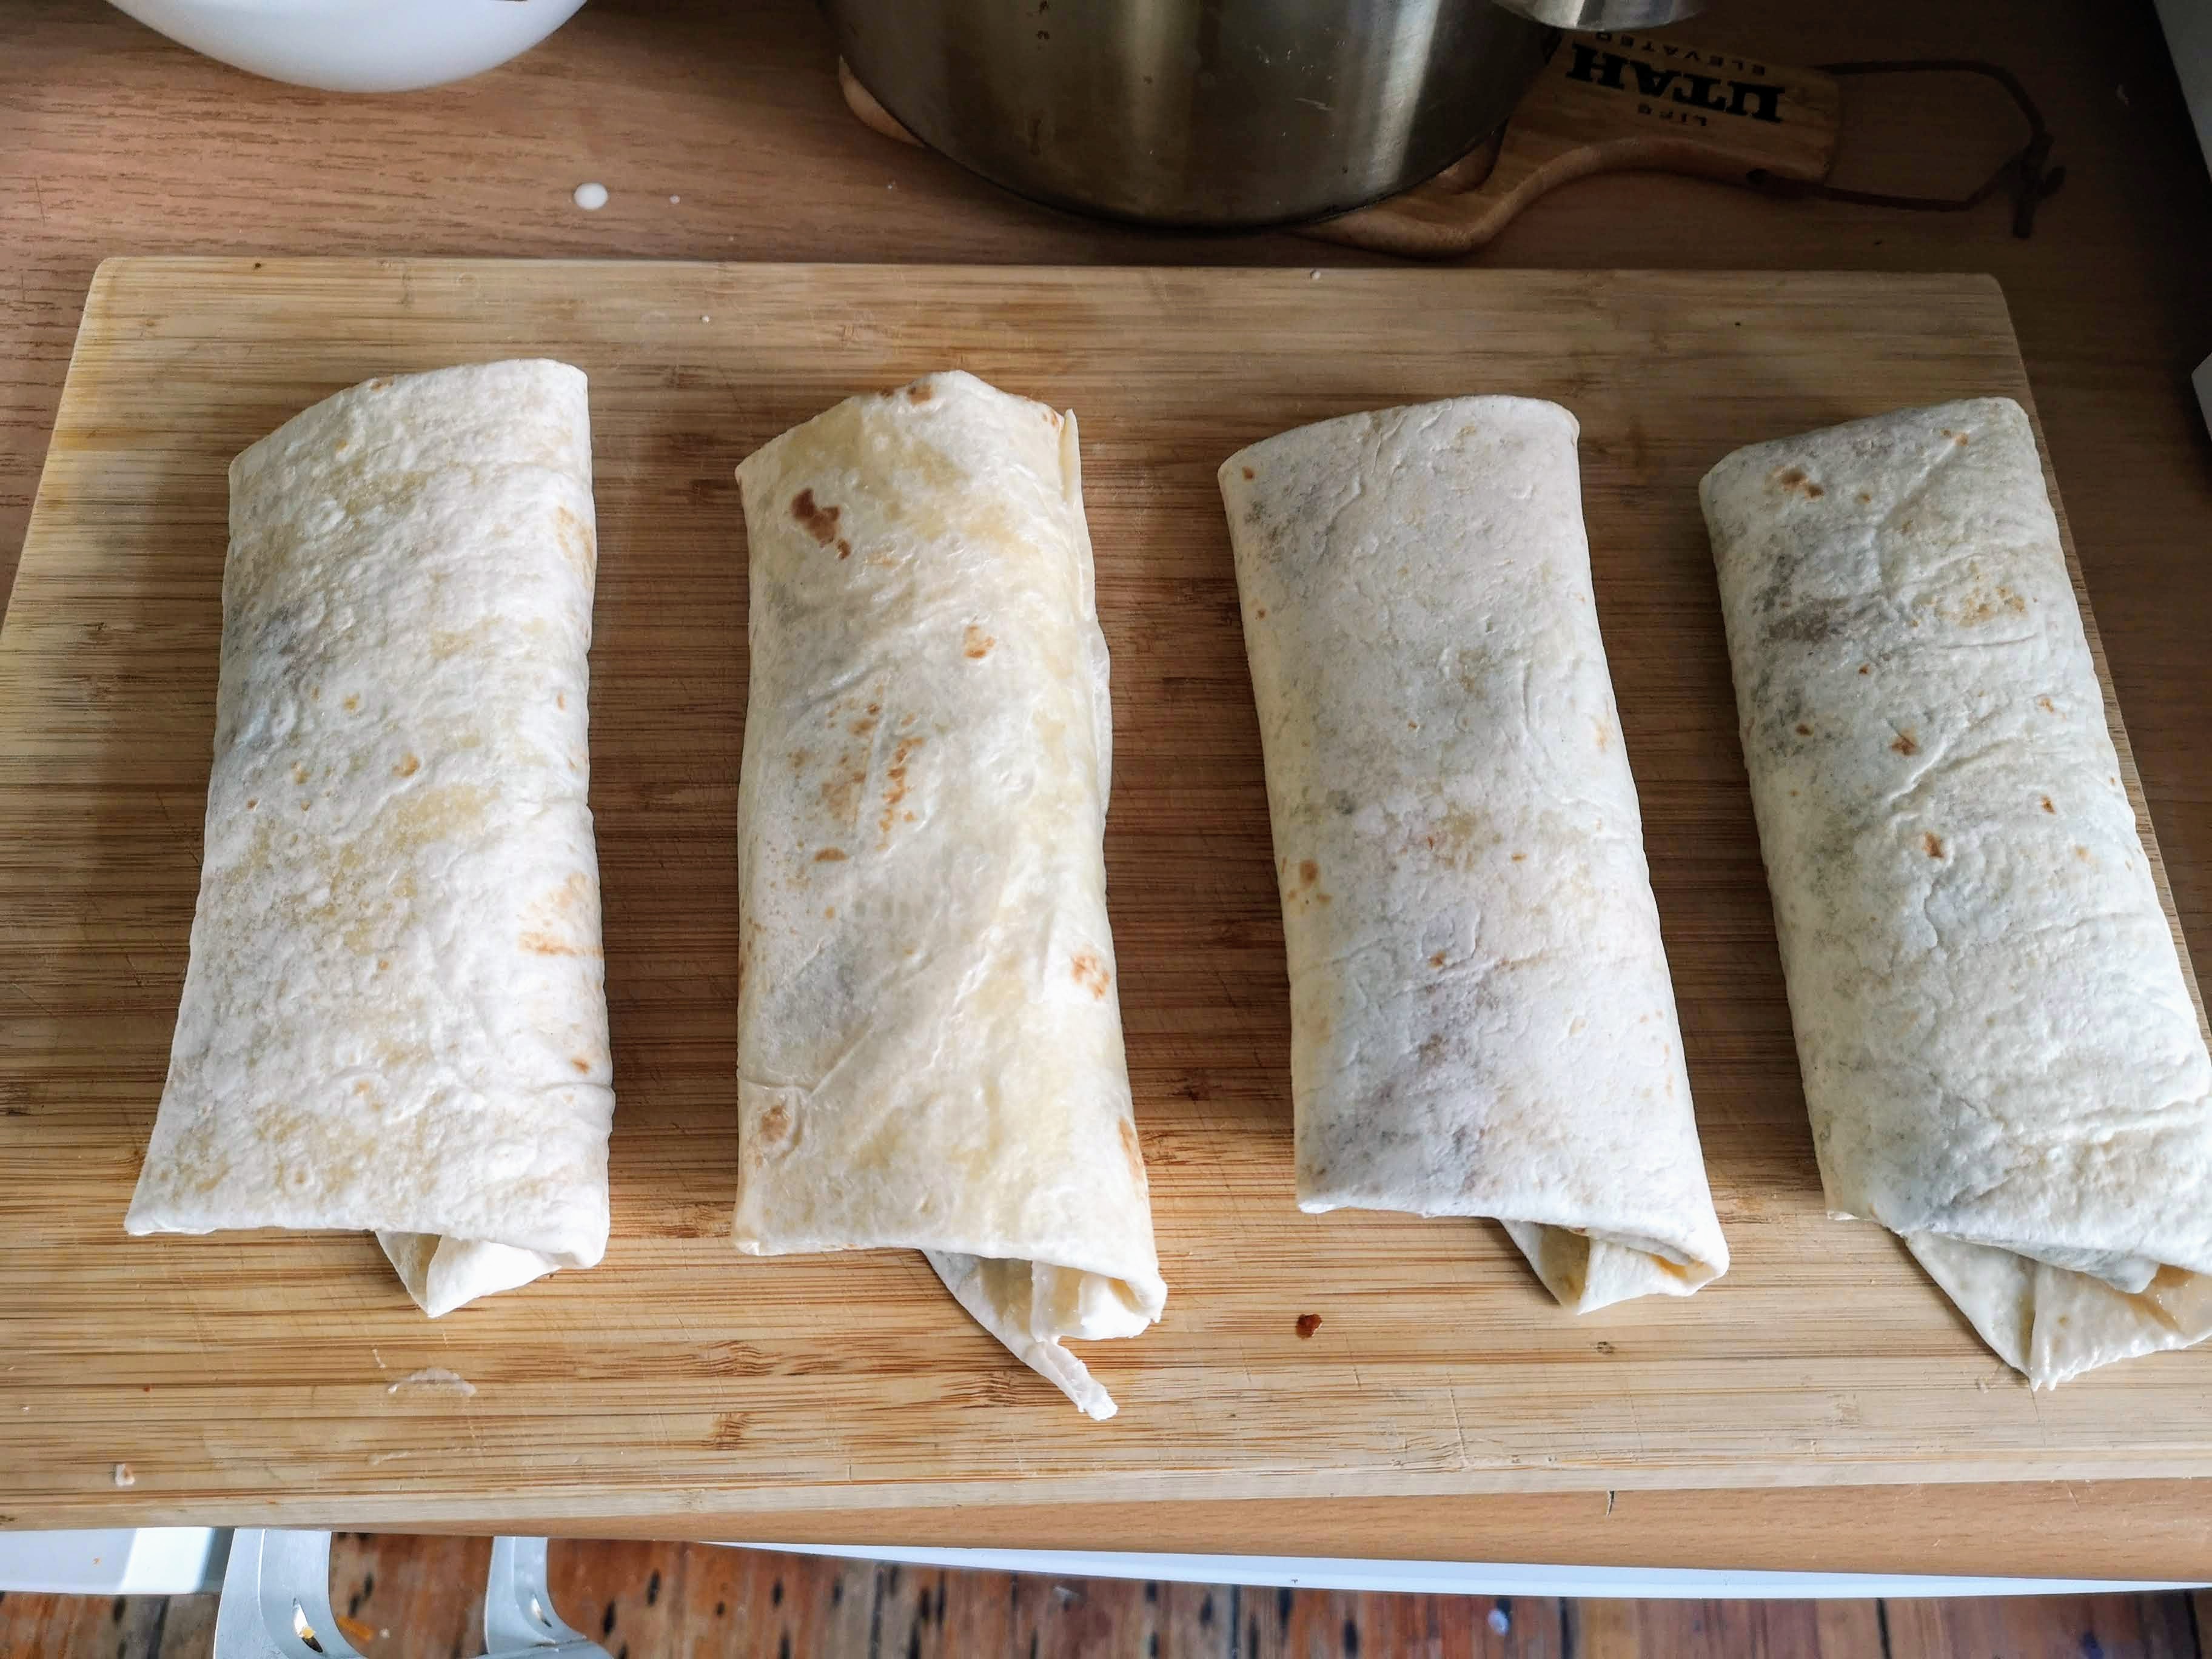
I then fold the whole thing like a regular burrito. I start from the edge closest to me and fold over once. I then fold each side, making a package. Then I use a brush to paint the flour-glue to the whole exposed section of the tortilla. Next, I simply roll the chimichanga package until it’s a perfect little pouch.
I gently press down on the burrito to help the seal, well, seal. It should be obviously affixed almost immediately.
Cook:
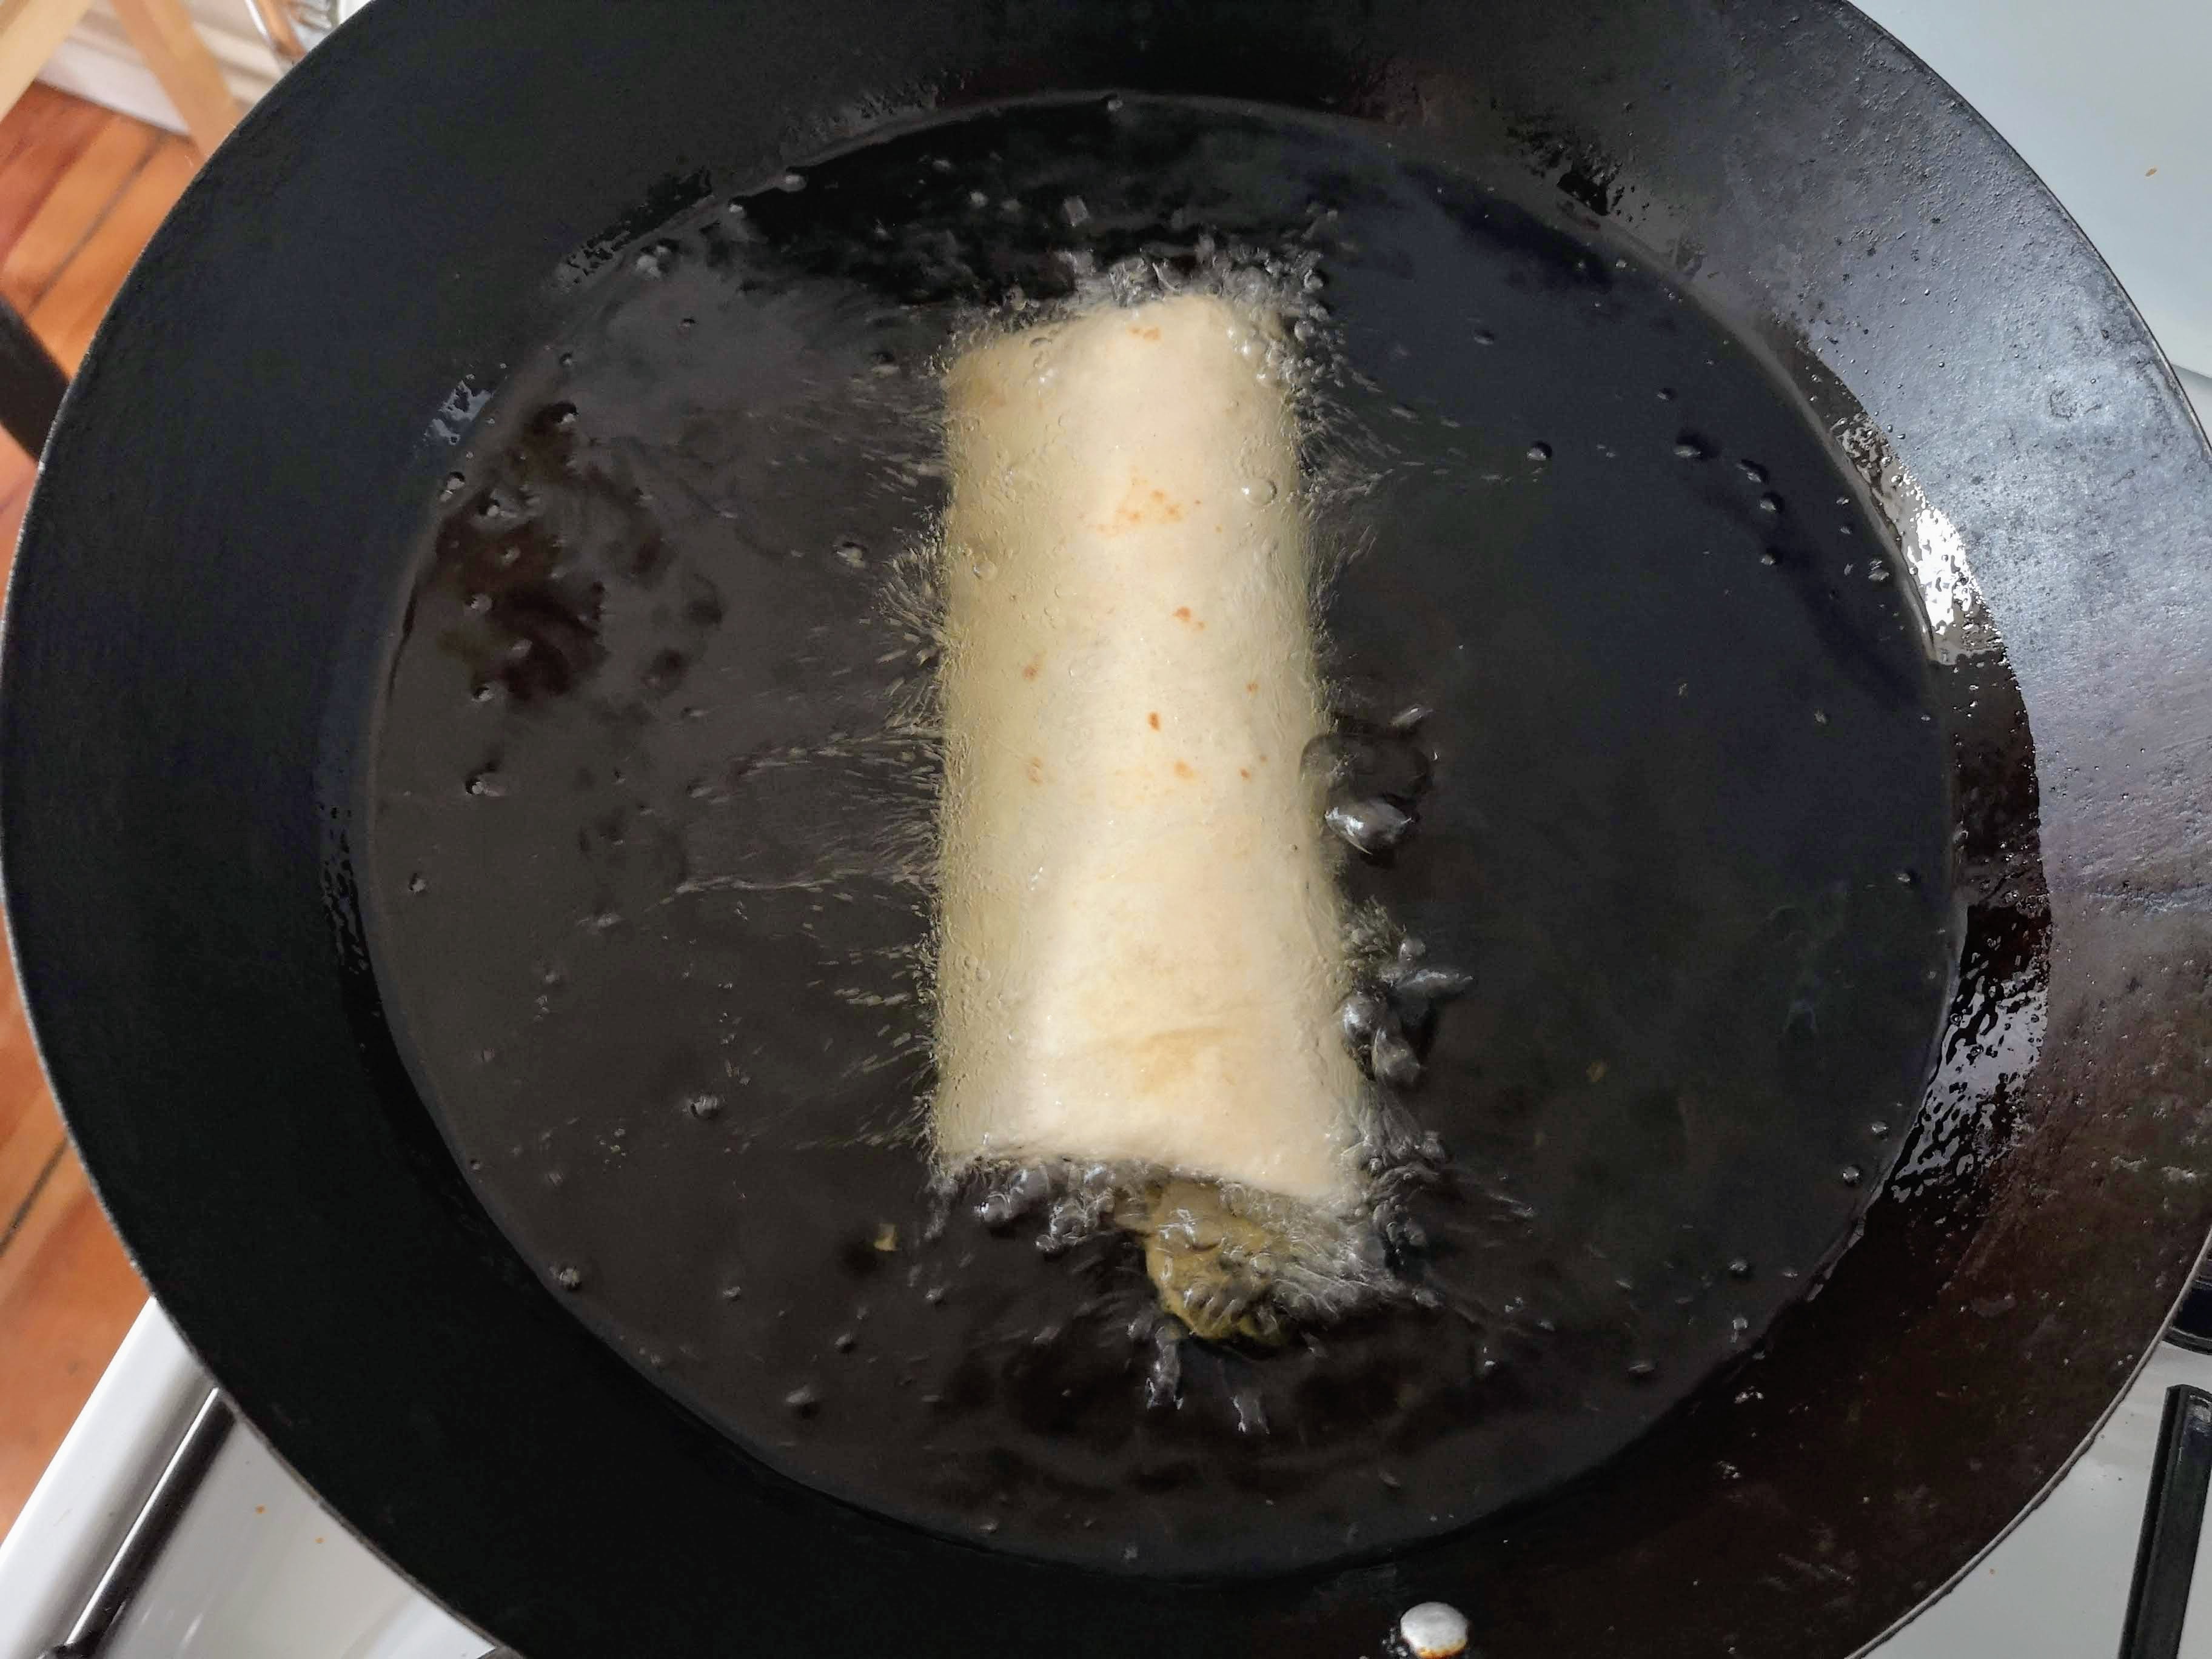
I’m using my trusty wok to deep fry. I add about one-and-half quarts of vegetable oil and bring that up to 350f.
I use tongs to gently lay the chimichangas in the oil, sealed side down. Keep an eye on them. It’ll take about two minutes for one side to brown to that golden brown you’re looking for. I use the tongs to gently flip the chimichanga over for another two-minute fry.
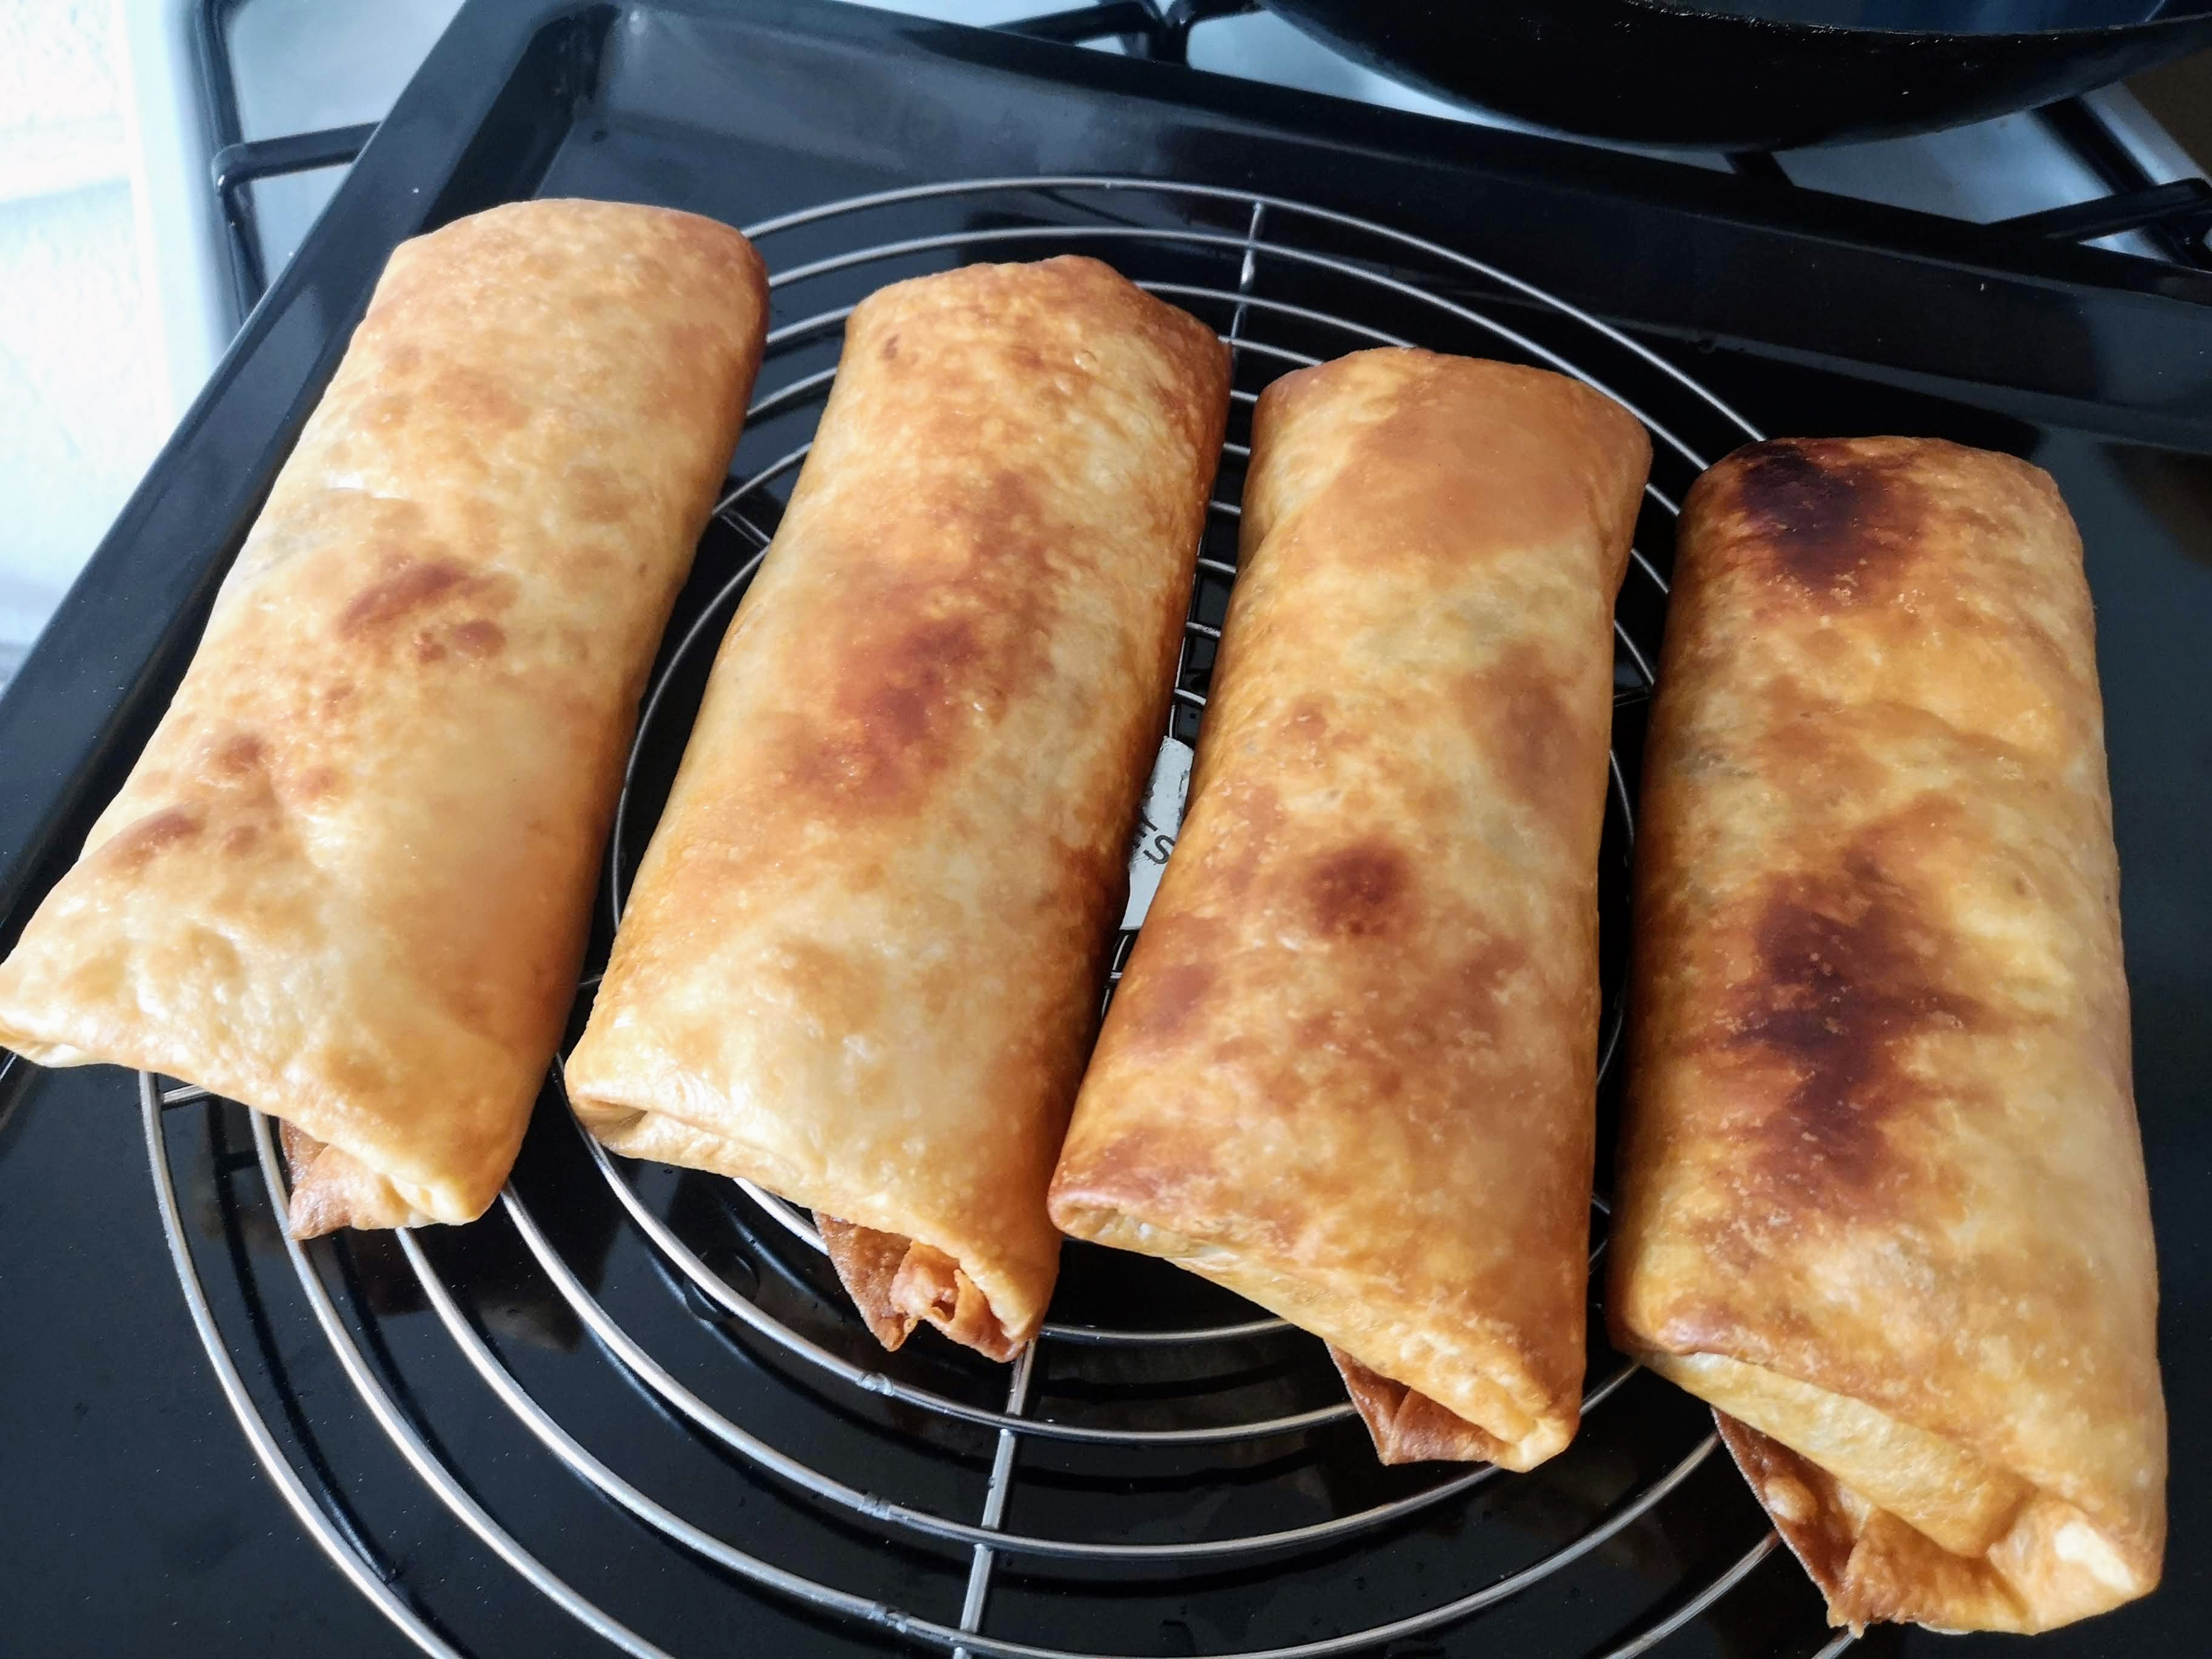
I place them in a warming oven on a wire rack over a baking sheet to stay warm as I fry the rest of the batch.
I’m kind of shocked how beautiful these turned out.
PART IV: Order Up
There’s a couple of options here. I wrap up one of the chimichangas in paper to get the whole hand-held experience of being in the park.
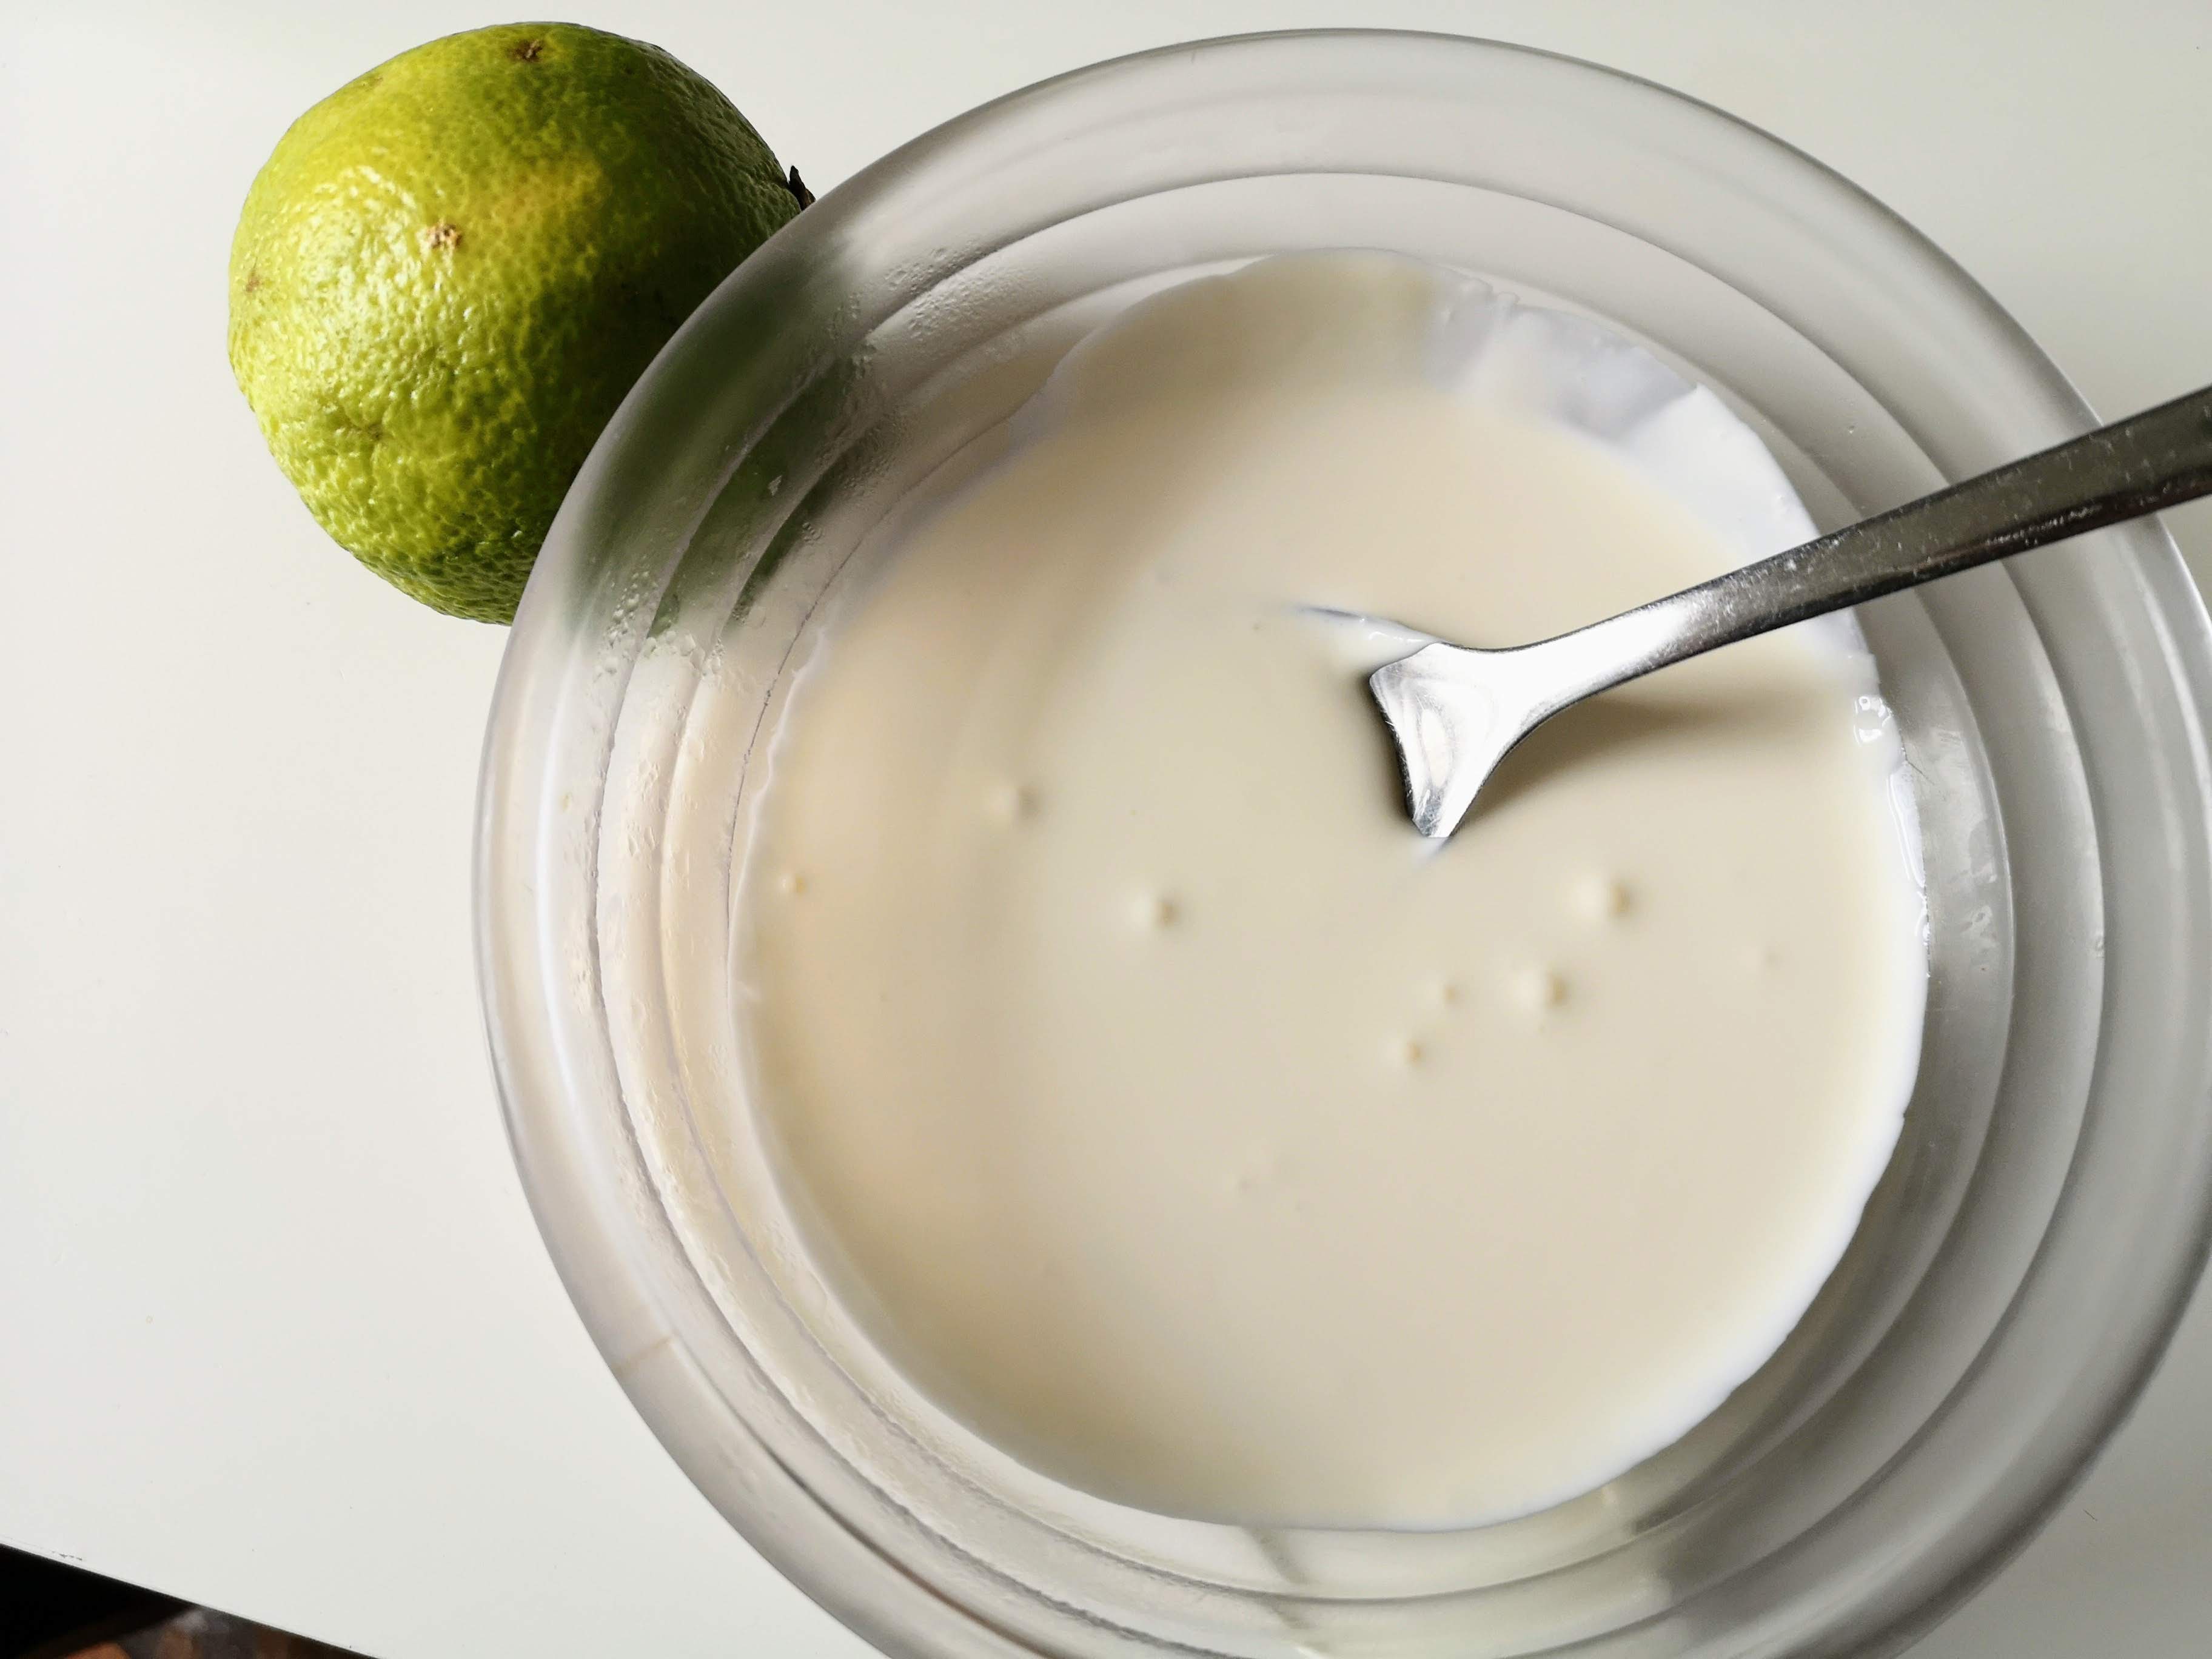
I also whip up some crema. It’s simply a half cup of good sour cream with the juice of half a lime. Mix until smooth. Done.
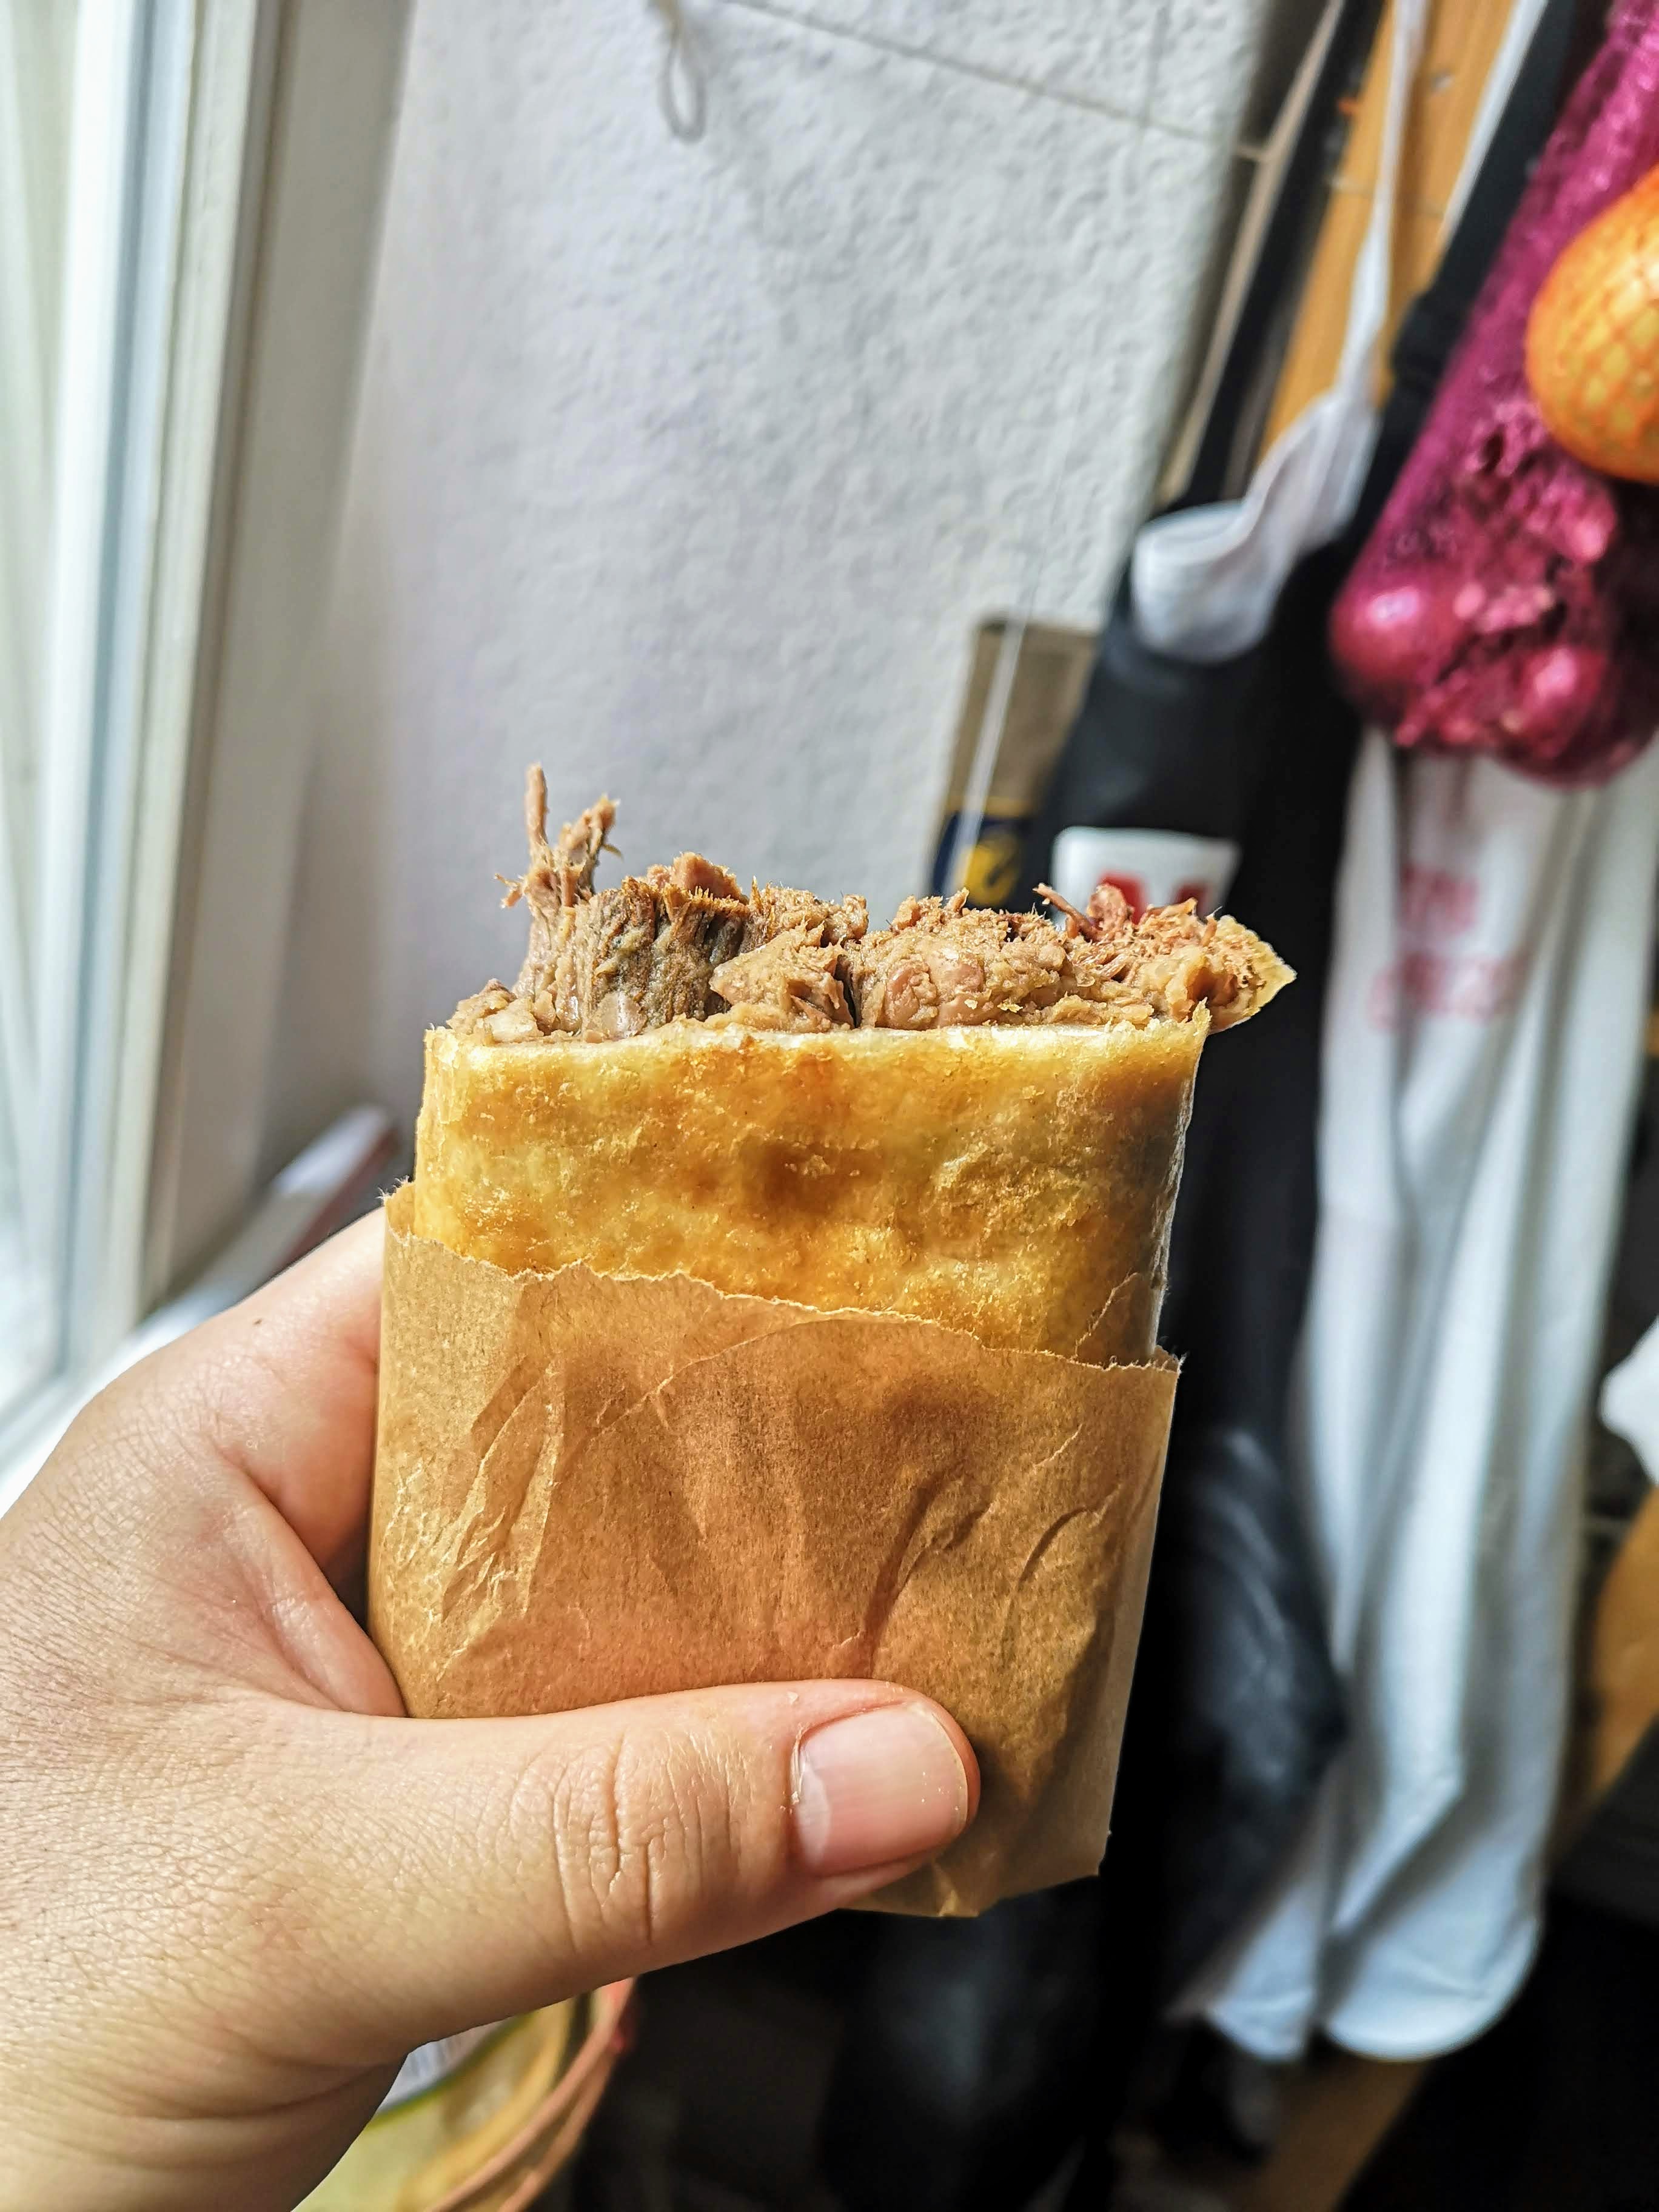
The first iteration, wrapped in paper, was pretty much perfect. The outside was super crunchy with a flaky interior. Keeping the beans and meat separate was a big step up from the mush that’s in the Disneyland version. The meat was still succulent and juicy and beans were the perfect umami-bomb with a velvety texture.
Holding the chimichanga in my hand like that brought back a flood of memories like that critic at the end of Ratatouille. I’m not going to lie, I ate chimichangas two days in a row that way.
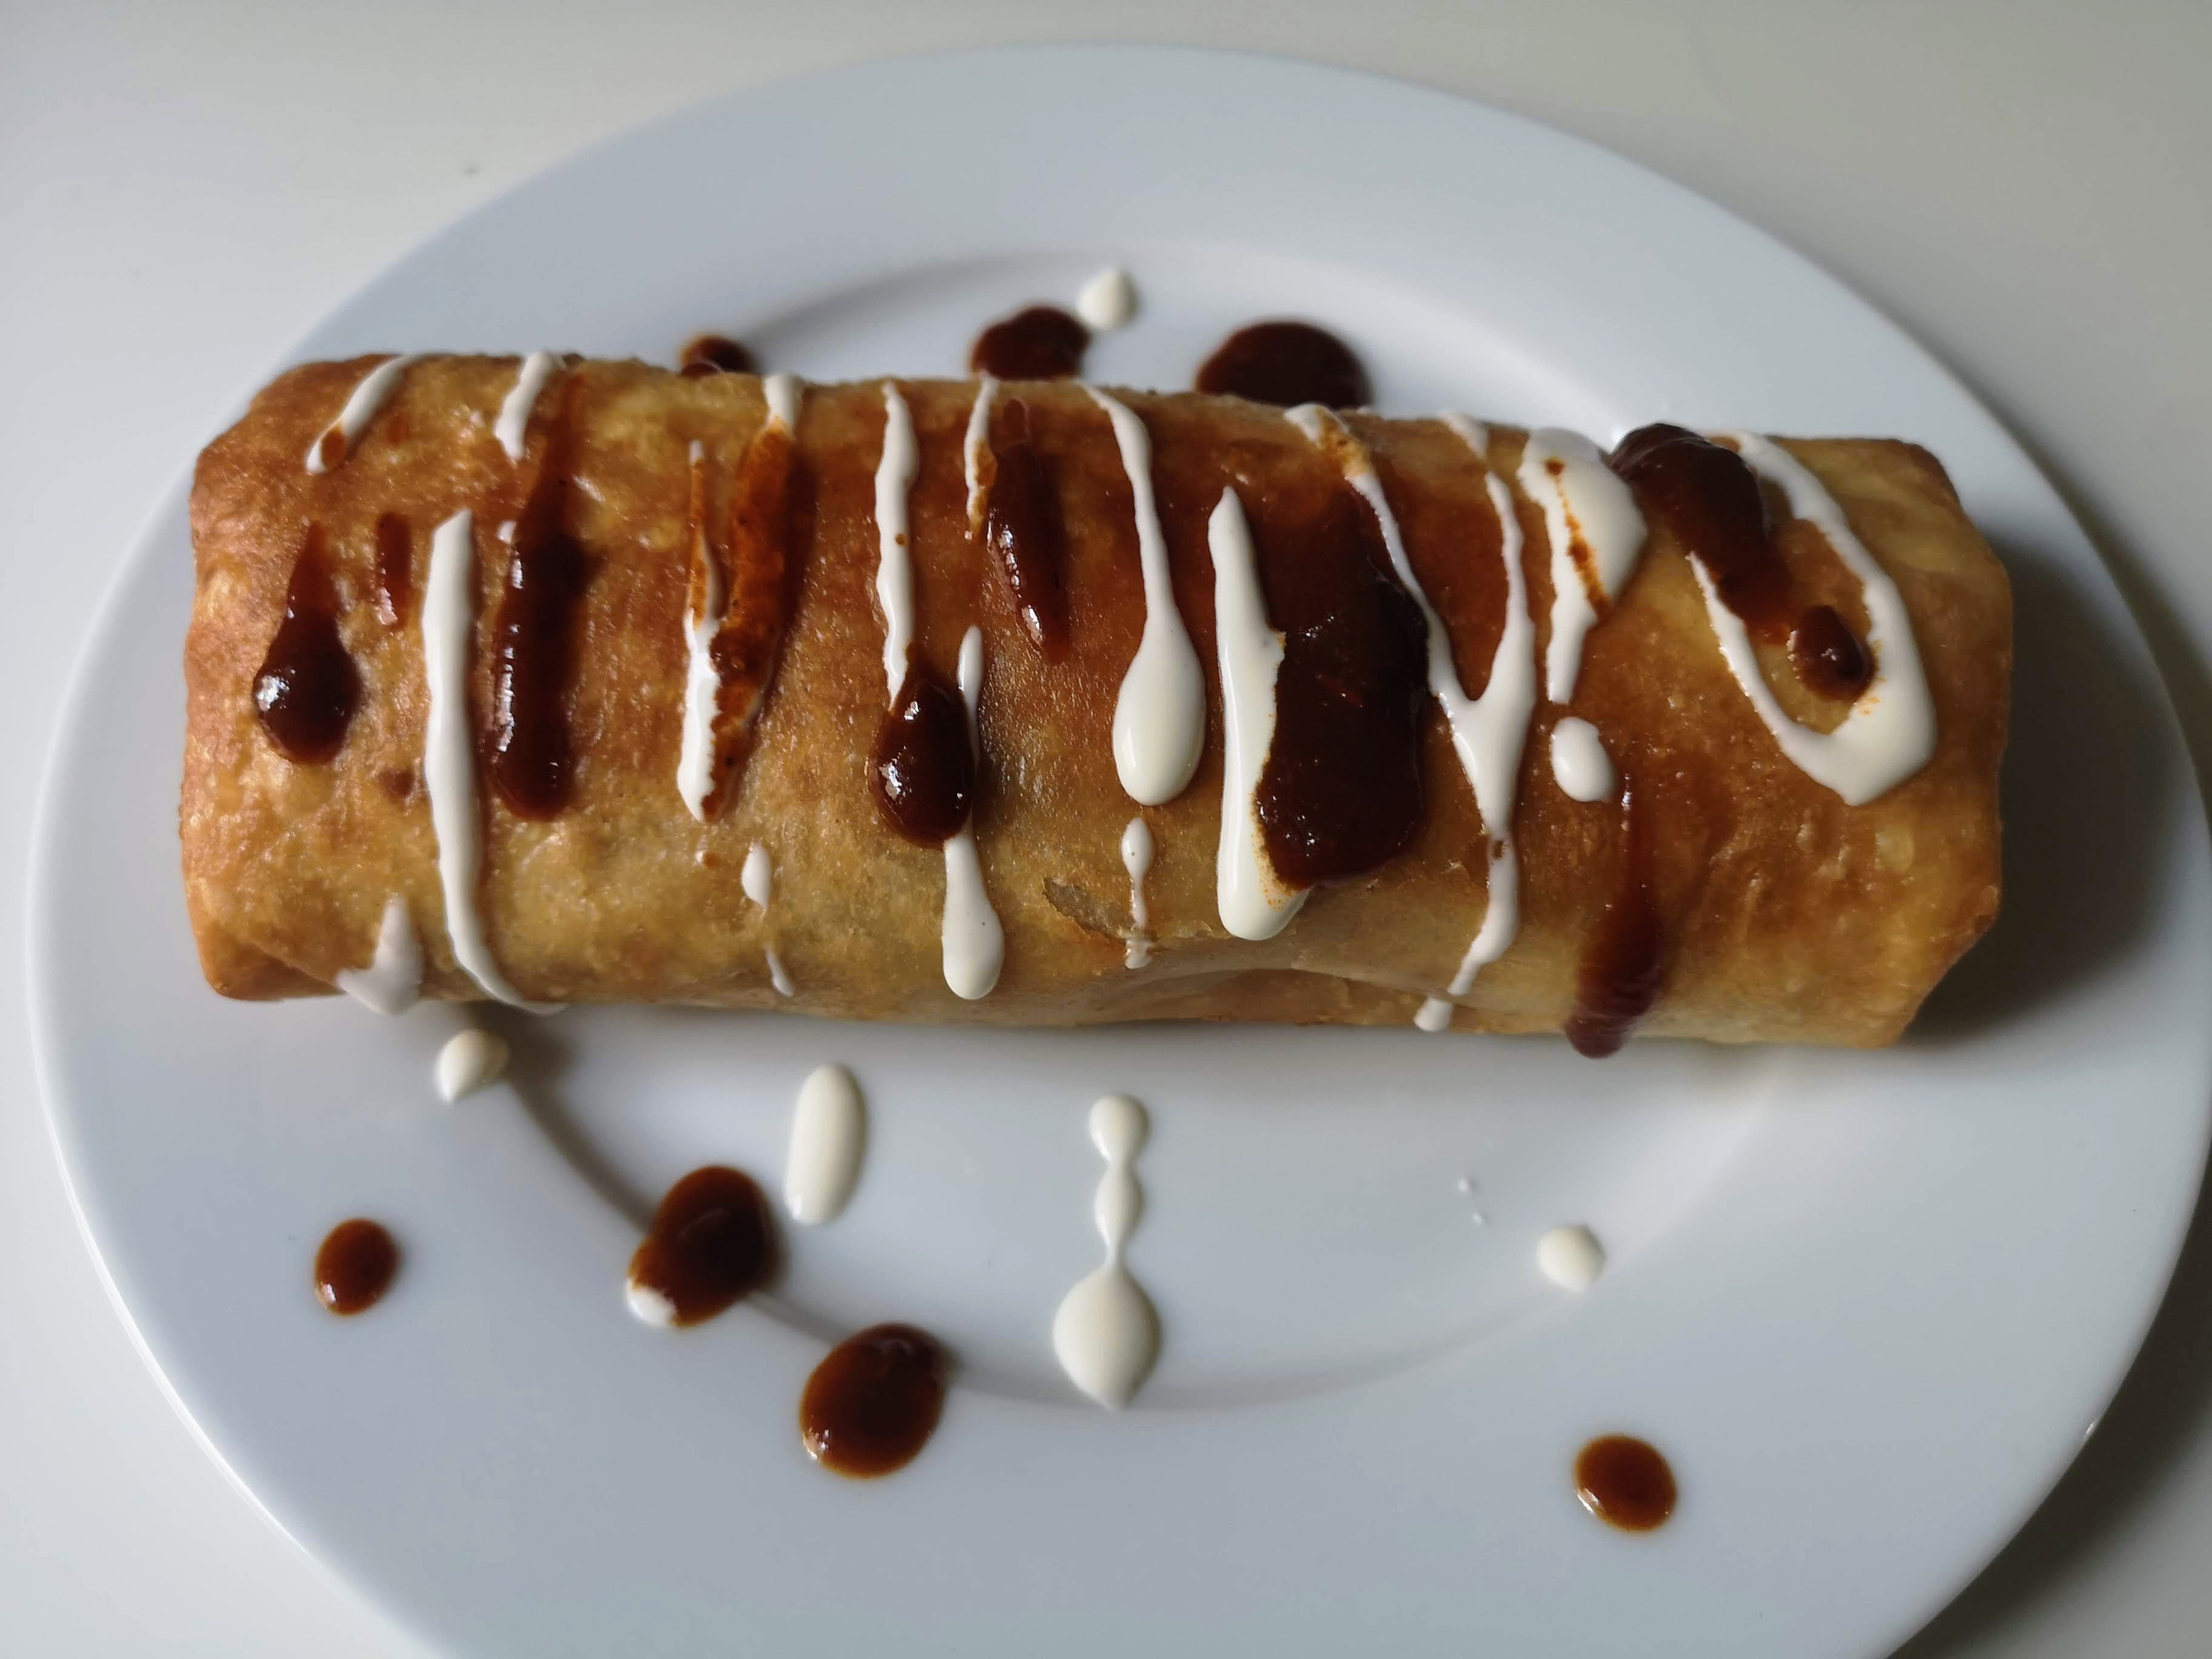
The great thing about chimichangas though, is that you can serve them as a sit-down meal too. Add a nice drizzly of the crema and chipotle sauce and tuck in with a knife and fork.
Still, my preferred way is the Disney way: in the hand and dripping with sauce. Even the mouse himself would be jealous of this one.


