Cooking fried chicken at home is a sure way to wow at any family meal or party with your crew. Yes, it takes a little bit of time, but the results tend to be spectacular. That means that mastering fried chicken at home is a must for any budding home cook.
Below, we’re going to help you nail easy fried chicken at home. This is a somewhat time-consuming recipe but it’s not that hard. The real key is just taking your time to brine the chicken, dredge, and then fry off in batches. And ho-boy is it worth the effort. And while there are a ton of recipes out there (fried chicken is one of those foods that’s part of almost every culture worldwide), we’re keeping this one very “classic” in the Southern U.S. sense of the dish.
What does that mean, in specific? Buttermilk brining, white flour dredging, and a lot of seasoning both in the meat and in the crispy coating. The best part of that base recipe is that you can go in a lot of directions with the seasoning to make it your own — which your family will adore.
The key steps you always need to adhere to for great and easy fried chicken that’s as juicy as it is delicious are the following:
- Always brine overnight — dry brine or wet brine, it doesn’t matter. This will deeply season your meat.
- Season the dredging flour too. The meat and breading both need to pop with flavor — a bland dredge will pull out seasoning from the meat.
- Don’t over dredge. One run through the flour mixture is enough for crispy fried chicken at home.
- Don’t overspend on oil. Standard vegetable oil is fine and costs far less than peanut oil and will yield a very similar result. (You only start to notice a significant difference when you start using animal fats — beef tallow, duck fat, lard, etc.)
- 140F is safe for food but you want to hit 160F for fried chicken (it’s the right texture and juiciness). Anything over 170F and your chicken will start to dry out significantly.
- Always season with salt when it comes off the oil.
- Take your time. Good chicken isn’t rushed.
Okay, we have the semantics out of the way. Let’s get frying so that you can really wow your fam this weekend when you bring this amazingly delicious fried chicken to dinner.
- Wow Your Tailgating Crew With These Amazing BBQ Sauce Recipes
- Wow Your Friends And Family With One Of These Awesome Hot Sauce Recipes
- We Tested Taylor Swift’s Viral Sugar Cookies Against The Internet’s Other Top Recipes
- Feed Your Whole Crew With This East-Asian Inspired Slow-Roasted Pulled Pork Recipe
- We Tested The Internet’s Best Burger Patty Recipes To Find The Perfect Date Night Burger
Fried Chicken
Ingredients:
- 1 Chicken (cut into 10 pieces)
- 1 cup buttermilk
- 2 tsp. garlic powder
- 2 tsp. onion powder
- 2 tsp. paprika
- 1 tsp. oregano
- 1 tsp. cayenne
- 2 cups AP flour
- Neutral oil (I used vegetable oil)
- 2 tbsp. salt
- Pepper
A quick note on the chicken. I bought a standard fresh whole “fryer” chicken from my local Kroger. It was about $10. You can of course buy a chicken already cut into pieces. Or you can go all legs and thighs. Do what feels right for your family dinner. I also used fresh local buttermilk, but anything in your dairy aisle will do.
What You’ll Need:
- Kitchen knife
- Cutting board
- ZipLock bag
- Cookie sheet with drying rack
- Wok, large pot, or dutch oven
- Slotted spoon/spatula/spider
Method:
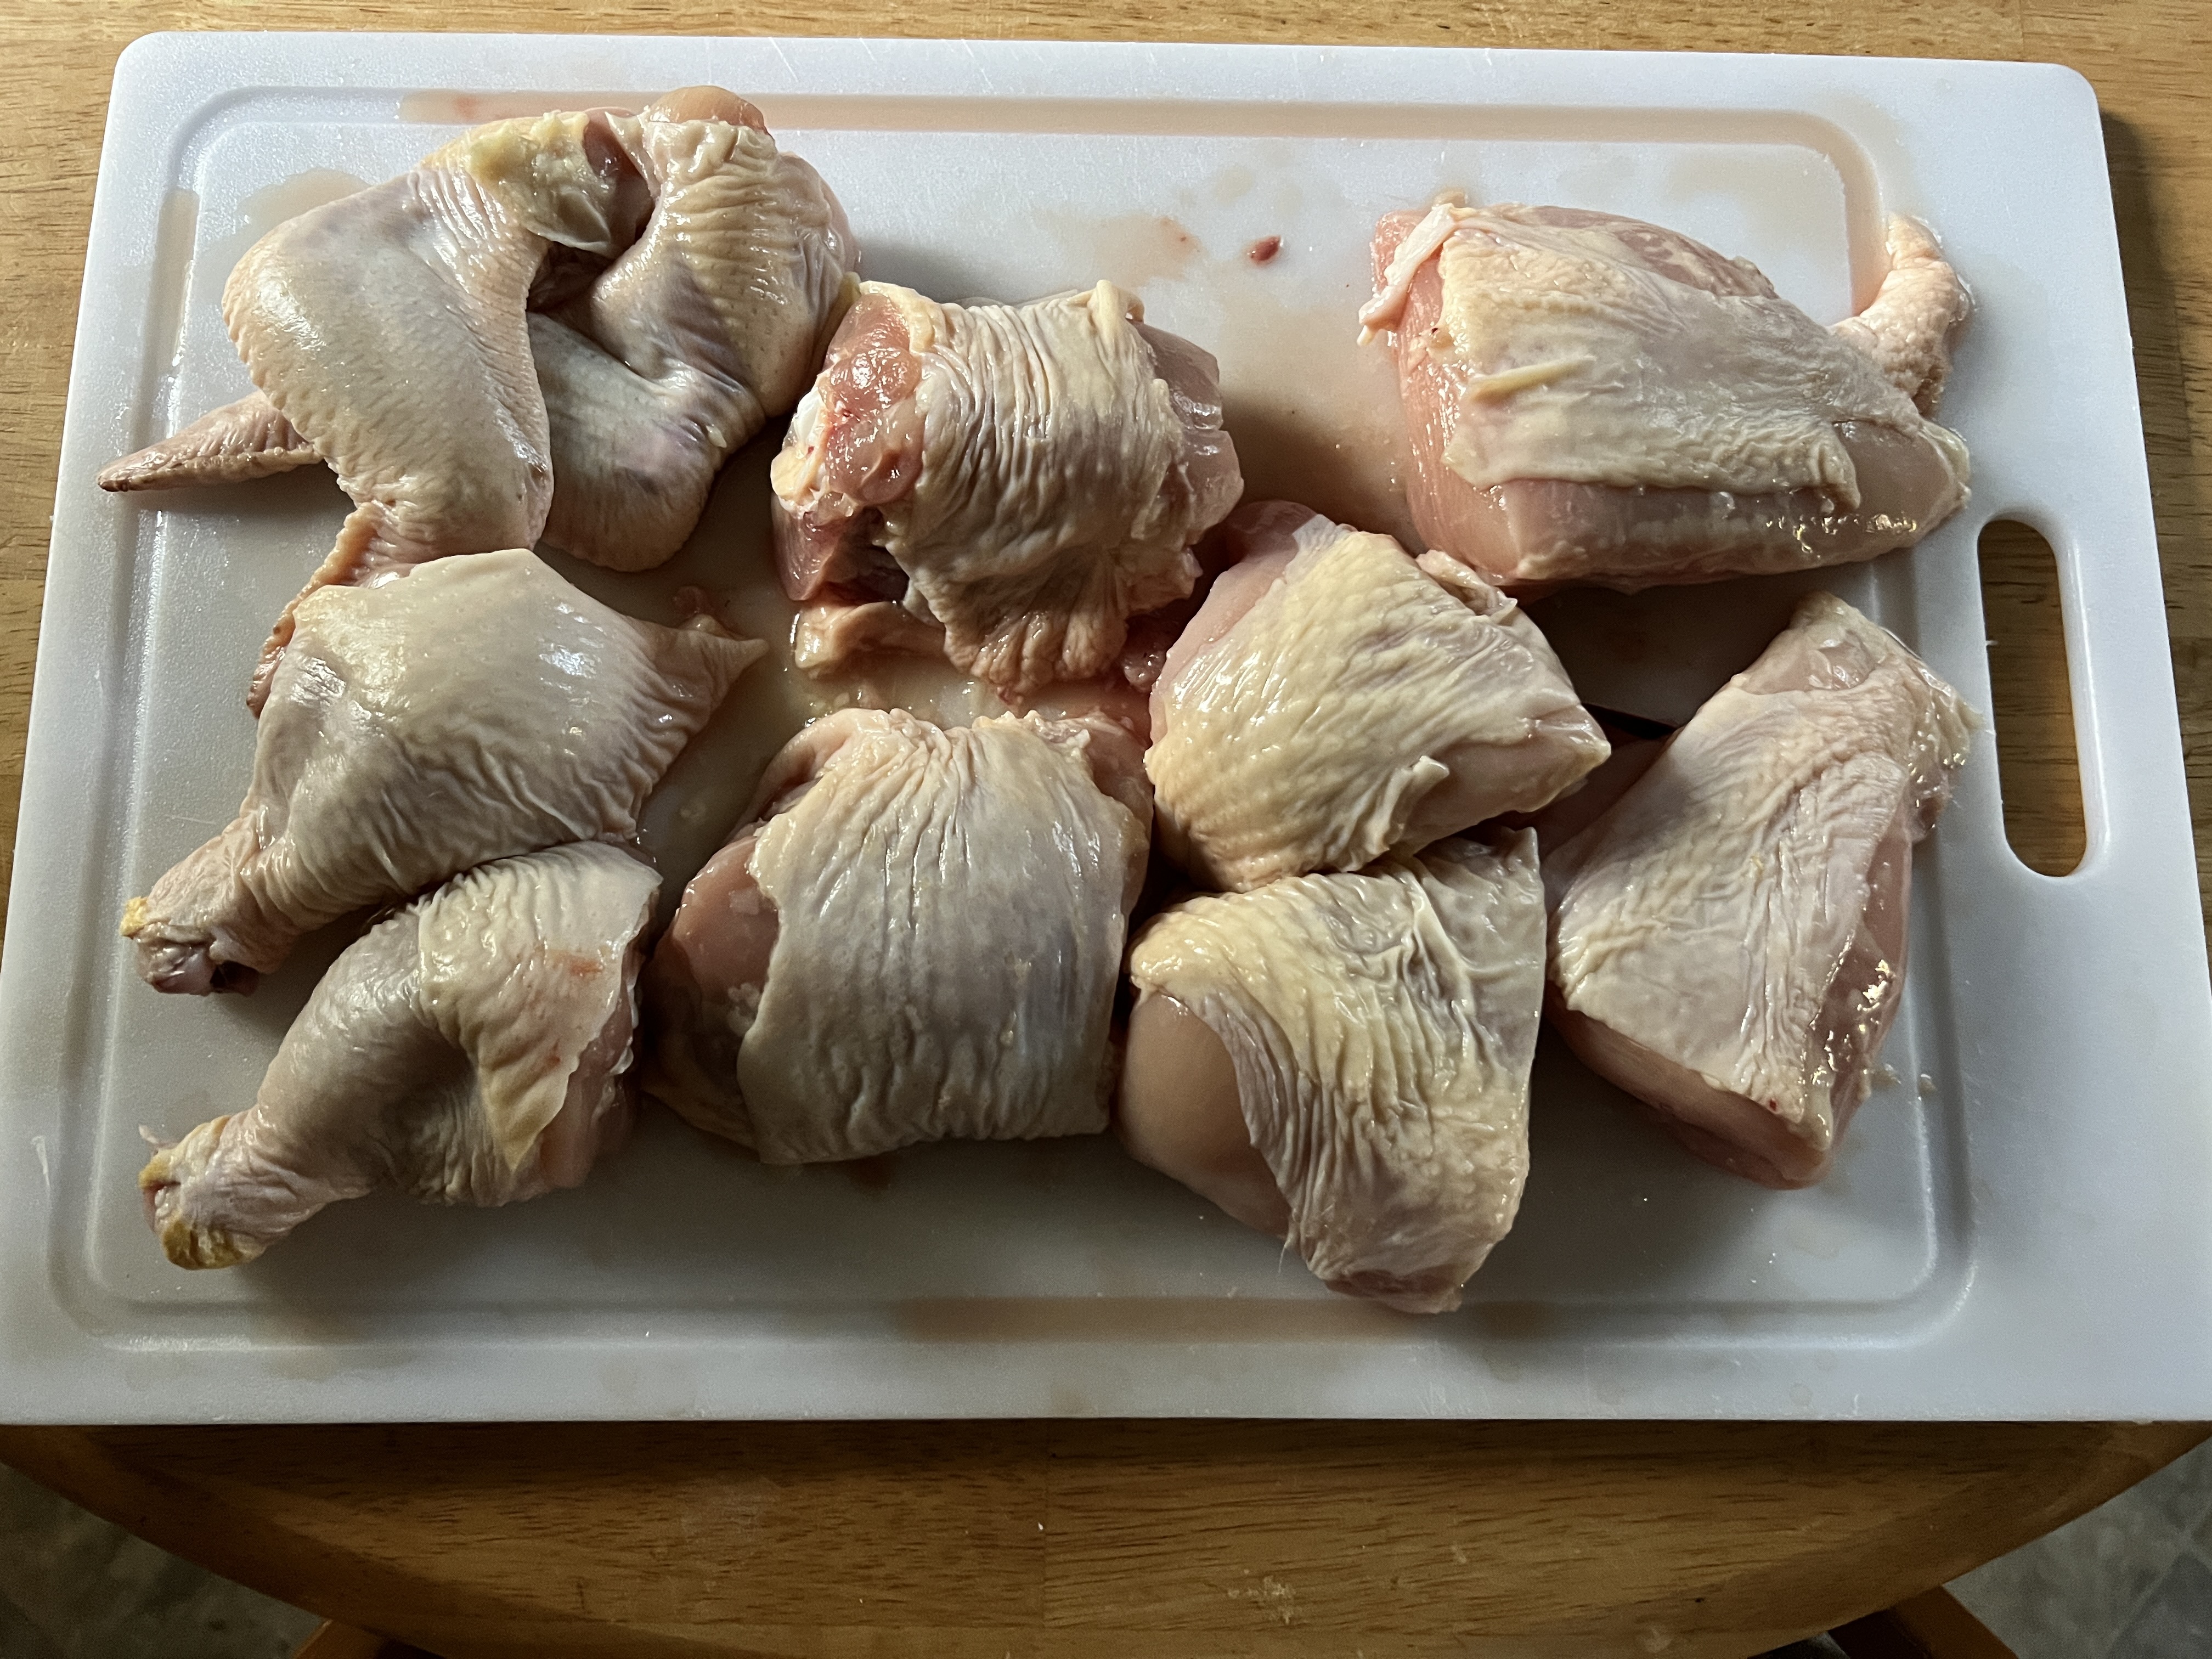
- The night before you fry, brine the chicken. Using a kitchen knife, remove the spine from the bird. Then use the tip of the knife to cut off the thighs, legs, wings, and breasts. Then cut the breasts in half again and remove the legs from the thighs.
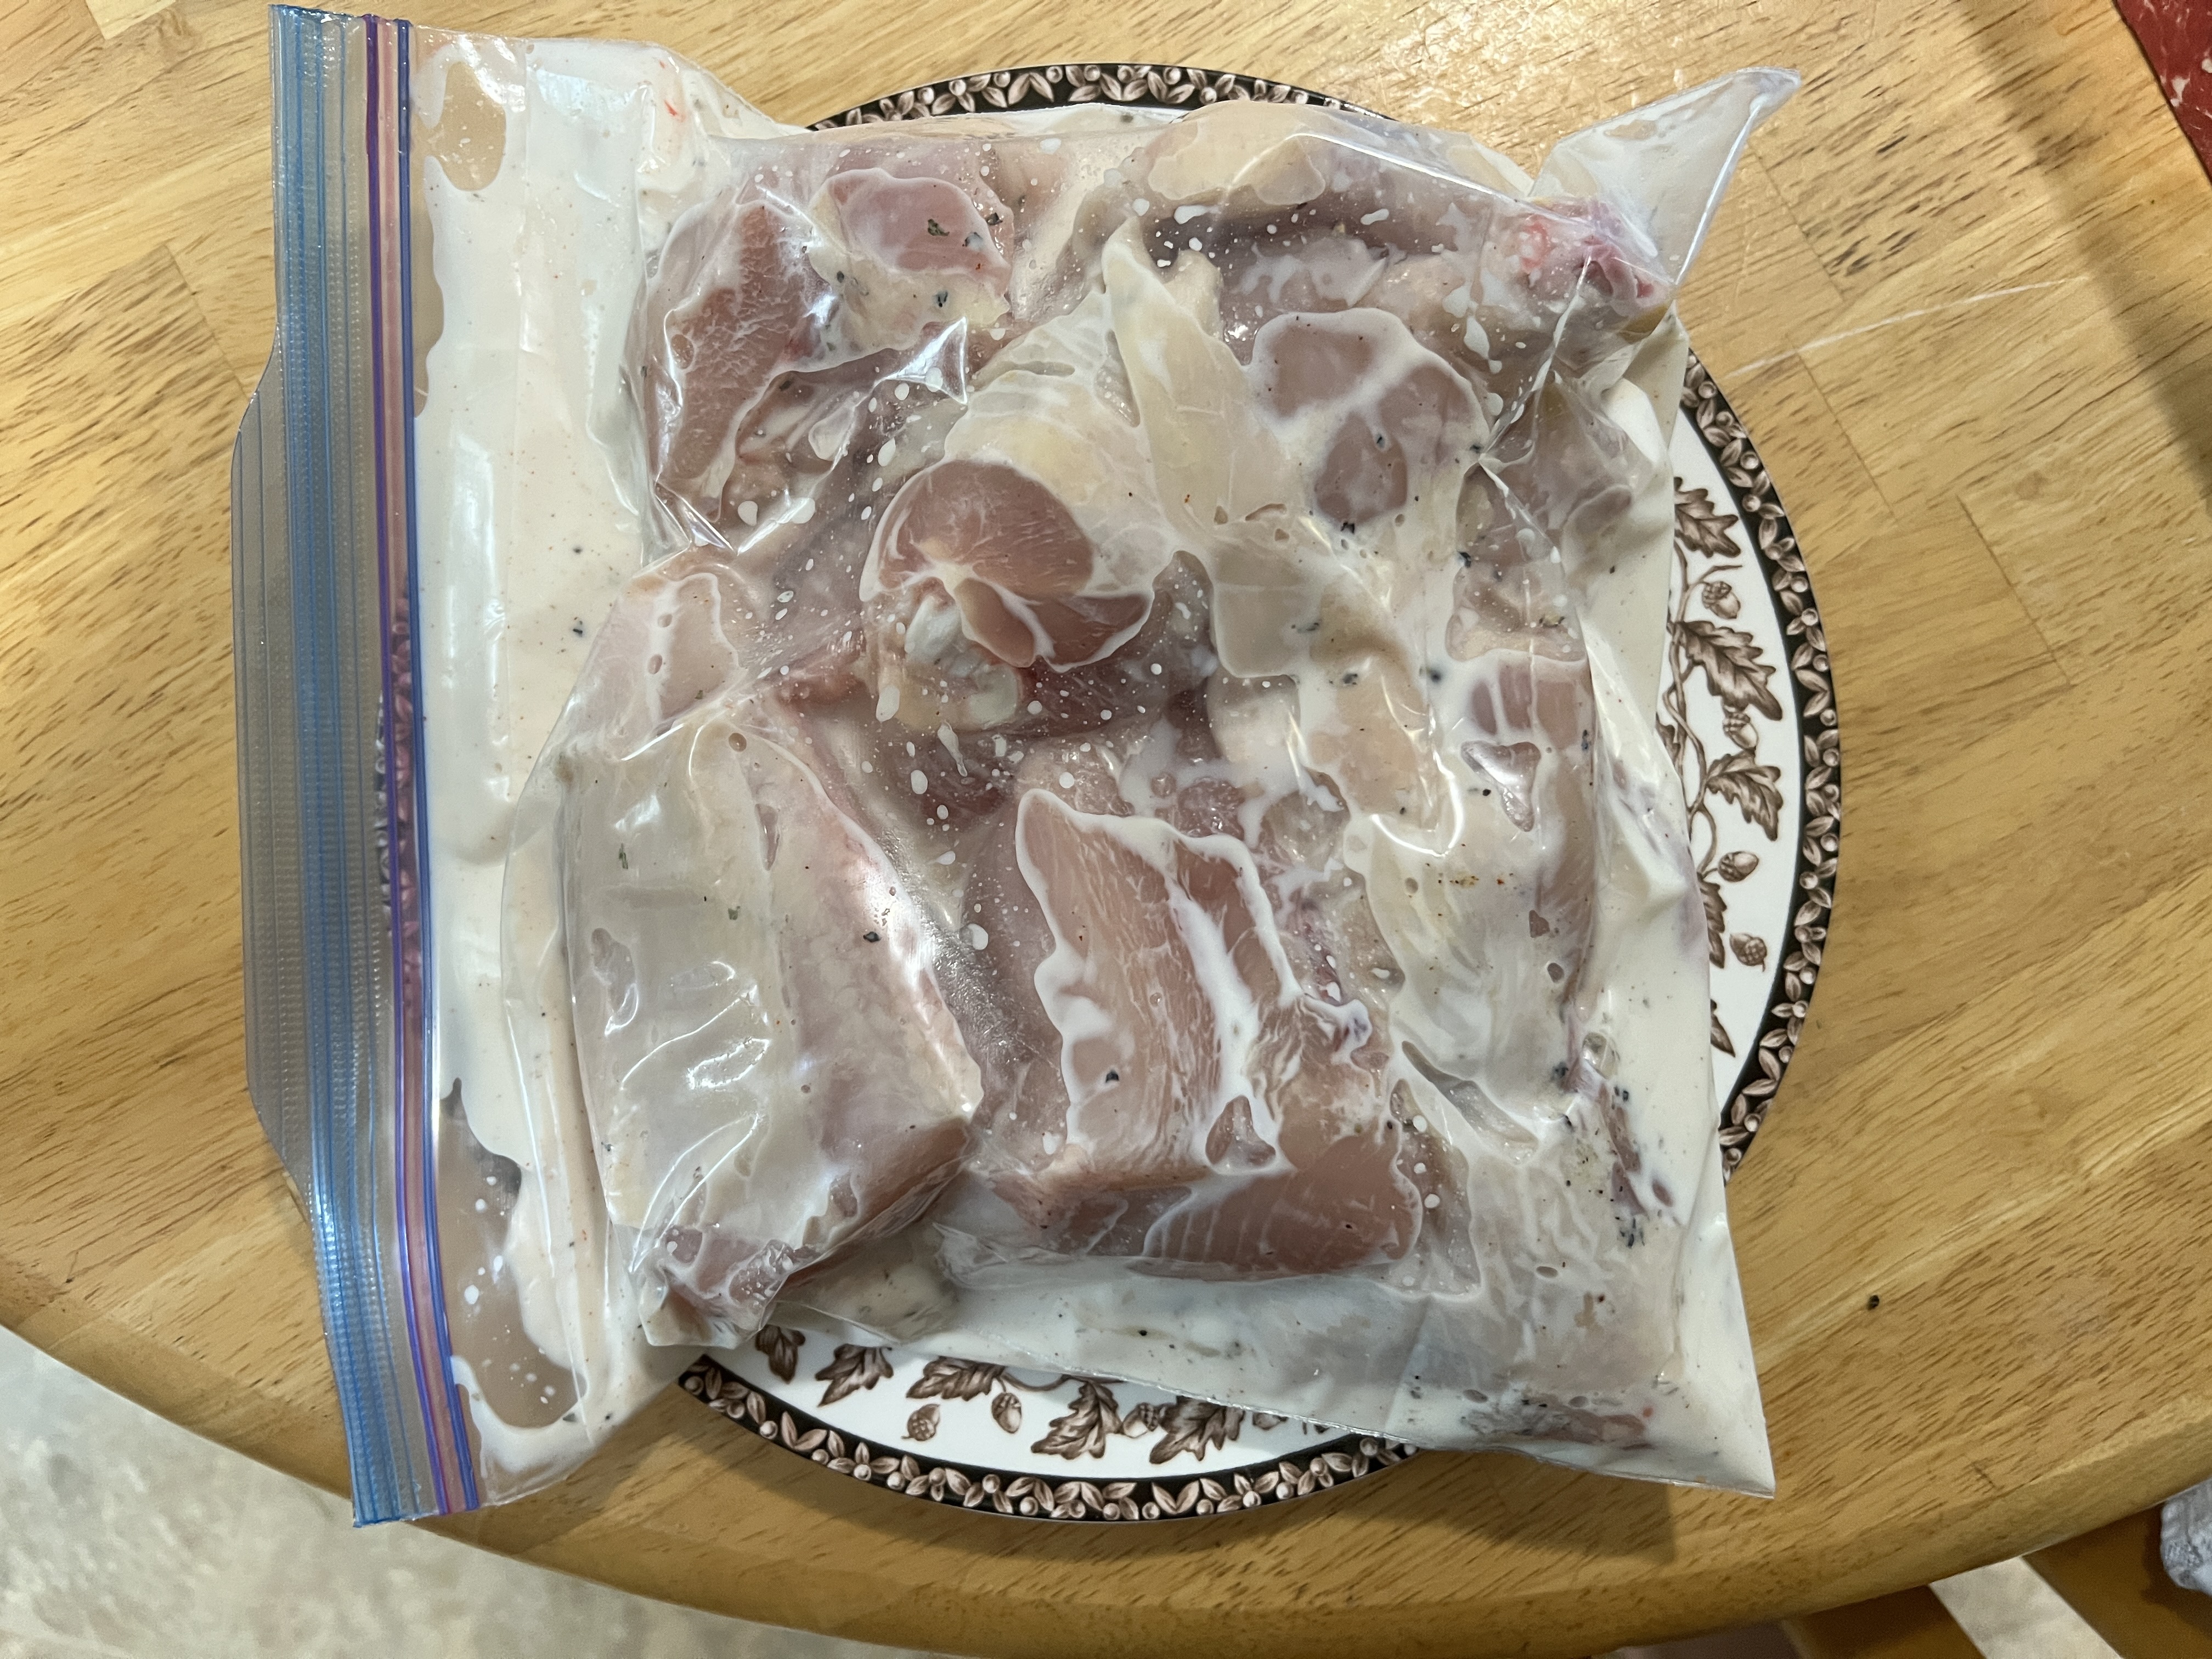
- Add the buttermilk, 1 tbsp. salt, plenty of black pepper, 1 tsp. garlic powder, 1 tsp. onion powder, 1 tsp. paprika, 1 tsp. oregano, and a pinch of cayenne to the ZipLock bag and make sure it’s well-mixed. Add the chicken pieces and seal the bag. Roll everything around until it’s nicely coated and place in the fridge overnight.
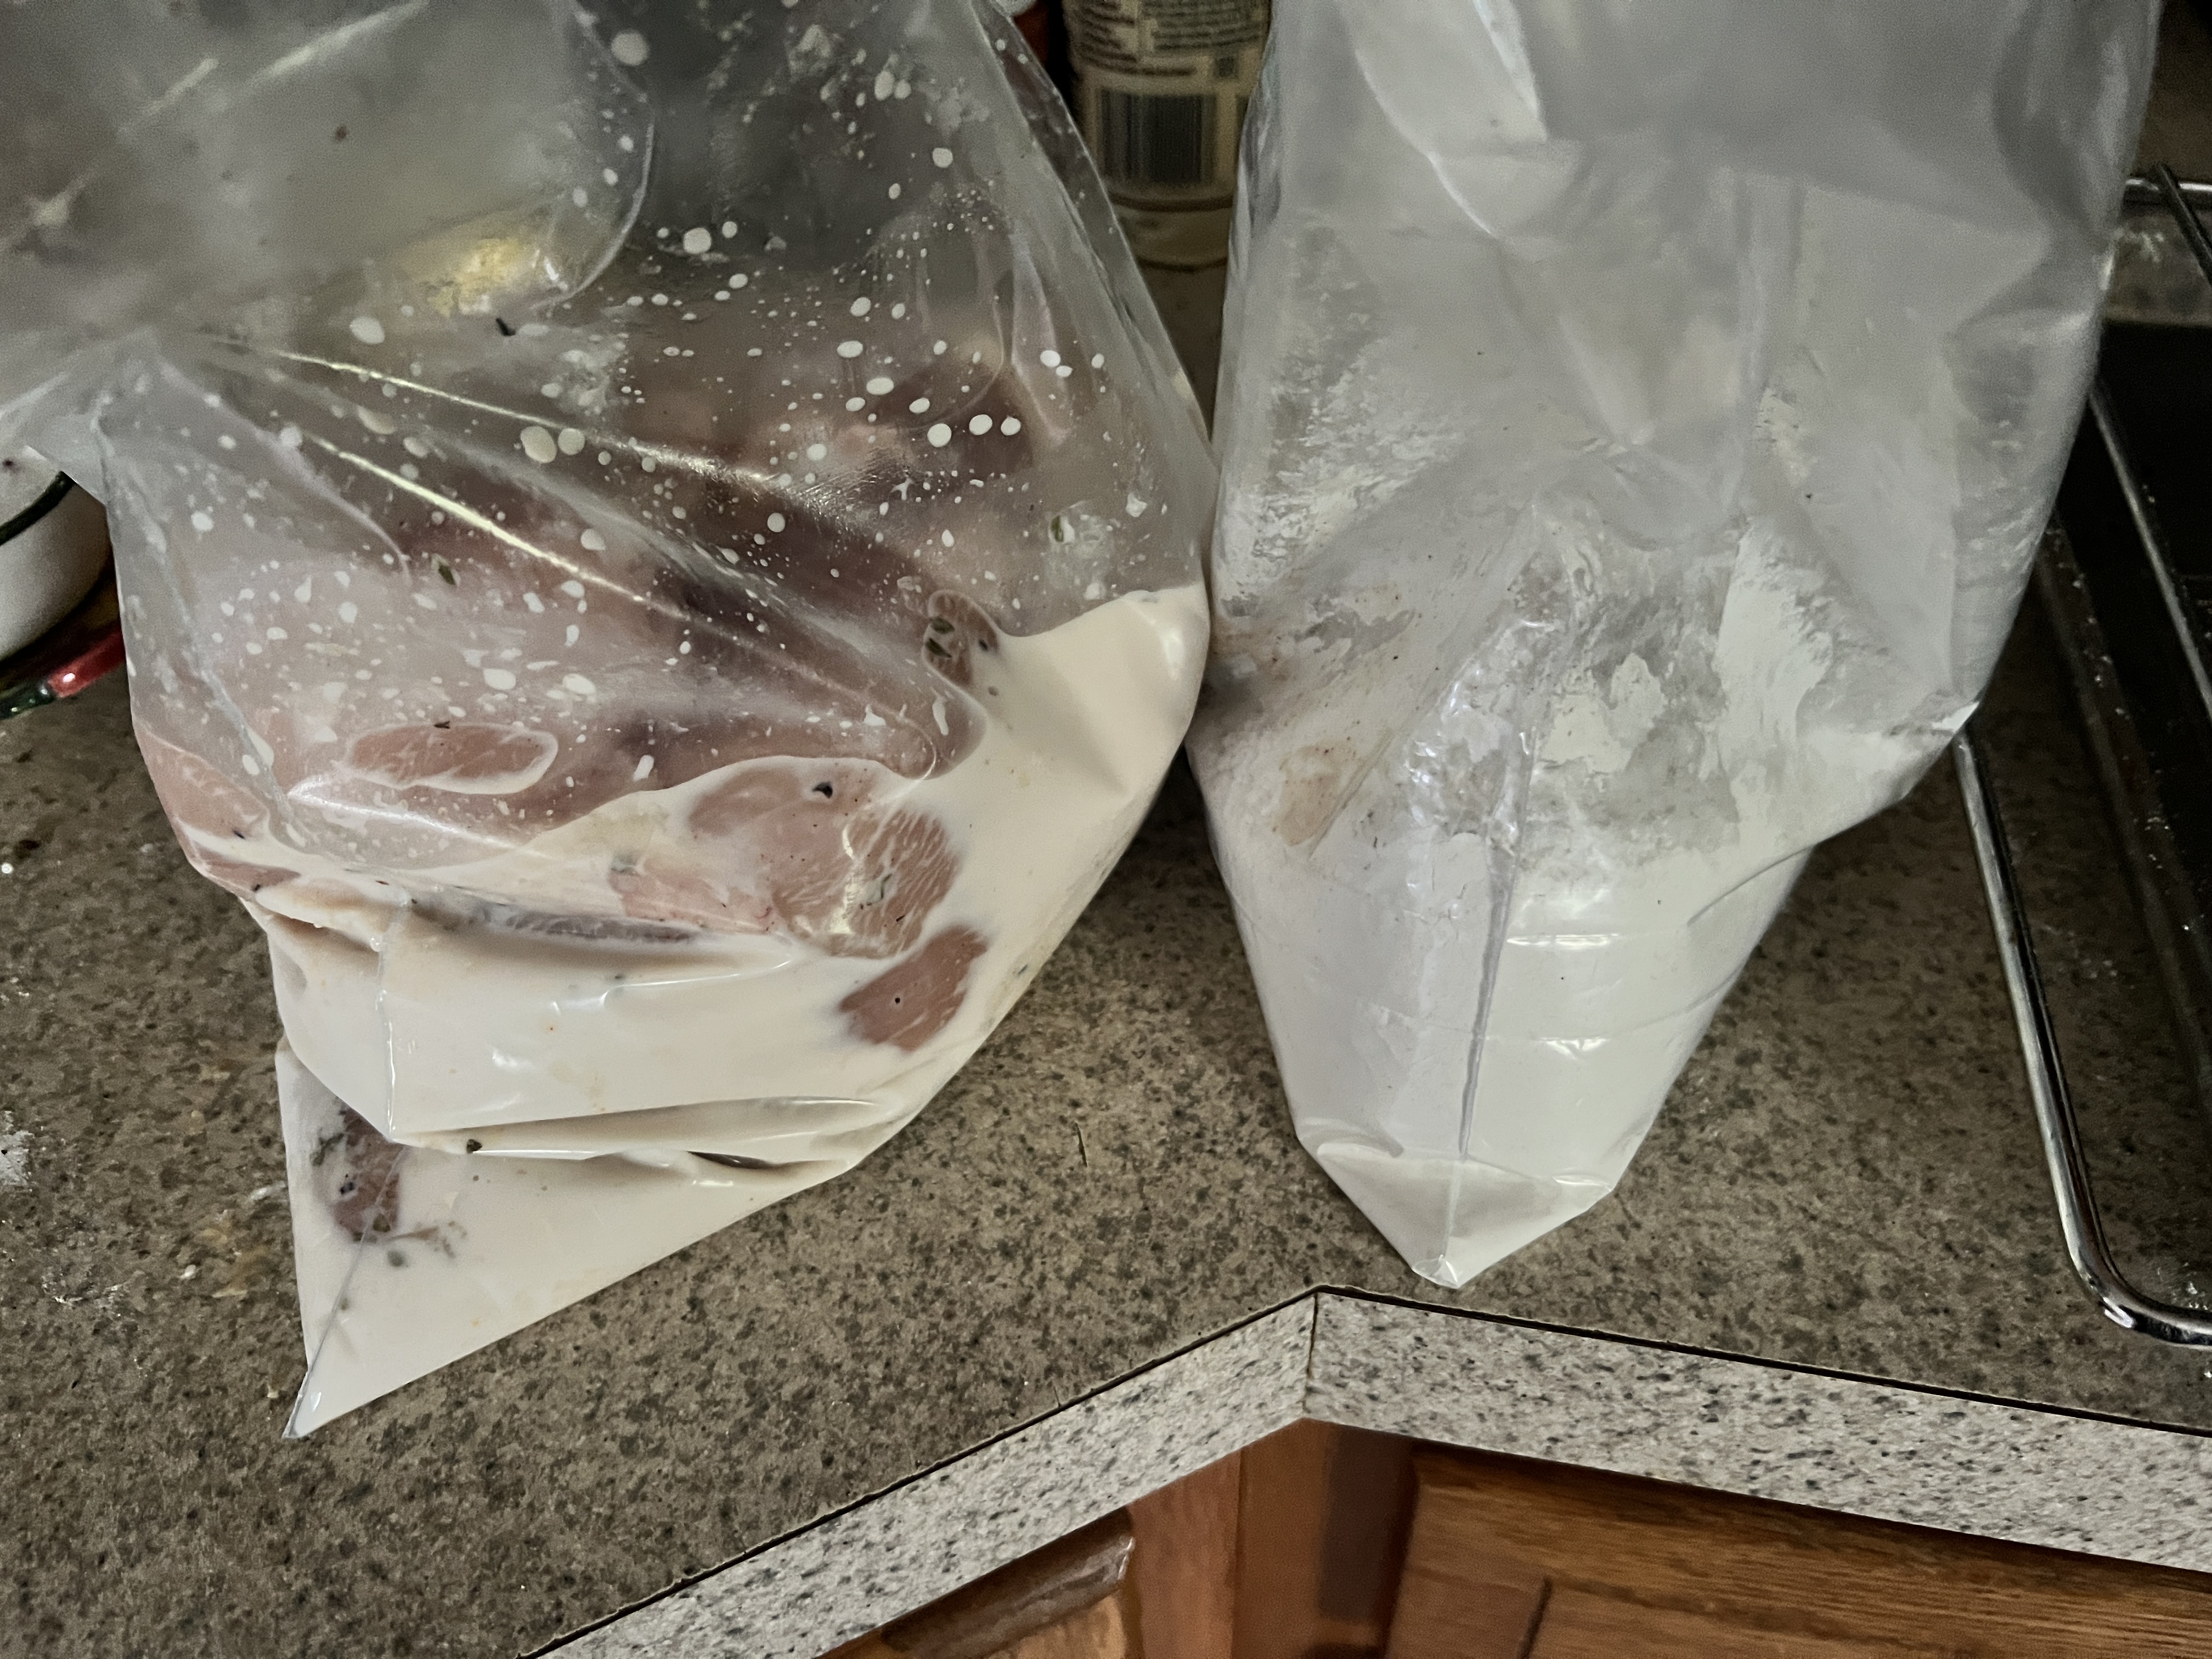
- The next day, get another ZipLock bag ready with the flour, 1 tbsp. salt, plenty of black pepper, 1 tsp. onion powder, 1 tsp. garlic powder, 1 tsp. paprika, and a pinch of cayenne. Make sure the spices and flour are completely integrated.
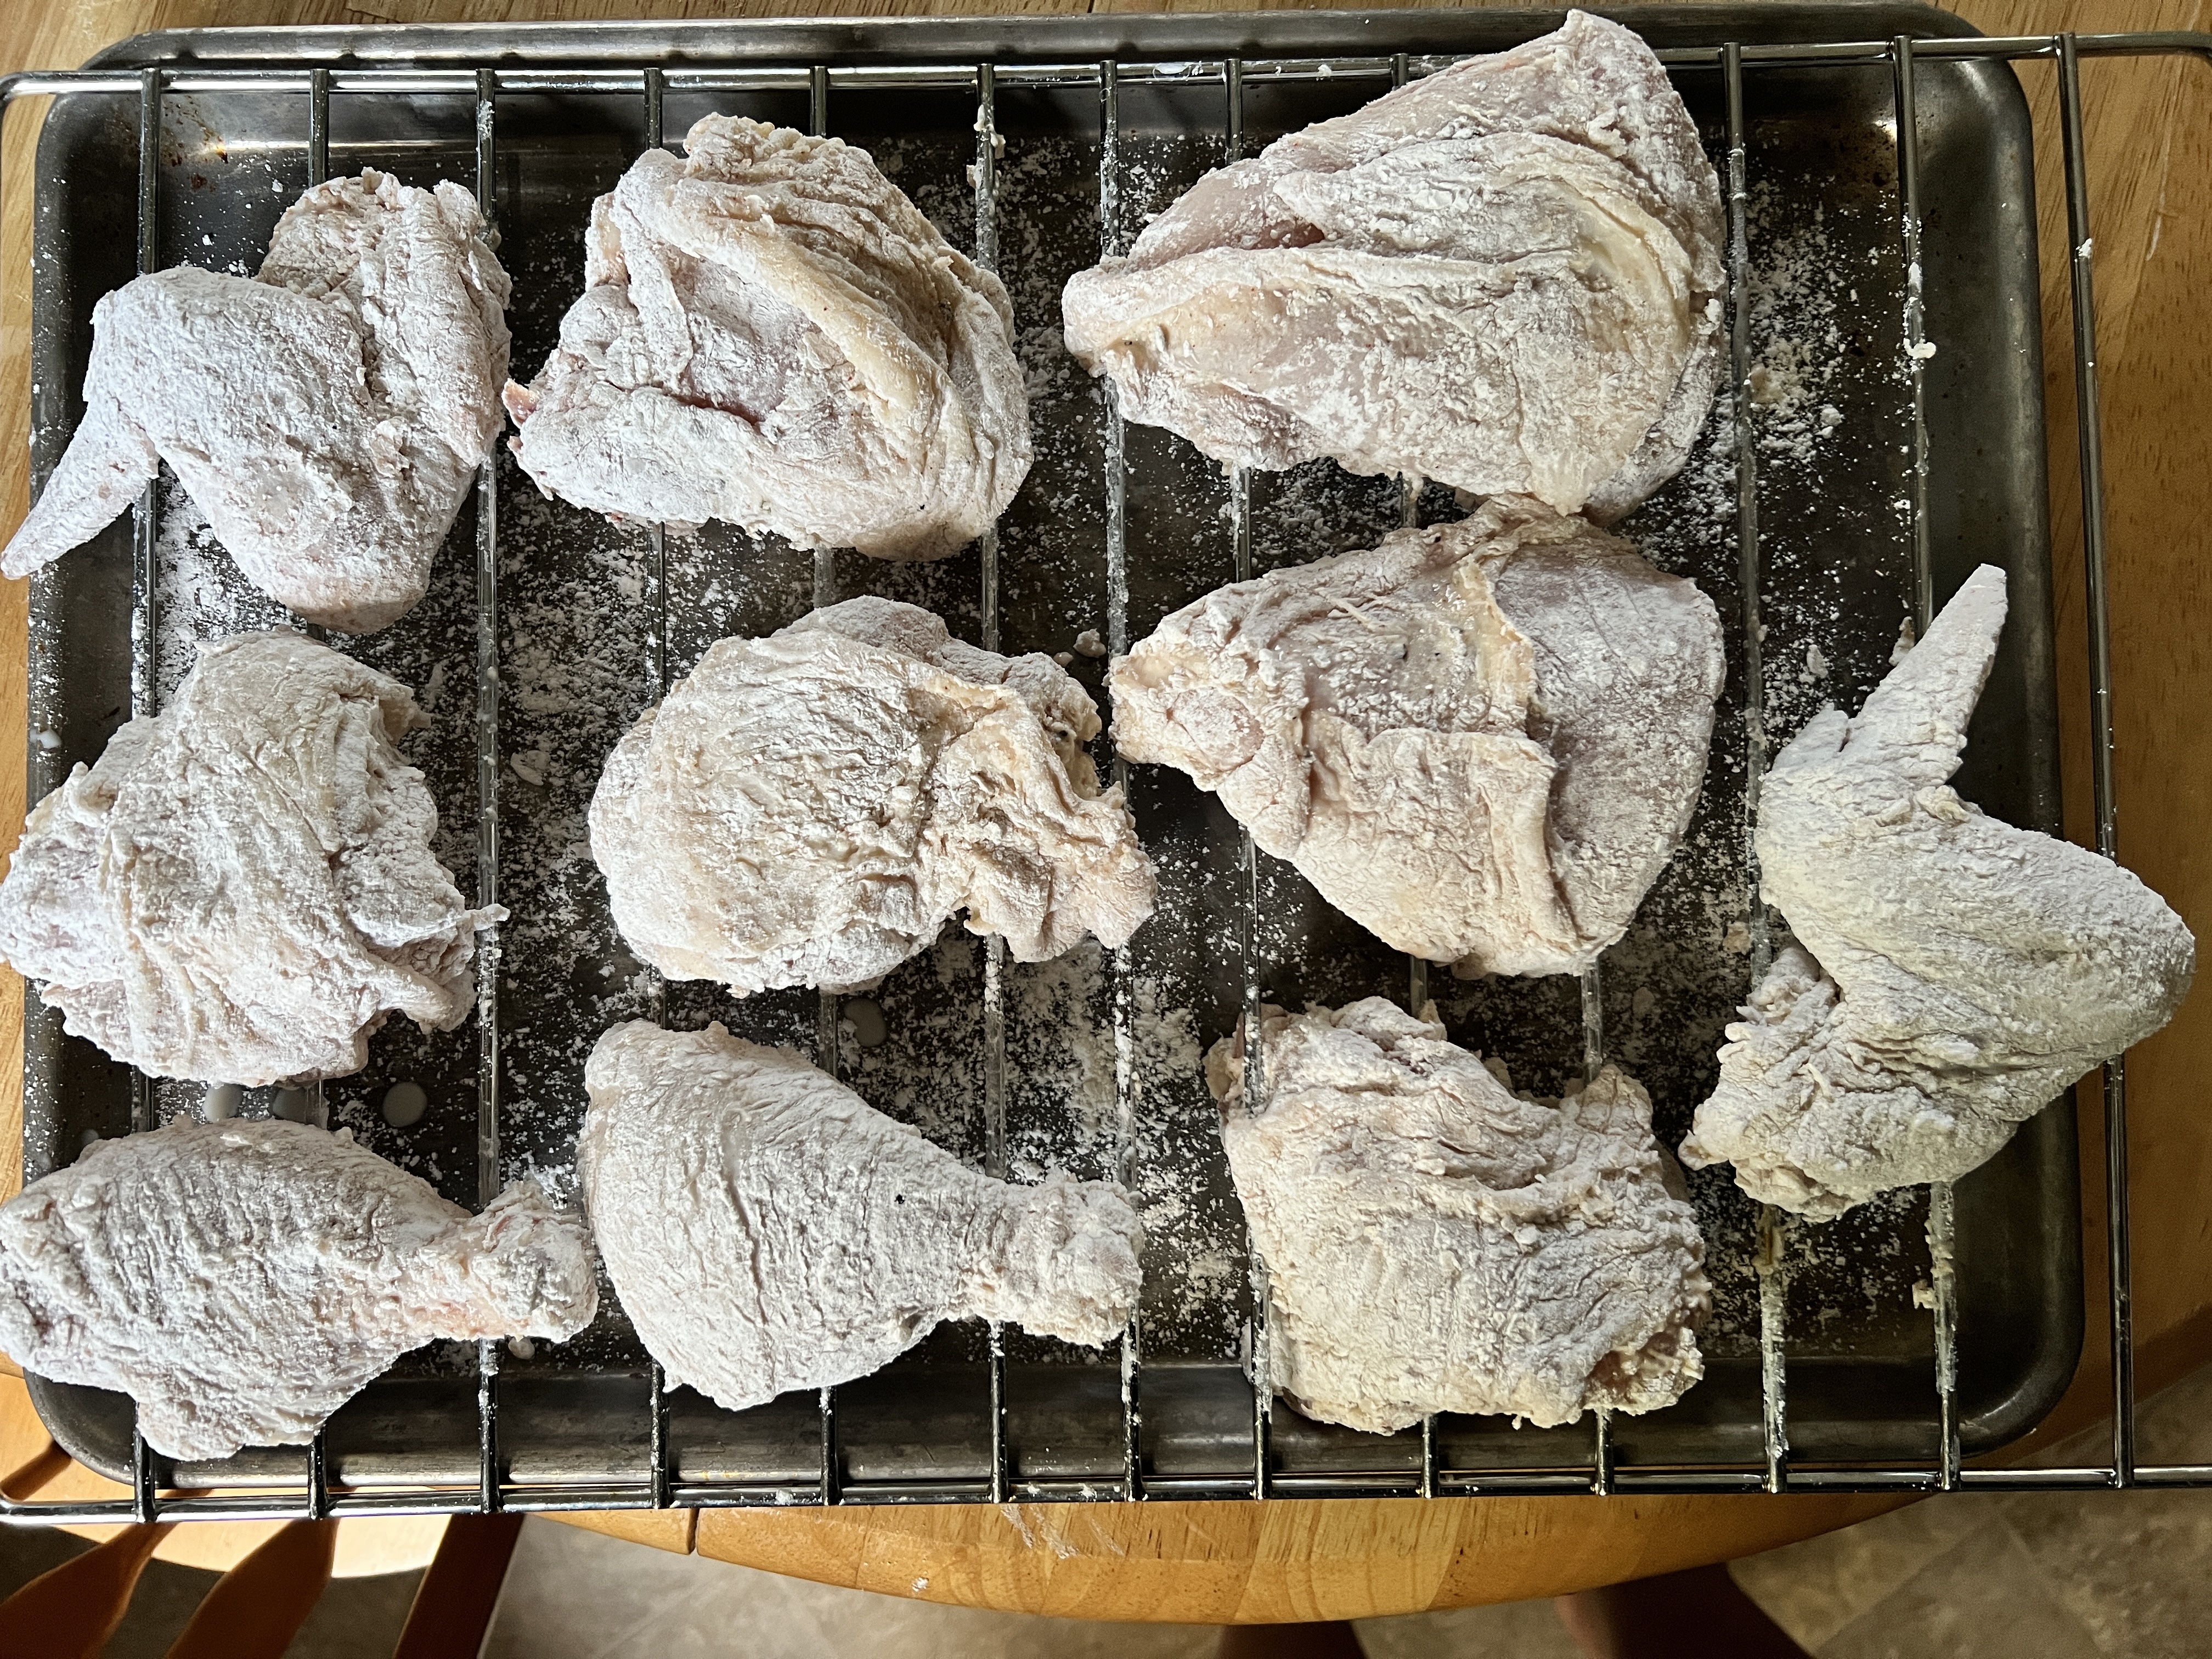
- Grab the bag from the fridge, set up the cookie sheet with a drying rack, and then start the dredging process. Take two pieces of the chicken from the brining bag and place them in the flour and spice mix, seal the bag, and shake until the chicken is well-coated, remove the chicken piece from the bag (shake off excess flour back into the bag), and place the piece on the drying rack. Repeat until all the chicken pieces are dredged and breaded.
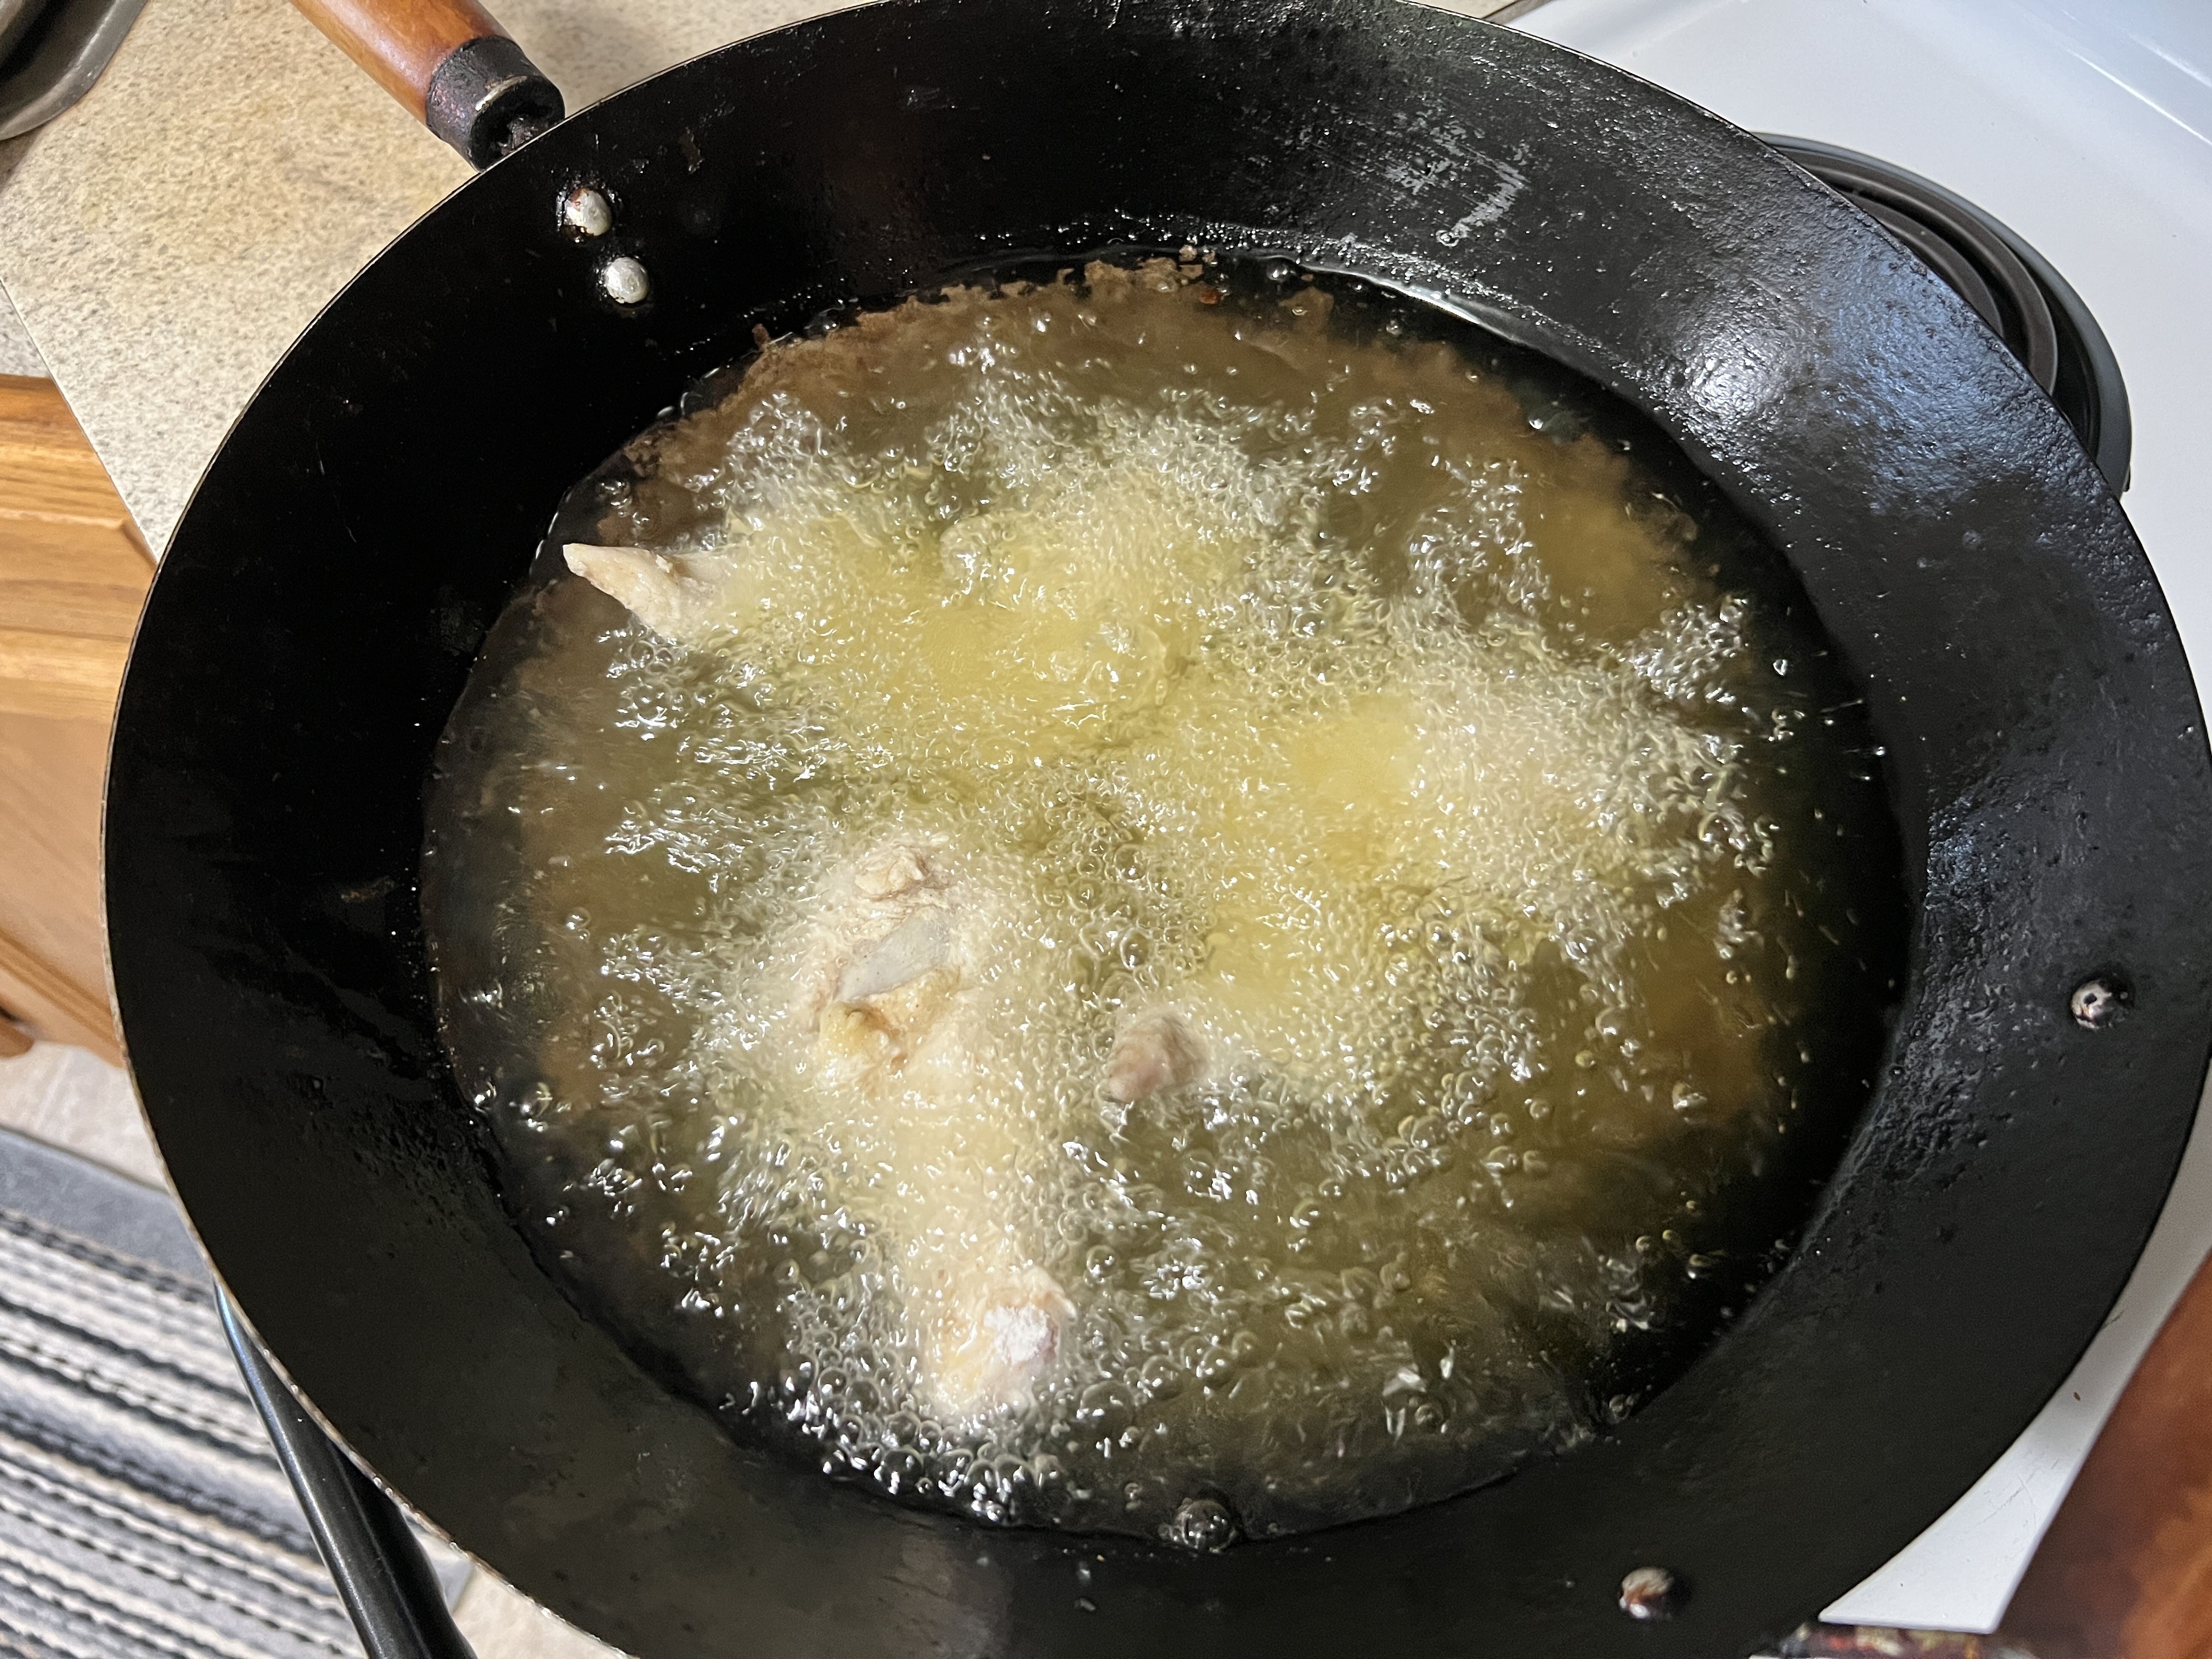
- While the chicken is resting, heat the oil to 375F (I like to use a wok for plenty of space). Once the temp is hit, gently lay the chicken into the oil (facing away from you). Do not overcrowd the pot/wok/dutch oven — so fry two to four pieces at a time. Each piece will take 6 to 8 minutes to fully cook for the dark meat and wings and a full 10 minutes for the breast pieces.
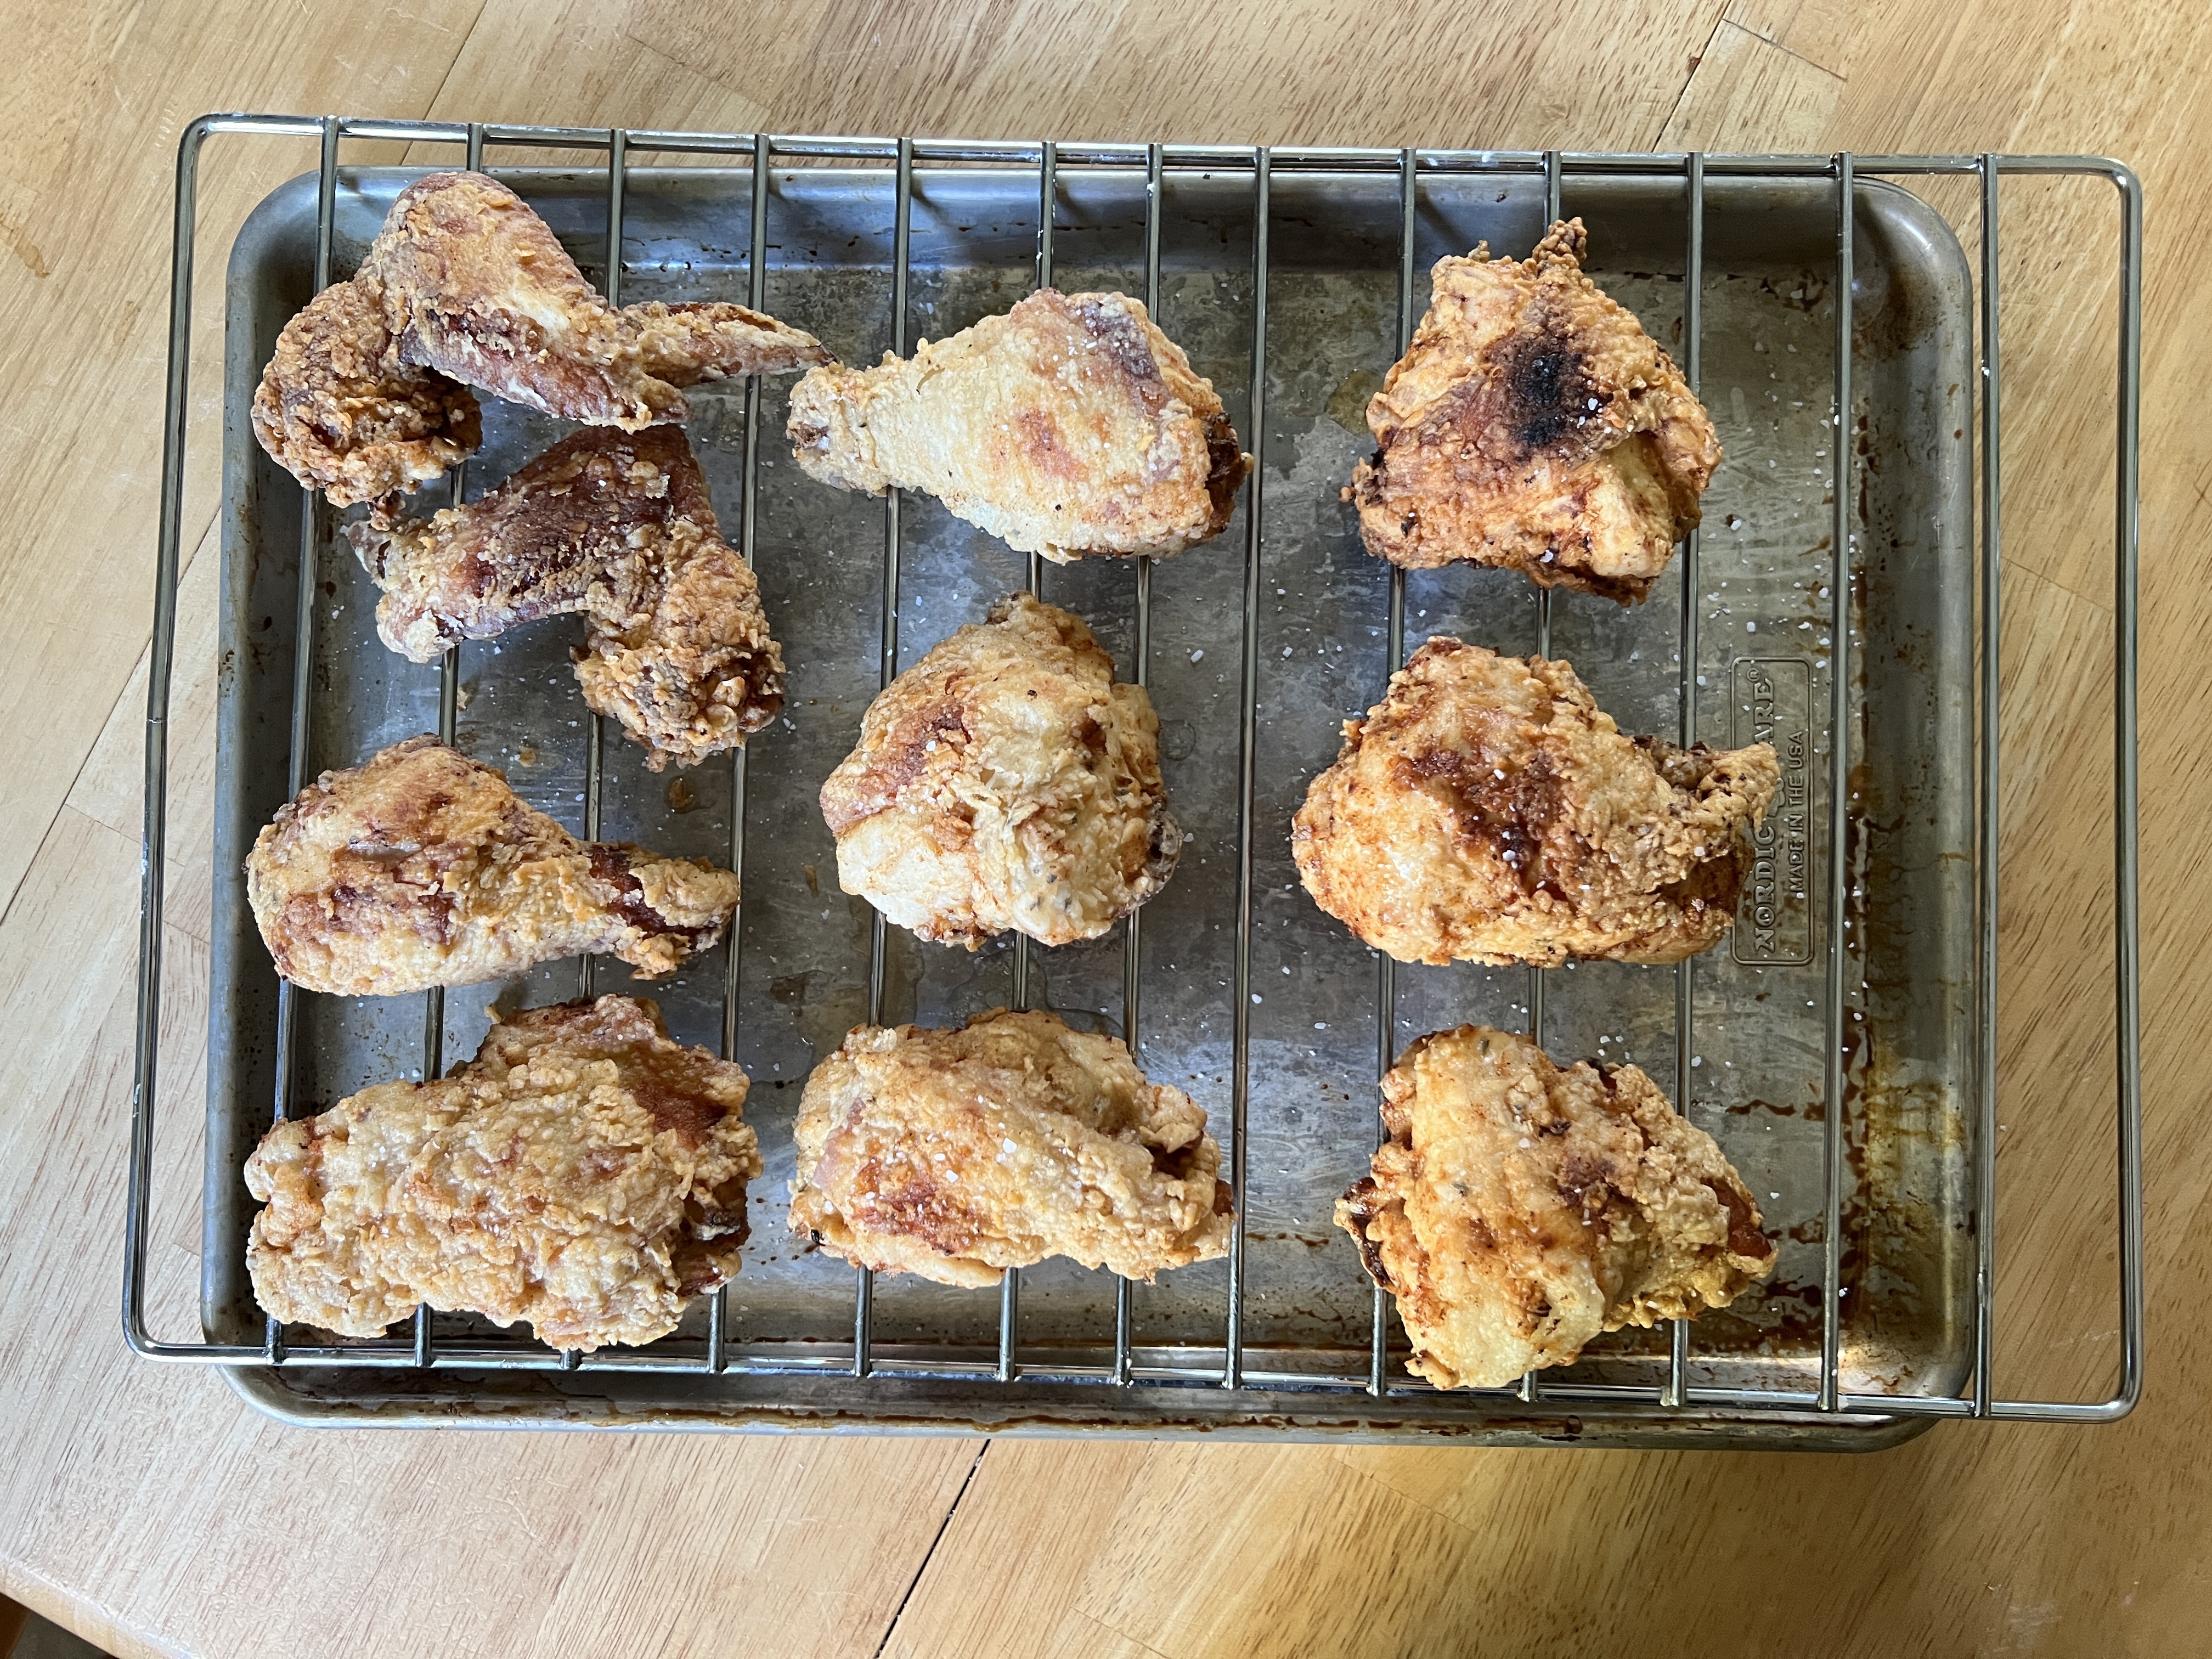
- Set up a new cookie sheet with a drying rack for draining the cooked fried chicken while the first batch is frying.
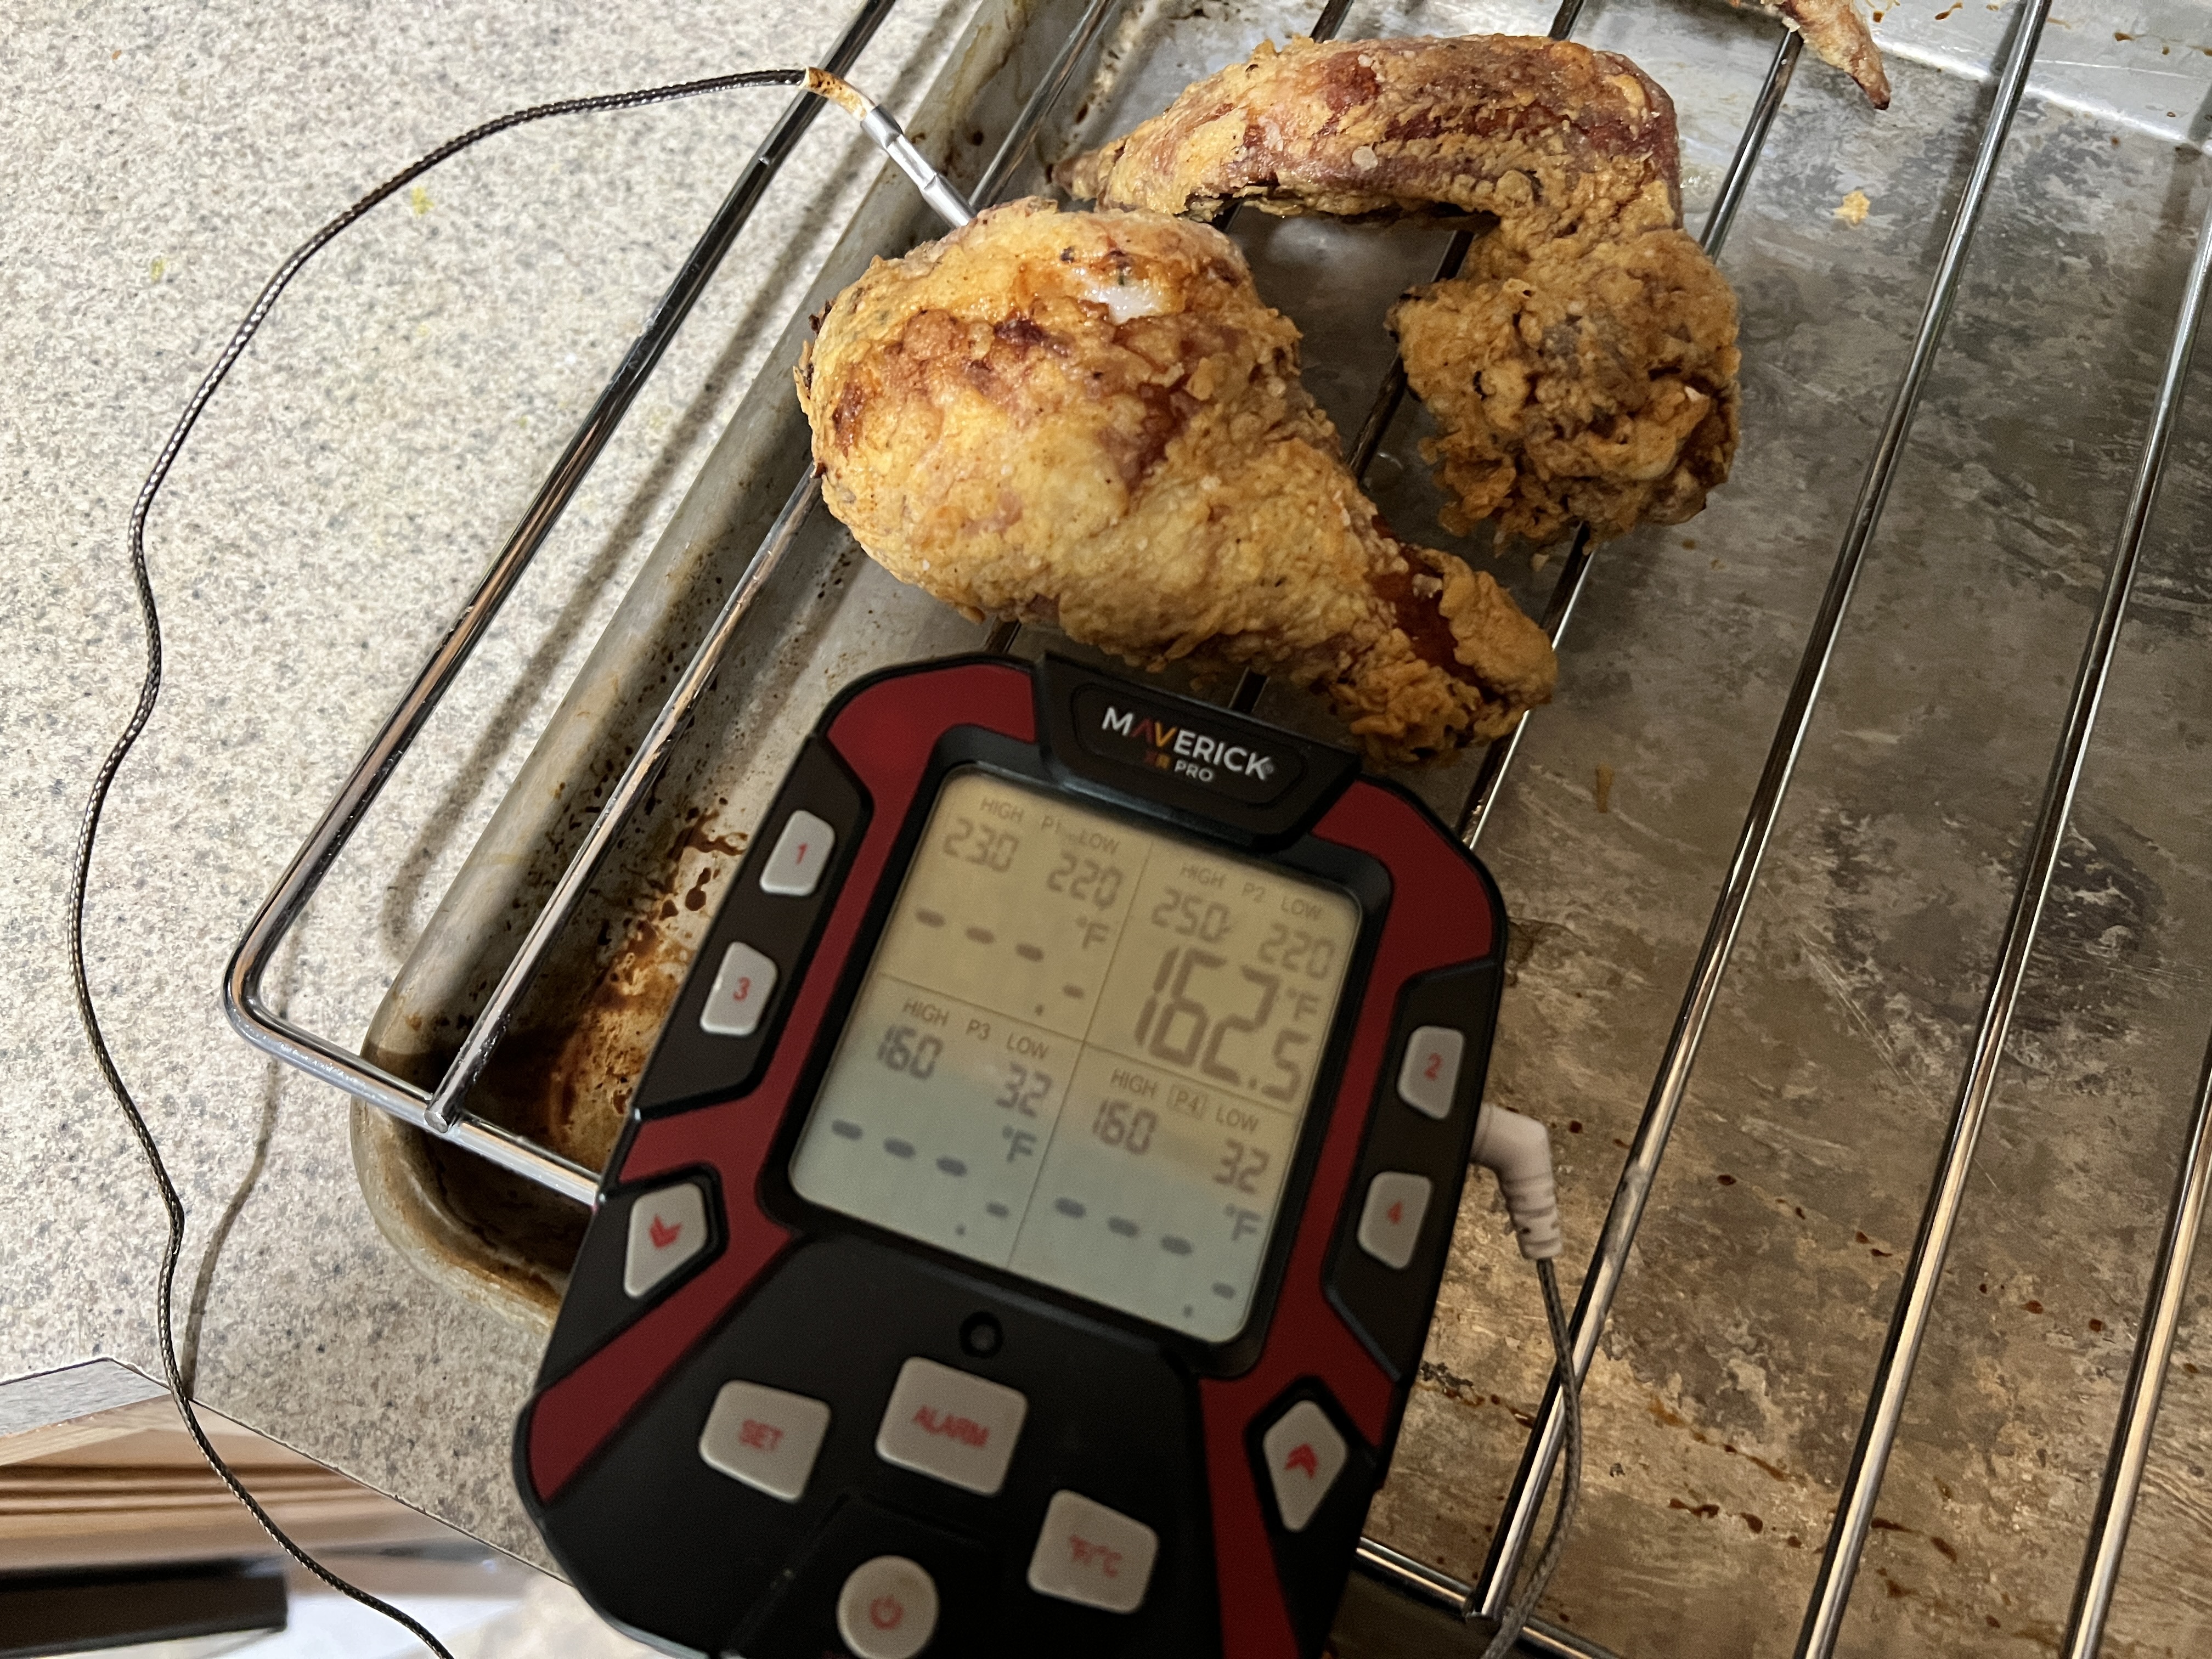
- Use the slotted spatula or spider to flip the chicken if it starts to get too brown on the underside. Remove the fried chicken from the oil (check the internal temp if you’re unsure — you’ll want it to be at 160F as it’ll carry over a few degrees as it rests).
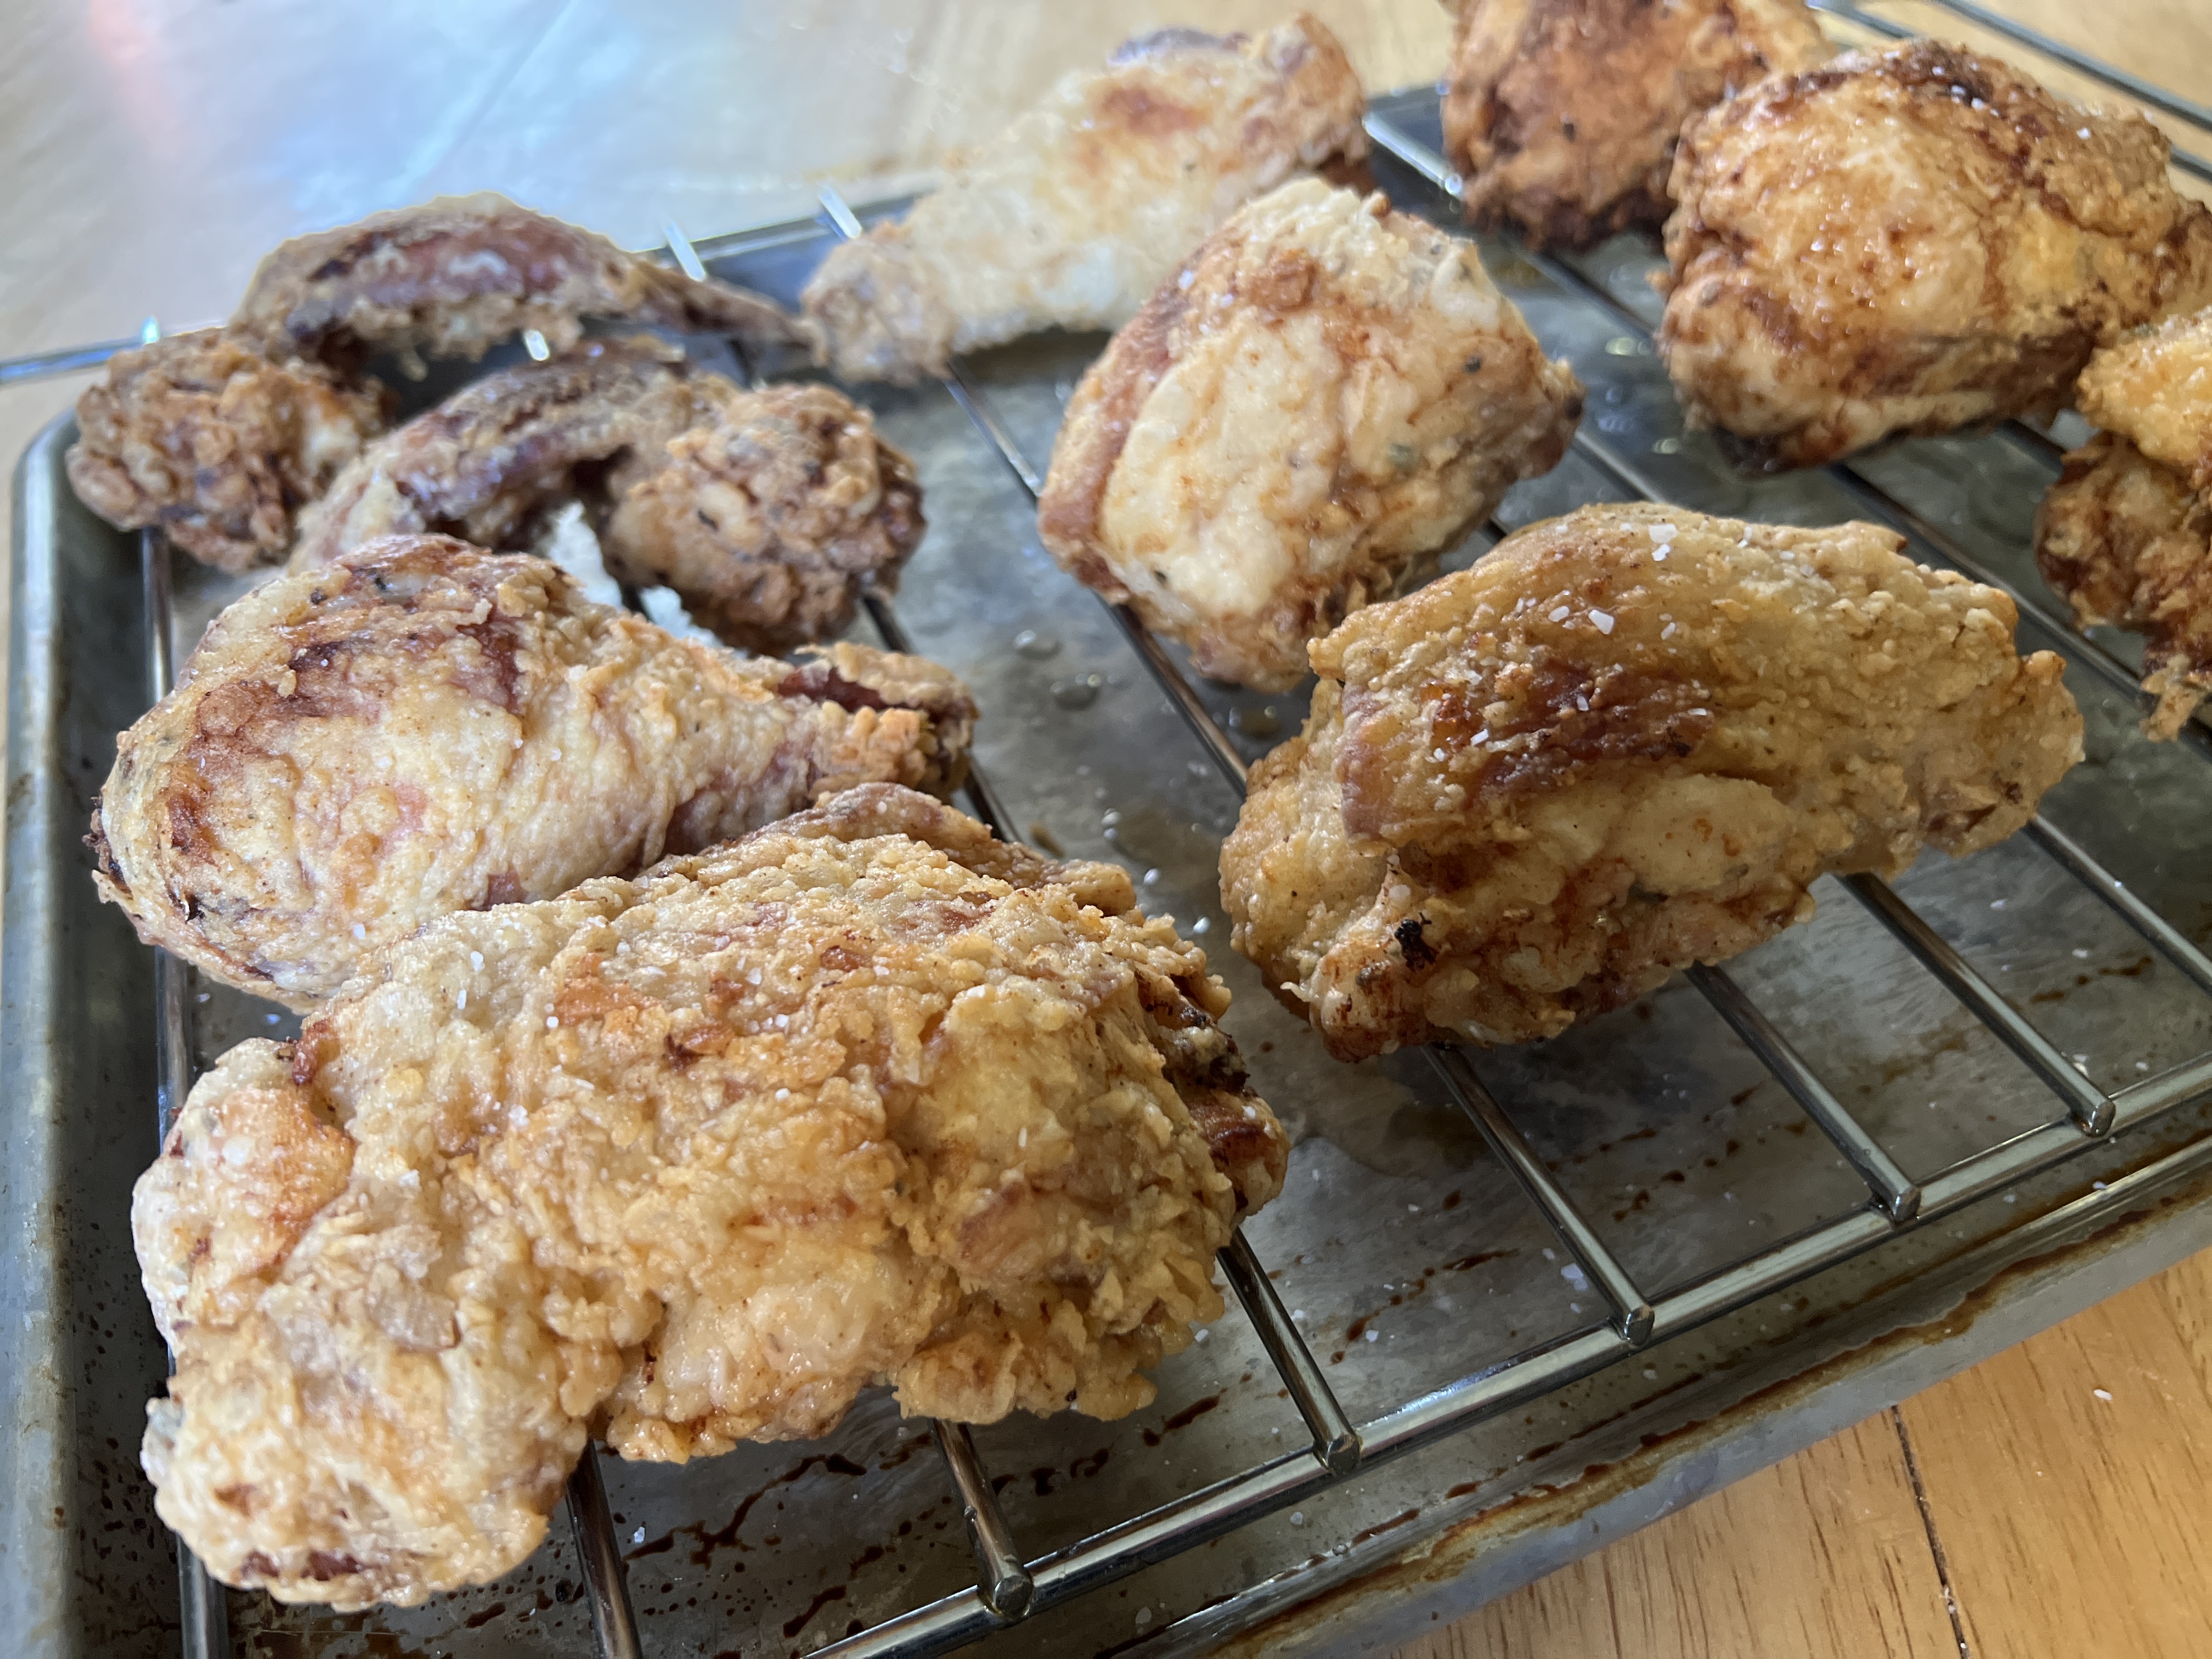
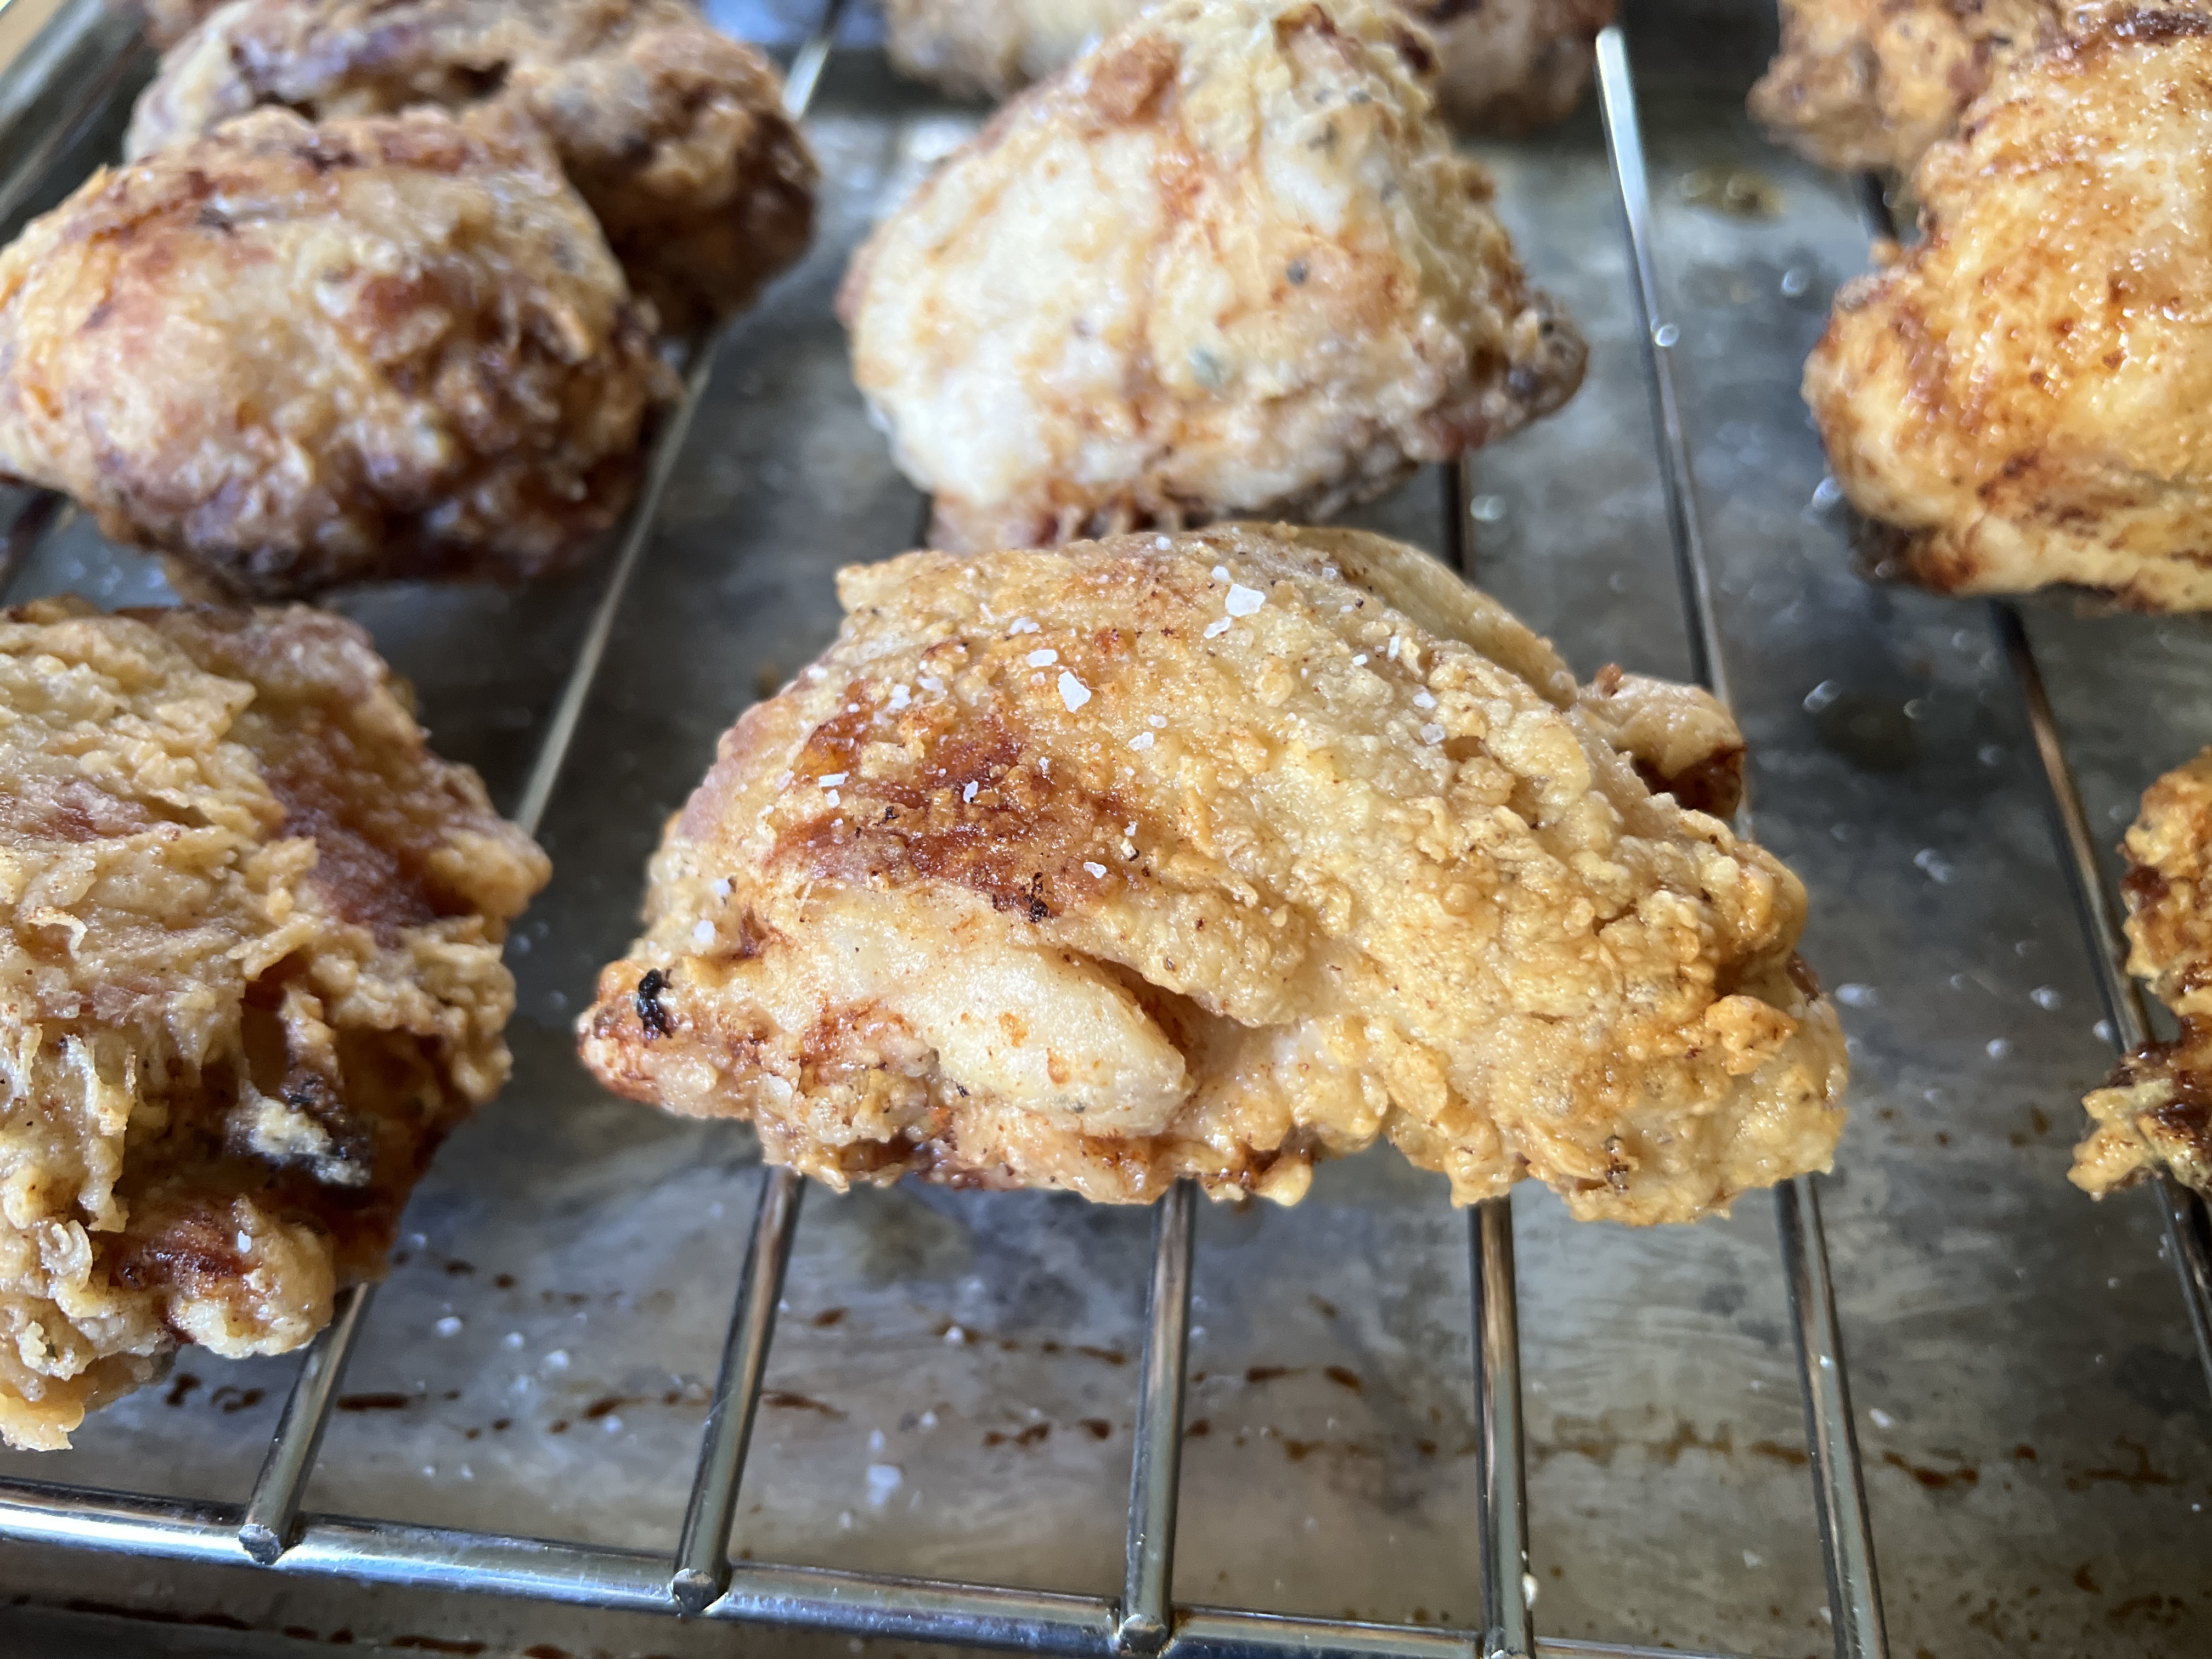
- As soon as you remove the chicken, hit it with a pinch of salt.
- Repeat in batches until done.
- Lastly, serve the chicken with a dipping sauce or hot honey for each guest to add at will.
Bottom Line on the Fried Chicken:
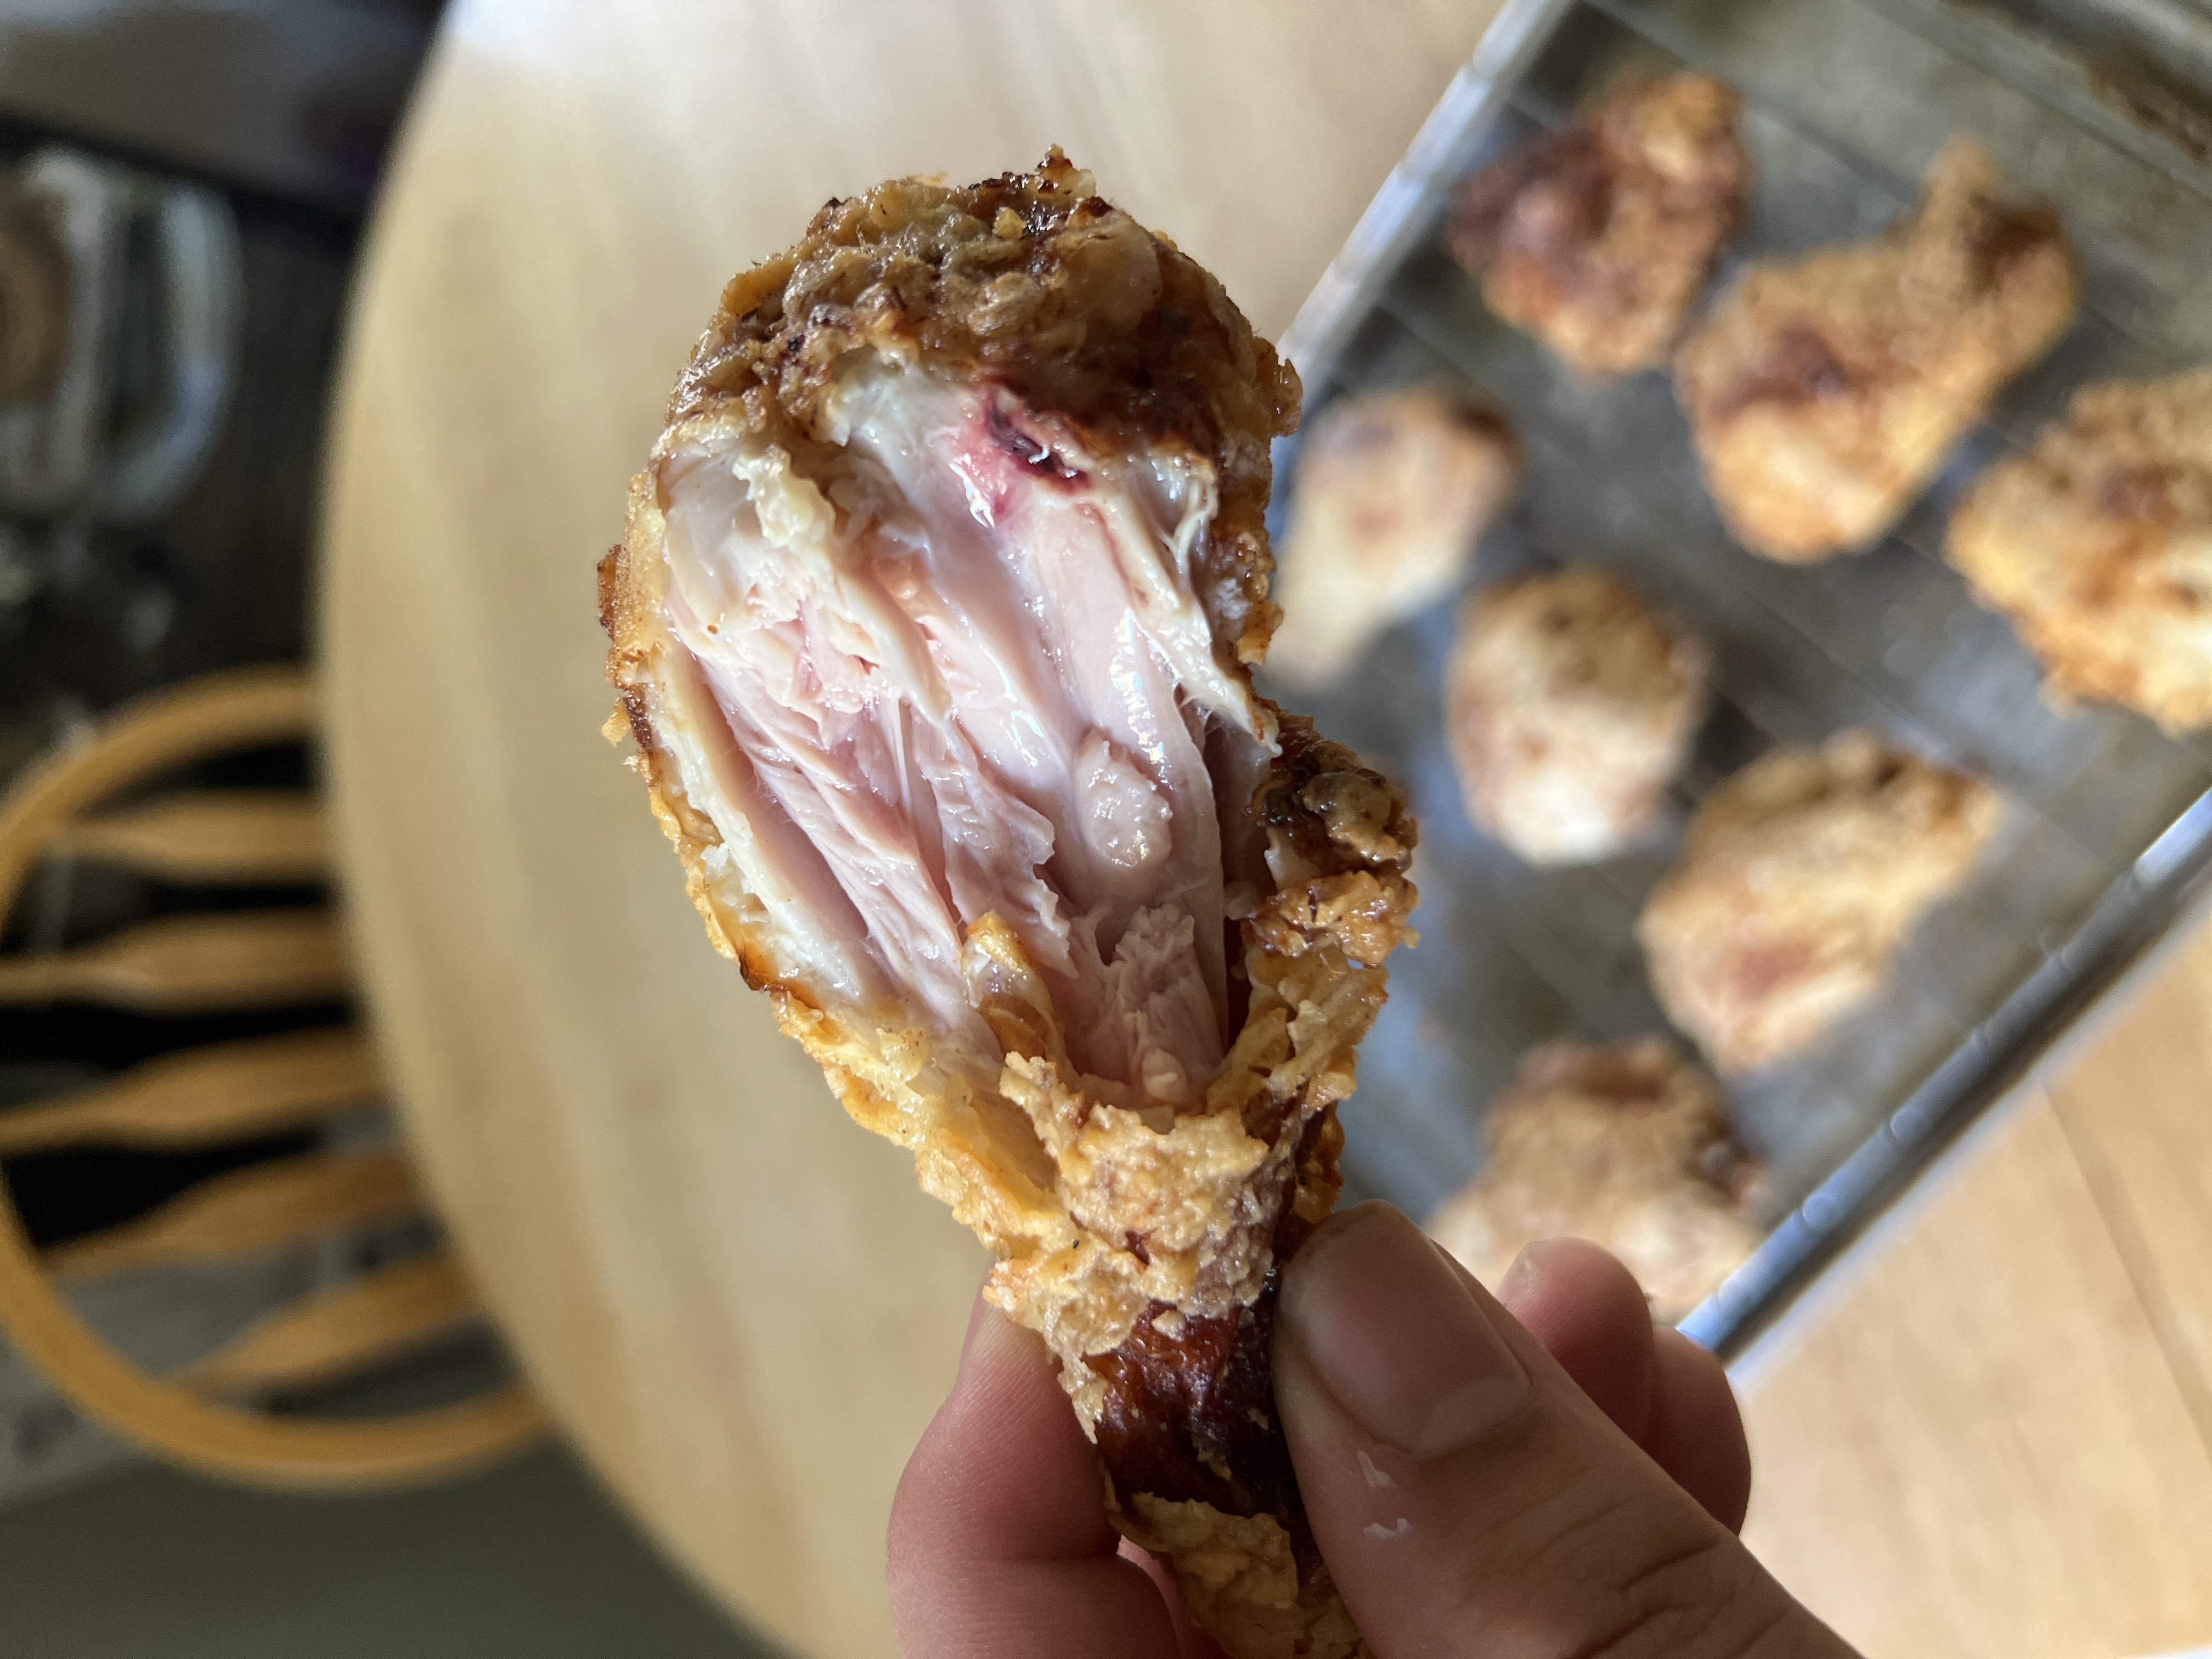
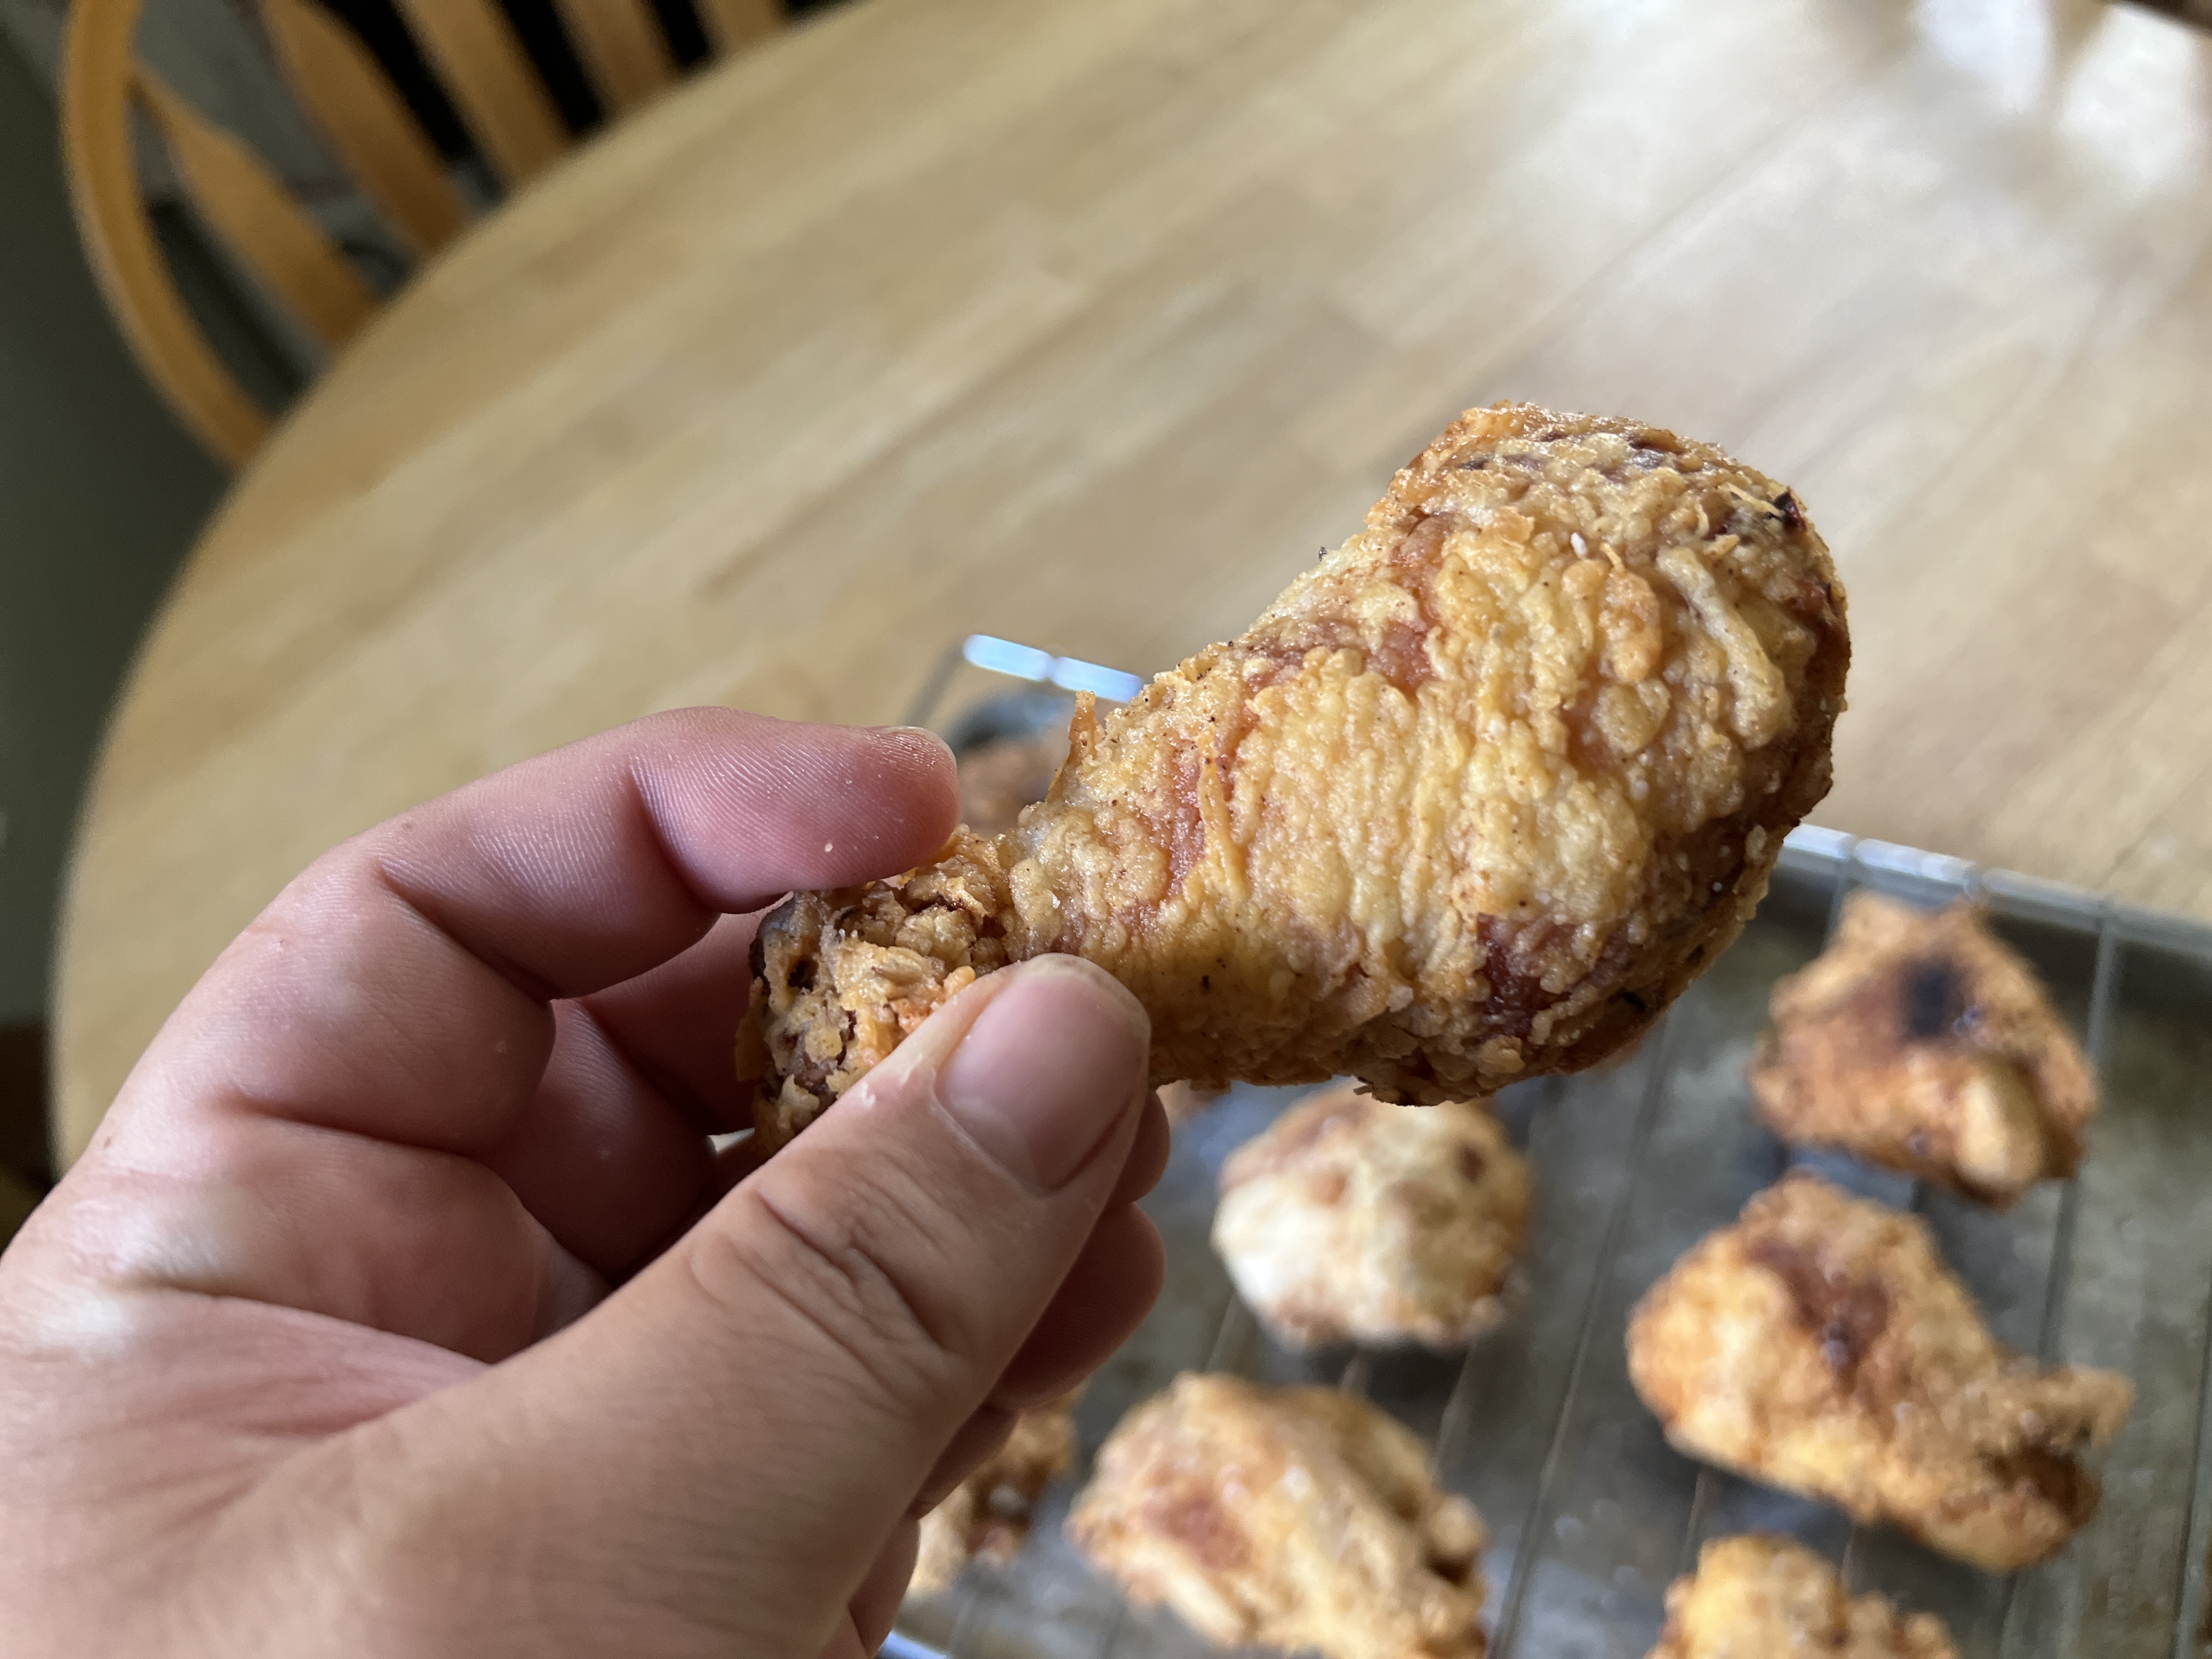
Oh, yes. There’s nothing like fried chicken with a crunchy exterior and a delightfully seasoned and juicy interior. That exact piece above came out of the oil at about 158F and hit 162F as it rested (see image below), which is exactly what you want. Look at how juicy it is!
The seasoning came through on the meat very nicely and was accented by a very crunchy and similarly seasoned crust with a hint of spice (I don’t go hard on the cayenne but you can if you want more heat). This was so good that I devoured two pieces before I had to stop myself. There’s something supremely satisfying about home-fried chicken that rocks.
The best part is that the white meat is super juicy and well-seasoned as well. There wasn’t a hint of dryness in a single bite of the whole batch. My family of four killed this batch of chicken in silence around the lunch table.
All told, the prep took maybe 20 minutes (partitioning the chicken and getting it in the brine bag). The actual dredging and frying took another 45(ish) minutes. Really though, you’re going to want to set aside an hour for the whole cooking process. Is it worth it? Hell yes. This fried chicken rules — and is a perfect way to show friends and family that you care.
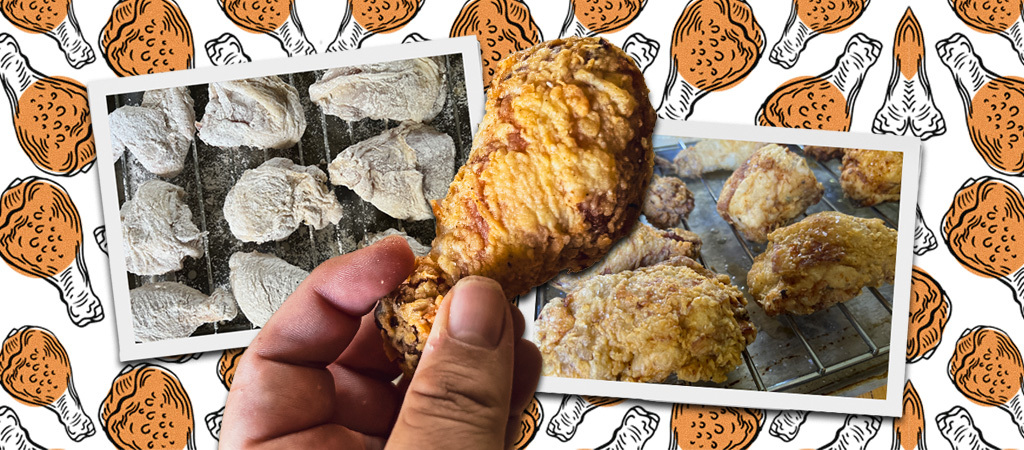
Photos of the Process: